The Conversation (0)
Sign Up

I started with using these 3 stencils, just certain portions of them to add texture to my clipboard.
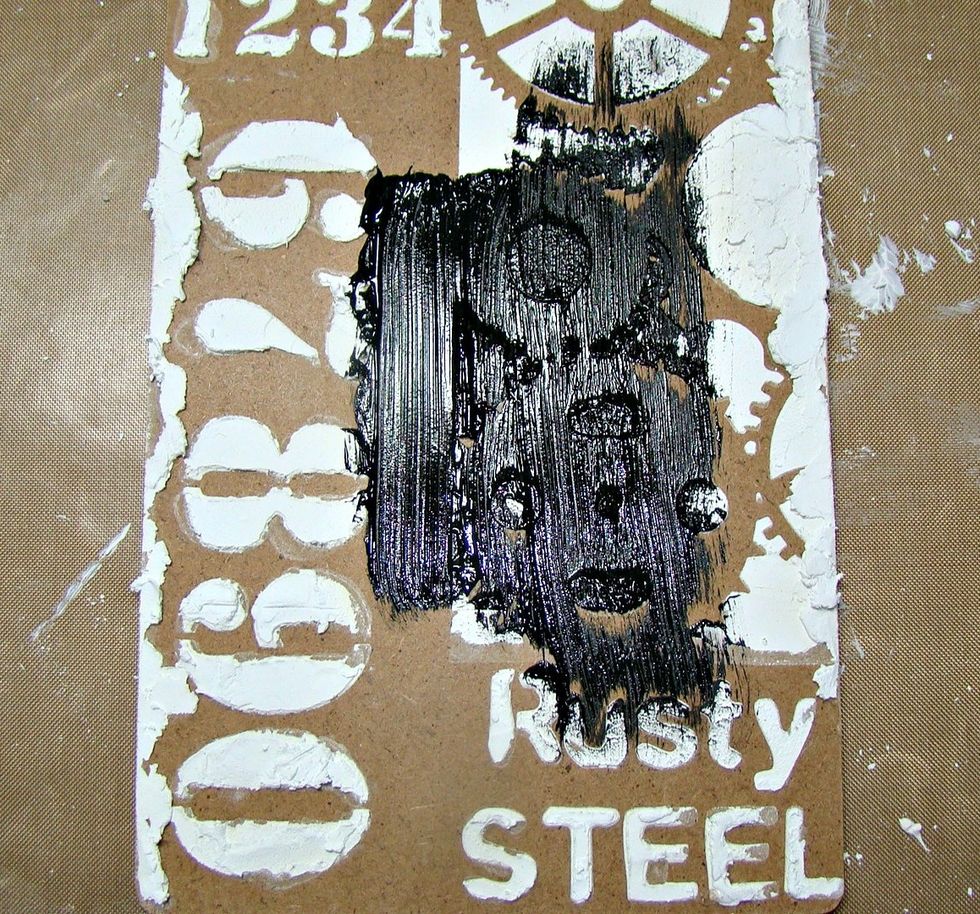
Once the Mud texture paste is dry I gave a coat of Stone effects Lava.
Here is the first coat.
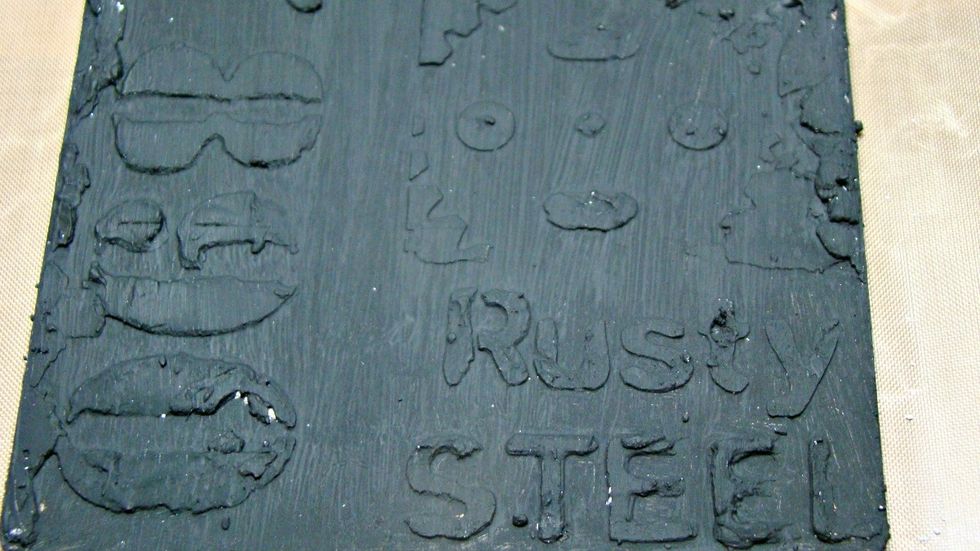
Then covered the entire surface with white gesso and I left overnight to dry completely.
Next I added another coat of Lava and waited for it to dry just until it was tacky then using a napkin I blotted the surface and it will remove chunks of paint off to provide a peeled paint effect.
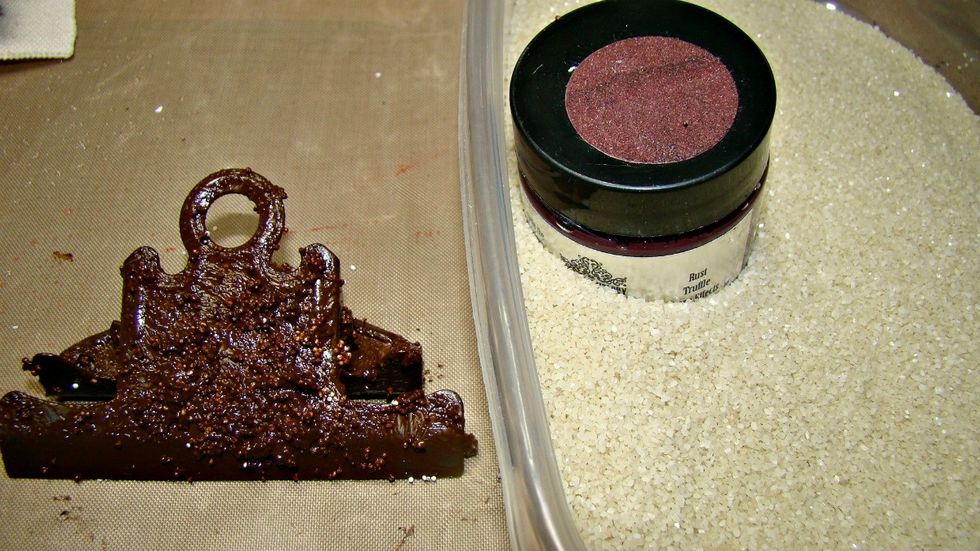
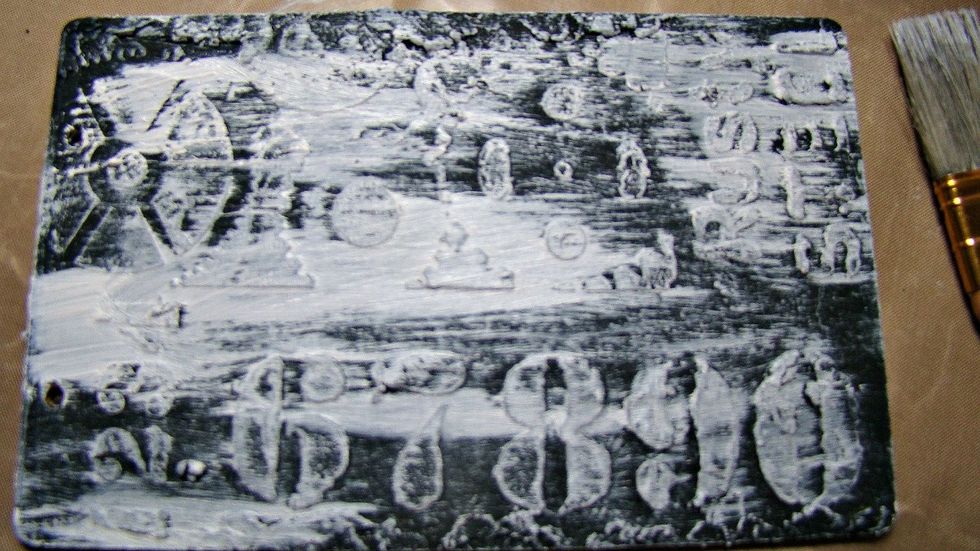
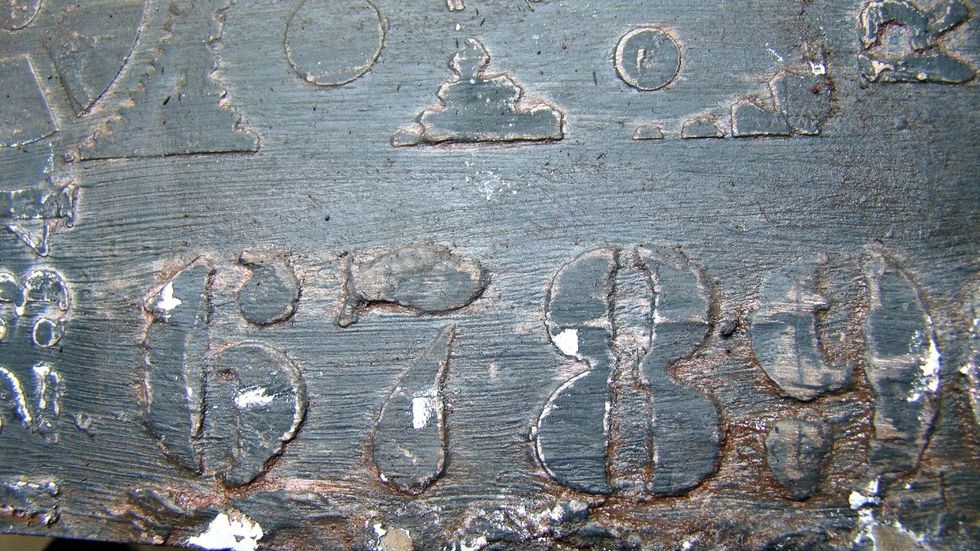
I then added the deep brown of the texture paste set to the surface and spritzed with water to get into the crevices. Next u I added sand to some of the brown for more texture and added it.

Smudges the terracotta and amber here and there and spritzing it with water to cause running and blending.

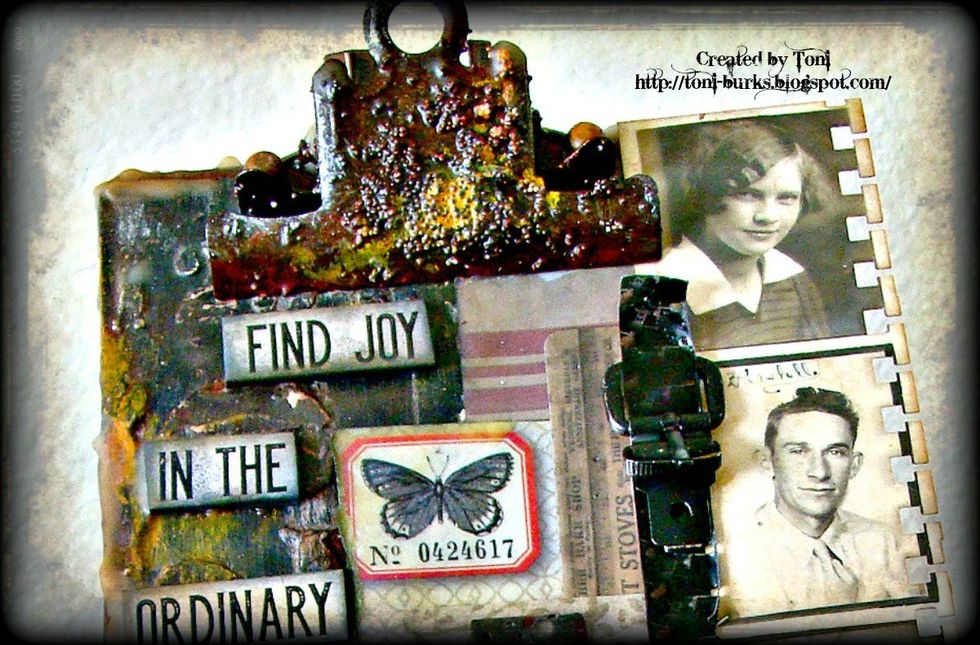
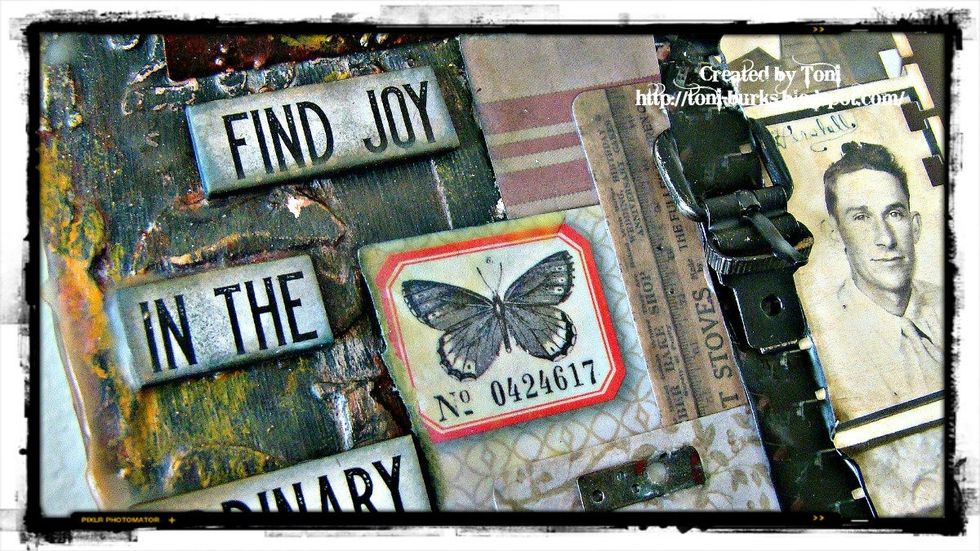
Gather your ephemera and create a organic collage. Distressing all the edges with inks.
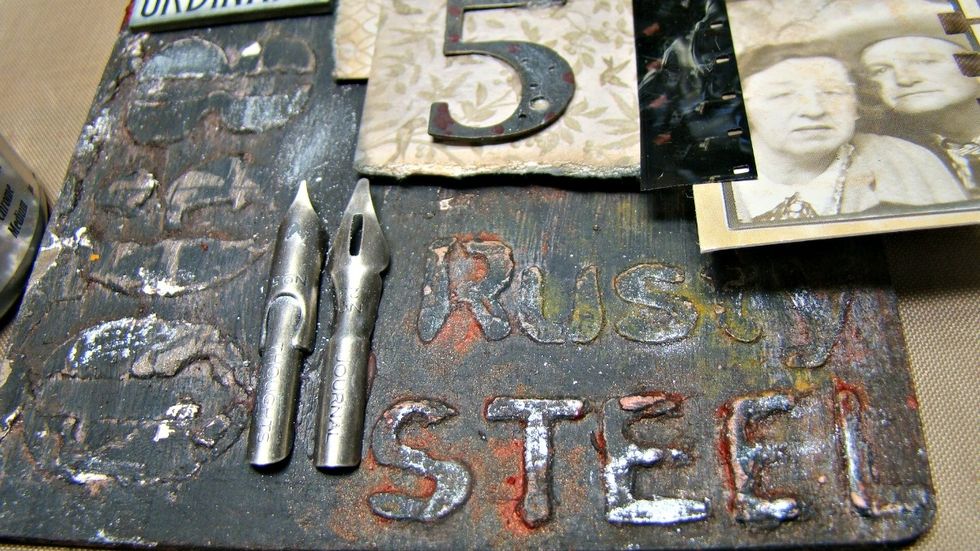
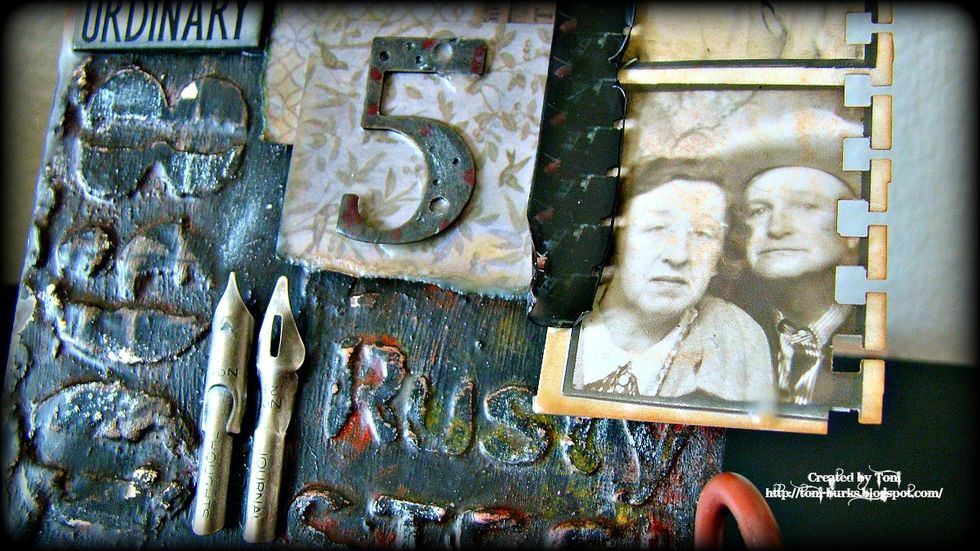
Choose some fun metal pieces to add to your clipboard as well, and a title.
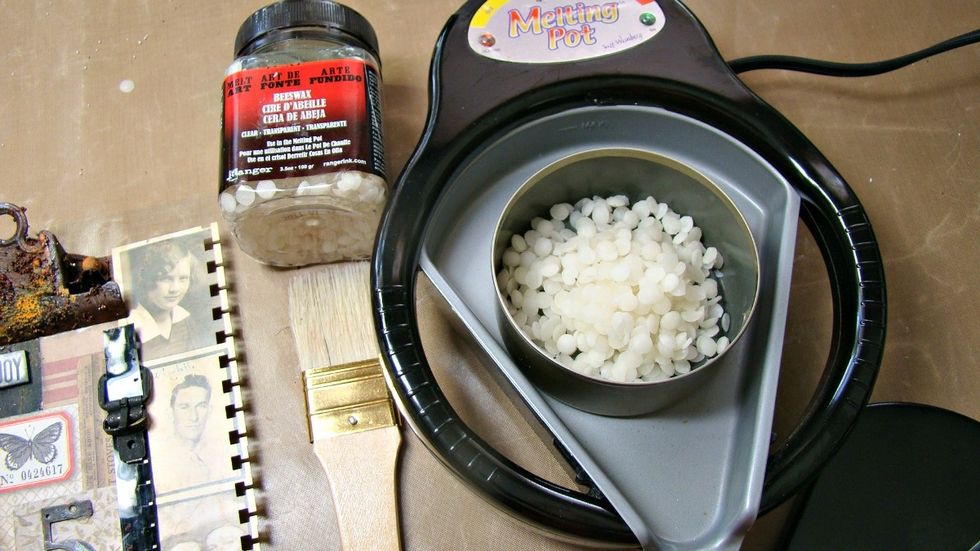
Next up heating the beeswax, I like using a recycle tin can for my beeswax because my melting pot is also used to heat UTEE and this makes cleanup alot easier.
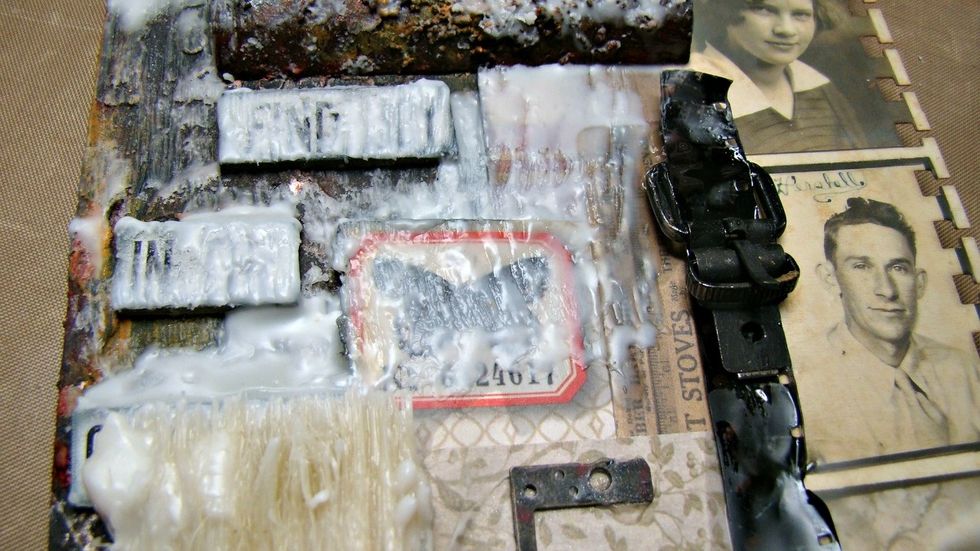
Once the wax is melted brush over your entire piece. This is what it will look like at first, no worries.

Take your heat gun and lift your piece up and melt the wax until it is running off your top. I did 3 layers of wax.
As you can see in some of my areas I left the wax accumulate, I really like this appearance.

Hope this has inspired you with a couple different techniques to give a try. Don't forget to follow us on our blog http://artanthologyinc.com/blog/ and https://www.pinterest.com/artanthology/
To shop our store for products visit us at https://www.artanthology.net/ and sign up for a monthly newsletter http://artanthologyinc.com/
Wishing you a creatively wonderful month !