The Conversation (0)
Sign Up

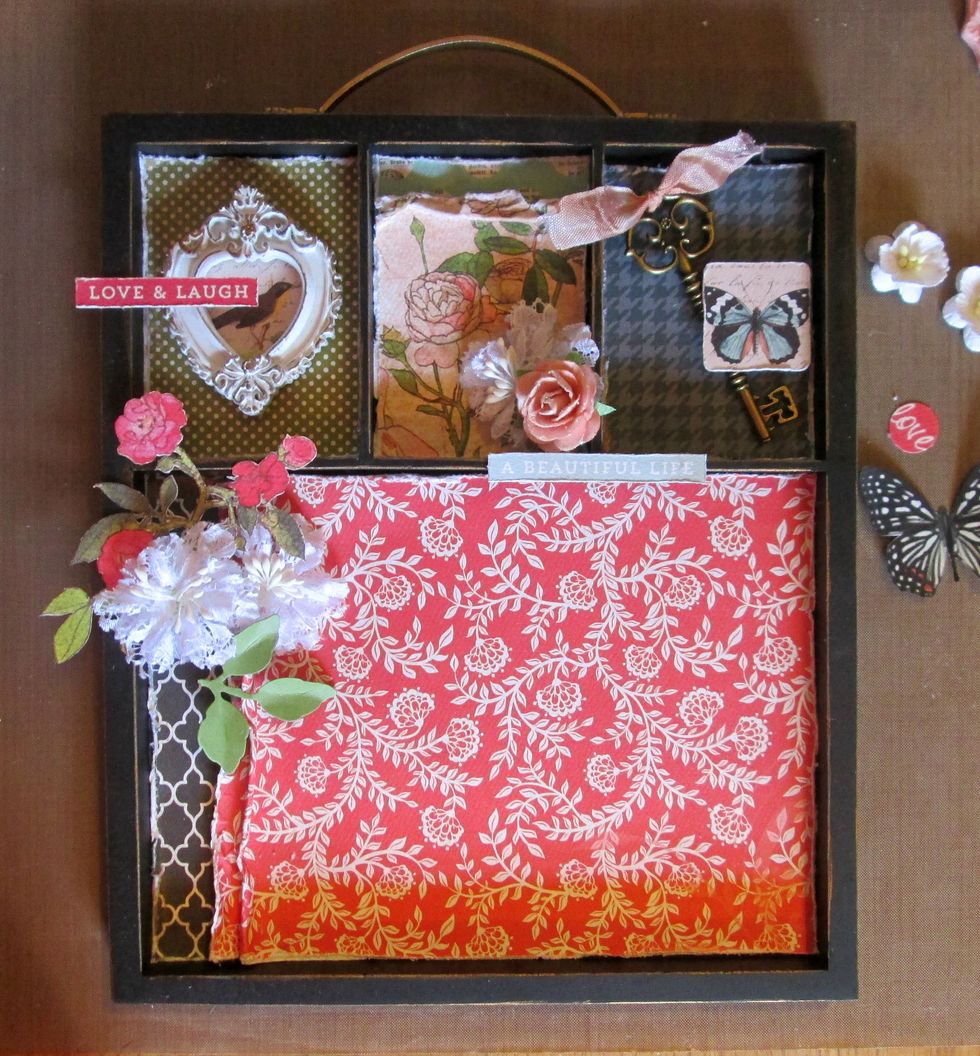
It all starts with a Memory tray.
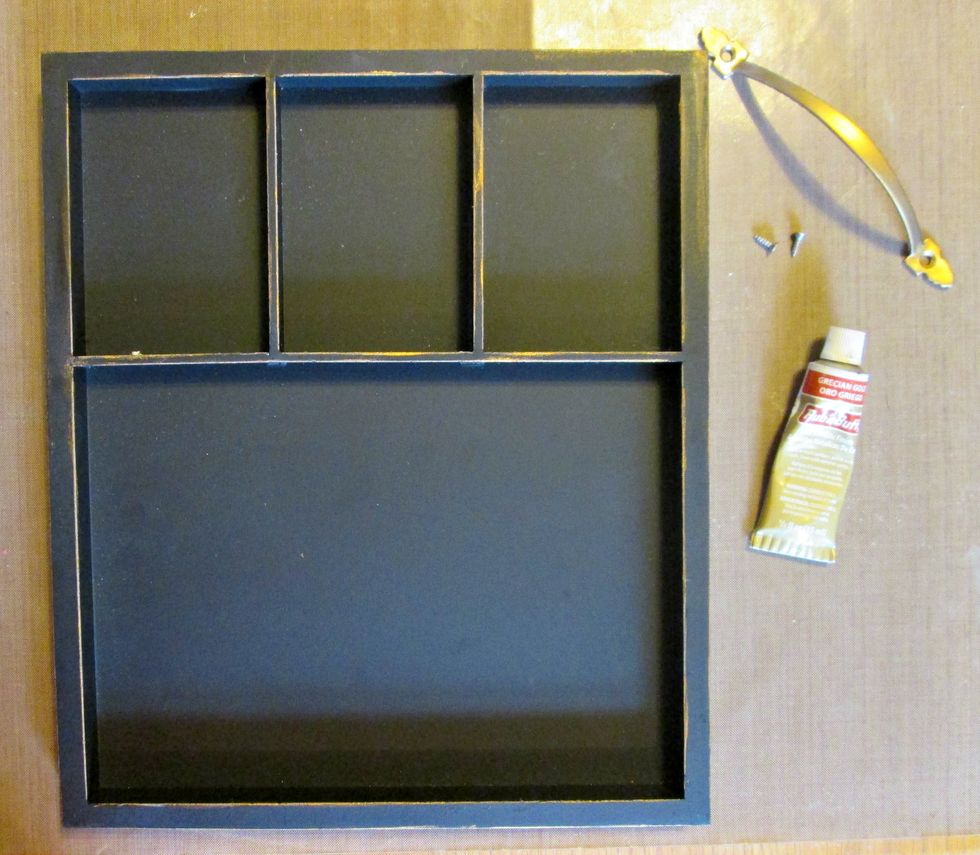
Using a screwdriver remove the handle from the tray. Apply Rub 'N Buff to the handle and screw heads using a finger tip. Apply the Rub 'N Buff to edges and random areas of the tray as well.
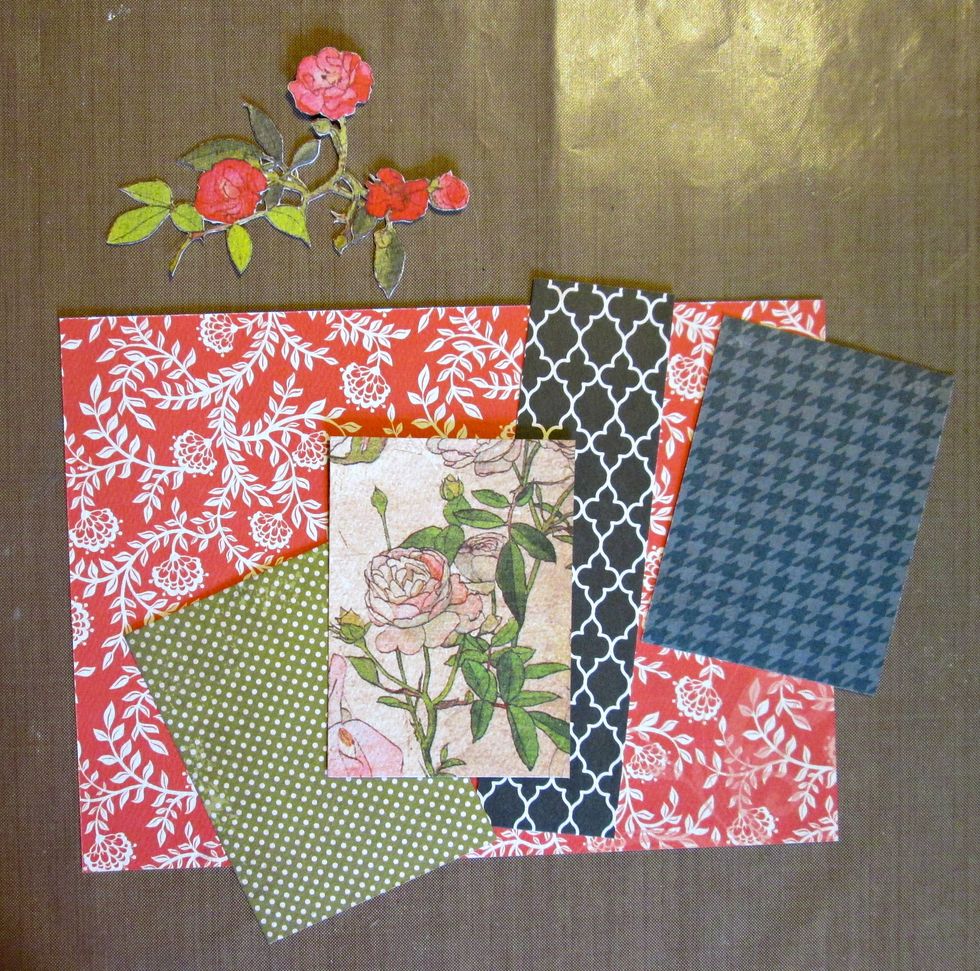
Cut your papers slightly larger than the measurements of your compartments on the tray.
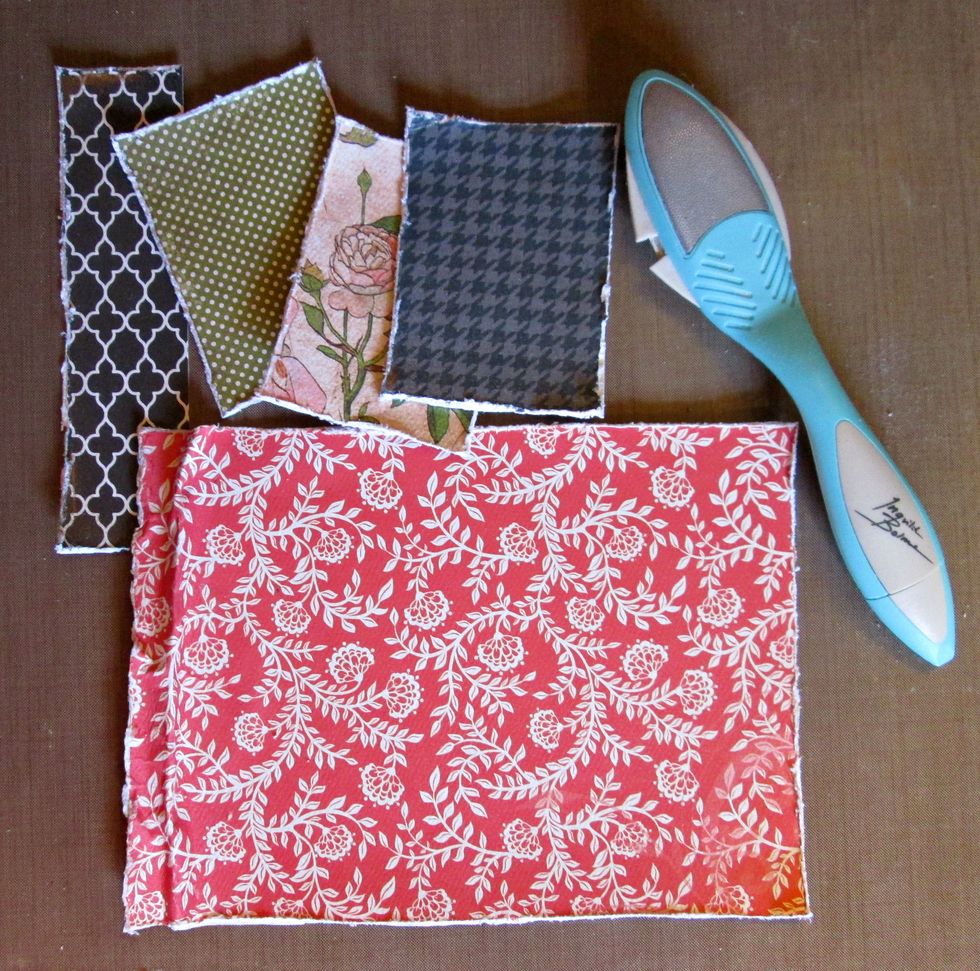
After you distress the edges of the papers they will fit perfectly. I've water distressed the end of the large piece so that the black lattice paper will show underneath.
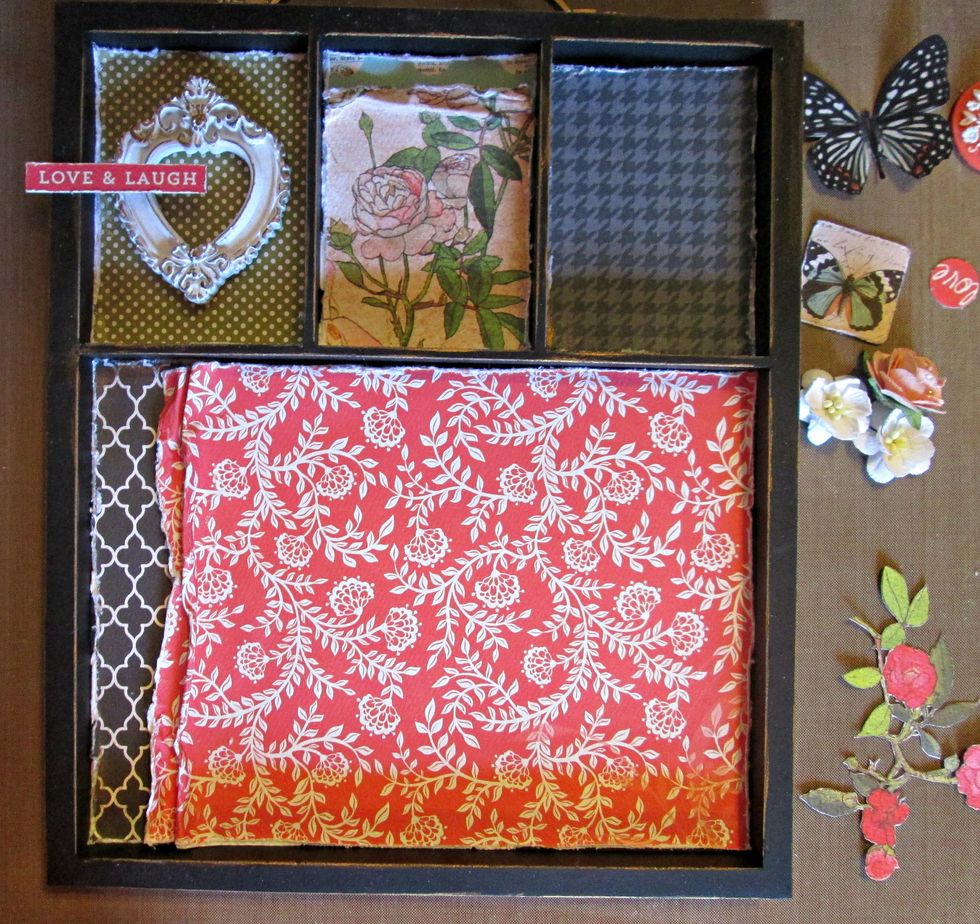
I decided to water distress the floral paper also, placing a coordinating paper underneath. Glue the papers in the compartments. Now you can start playing with the placement of your embellishments.
Keep moving/adding embellishments until you're happy with the placement.
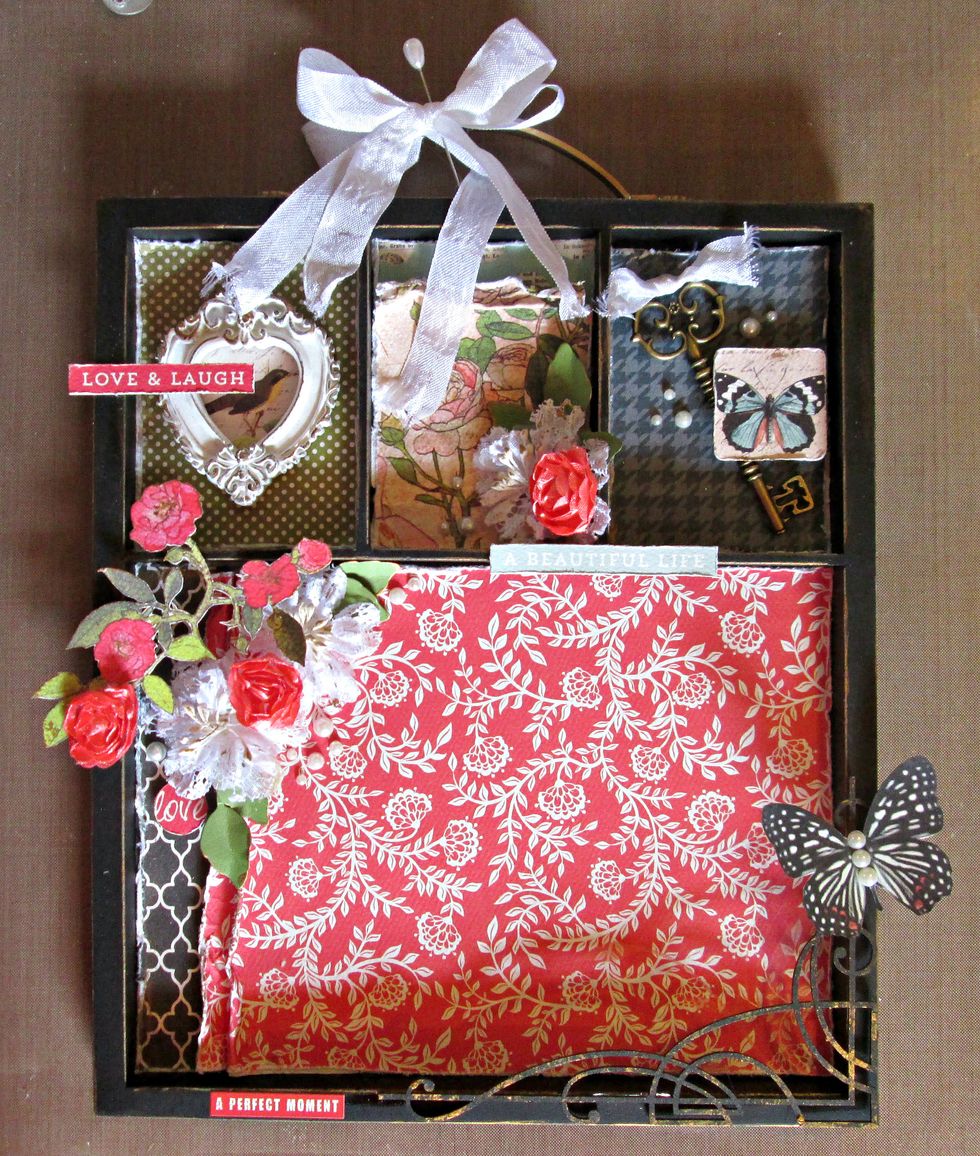
After everything is adhered to the tray, lightly apply some of the Rub 'N Buff to your embellishments to tie it all together.
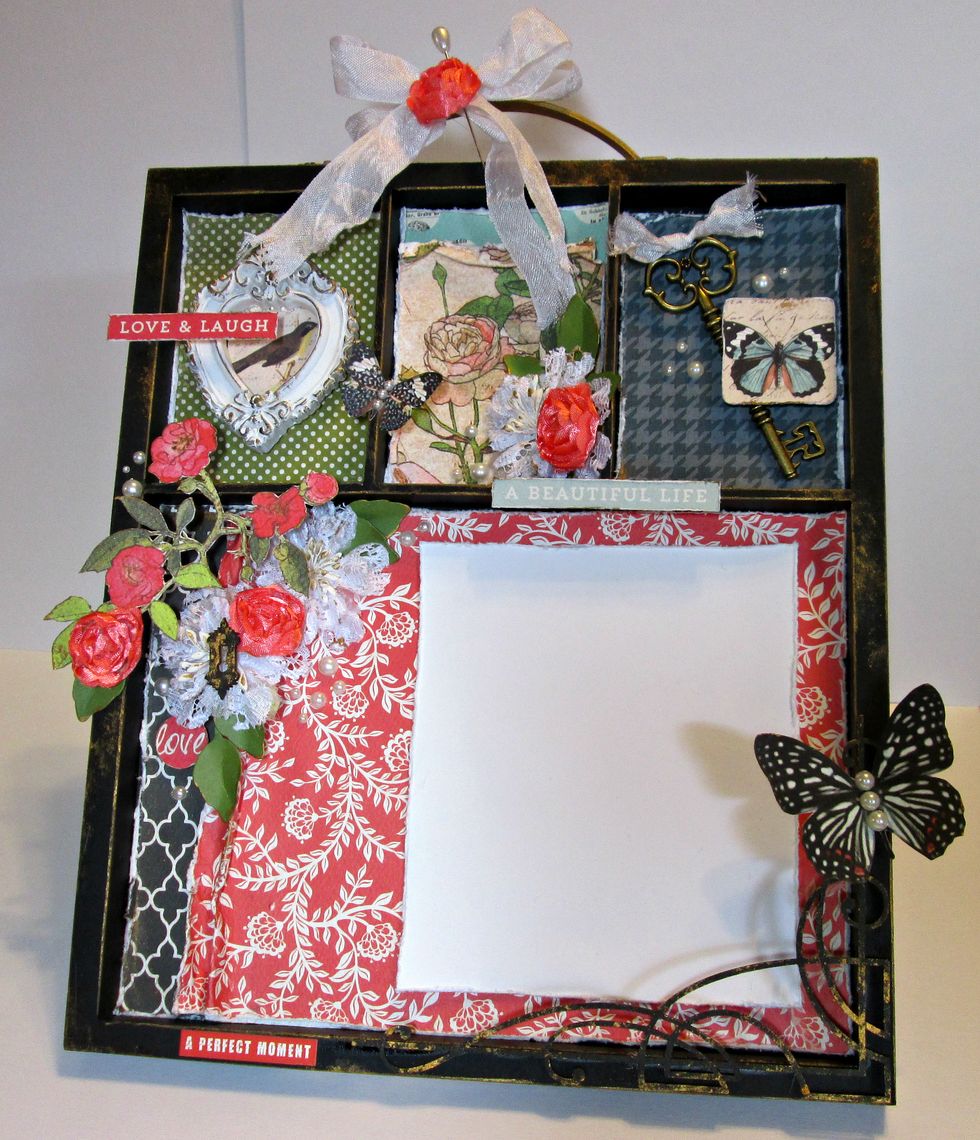
Here is my finished tray. I've placed a photo mat temporarily to show photo placement.

I have a few close ups of the compartments...

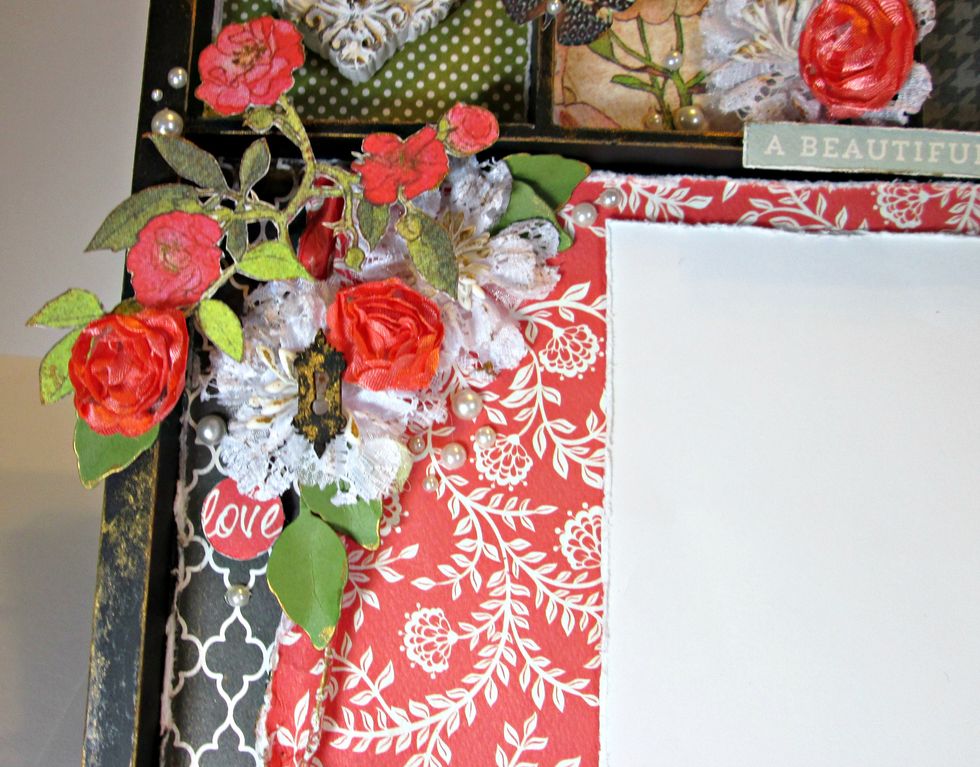

Thanks for looking!