The Conversation (0)
Sign Up
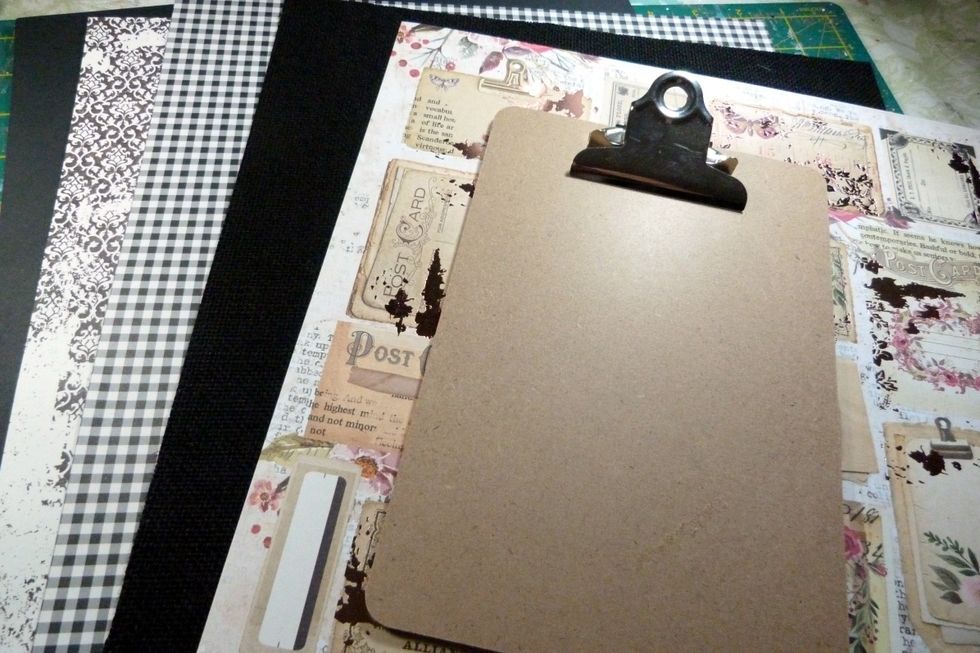
From the Swirlydoos Oct kit papers I used the black cardstock, black & white gingham, black burlap, Nostalgic & Vintage Memories papers. I chose a A5 clipboard to alter with the Swirlydoos kit.

Cover the clipboard with the black cardstock. Curve the corners.
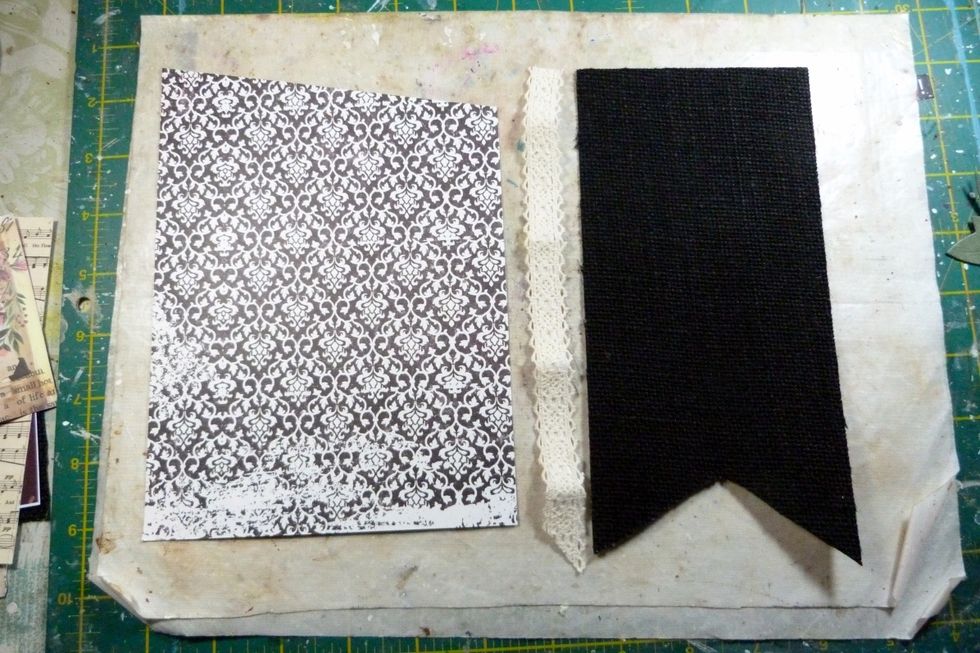
Now cut the layers- 19x14cm from reverse side of Nostalgia paper cut with one long side cut shorter then the other. 20cm lace trim. 19 1/2x 10cm black burlap banner.

From the Vintage Memories paper cut the music script out and the 'lovely' oblong. From the Nostalgia paper 14x 5cm
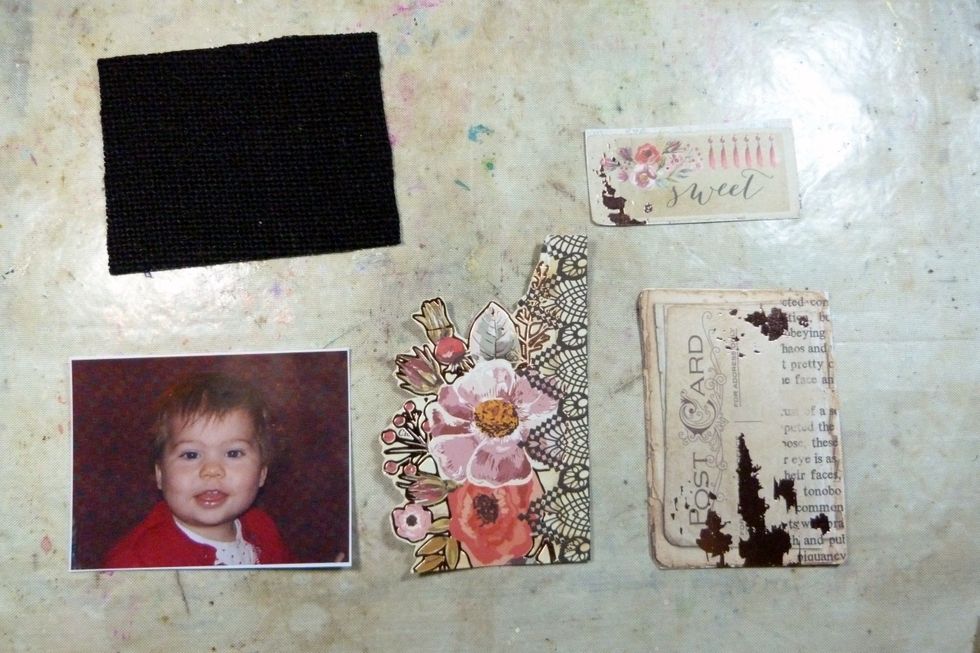
Cut a piece of black burlap slightly bigger then photo to mount photo on. Fussy cut flowers & postcard from the Vintage Memories paper.

Heavily distress all layers.
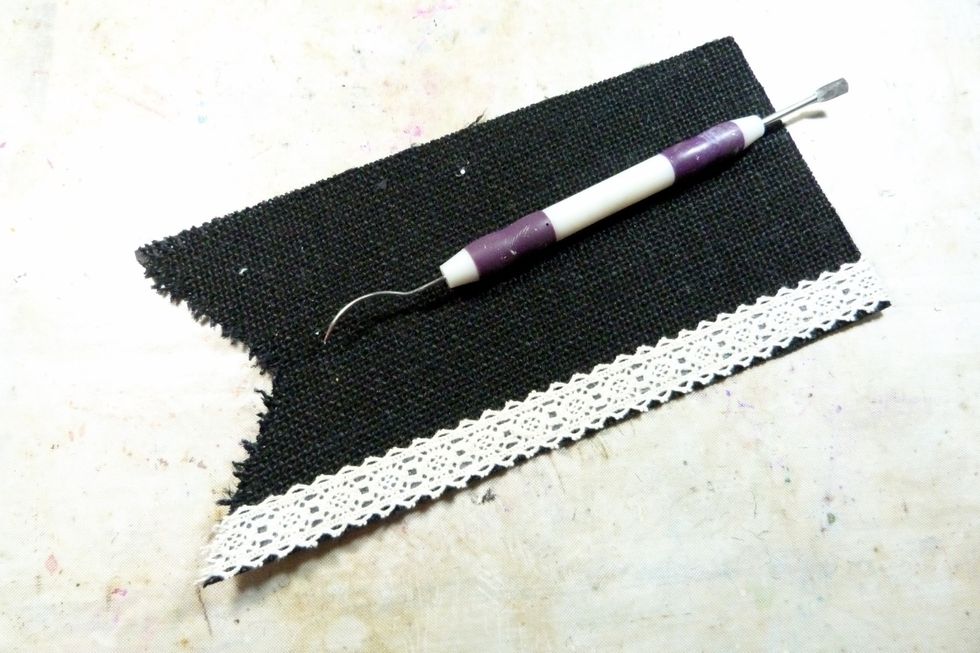
Pluck the ends of the burlap banner to distress it. Stick the lace trim down the right side of banner.
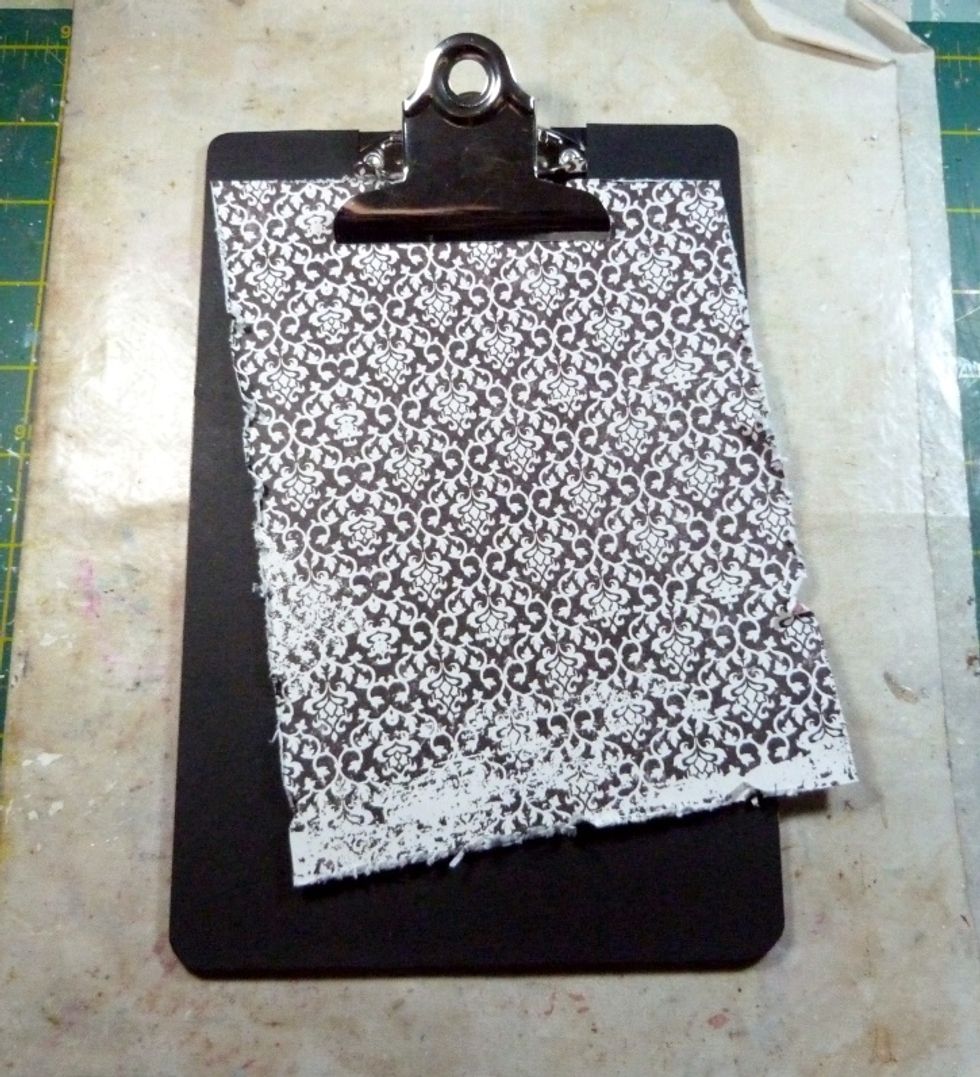
Put the angled cut straight up against the clip to crate the wonky paper.
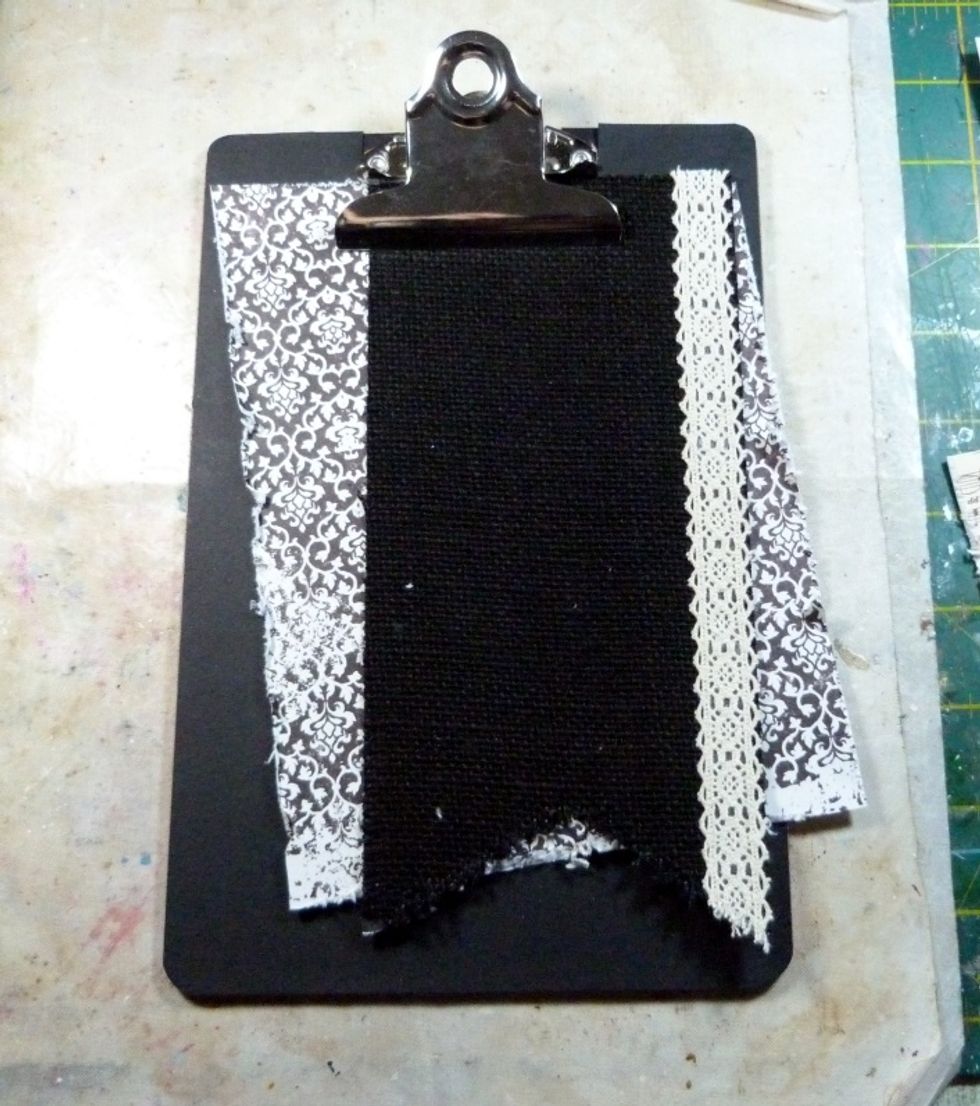
Add the black burlap banner slightly to the right under the clip.
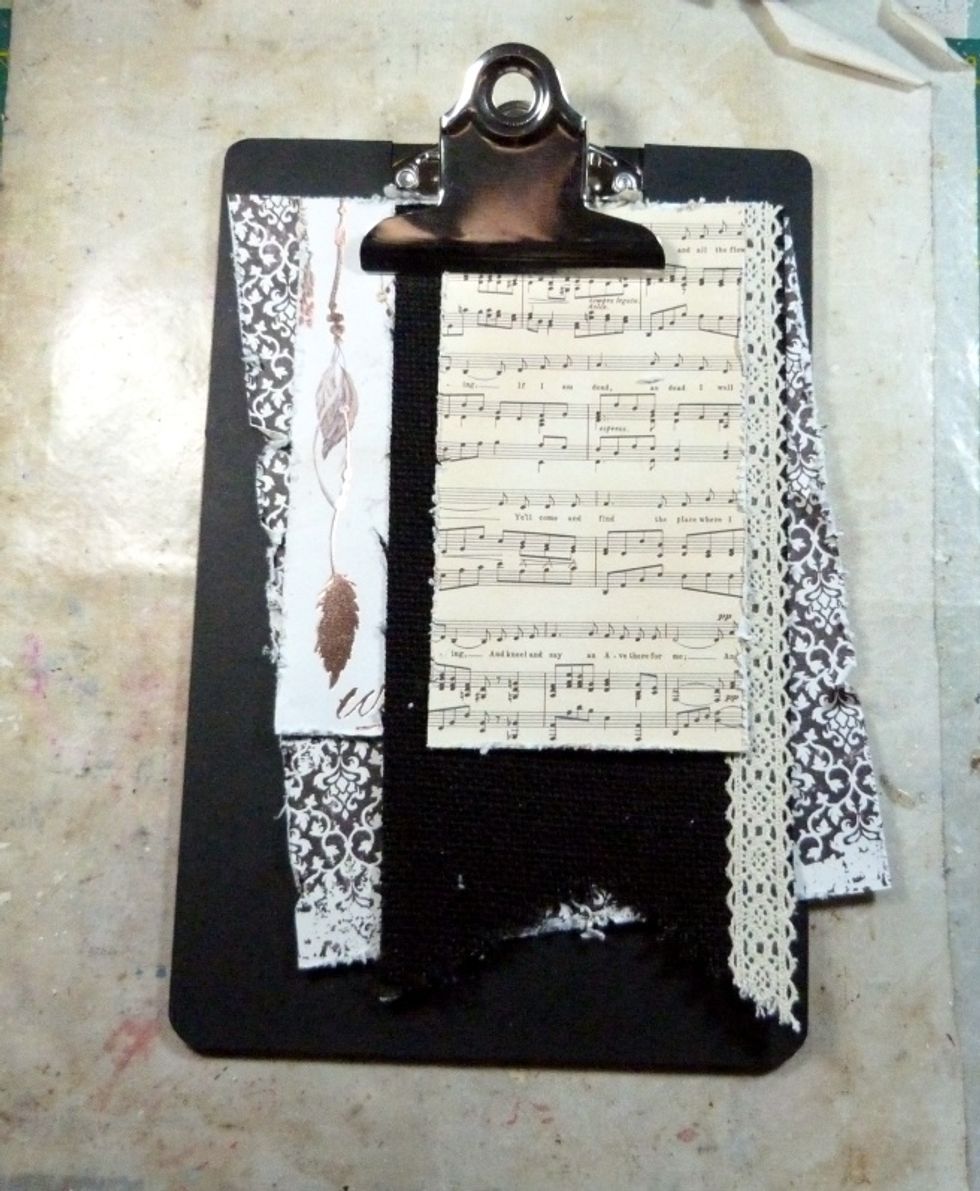
Slip the dreamcatcher paper under the burlap banner on the left and the music script paper on top of the banner slightly to the right.
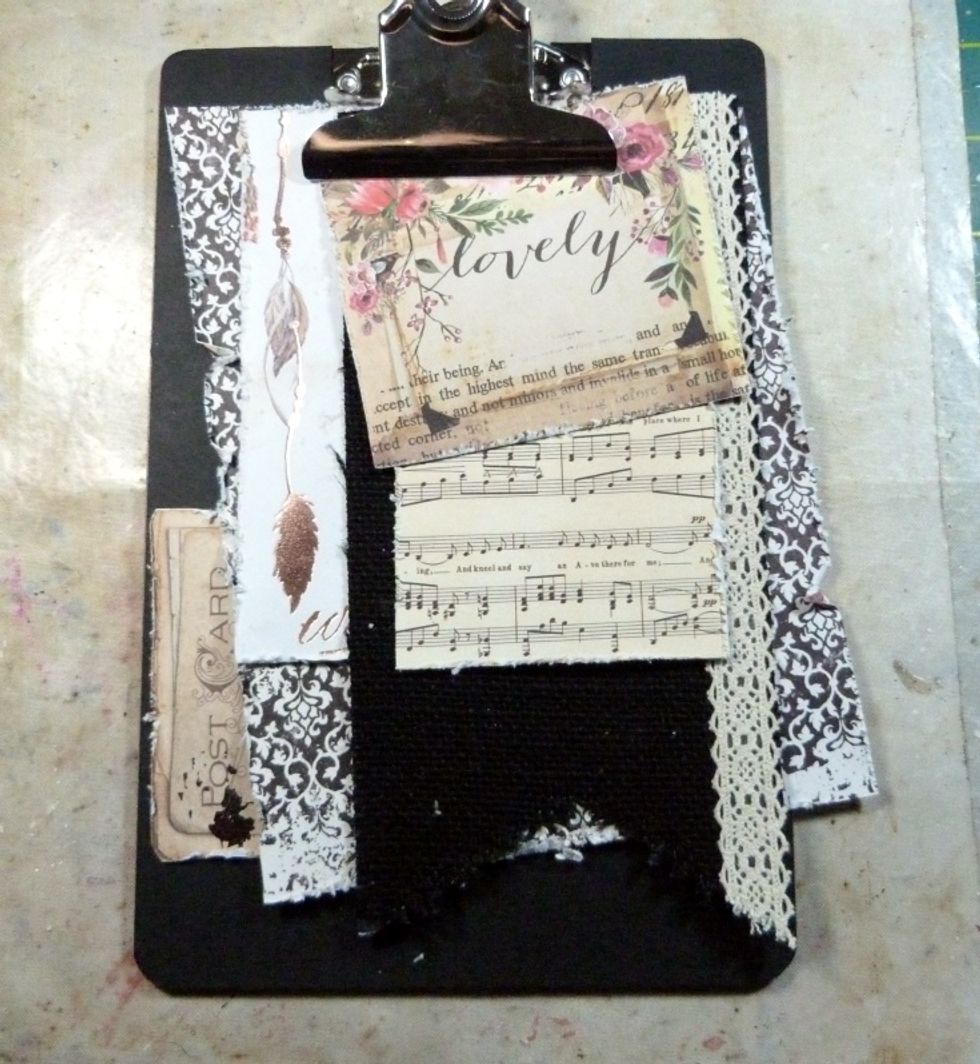

Now slot in the fussy cut flowers above the postcard.
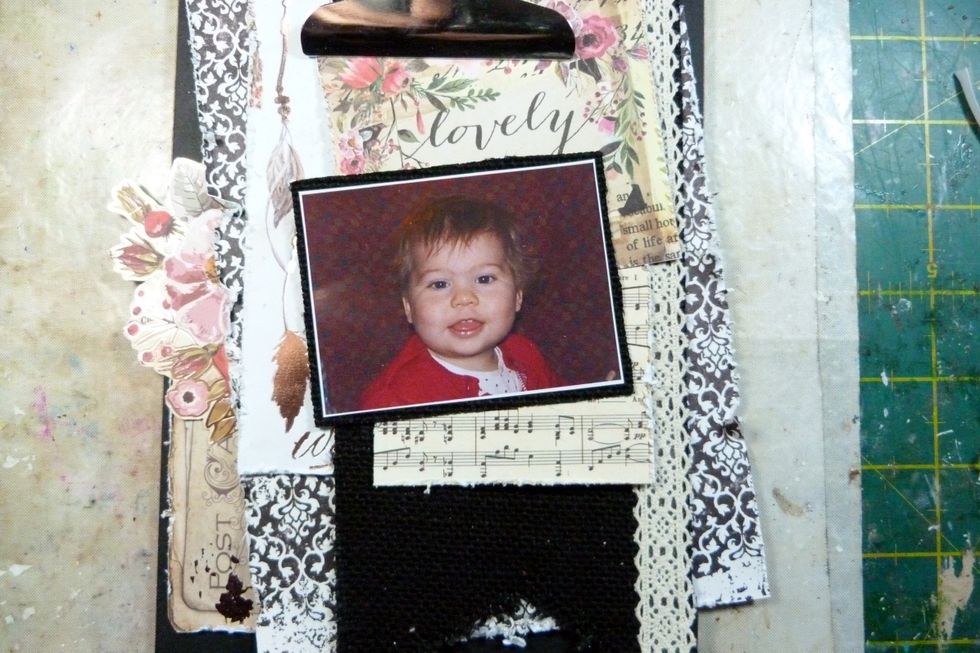
Mount the photo on the burlap and place in the centre of the clipboard on top of all layers.
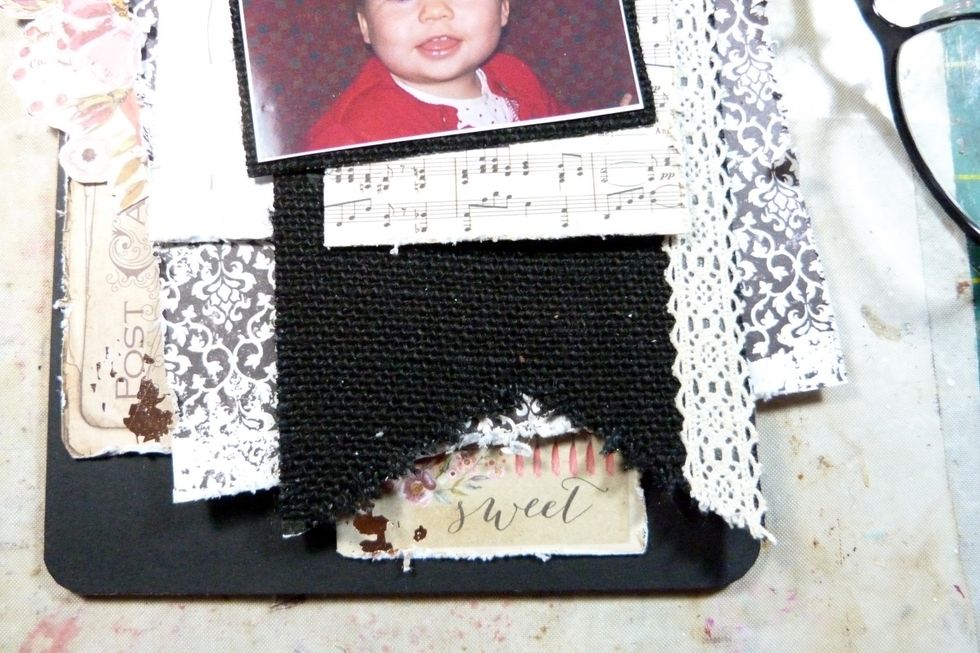
Lastly for the papers add the 'Sweet' to the bottom under the banner.
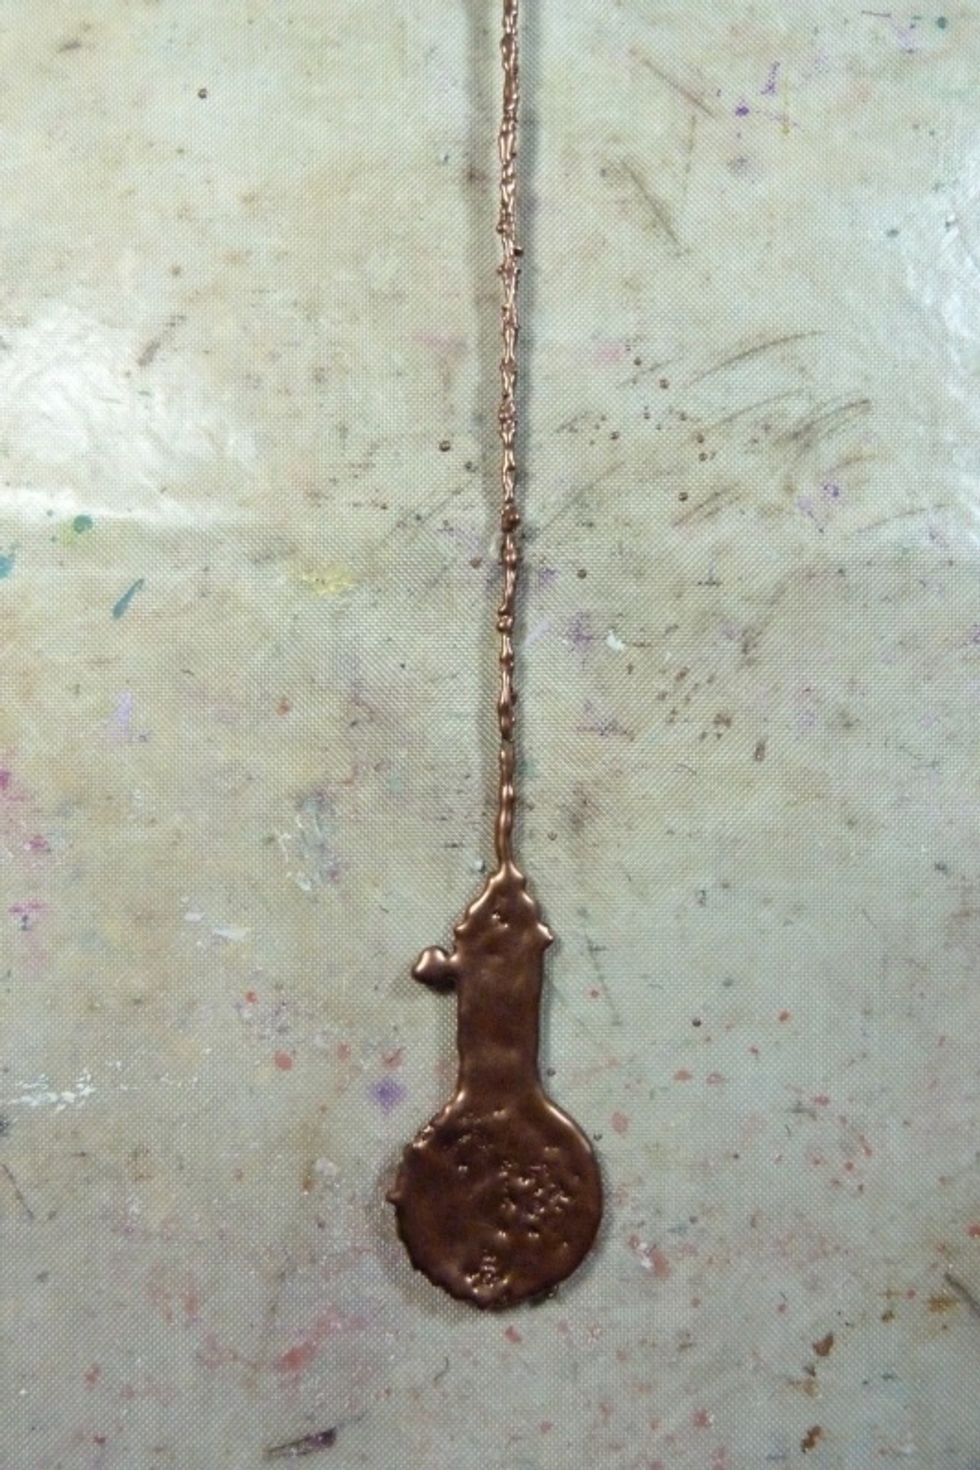
Triple emboss the Dusty Attic chipboard light bulb with Copper UTEE ( ultra thick embossing enamel)
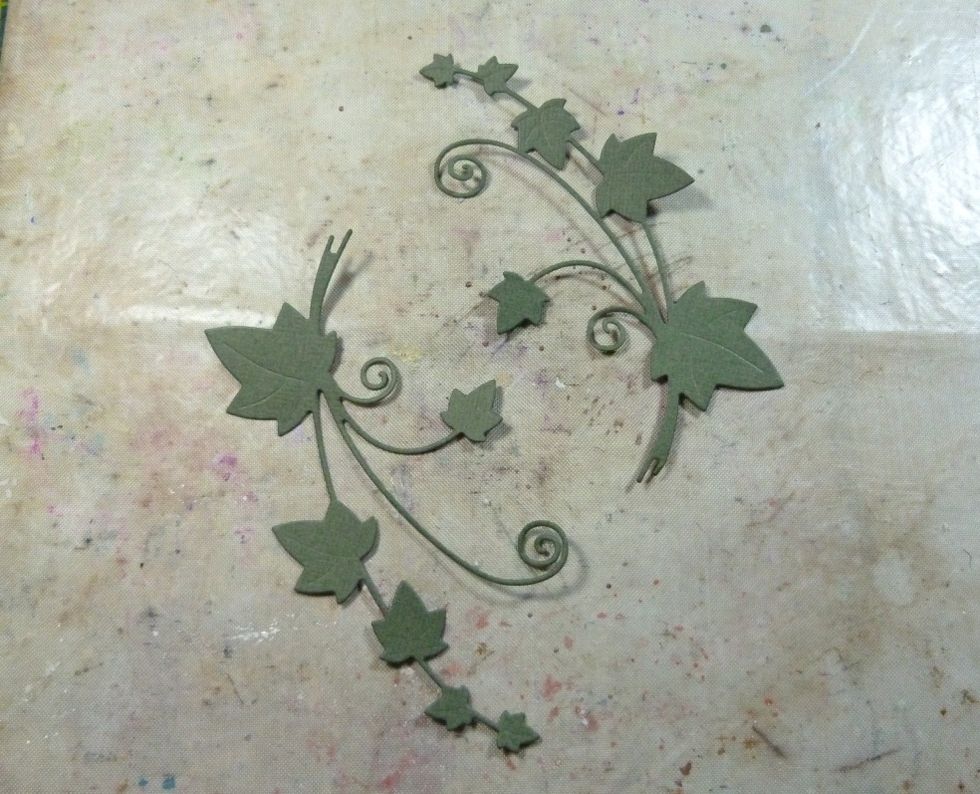
Cut 3 leaf flourishes. I used a Joanna Sheen Ivy Flourish die.
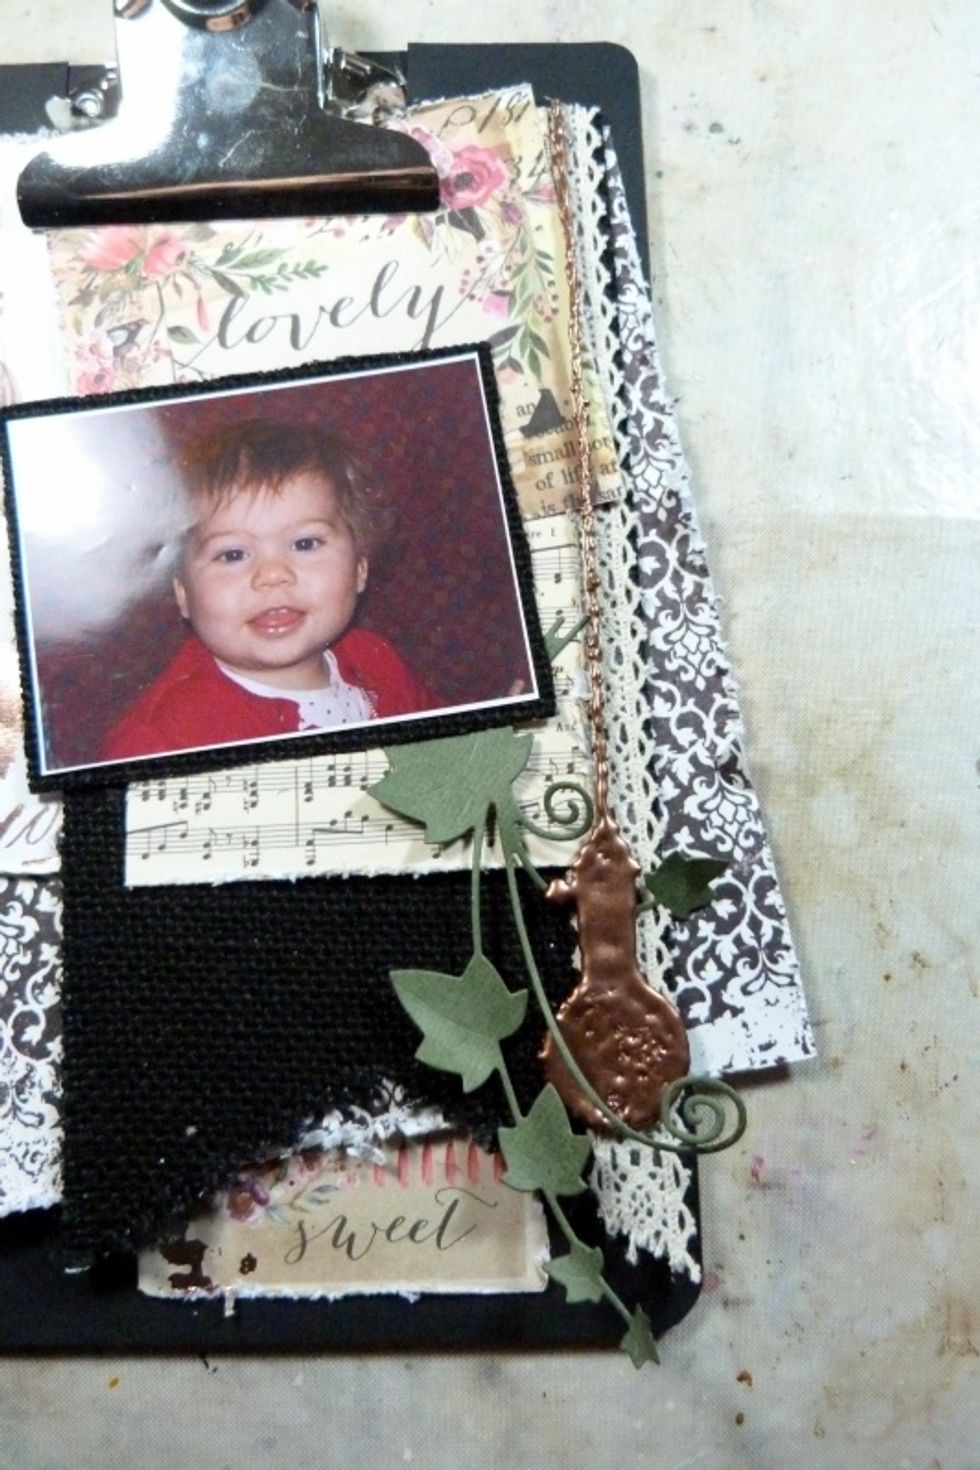
Stick the chipboard down the side. Roll a ball tool in the centre of the ivy leaves to create some shape. Add the first one hanging down from the bottom right of the photo.
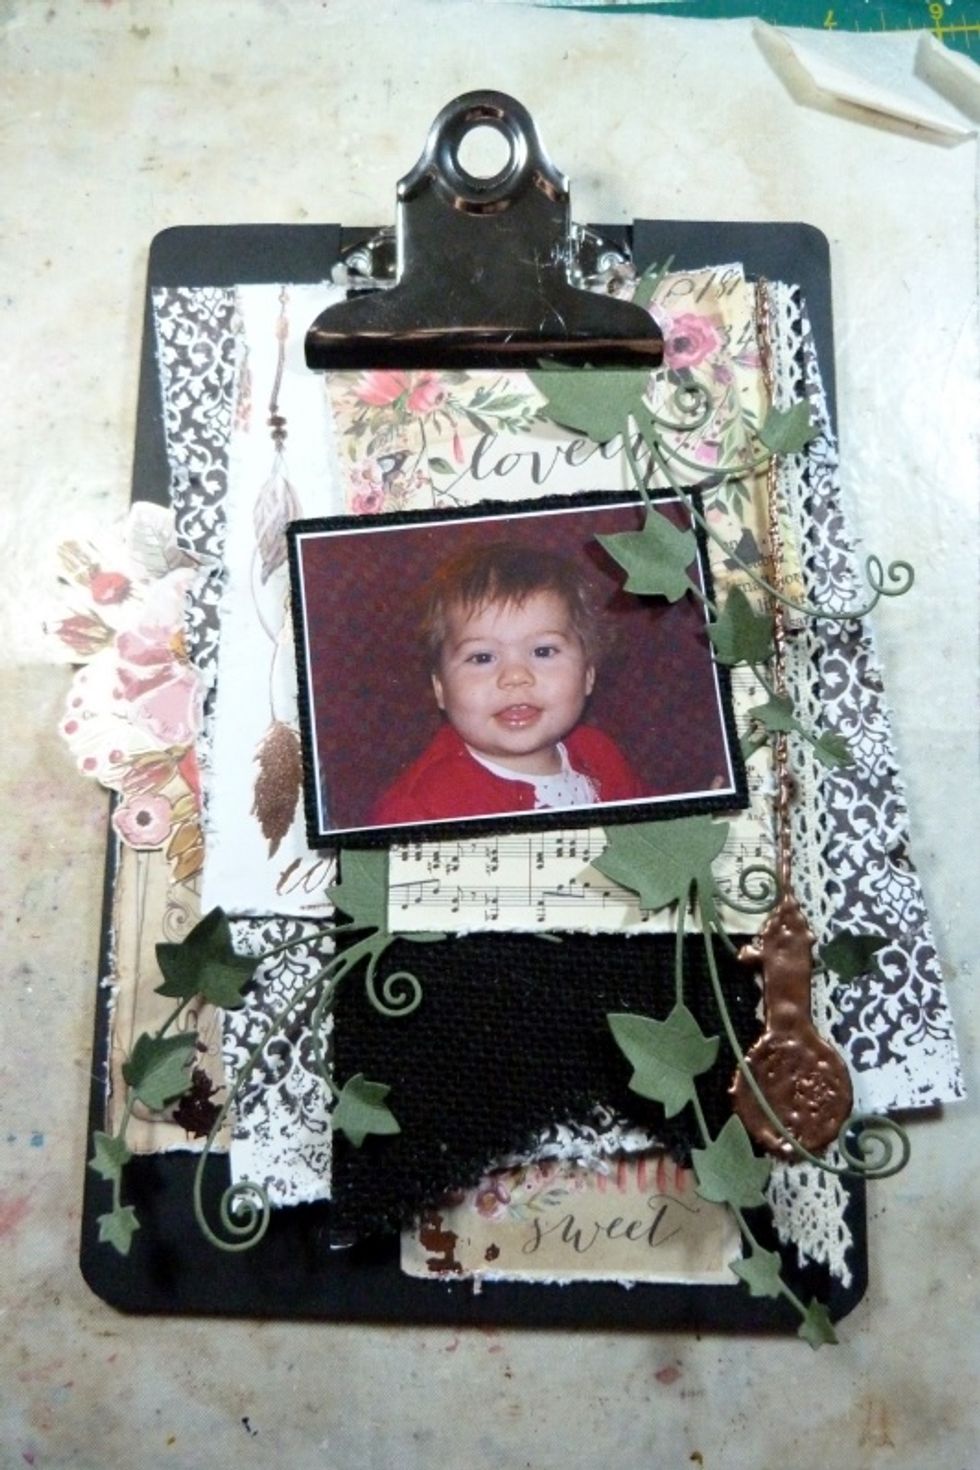
Add the second from the clip at the top and the third flourish from underneath the bottom left of photo.
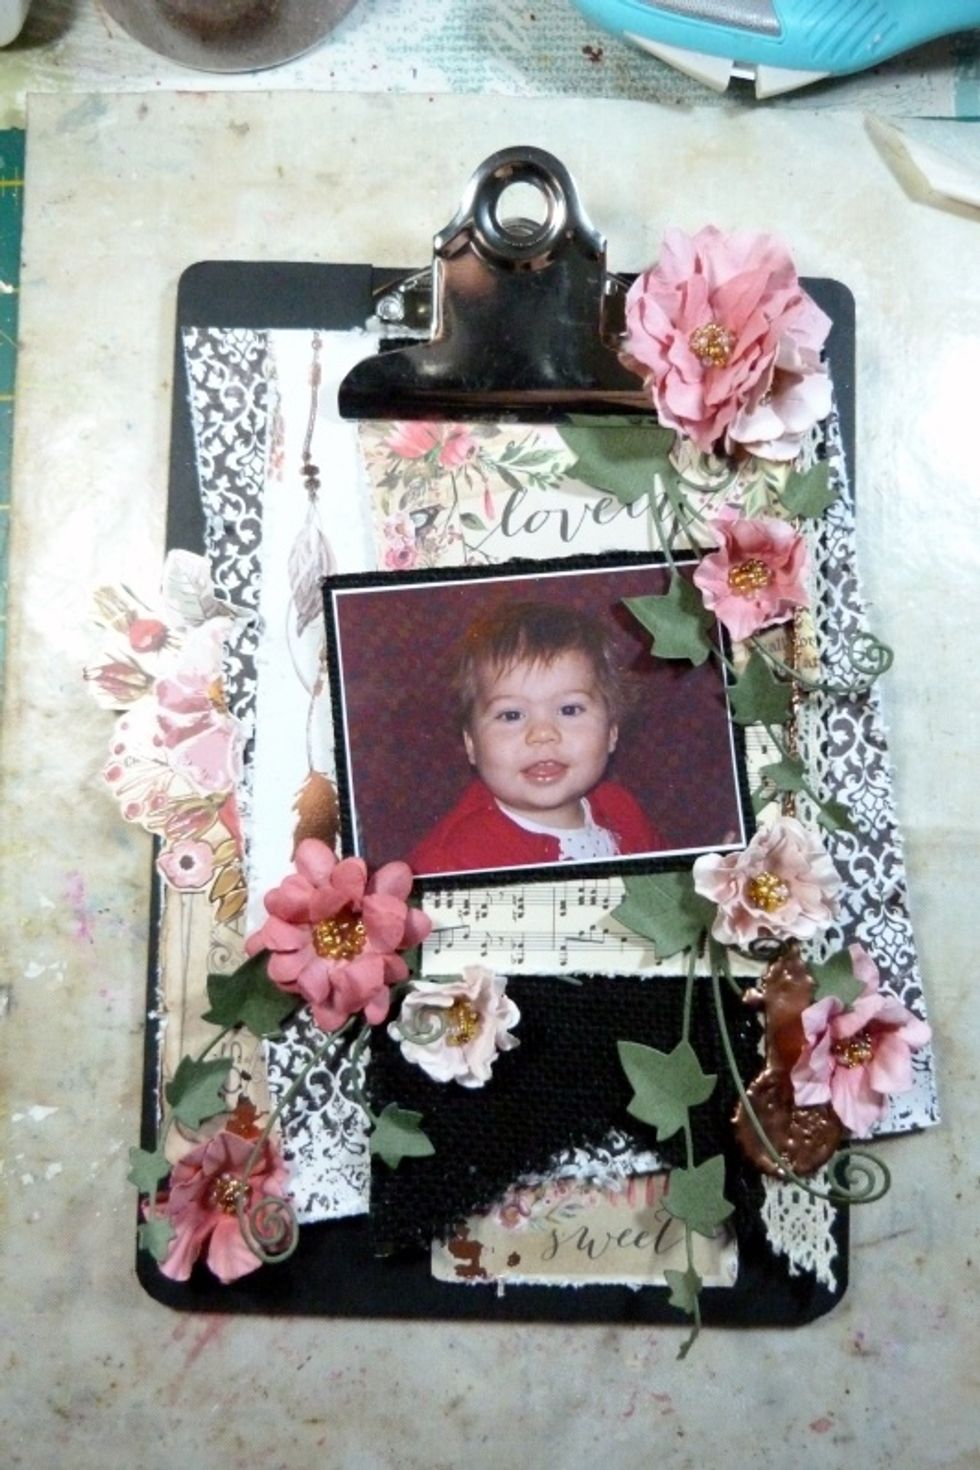
I used the whole pack of Prima Rossibelle Mayfair flowers cascading down from the top placed in my ivy flourishes.

Add a burlap butterfly to the final flower on the left above the fussy cut flowers.
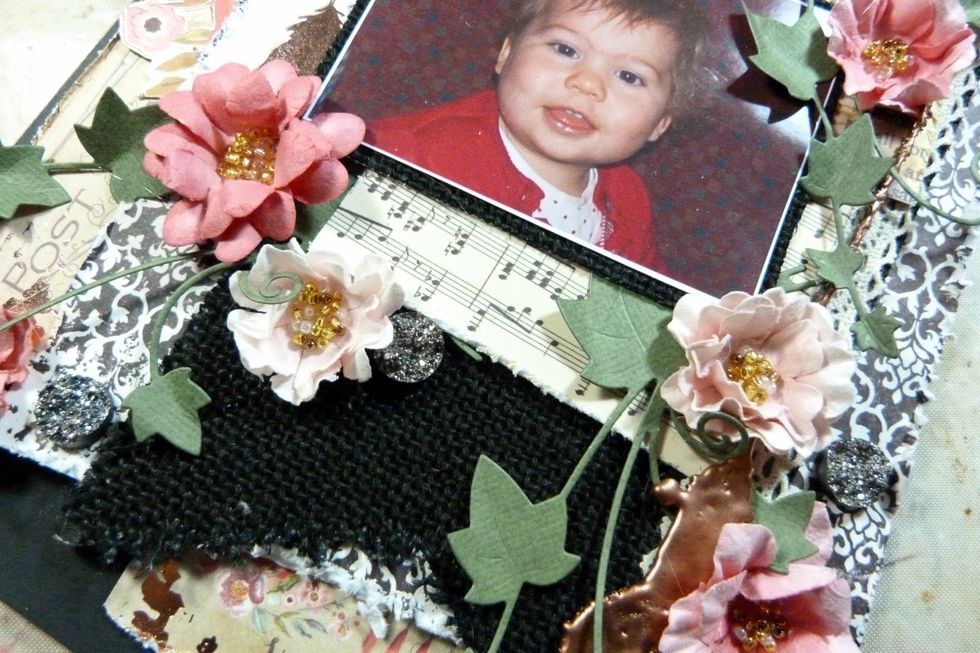
And lastly add the Druzy stones.
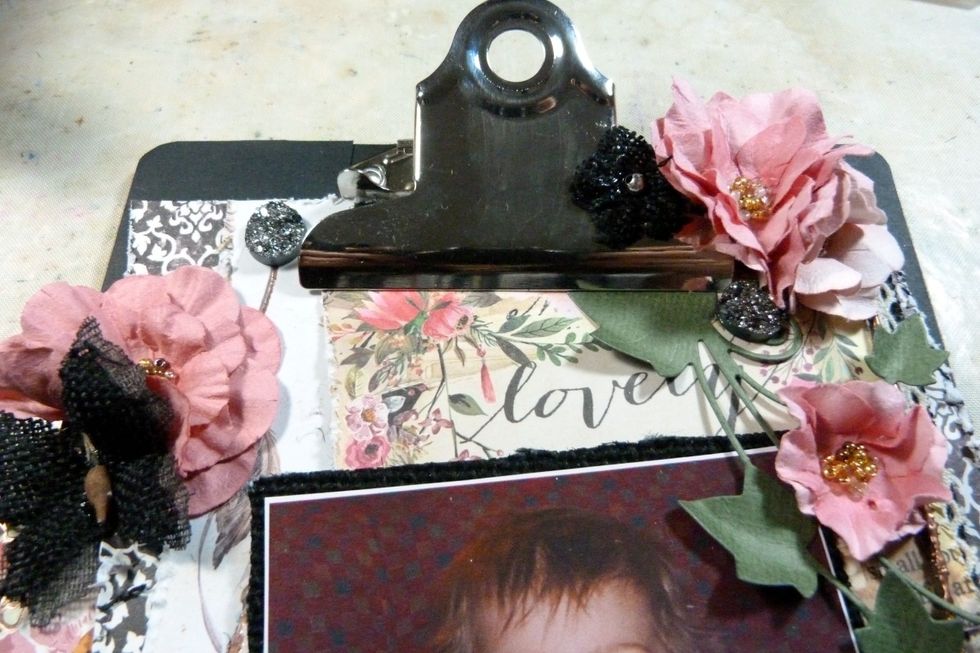
The Druzy stones at the top and the addition of a black burlap flower on the clip.
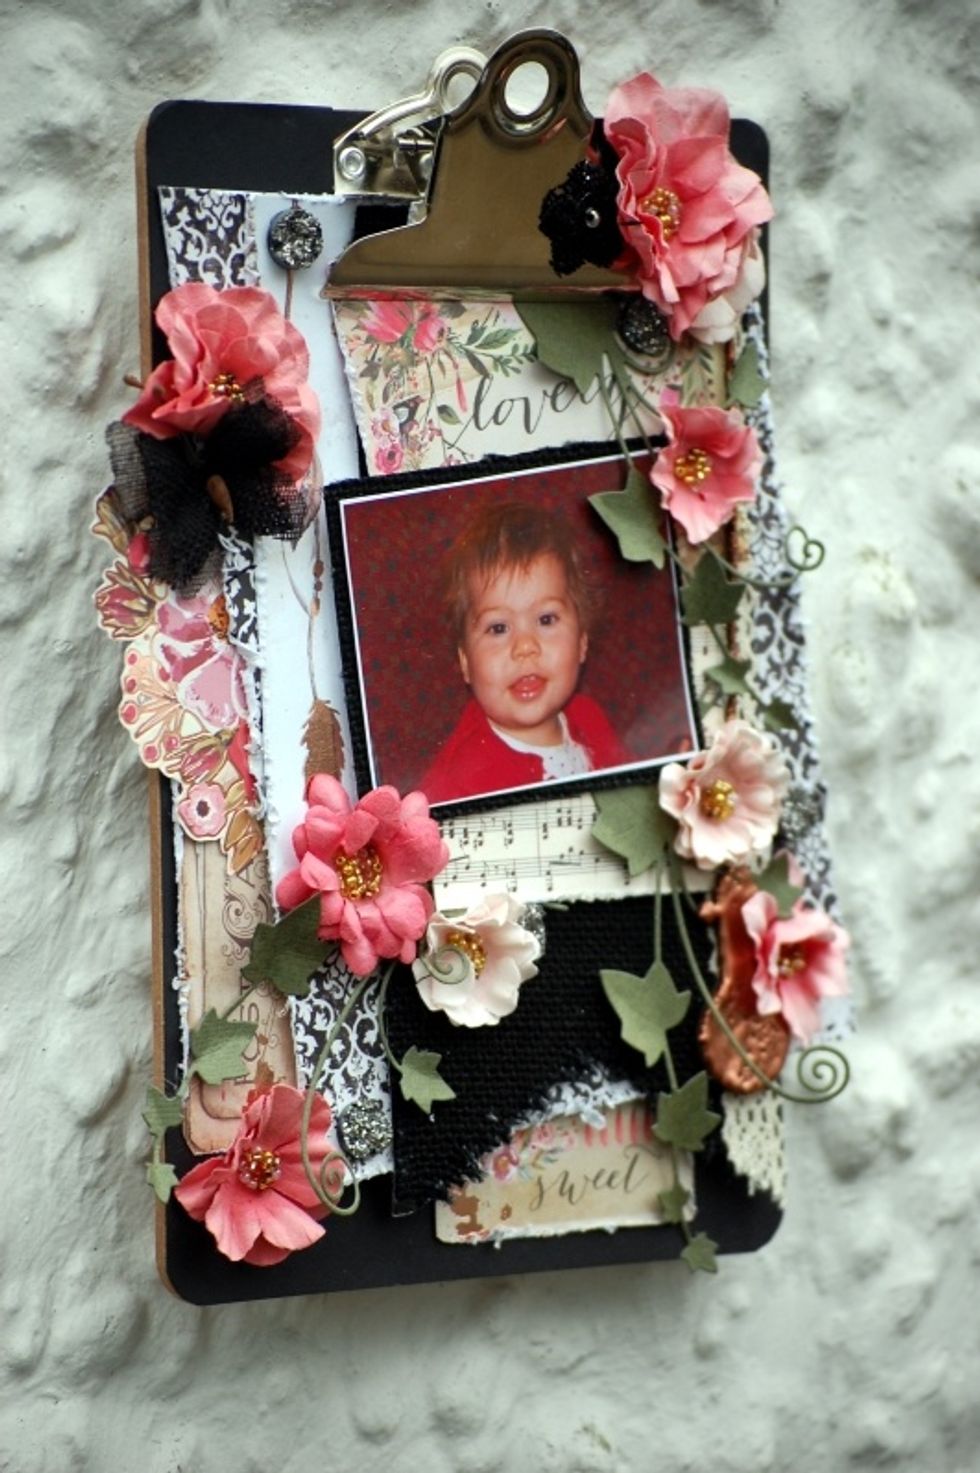
The finished Clipboard.
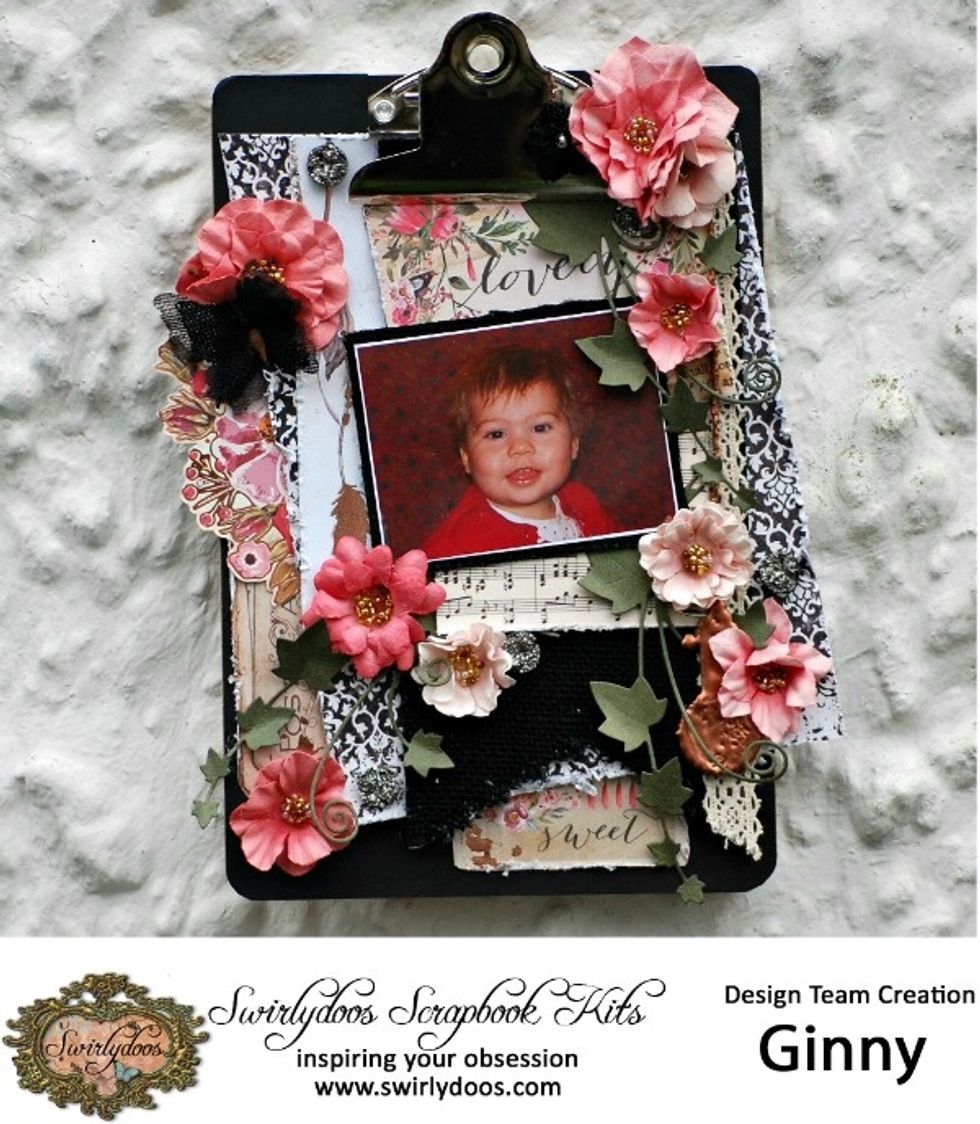
This is a Design team project created for Swirlydoos Kit Club. For more details on the monthly scrapbook kits delivered to your door visit www.swirlydoos.com