The Conversation (0)
Sign Up
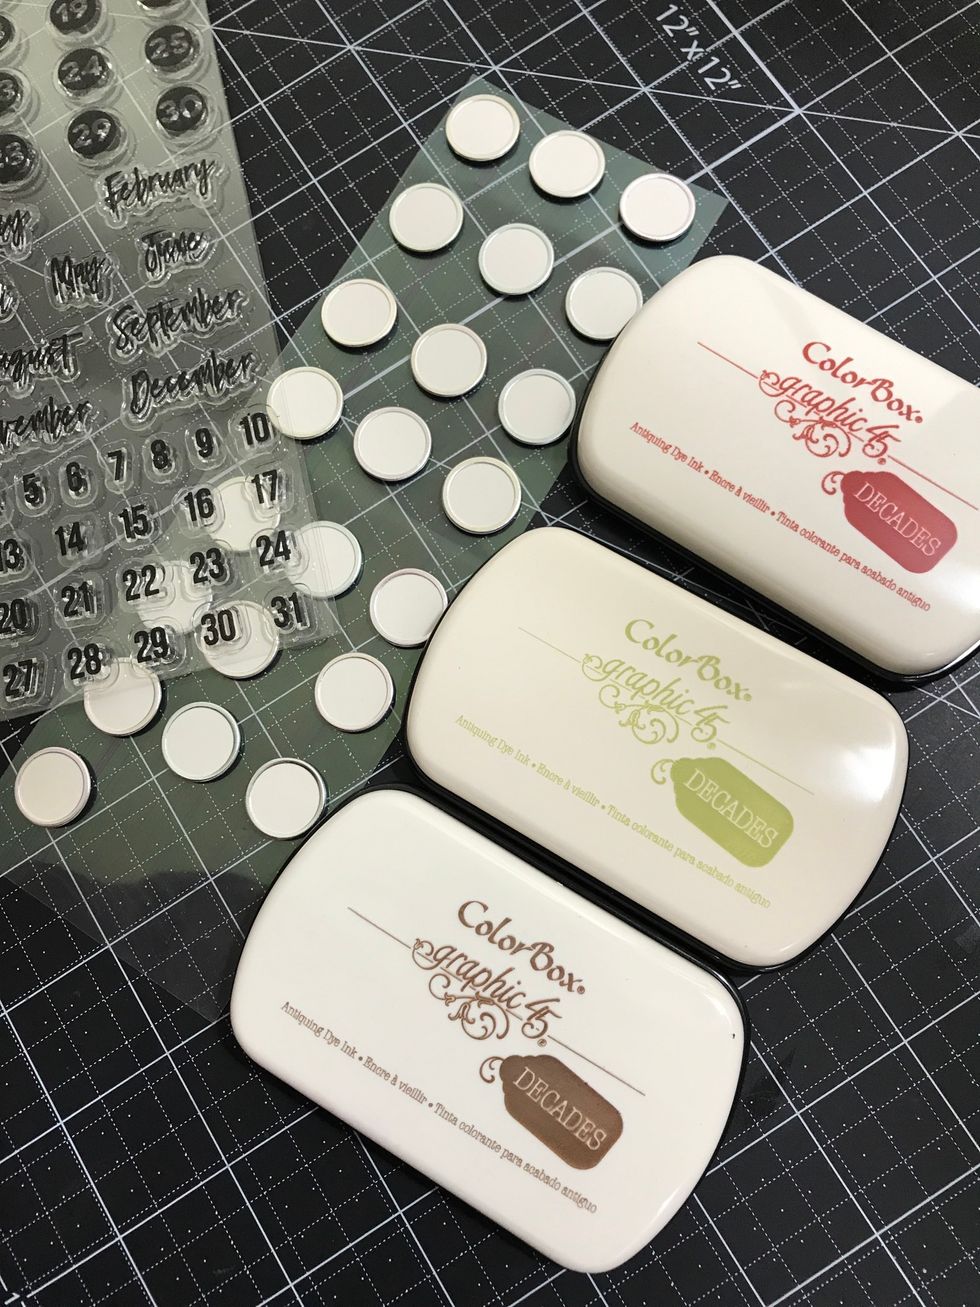
We need to Stamp the numbers 1 to 25 in a tiny pieces of paper I used these Silver Tiny Tags from EK Success, Clear Stamp from Mambi and my favorite Color Box Inks from Graphic 45!

I use the inks matching the colors of my paper.
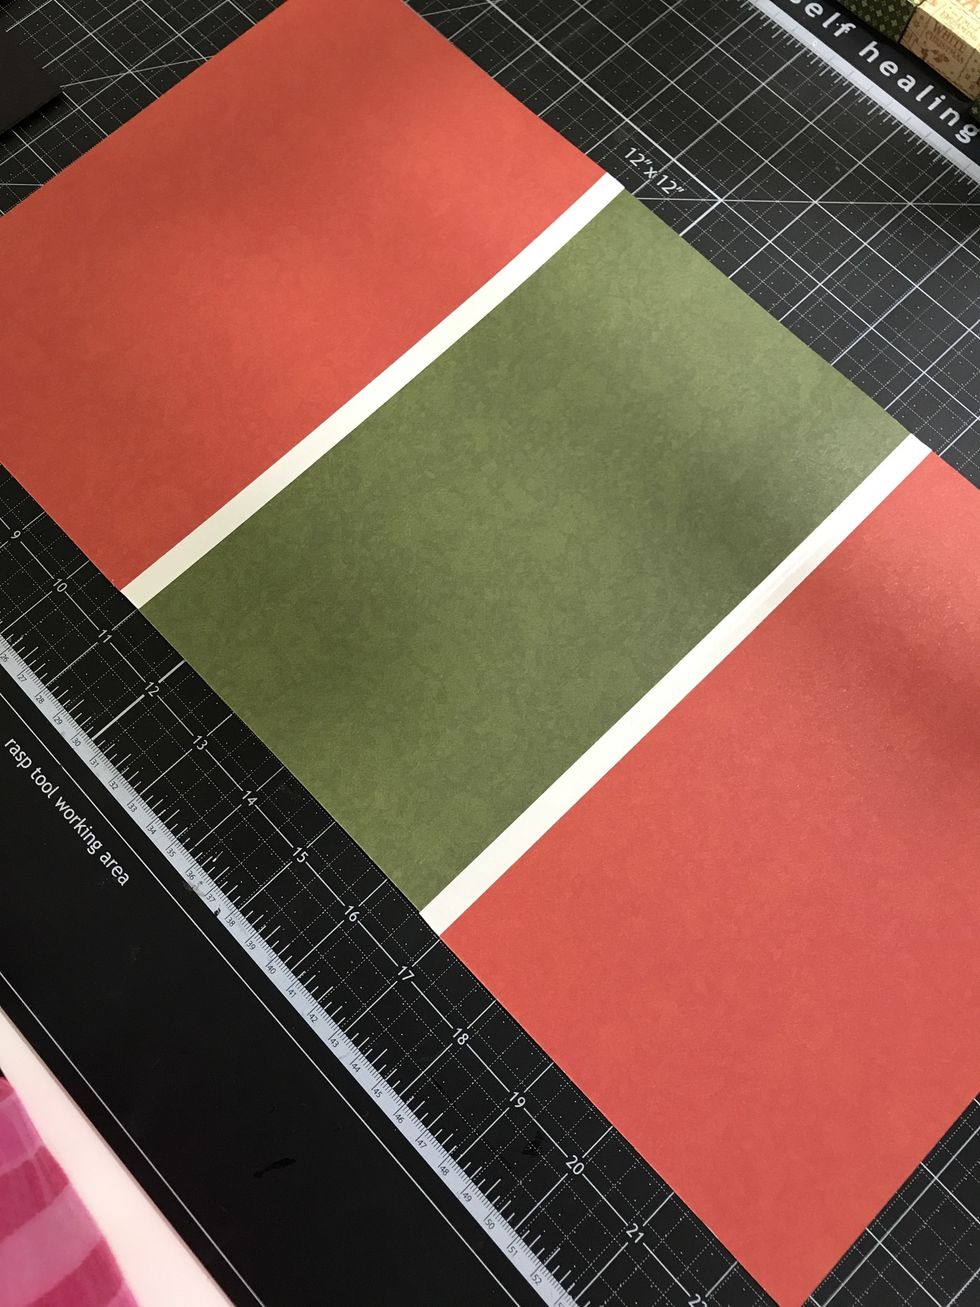
To make the cover I combine two colors of paper from Winter Wonderland Patterns & Solids
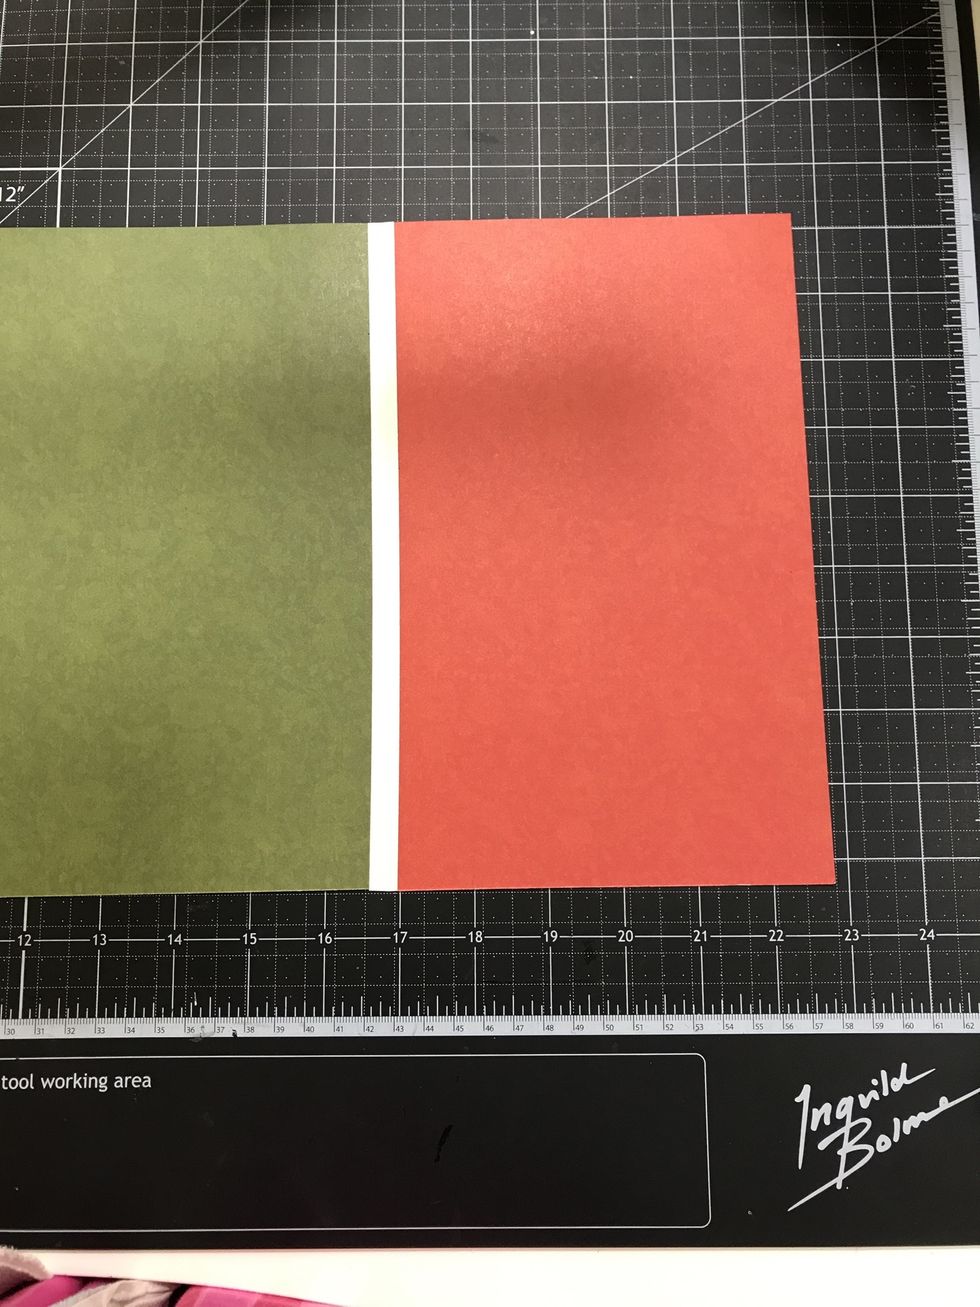
To put together the paper I use double sided Tape
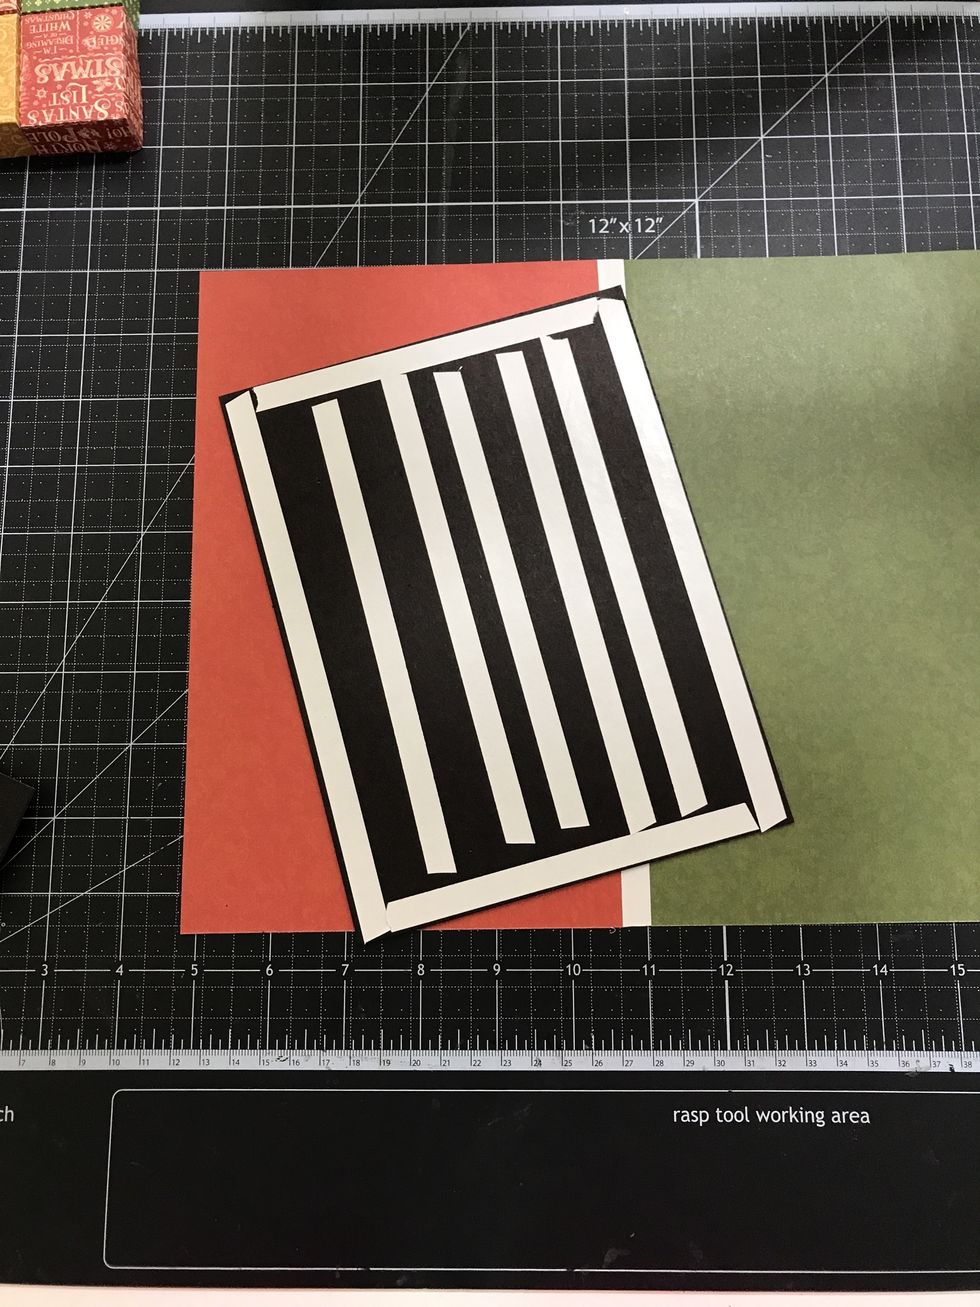
Then I cut my chipboard (2ea. 8" x 6") and (1 ea. 8" x 3 1/2") then I use double sided tape to adhere the chipboard to my paper.
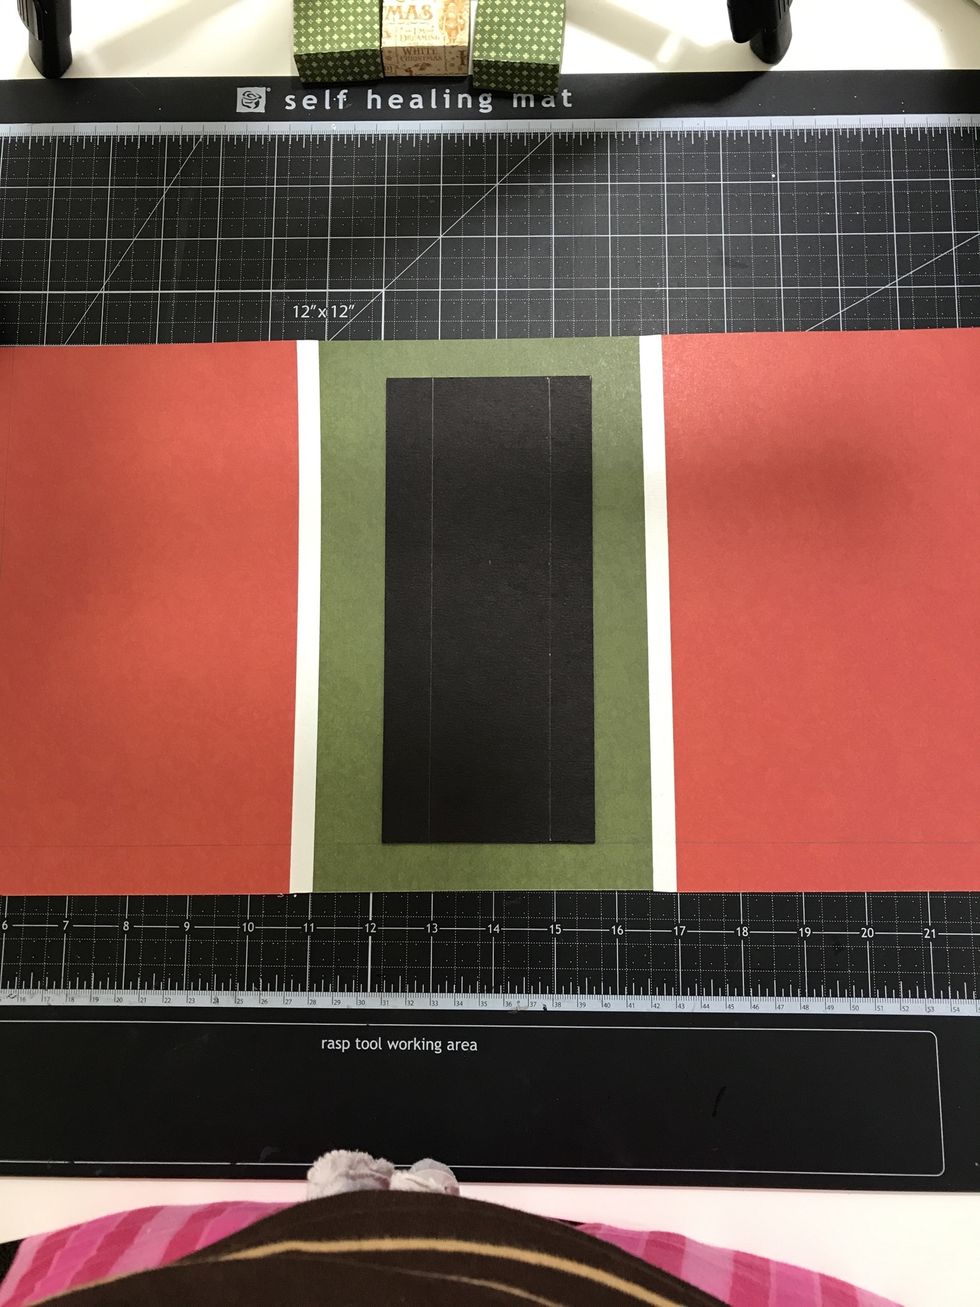
For the central part I use one piece of chipboard 8" x 3 1/2" and is the first piece I'm going to adhere to the paper guide me with the side pieces.
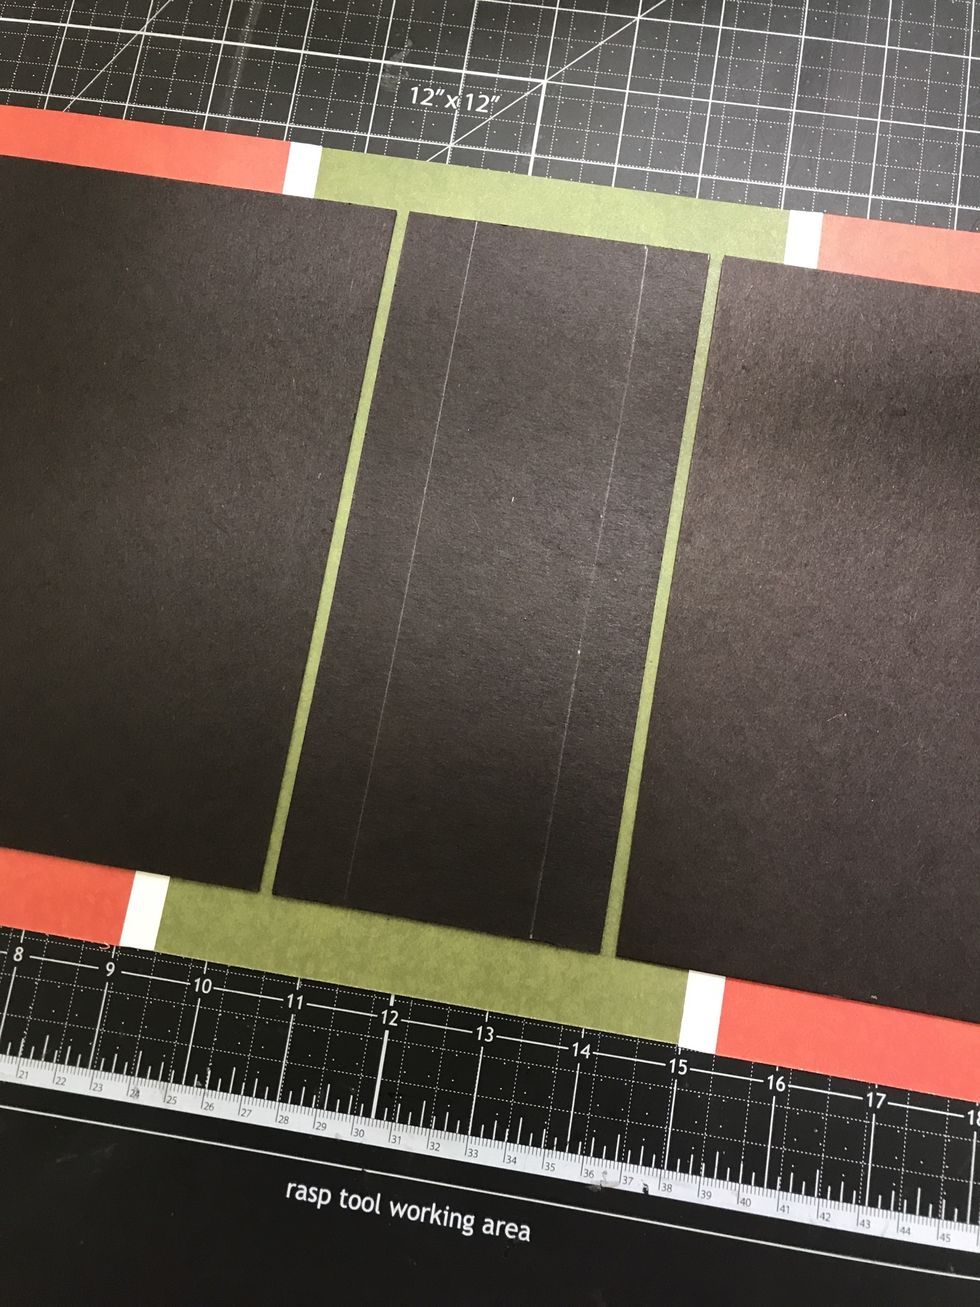
We always need to give a gap when we make books.. that way our book have space to fold.
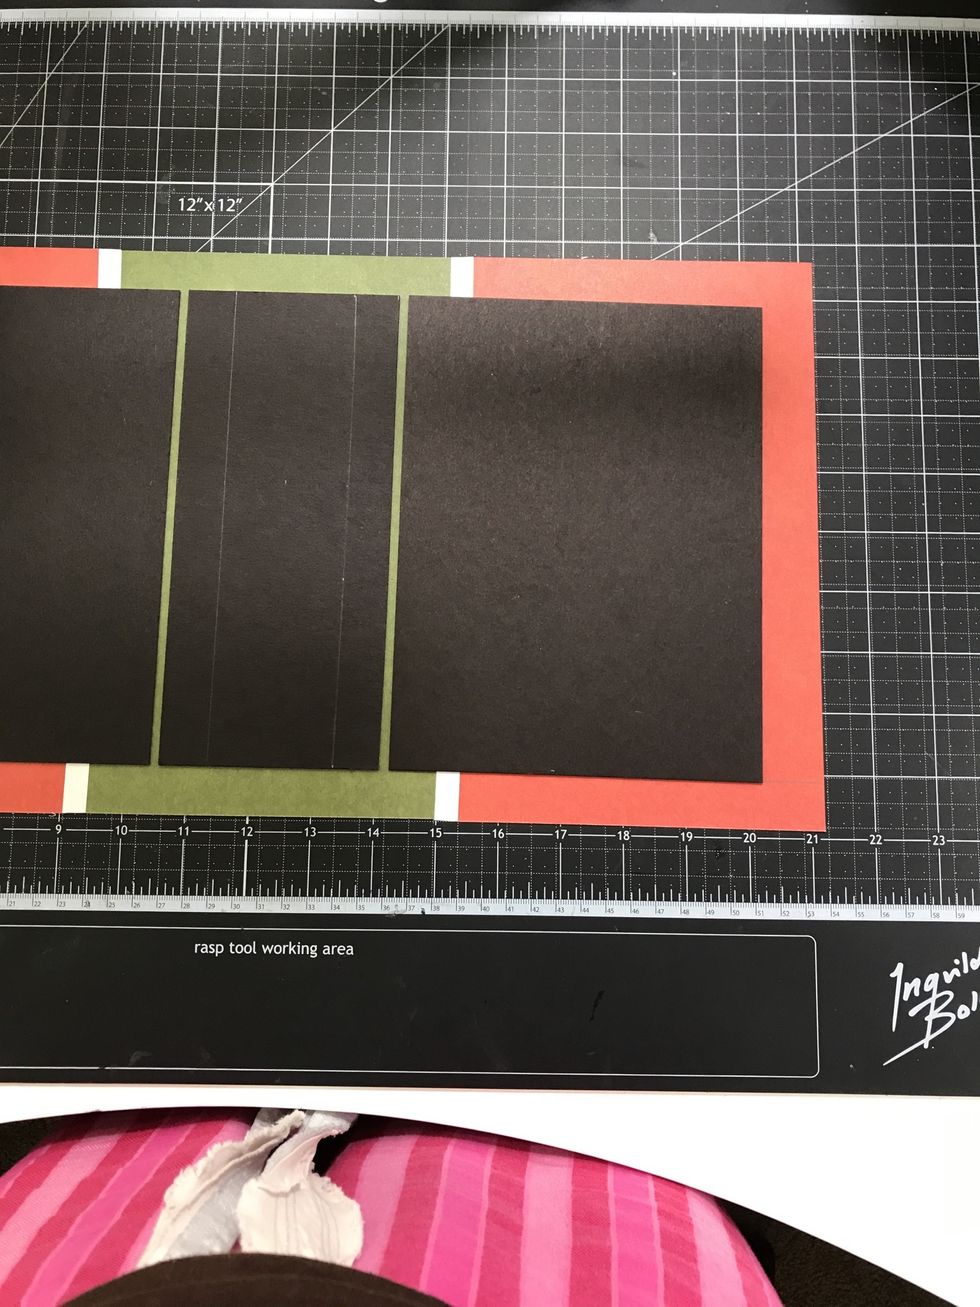
I cut the paper 3/4" larger than my chipboard.
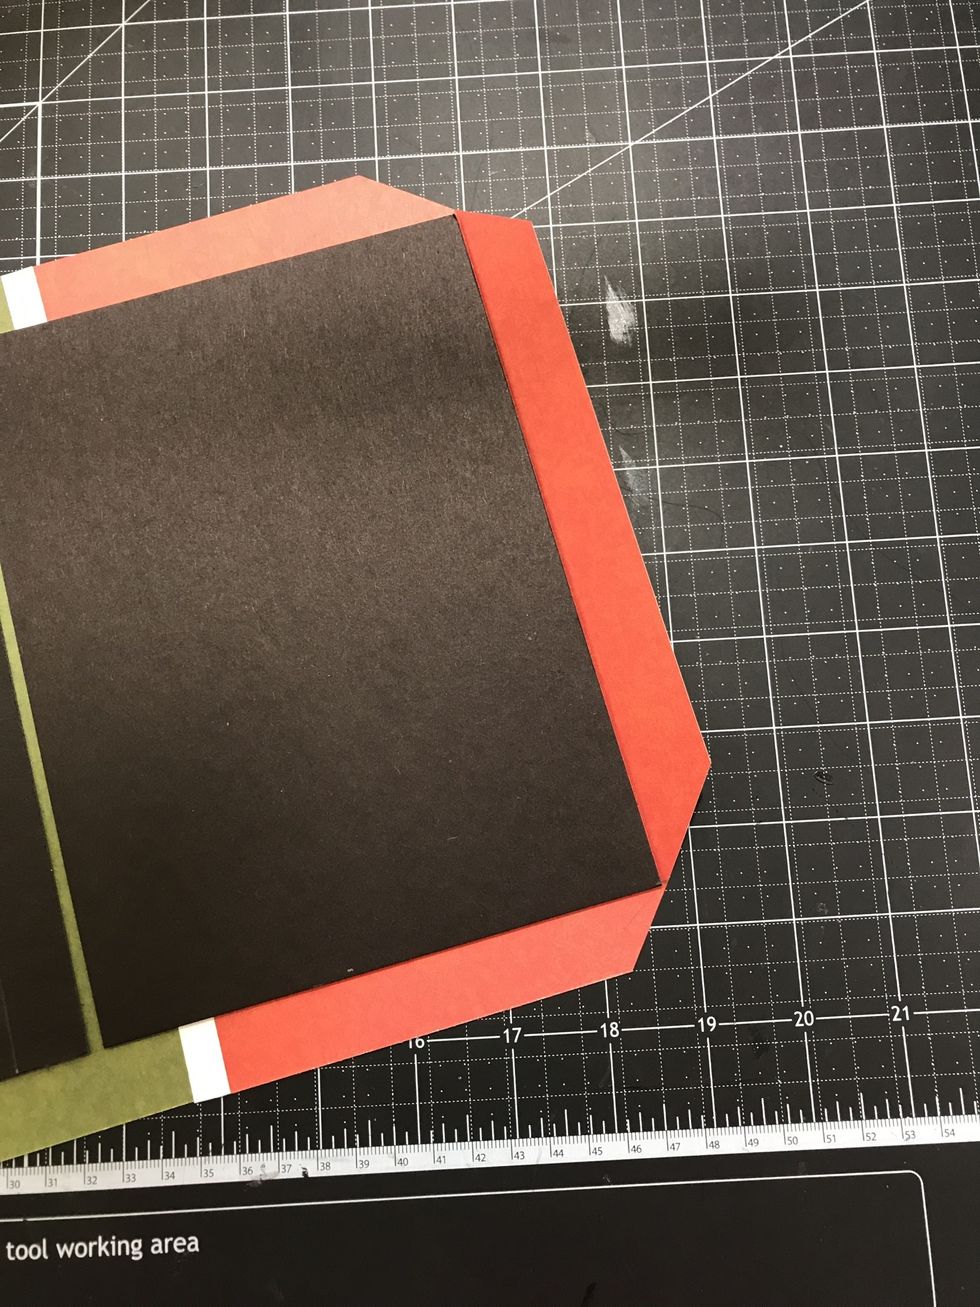
Then I cut the corners to give a nice finish.

To finish I cover the inside with the solid pattern.
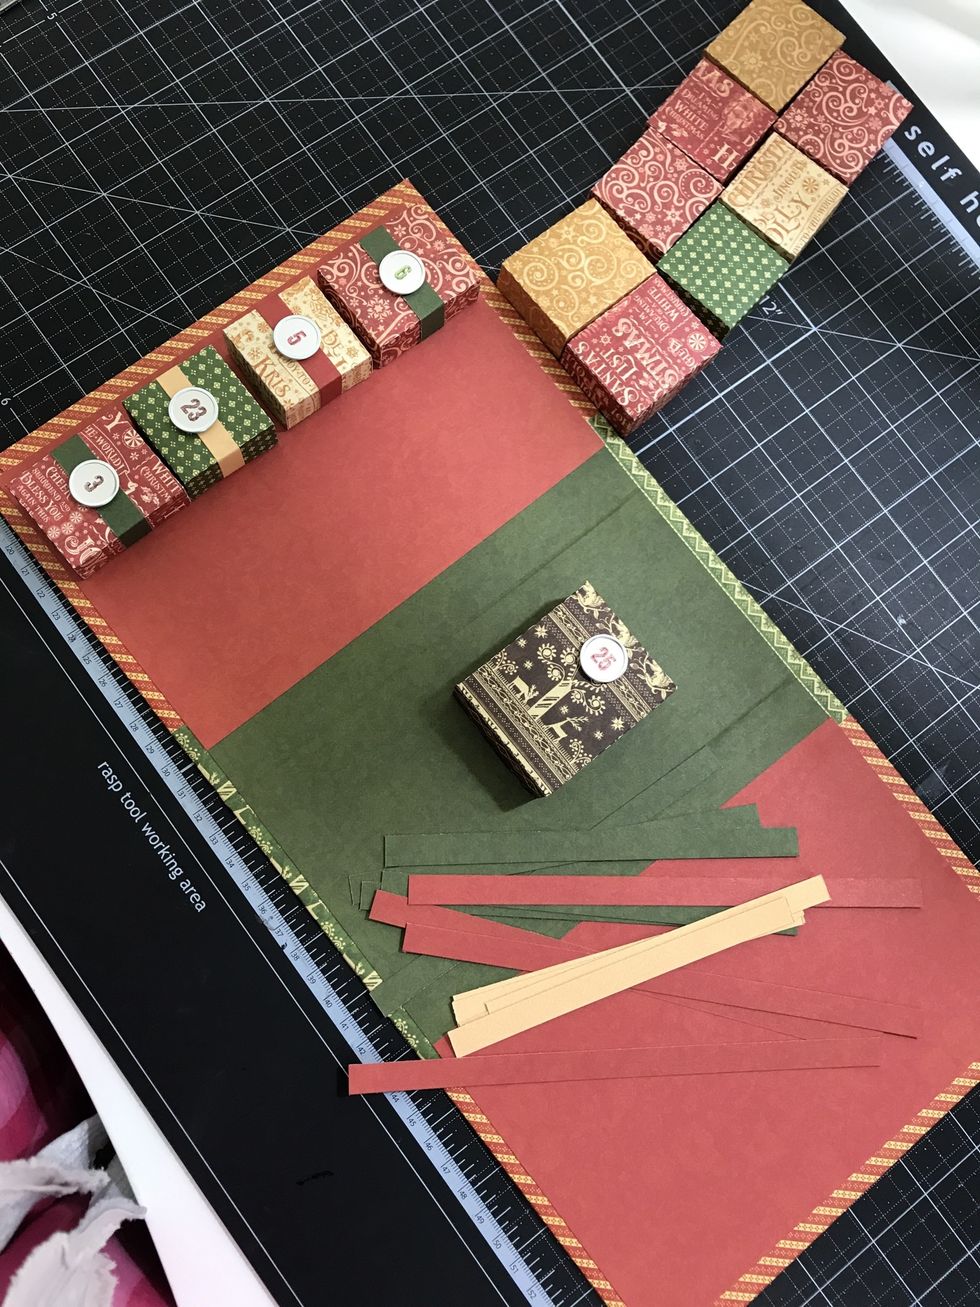
Before I make 25 tiny boxes in 2 different sizes.. the size is up to you depending of the little details you are going to put inside the boxes.. mines are.. 1 3/4" x 1 1/2" and 1 1/2" x 1 1/2"

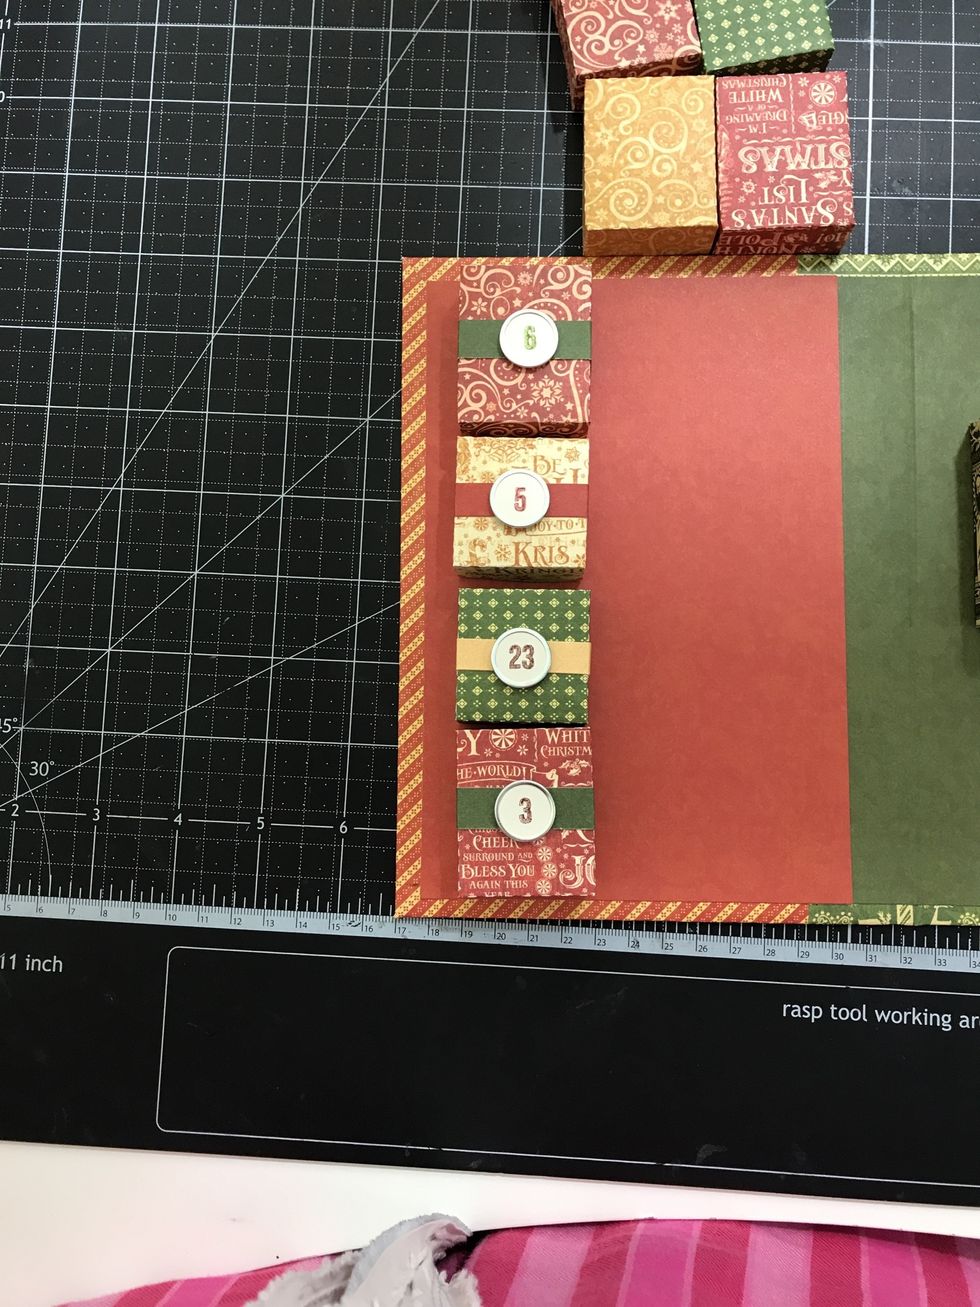
To close my boxes I cut 3/4" strips in the same color of my boxes
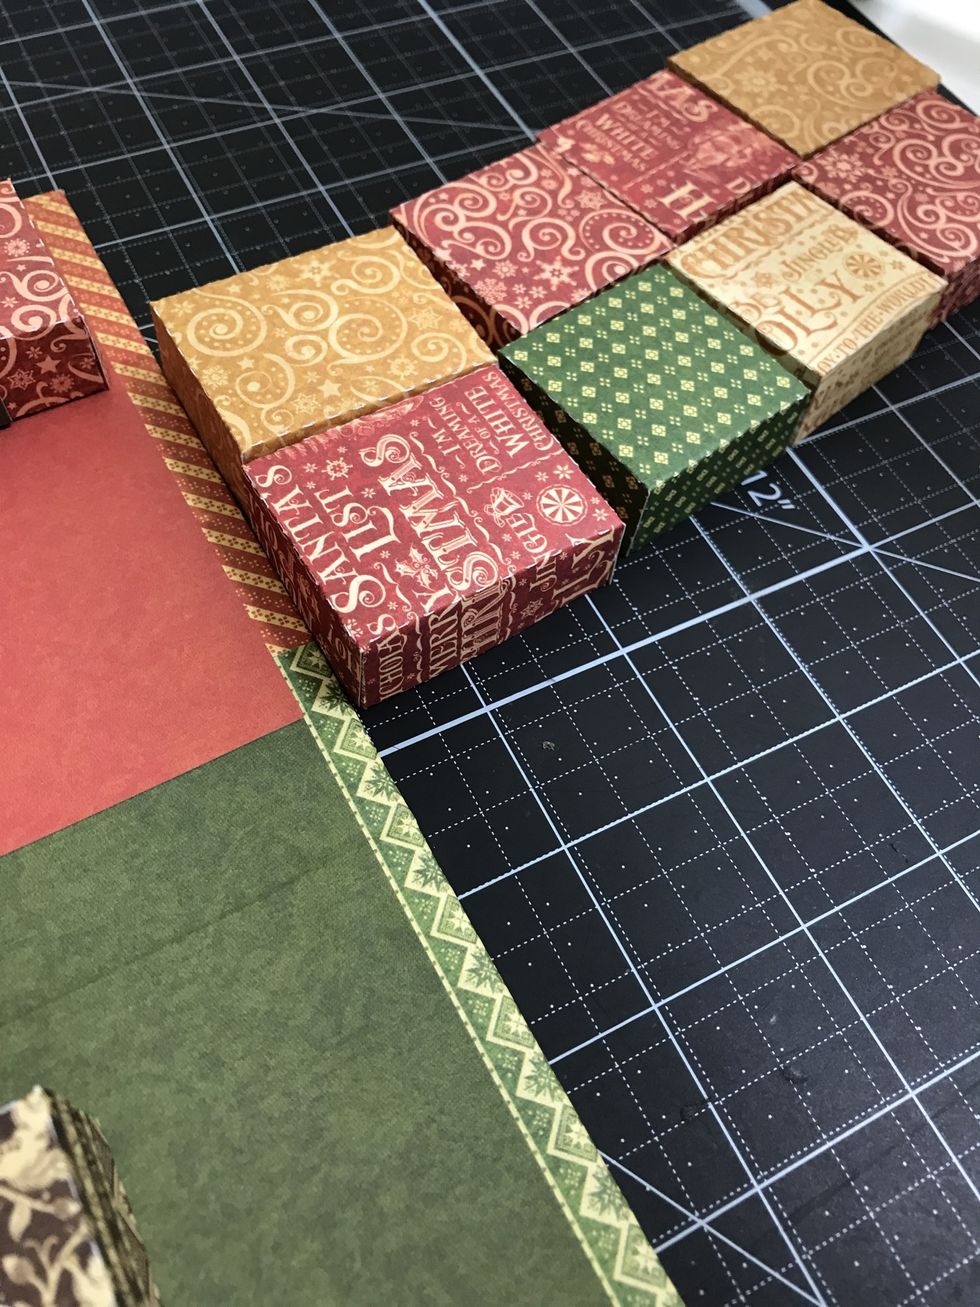
Then I try to mix my boxes and not put same color next to the other.
Here is how I figure out the colors..
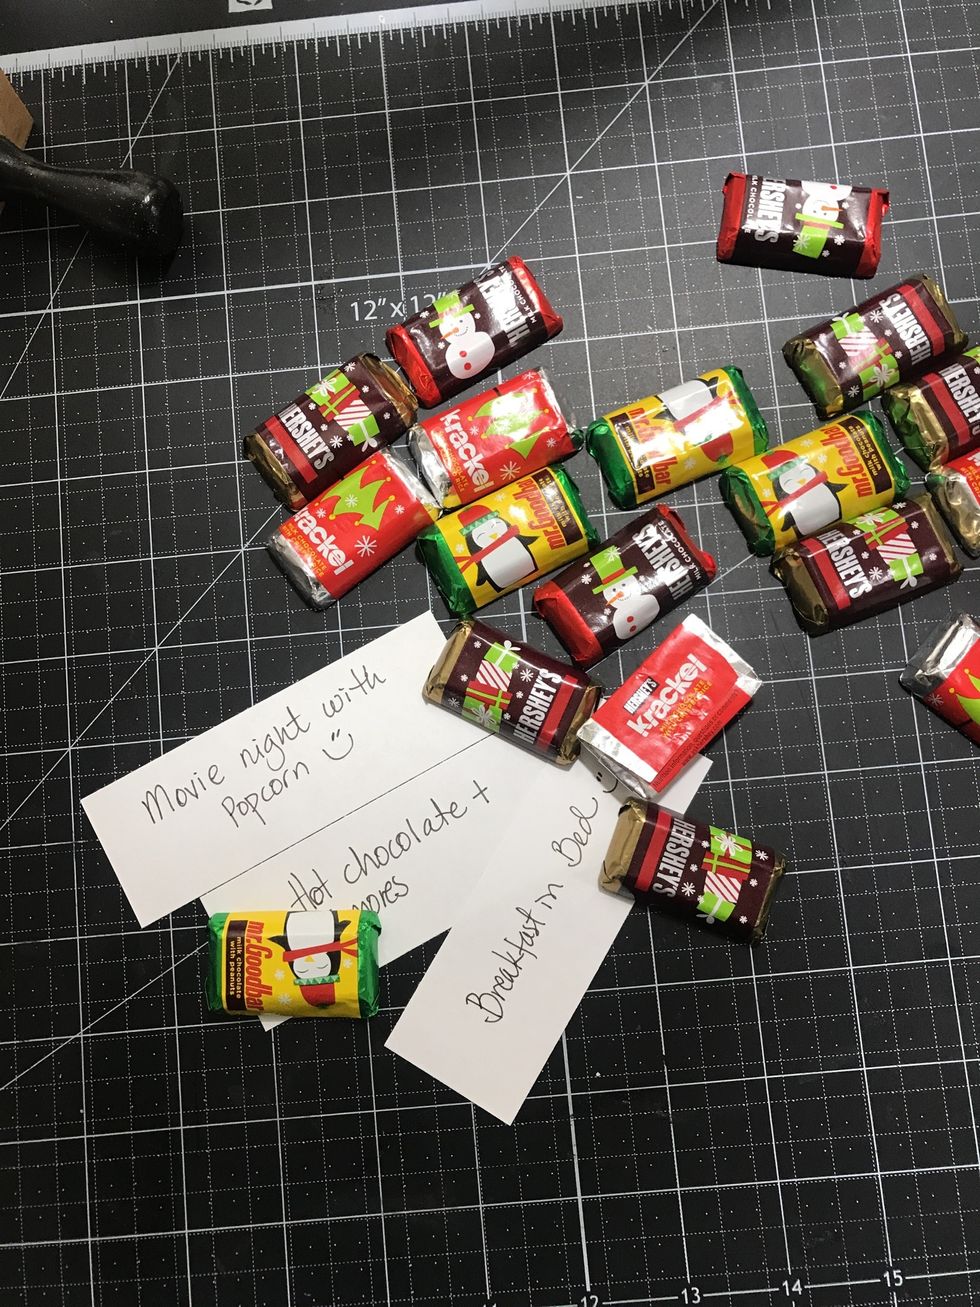
Then the FUN part! Chocolates and notes.. you can personalize your advent depending to whom you are going to give it!

You don't need to make consecutive days.. I like better how it look with my numbers not in order.
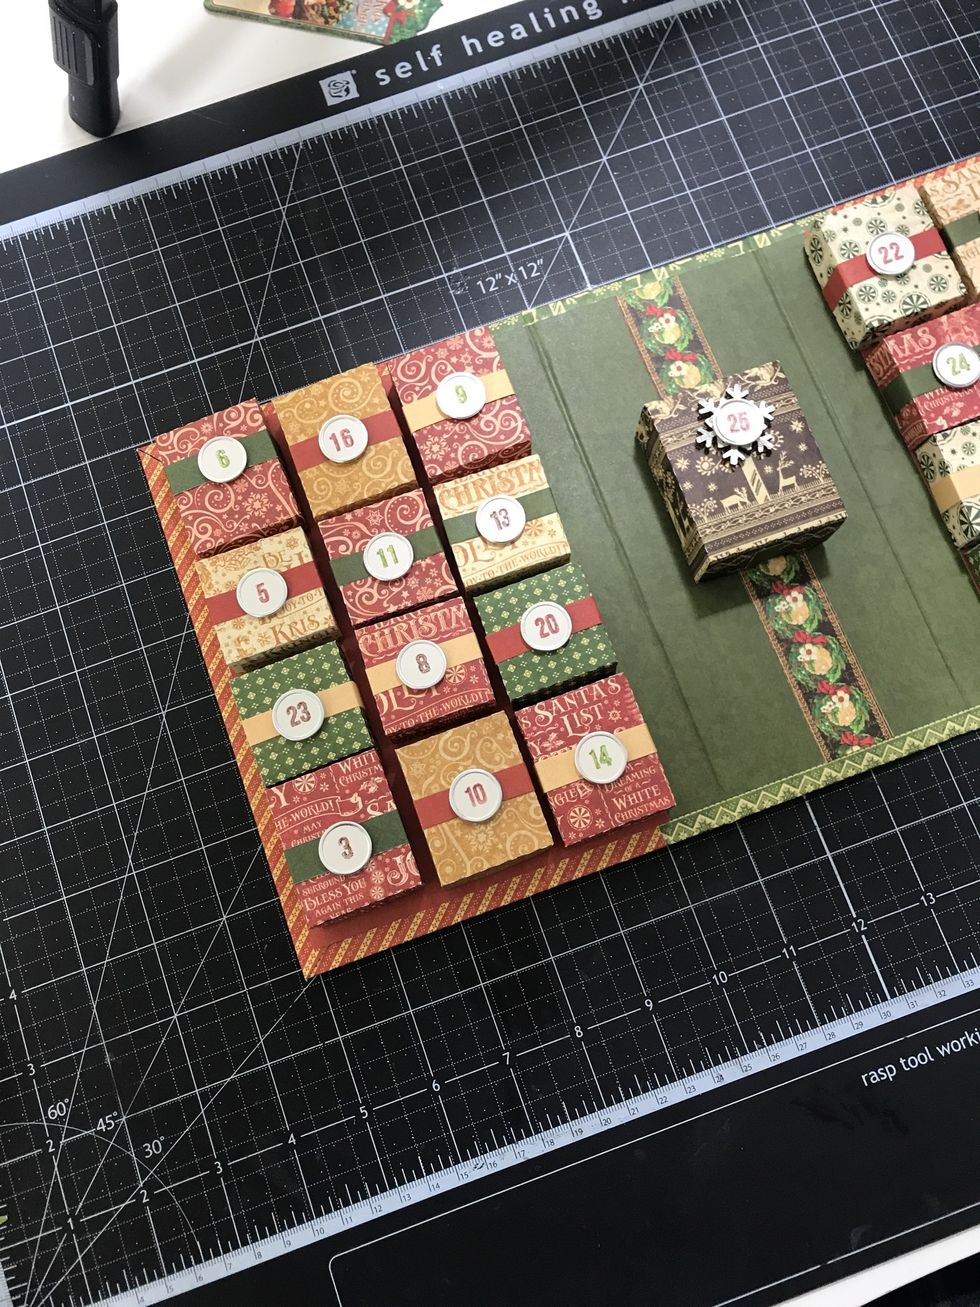
It take me time how to figure out the boxes and the colors.

For the 25th I make a larger box and I fill it with more chocolates and a little note!

Now is time to decorate our cover!
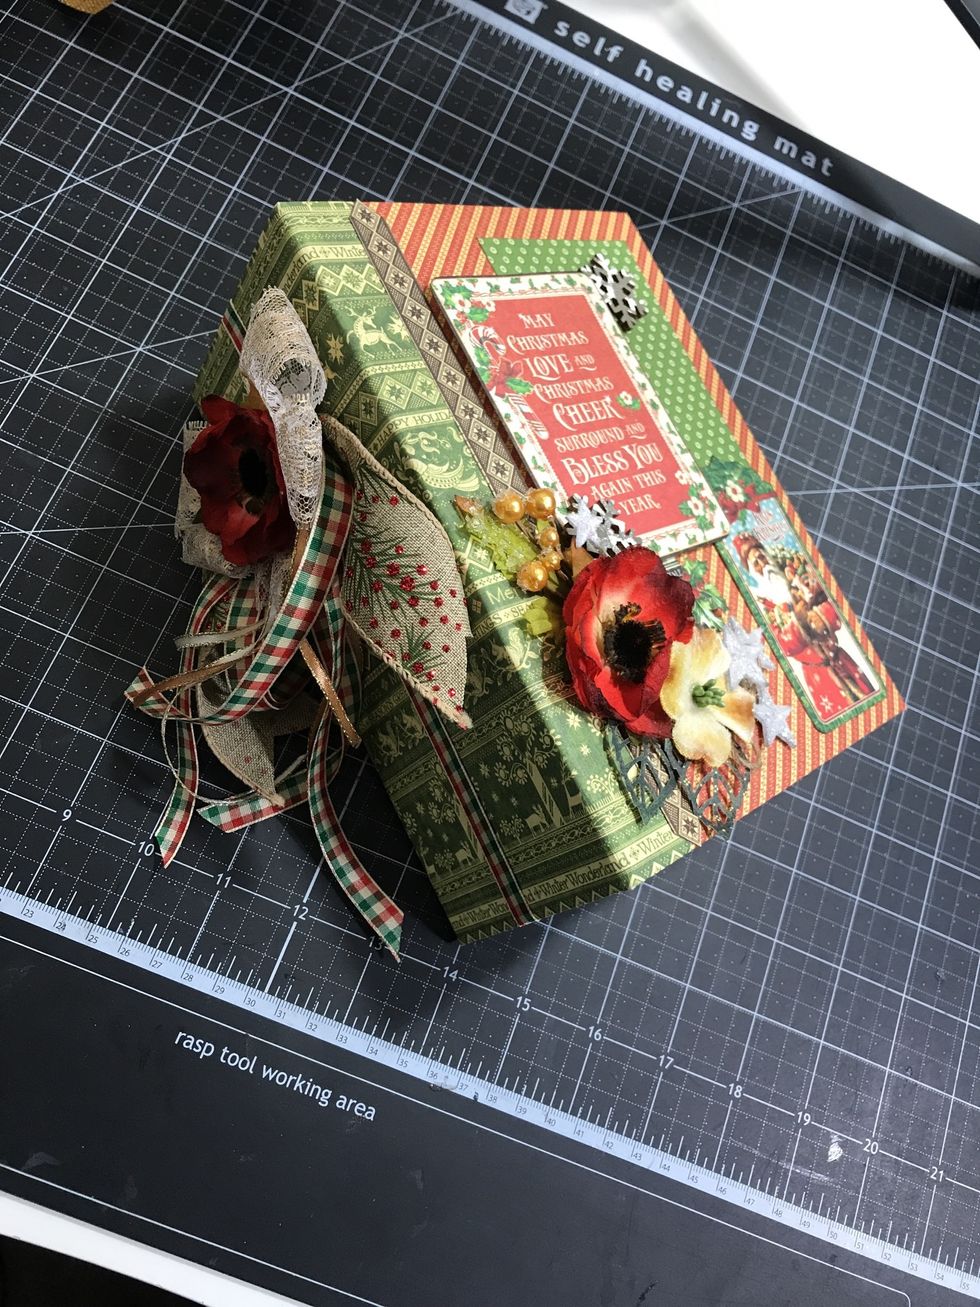
Thank you for coming to my snapguide and I hope you like it!