The Conversation (0)
Sign Up

Gather all the equipment.

Locate the screw on the driver head.
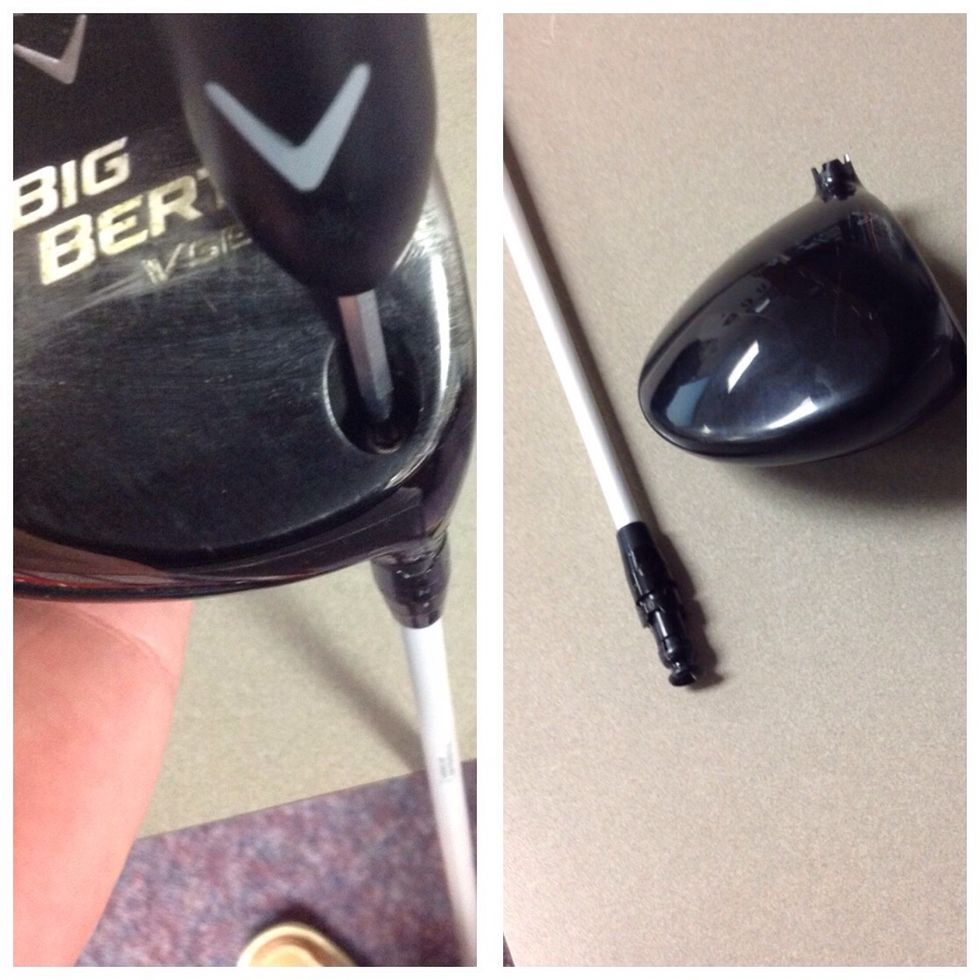
Using the adjusting wrench twist counterclockwise until the driver head comes off.
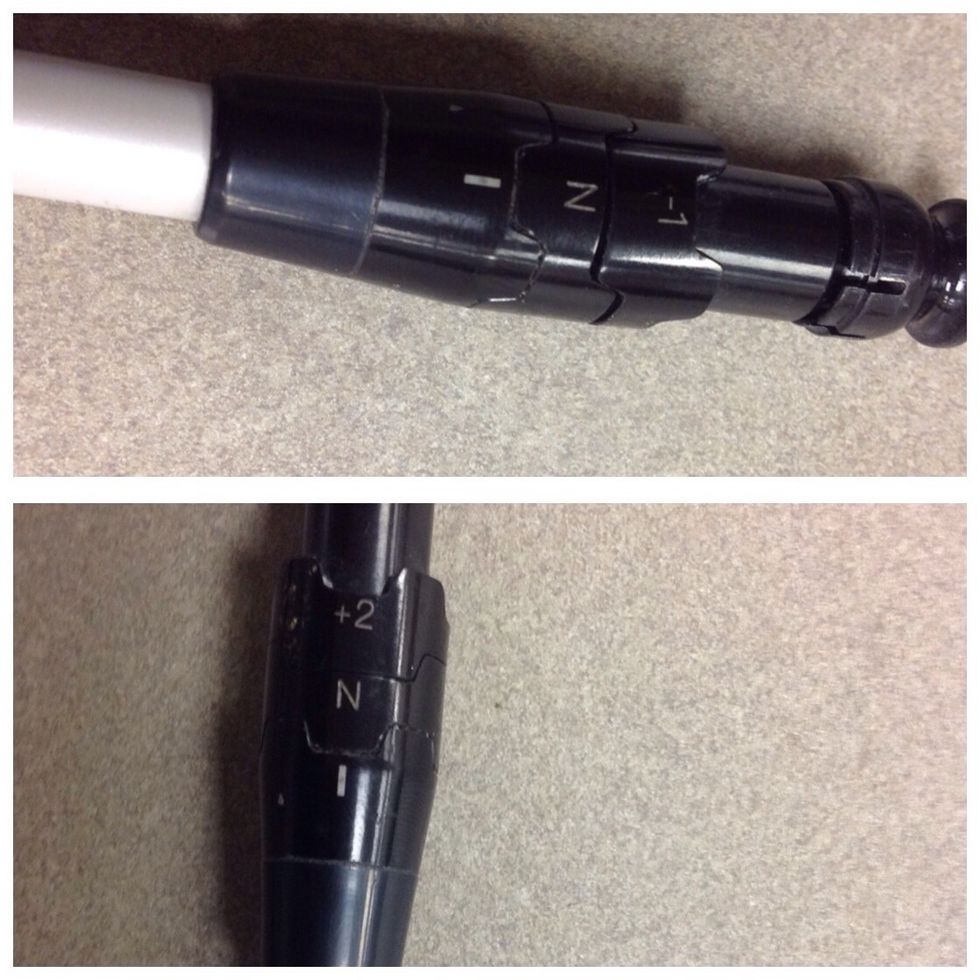
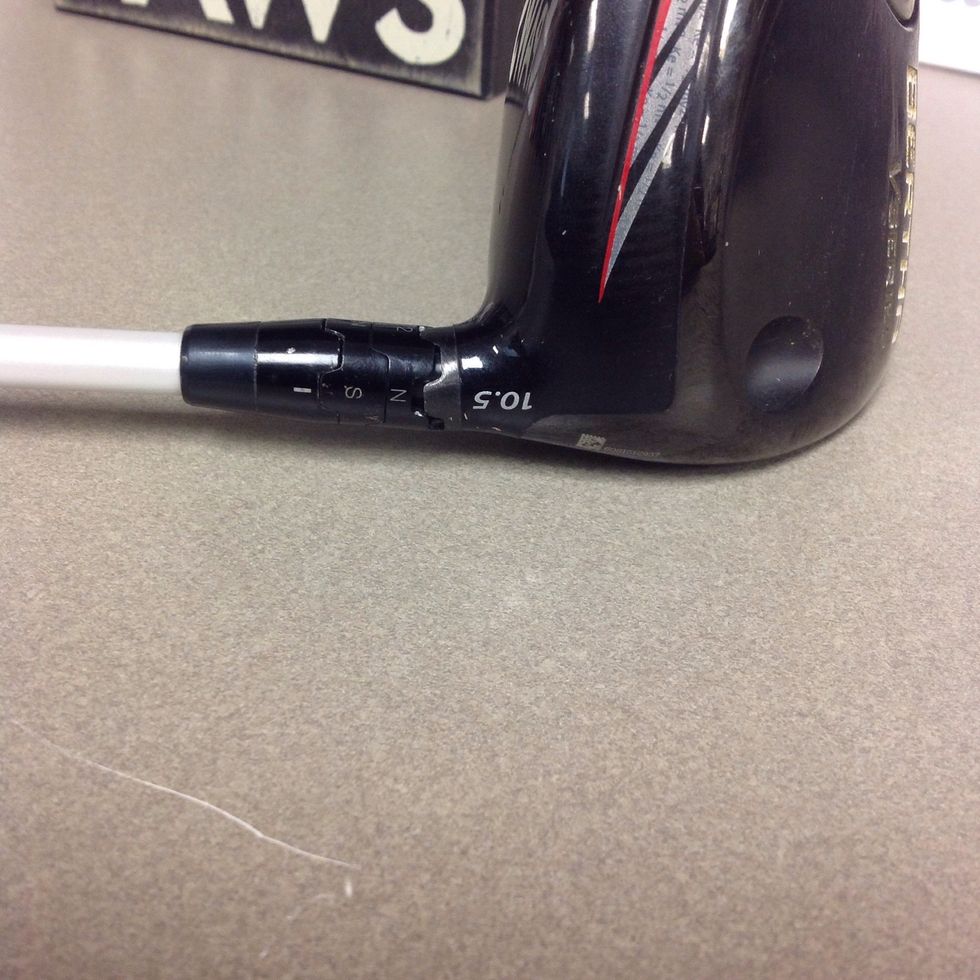
Adjust the pieces on the shaft to change the loft angle. Changed to a lower loft (top) Changed to a higher loft (bottom)
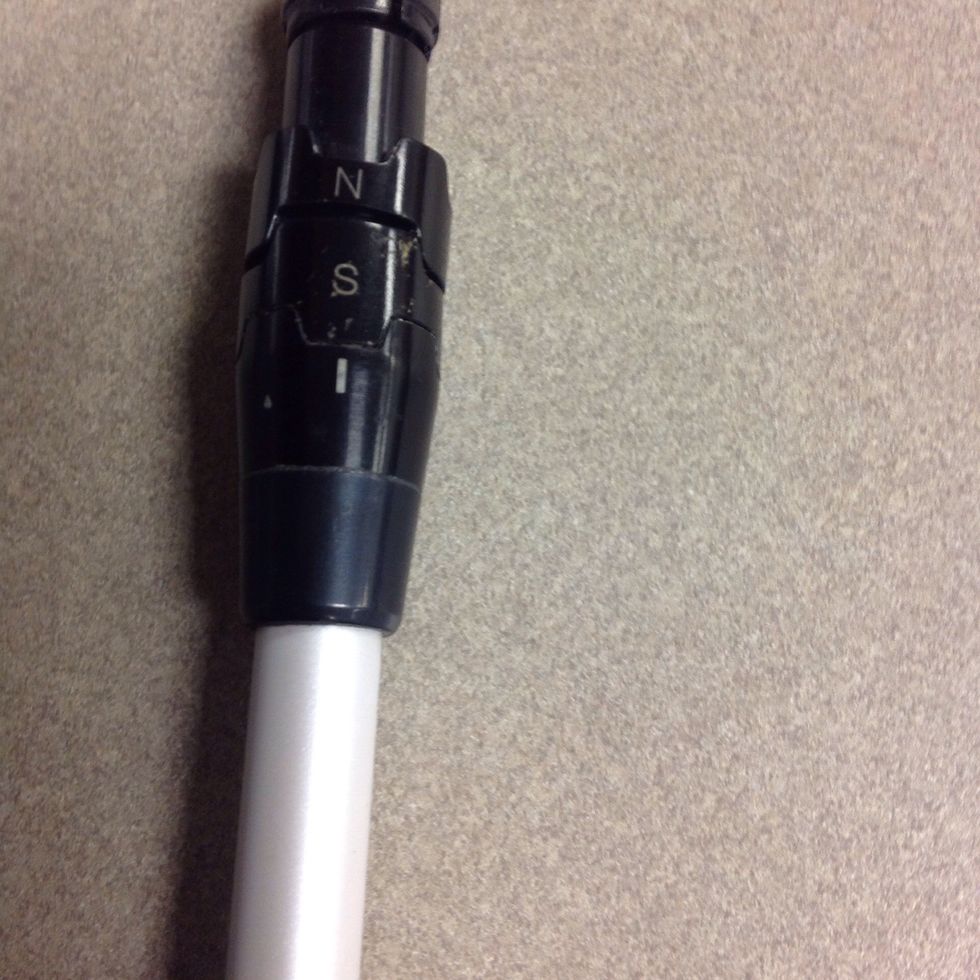
Adjust the pieces on the shaft to put it in its stated neutral setting. (N stands for neutral; S stands for stated loft.)
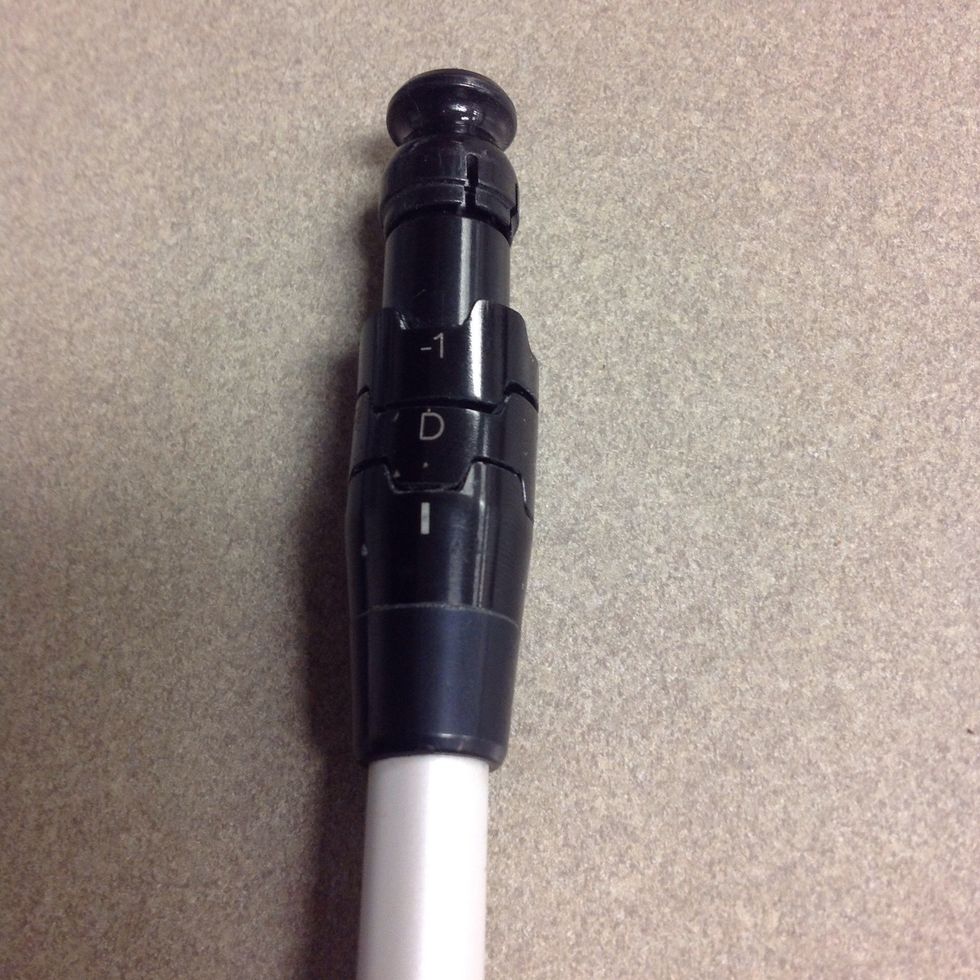
Adjust the pieces on the shaft to help hit a draw. (D stands for draw)
Put the driver head back onto the shaft with the bottom line lined up with the back of the driver head.
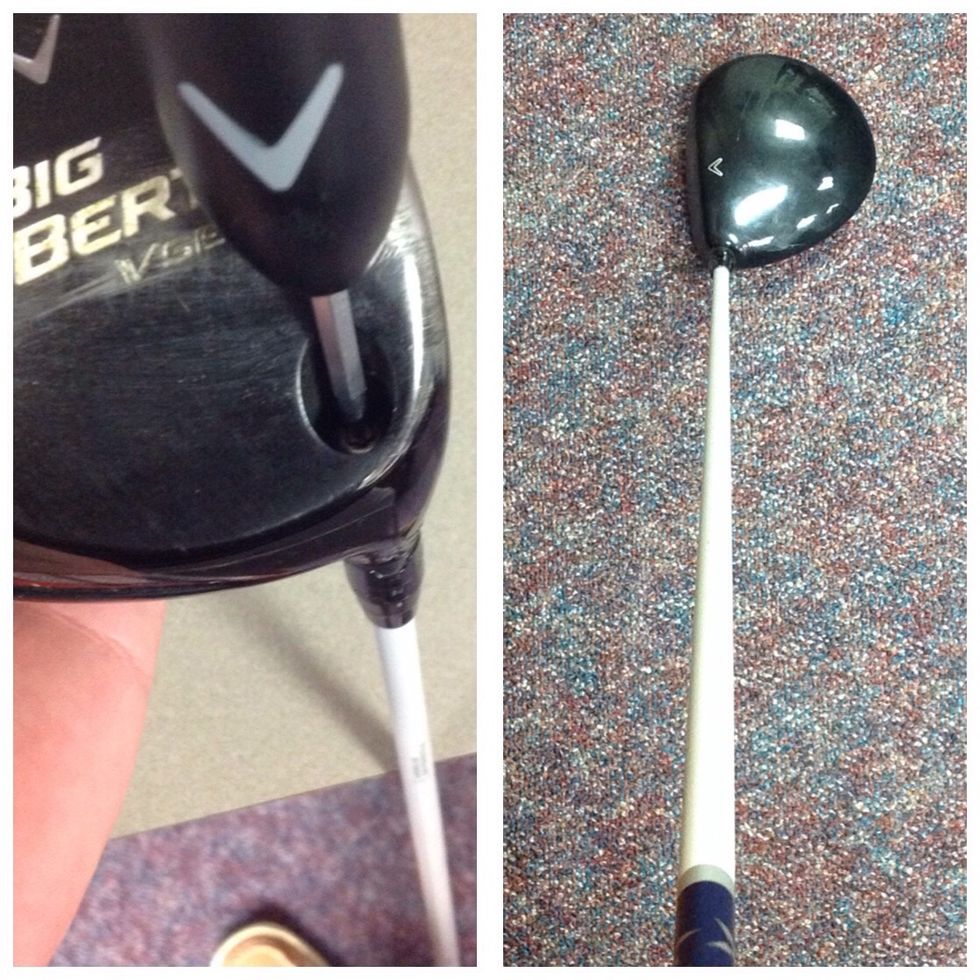
Turn the screw clockwise with the adjusting wrench until you hear a loud click. That lets you know the driver head is secure on the shaft.