The Conversation (0)
Sign Up
For clarity I'm using a hemp that you won't see much of for the 'inside'. If you want a more solid look use all the same color
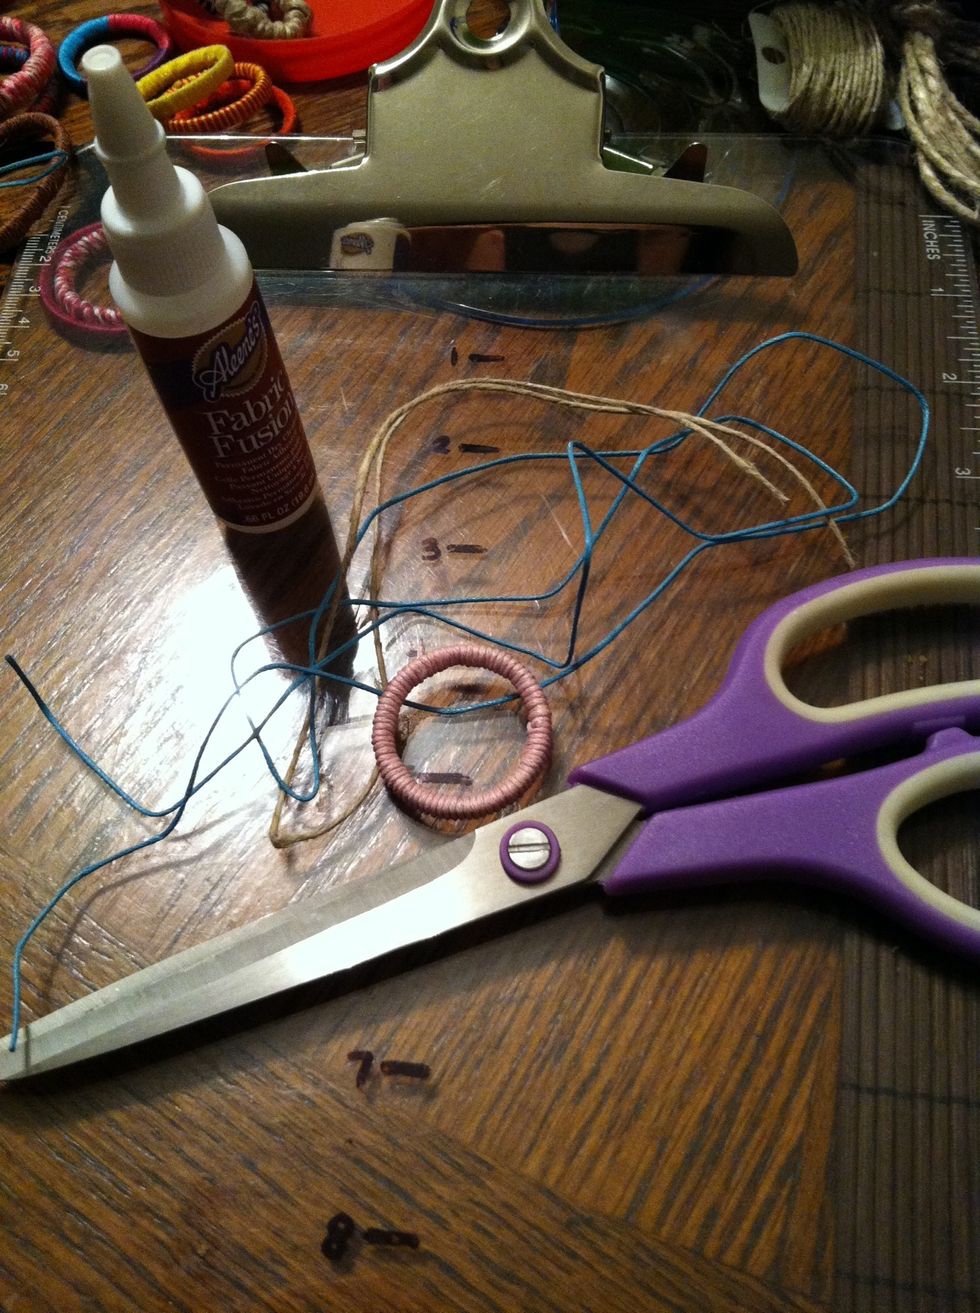
For this bracelet You'll need a total of 4 lengths if cord ( or your string type).
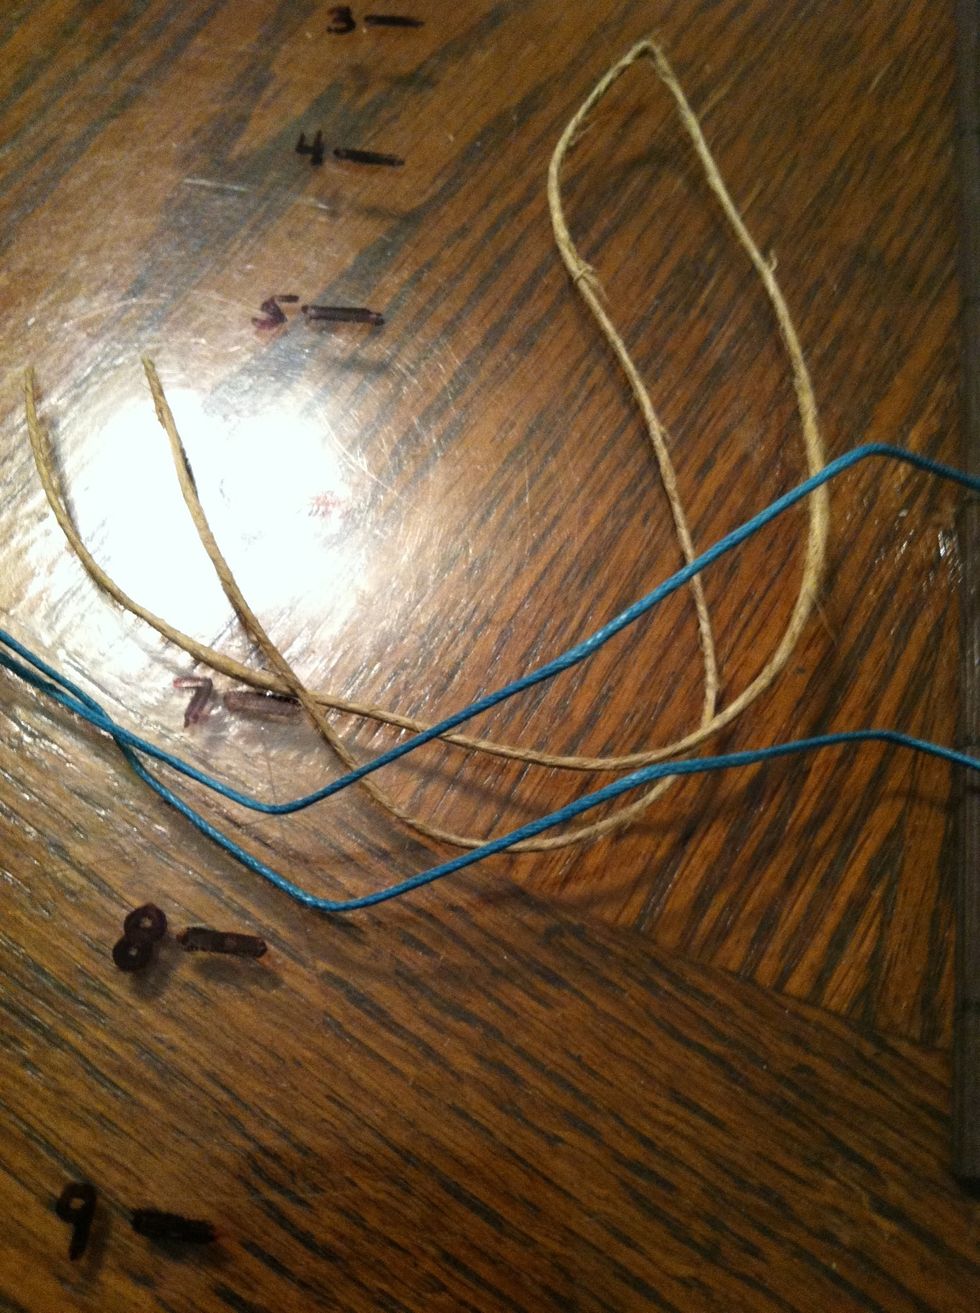
2 pieces should be aprox 36 inches and 2 should be aprox 16 inches. You're going to fold then all in half. You may need to adjust your string length as these are rough estimates.
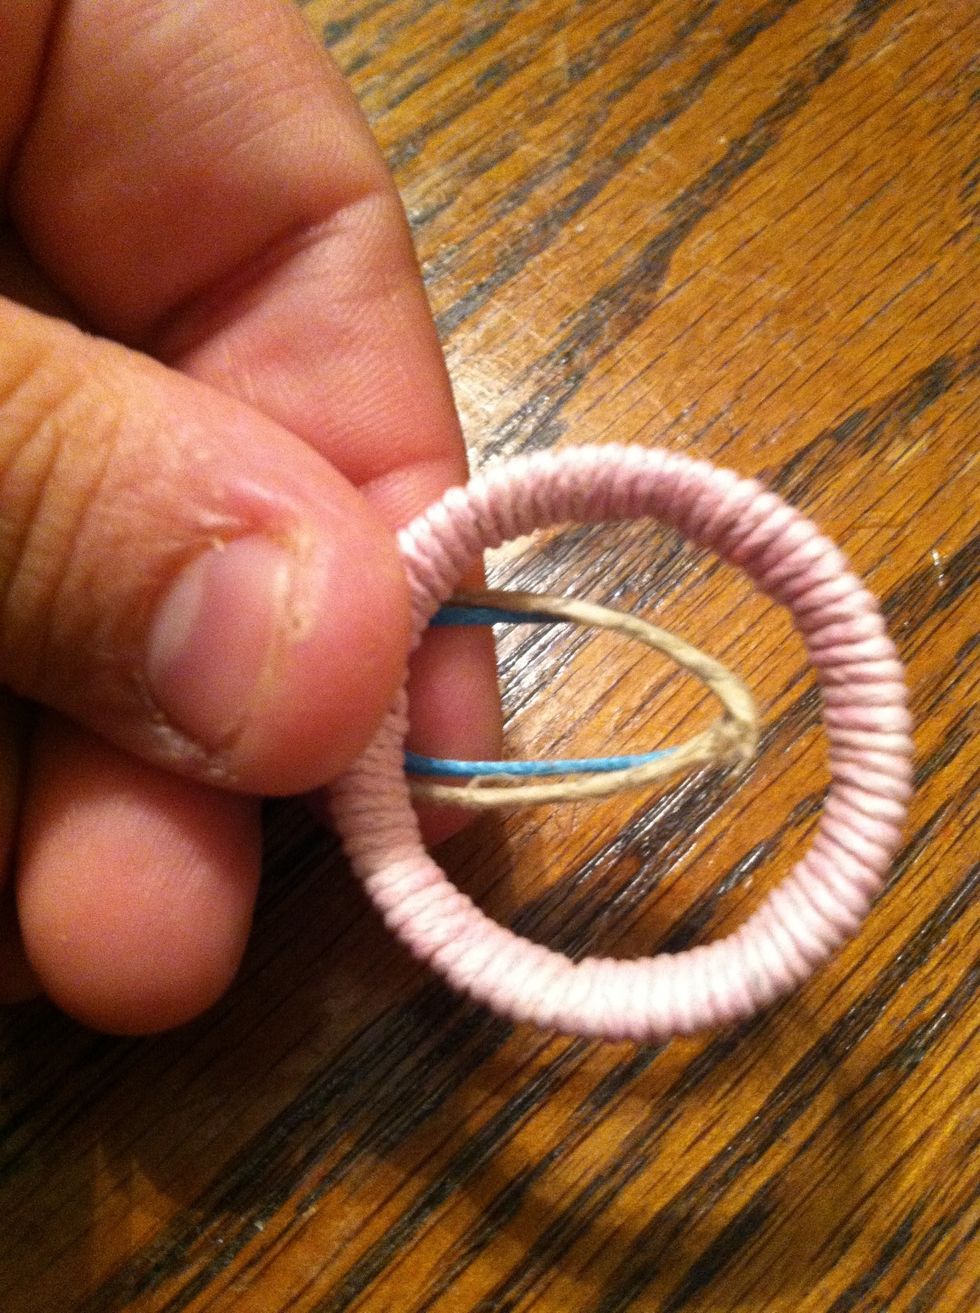
Using one 'inside' and one ' outside piece, make a larks head knot over your ring. Video instructions in the following slides.
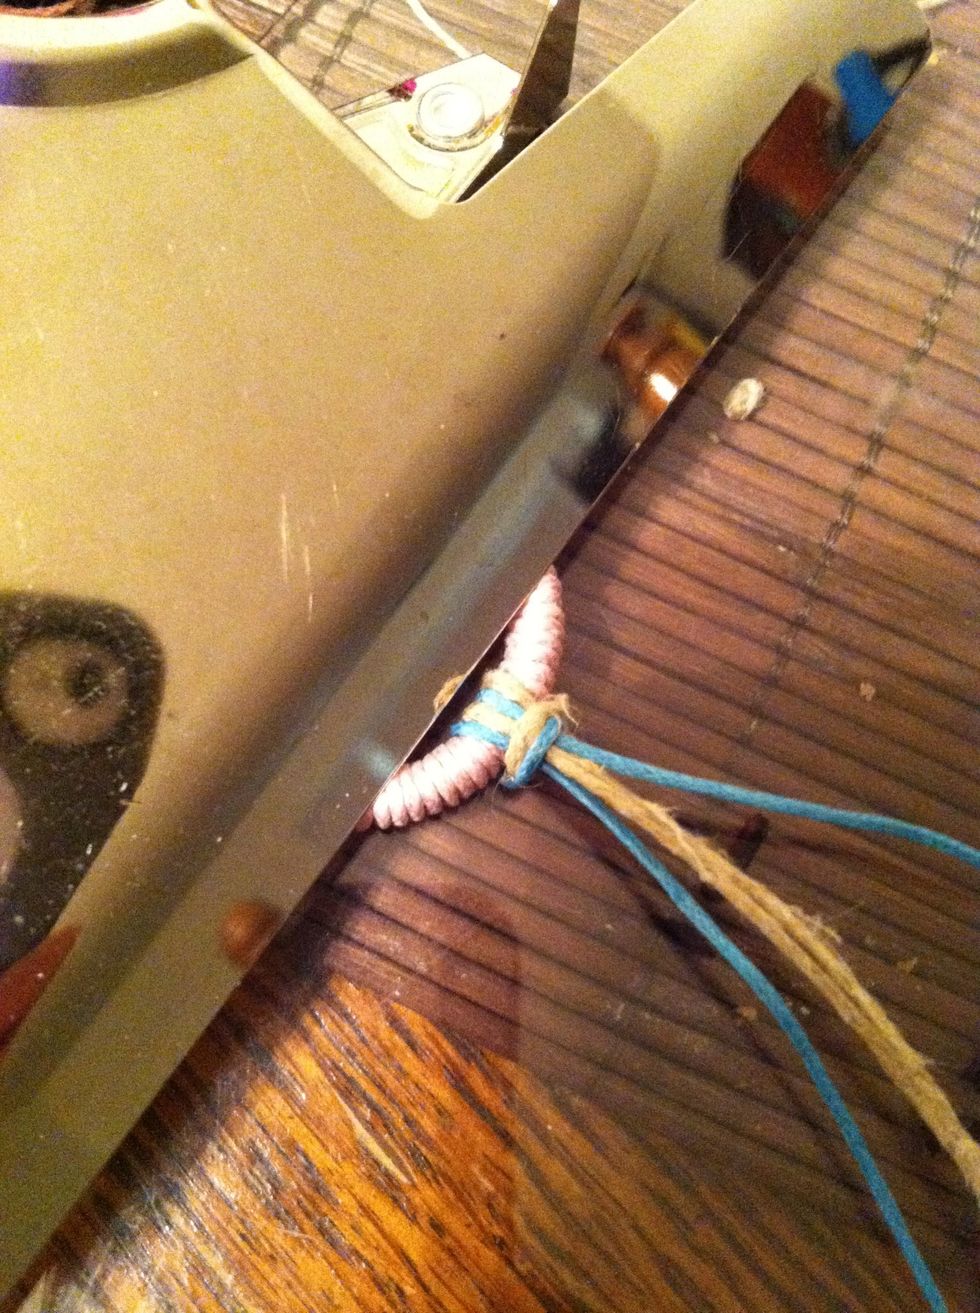
Decide which side you want to be the front or top. Separate your cords putting the outside or longer ones on the outside ( hrhr) lol sorry for the picture quality the clipboard mega reflects...
Starting with the left outside cord make a 4 over both inside cords. Using the right outside cord go OVER the tail from the left cord, UNDER the inside cords and UP through the hole made by the '4'
Pull tight and Repeat this step in the reverse beginning with the right cord and going over under and up with the left one.
Continue repeating this alternating right and left until you've reached the desired length. ( note: if you don't alternate you'll get a spiral instead if a flat 'braid')
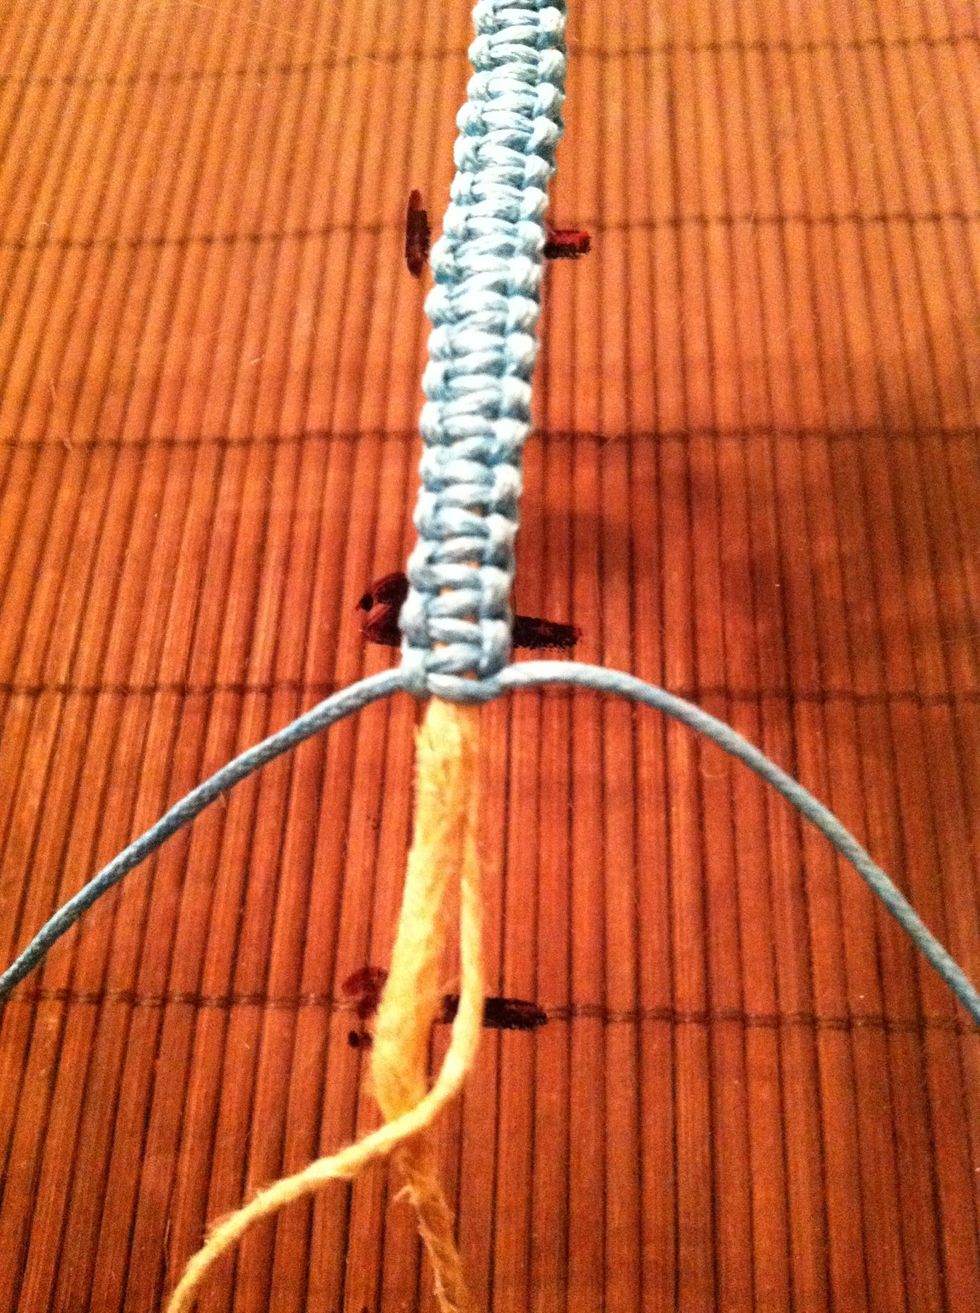
Get it to about a half inch shorter then you want it. In my case about 2 1/2 inches.
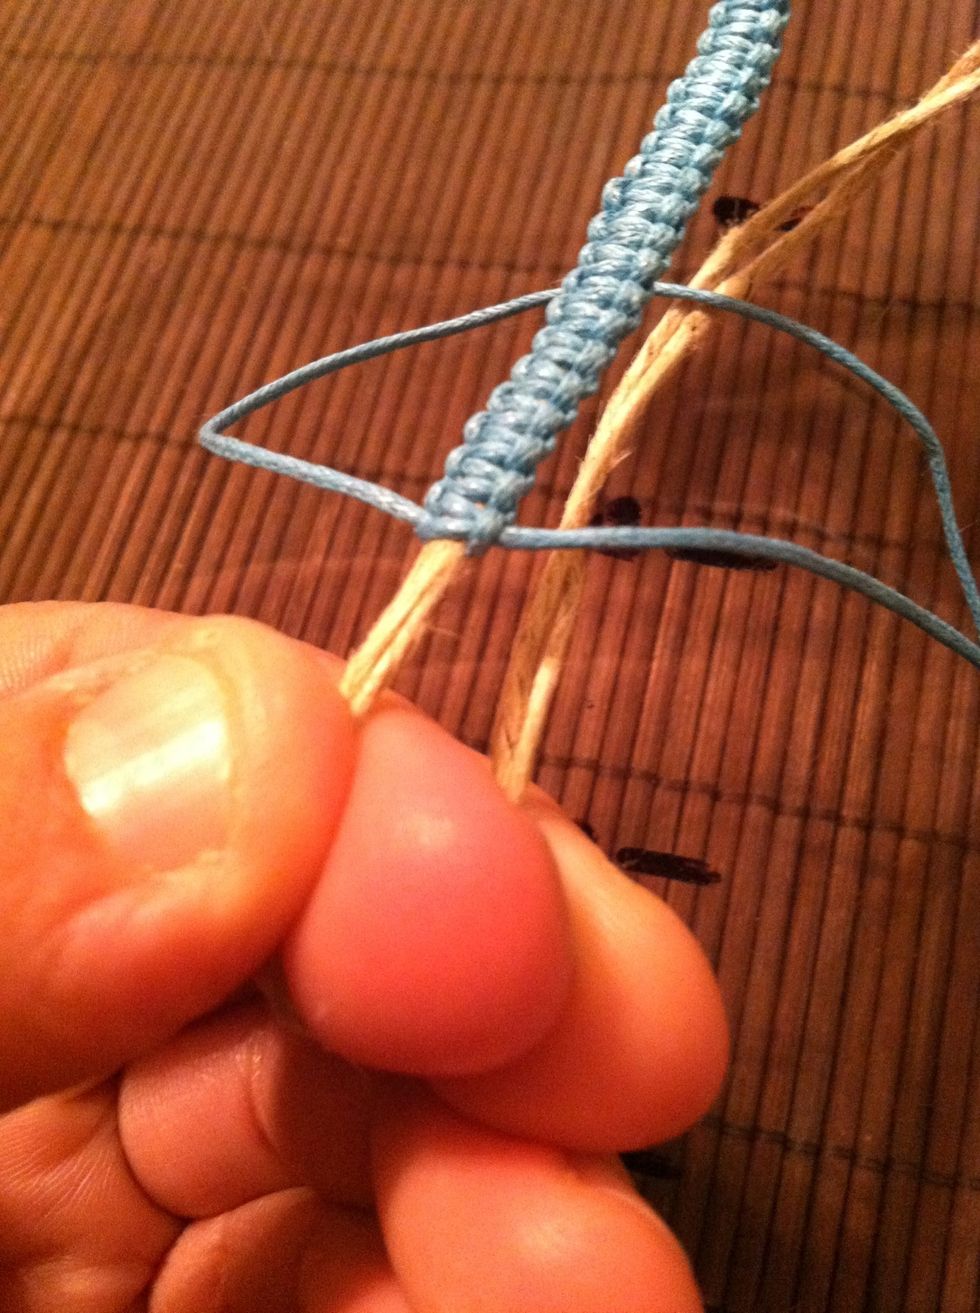
Wrap your inside cords around your finger making a loop.
Continue tying over the doubled cords, don't worry if they don't mach up. Just make sure to tie over all four inner cords.

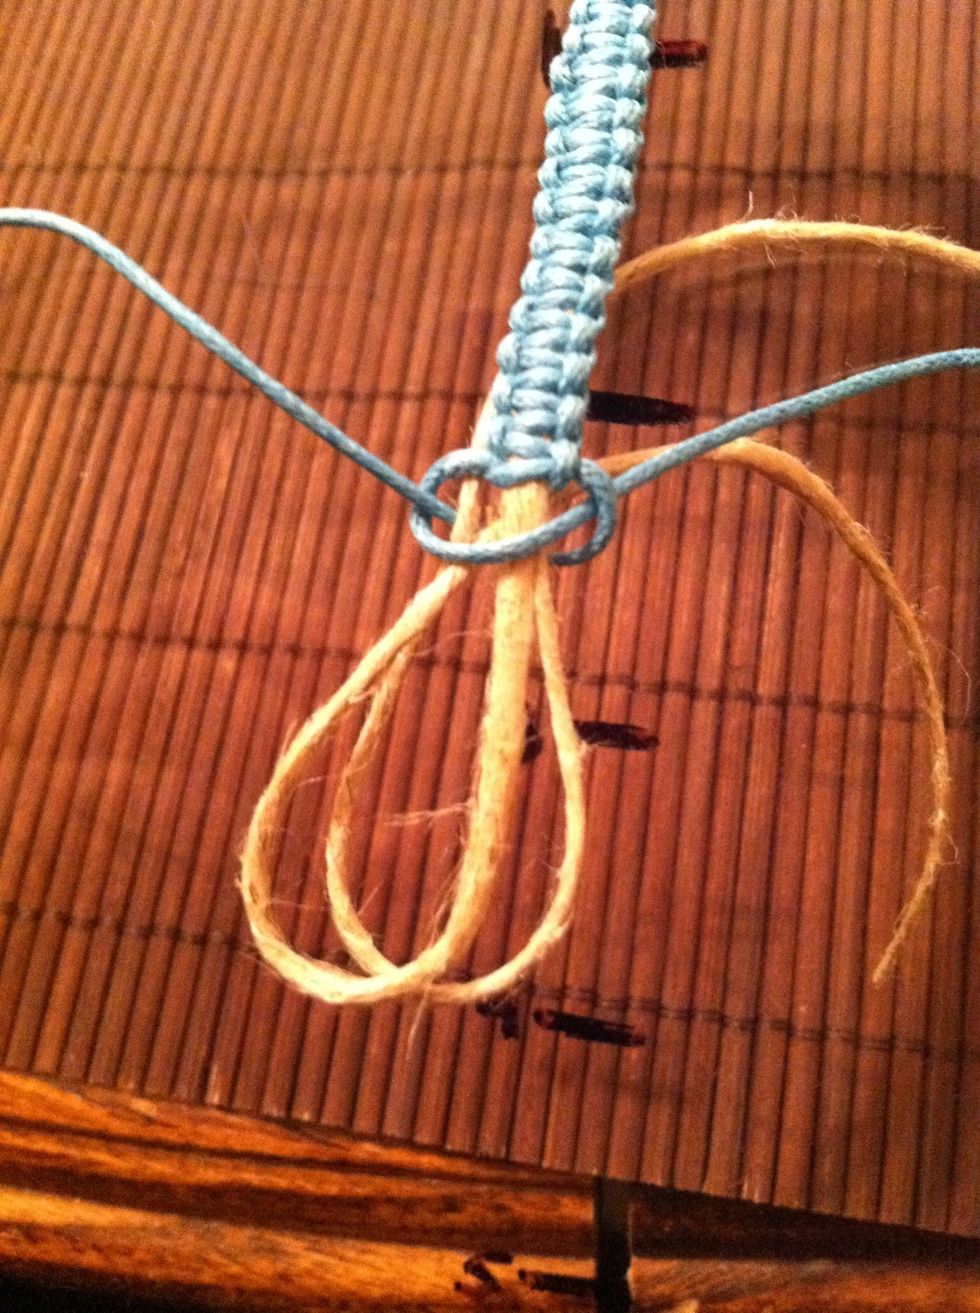
Get it about where you want it. Leave it alone. Don't make the loop bigger or smaller and definitely DON'T cut anything yet. Make sure your outer cord is tight.
Flip it over and repeat making it the length you want.

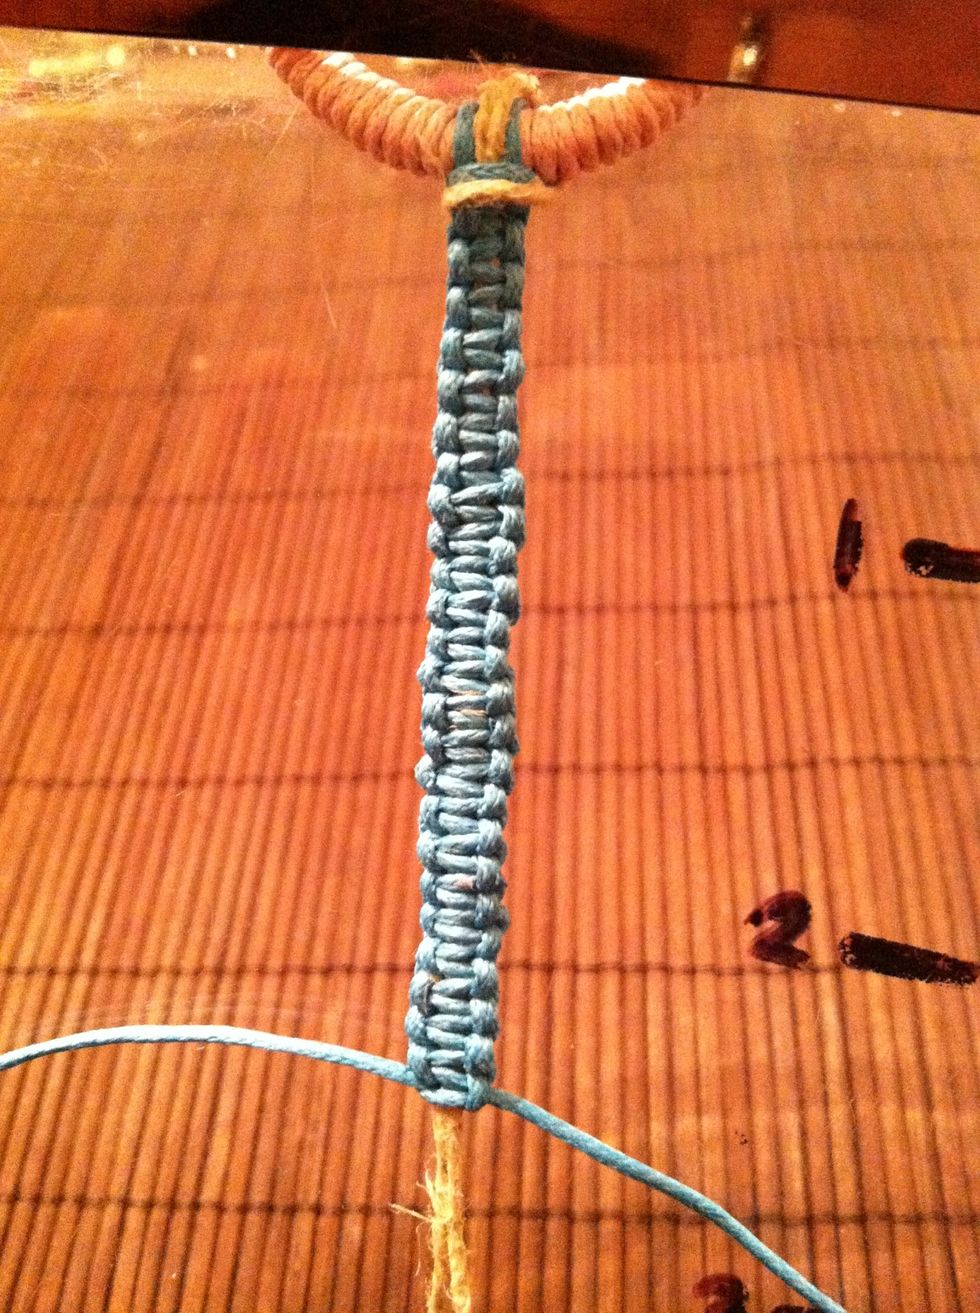
Tie on you button or bead. How you so this depends in you and the button or bead you've chosen.
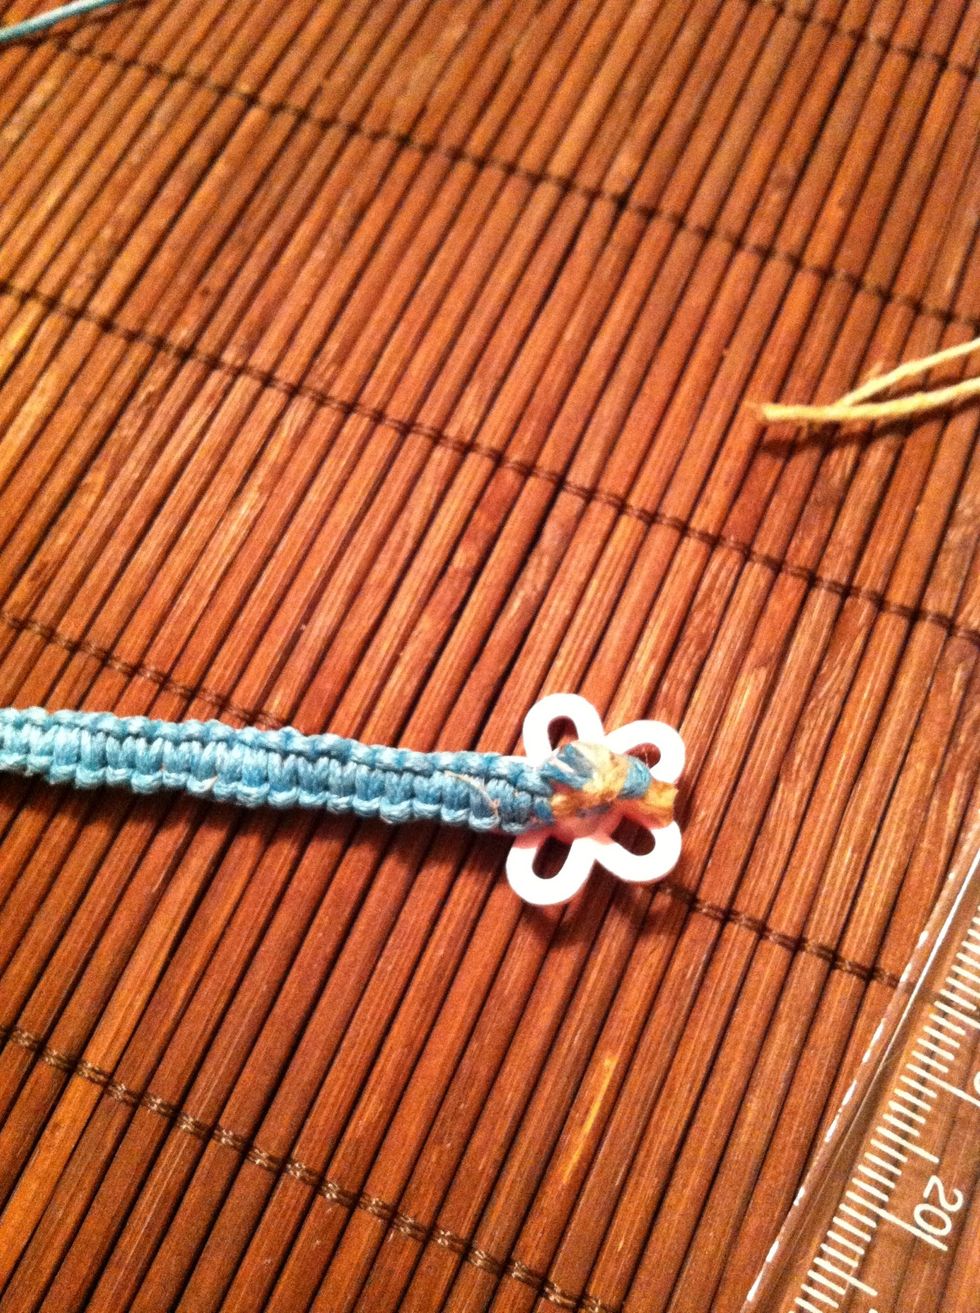
Put a dab of glue on it and snip it close to the knot. Let the glue dry. Car glue works great and quickly but could be very scratchy. Fabric glue is soft and water resistant but take a little longer.
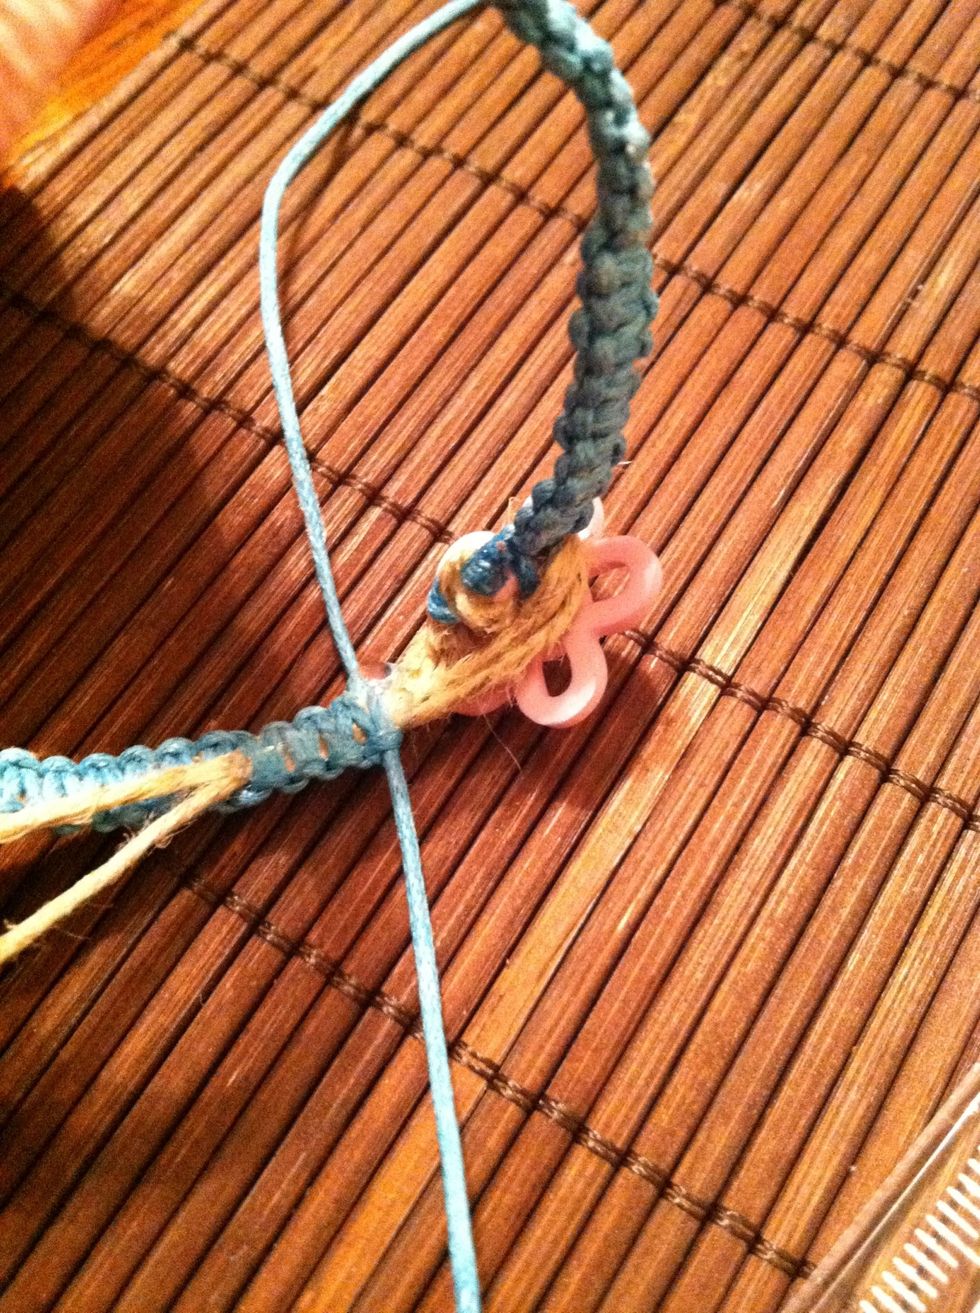
Put the loop over the button and adjust it so it's snug enough to keep in place but loose enough to get off when you want. Adjust by pulling the tail strings. When it's right put a few dabs of glue.
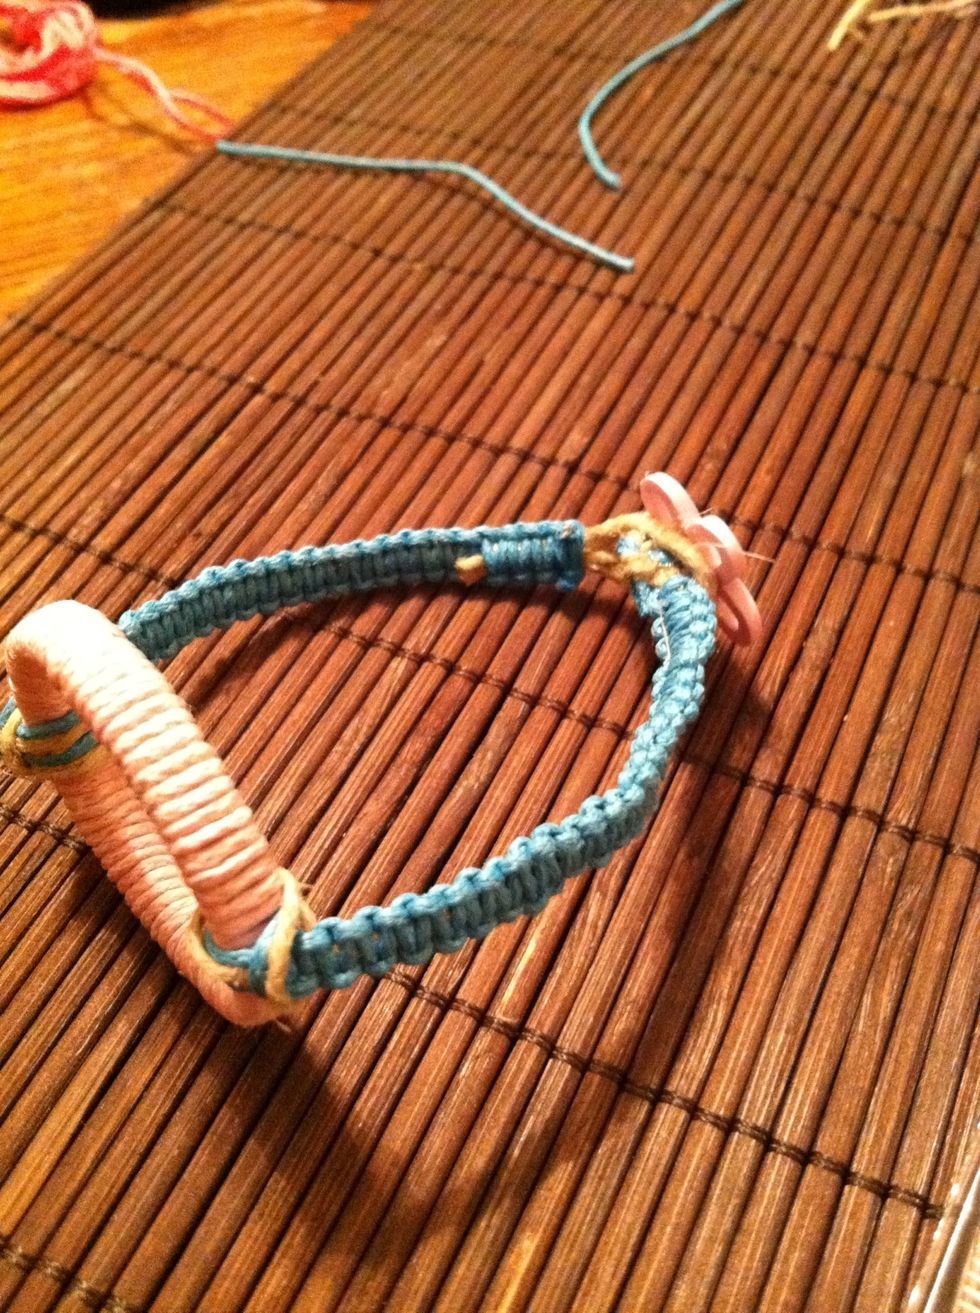
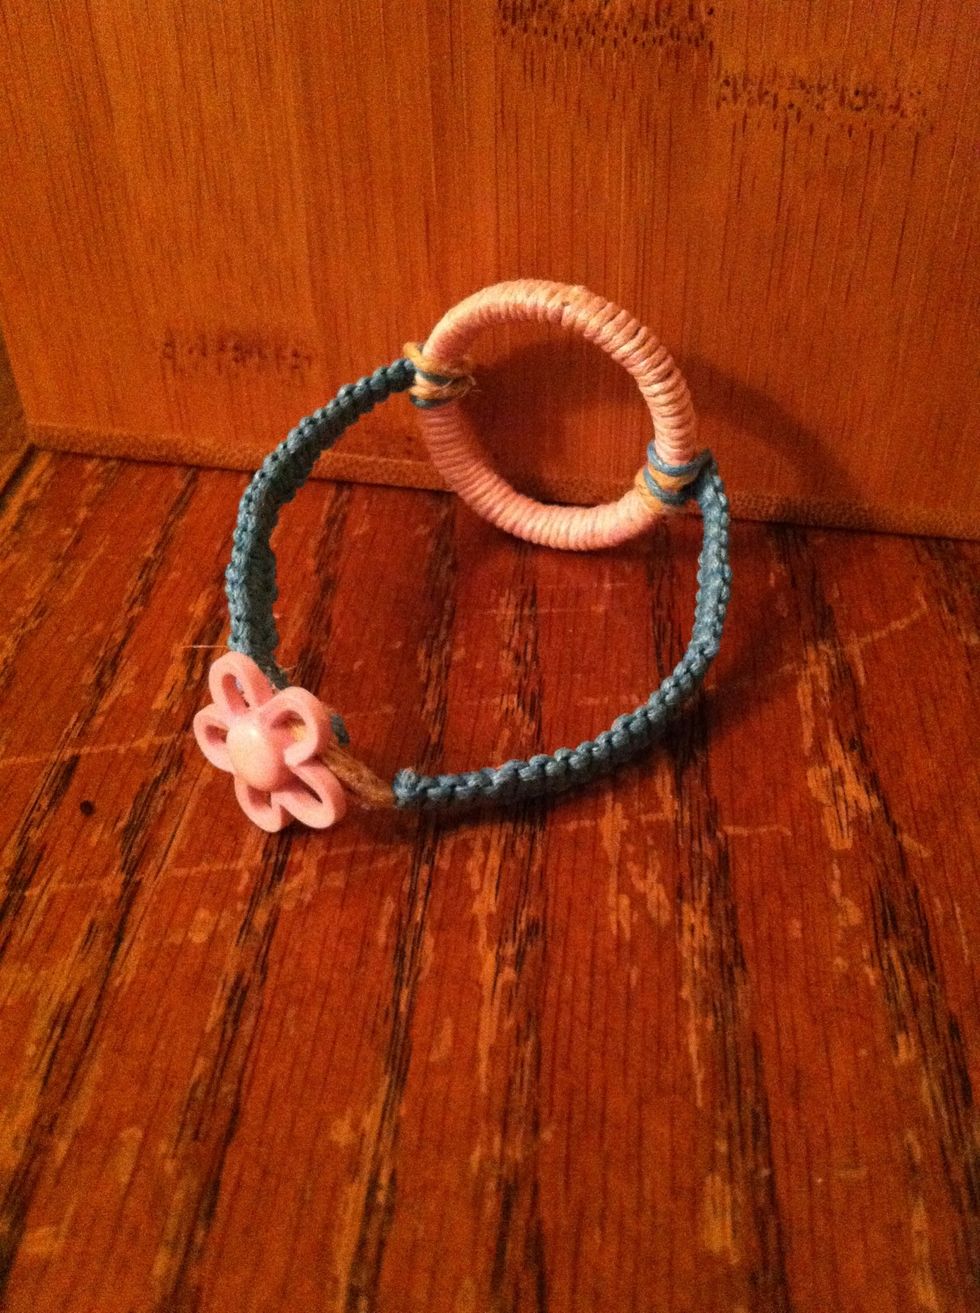
When the glues dry, snip it and wear it/give it away/ sell it etc.
Let me know if you need any further clarification! Have fun 😃