The Conversation (0)
Sign Up
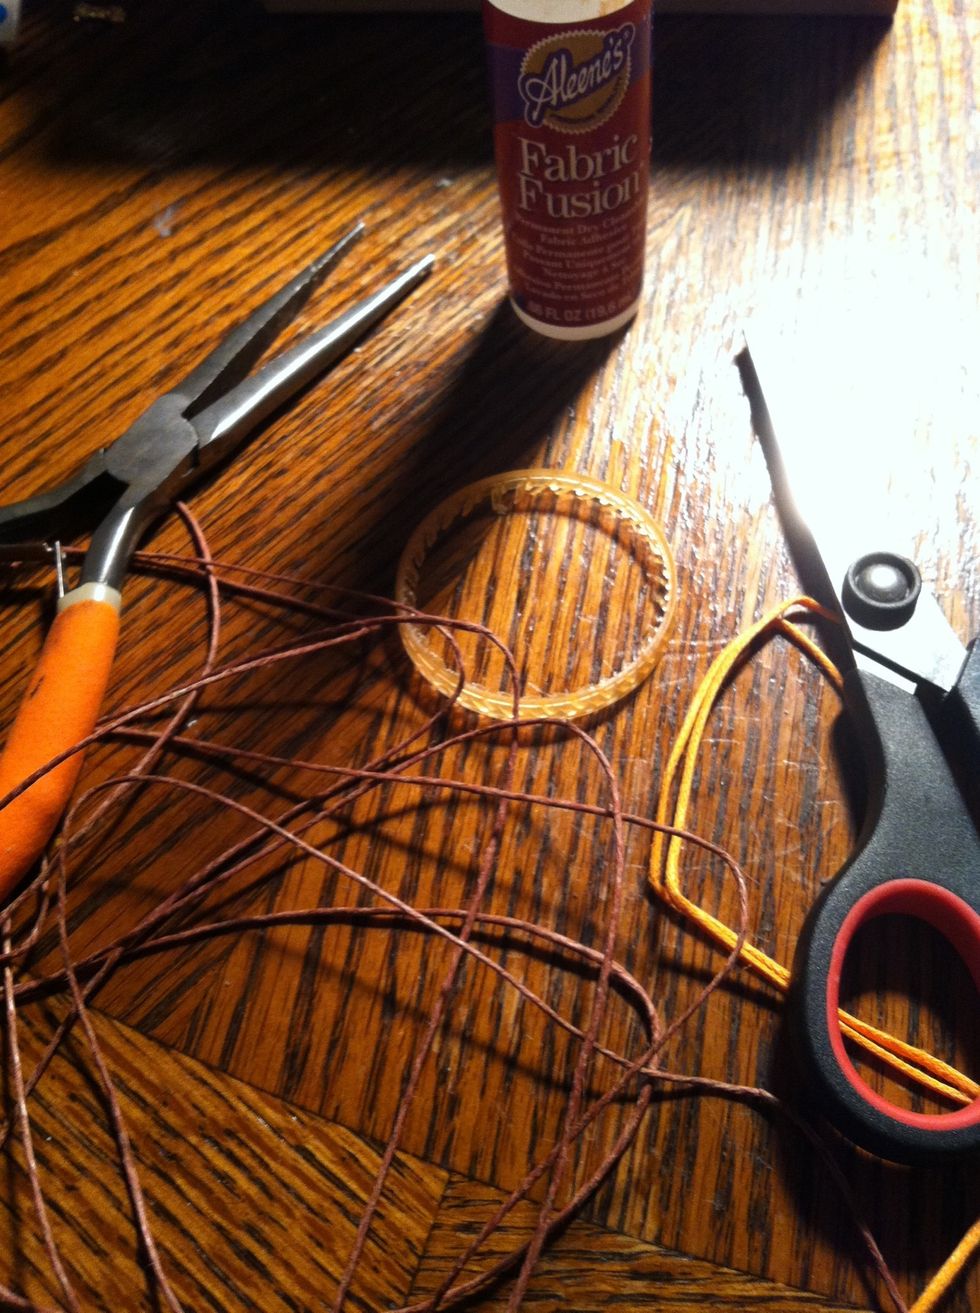
Over measure your main String. This will be the necklace part also so make it super long. If you're using a second color it it doesn't need to be as long as the first. About 2 1/2feet long maybe.
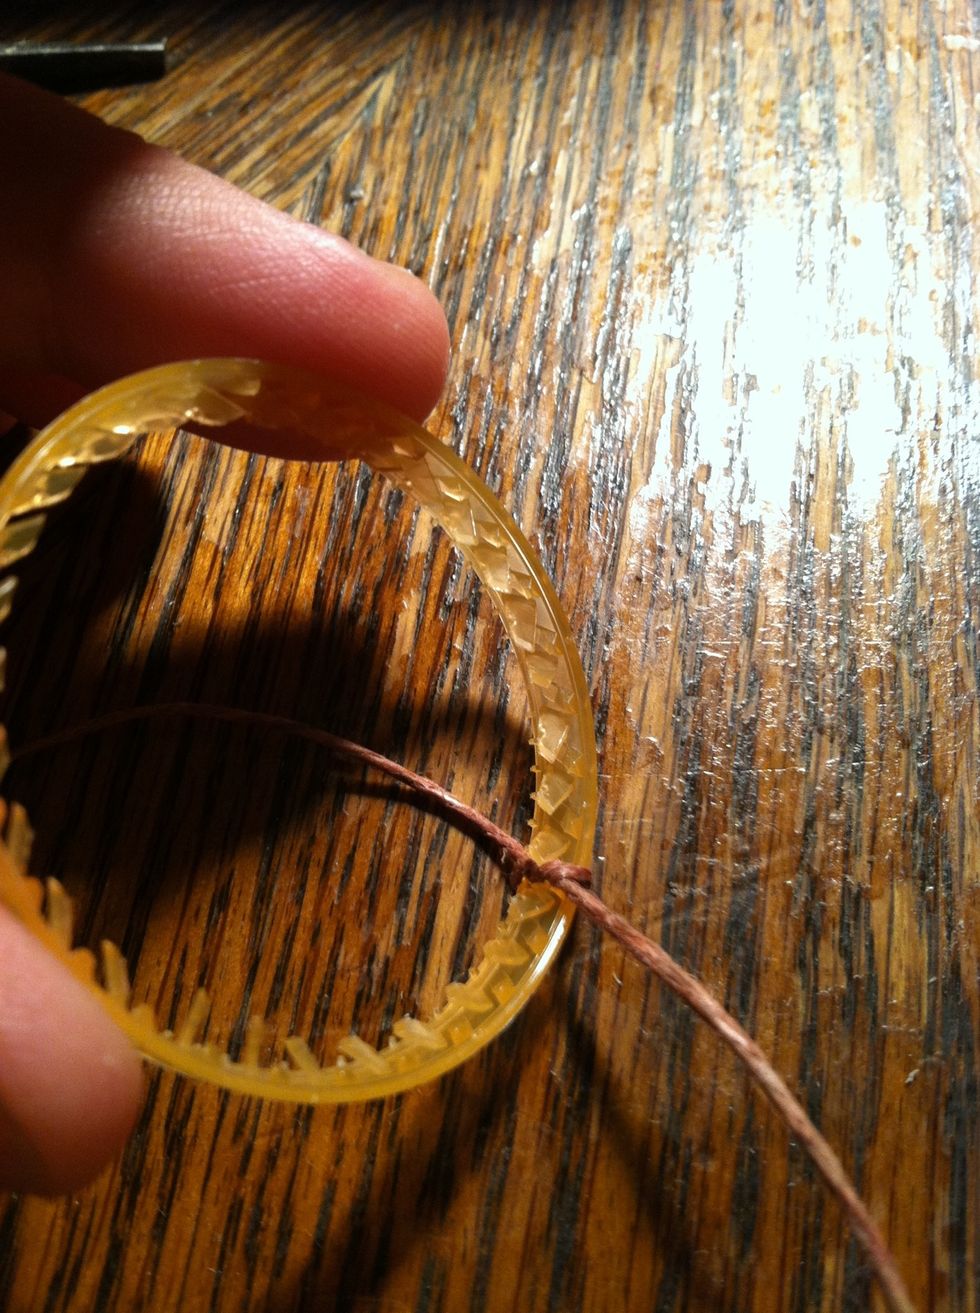
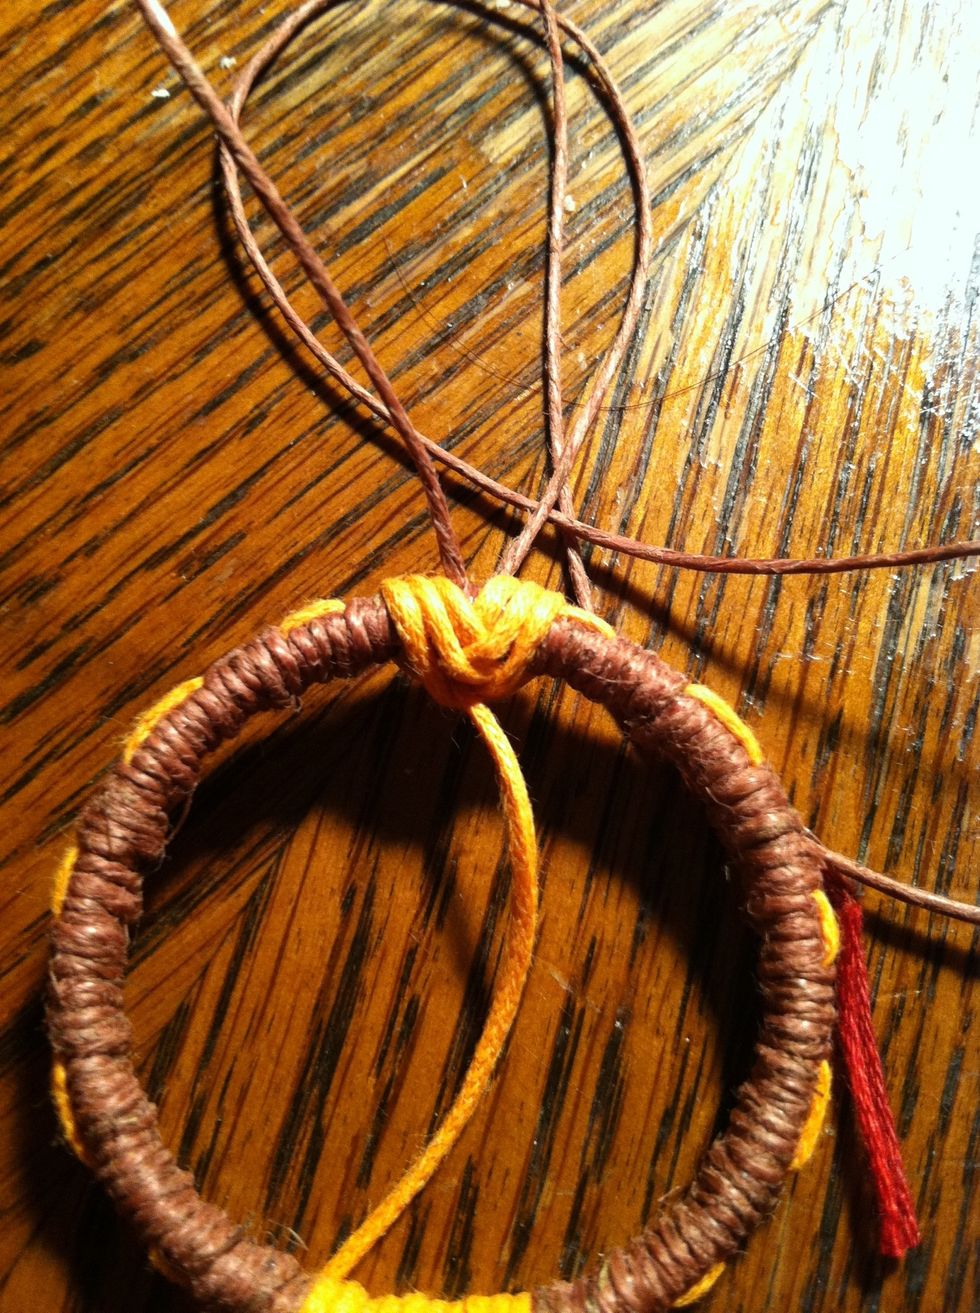
Tie a knot around your ring on the inside like this. Have about equal lengths of string on either side.
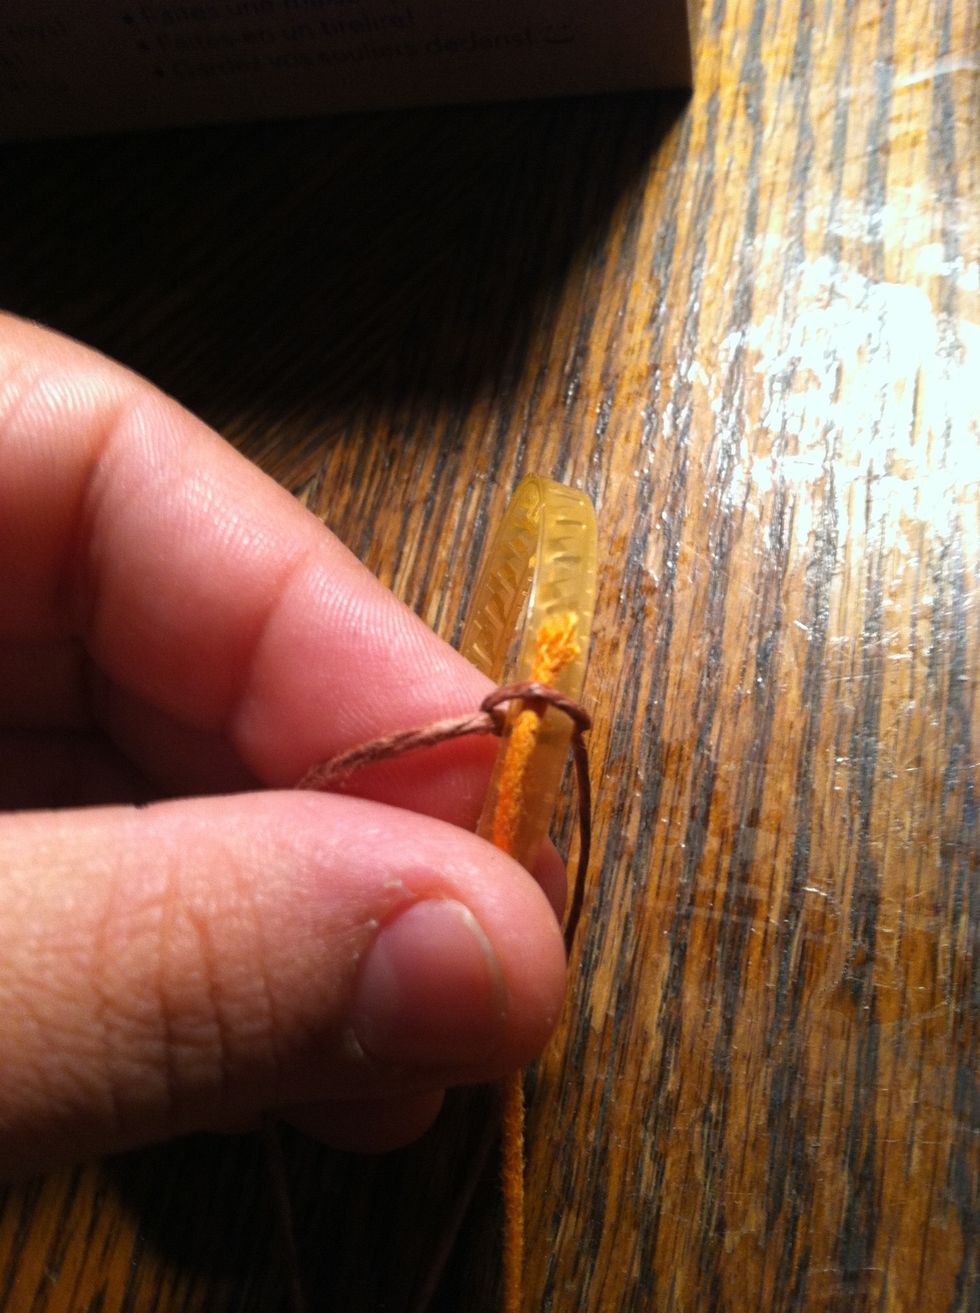
Loosen your knot a little on the outside of your ring and slide the end of your second color in. Then retighten.
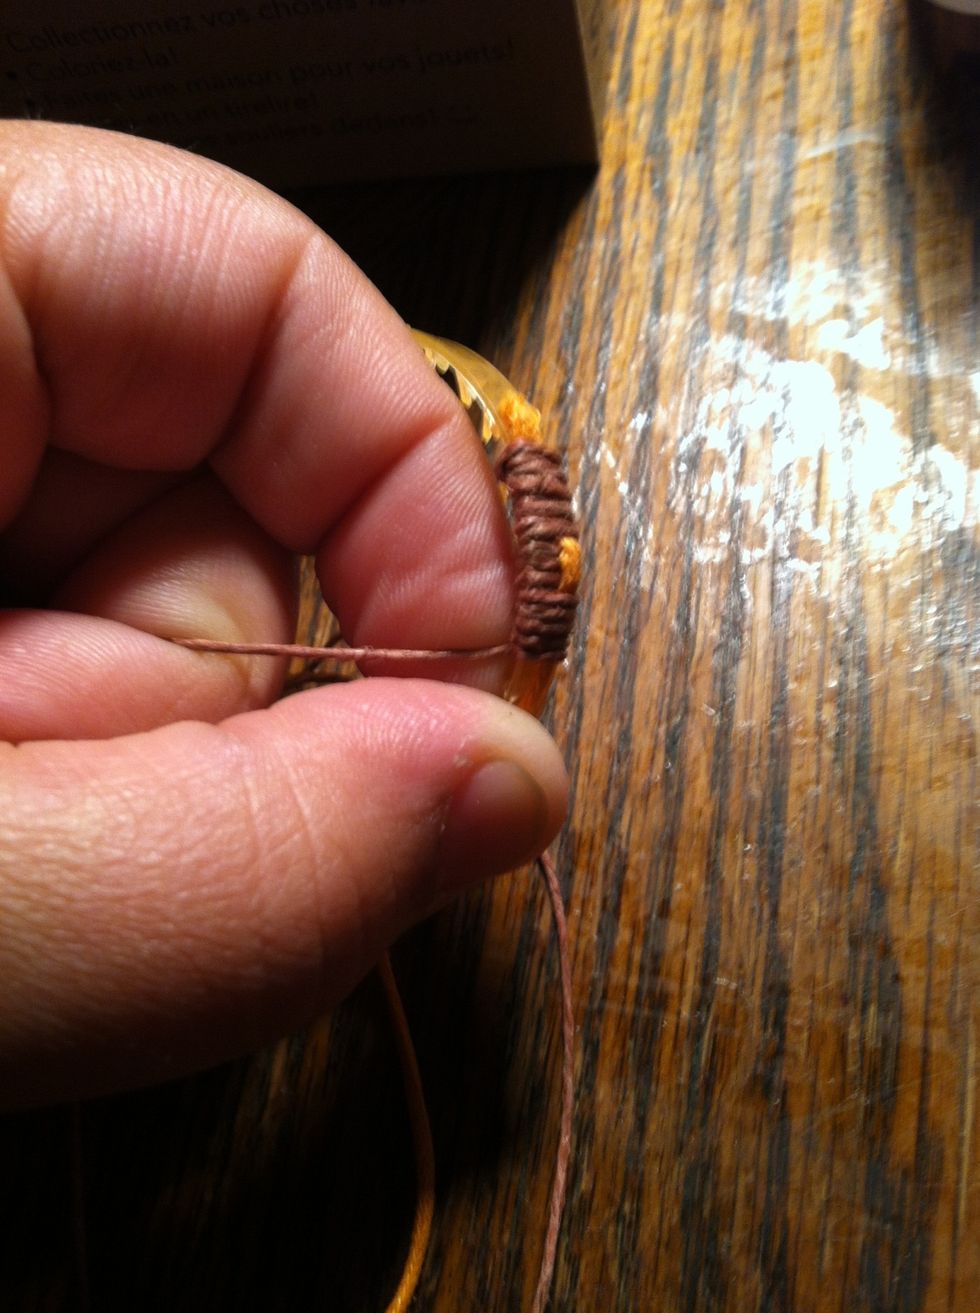
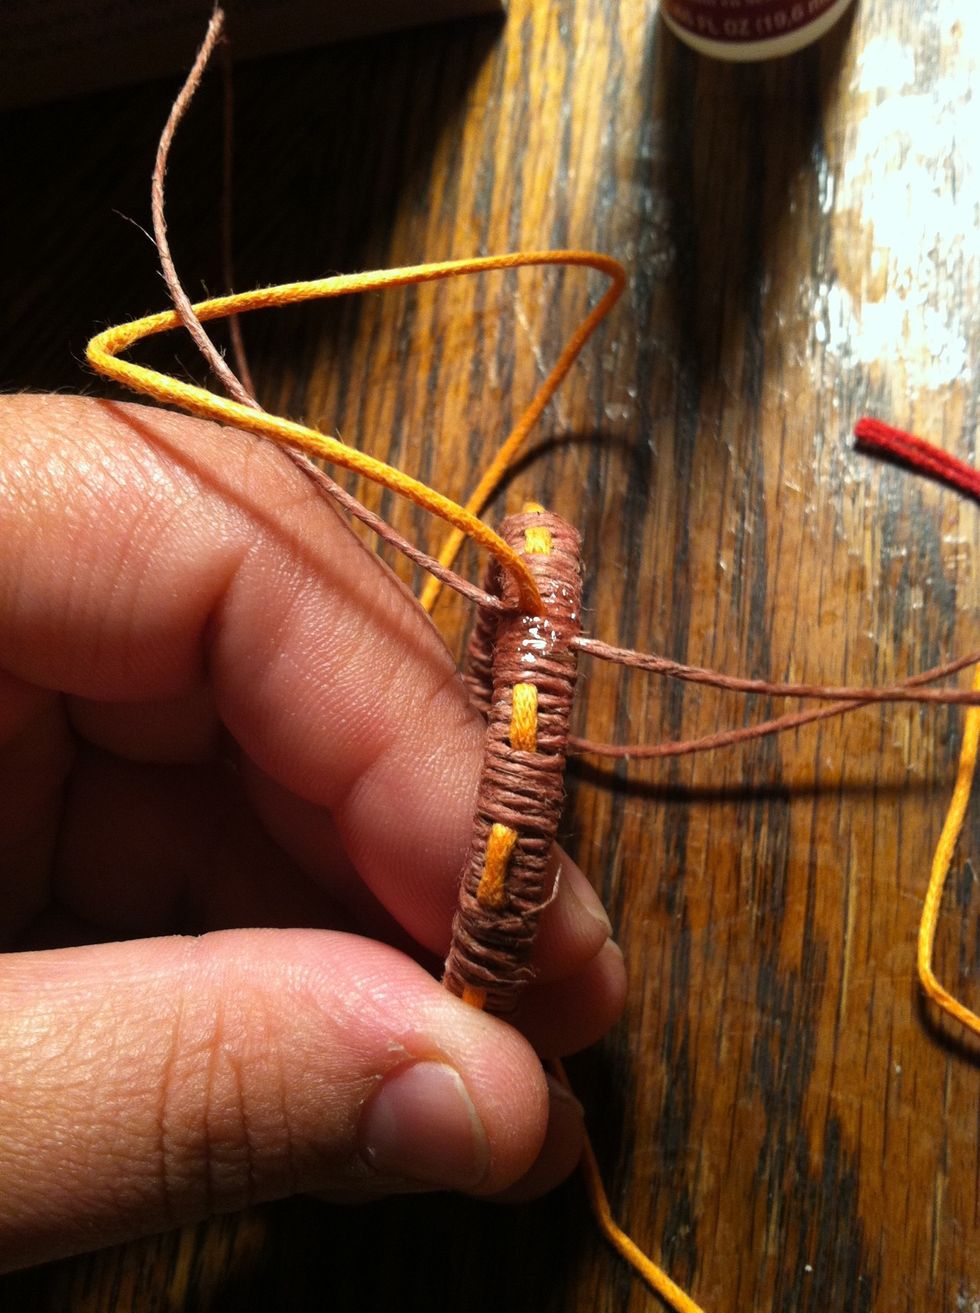
Decide on a pattern or design (or just freestyle it) and start wrapping. To do this I wrapped OVER my secondary color five times then lifted it up and wrapped under it 3 times. Then repeat.
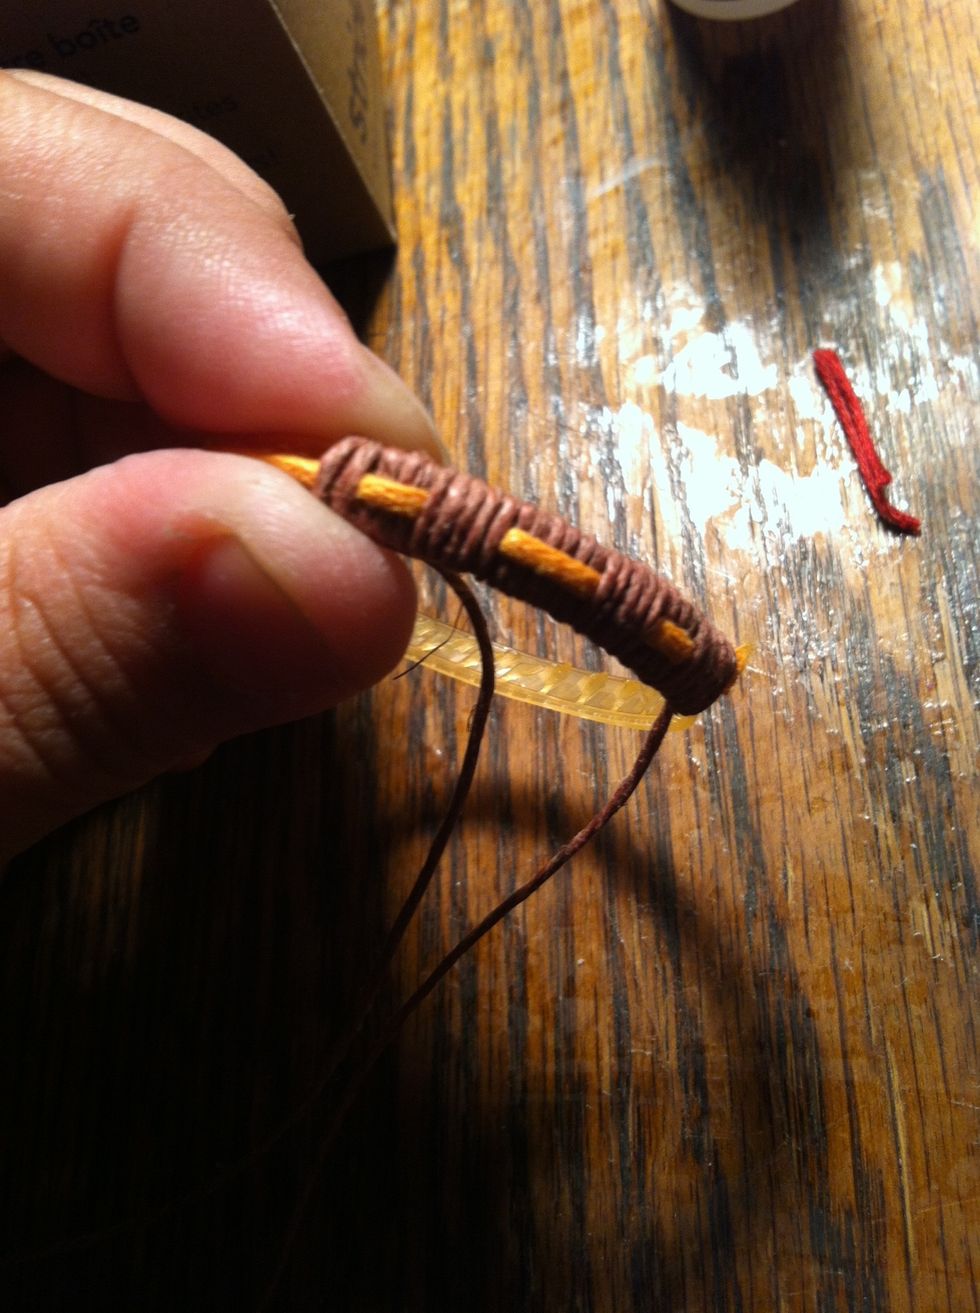
Remember to push your wrapping string back against what you've already done and pull your secondary string taught after you've wrapped over it.
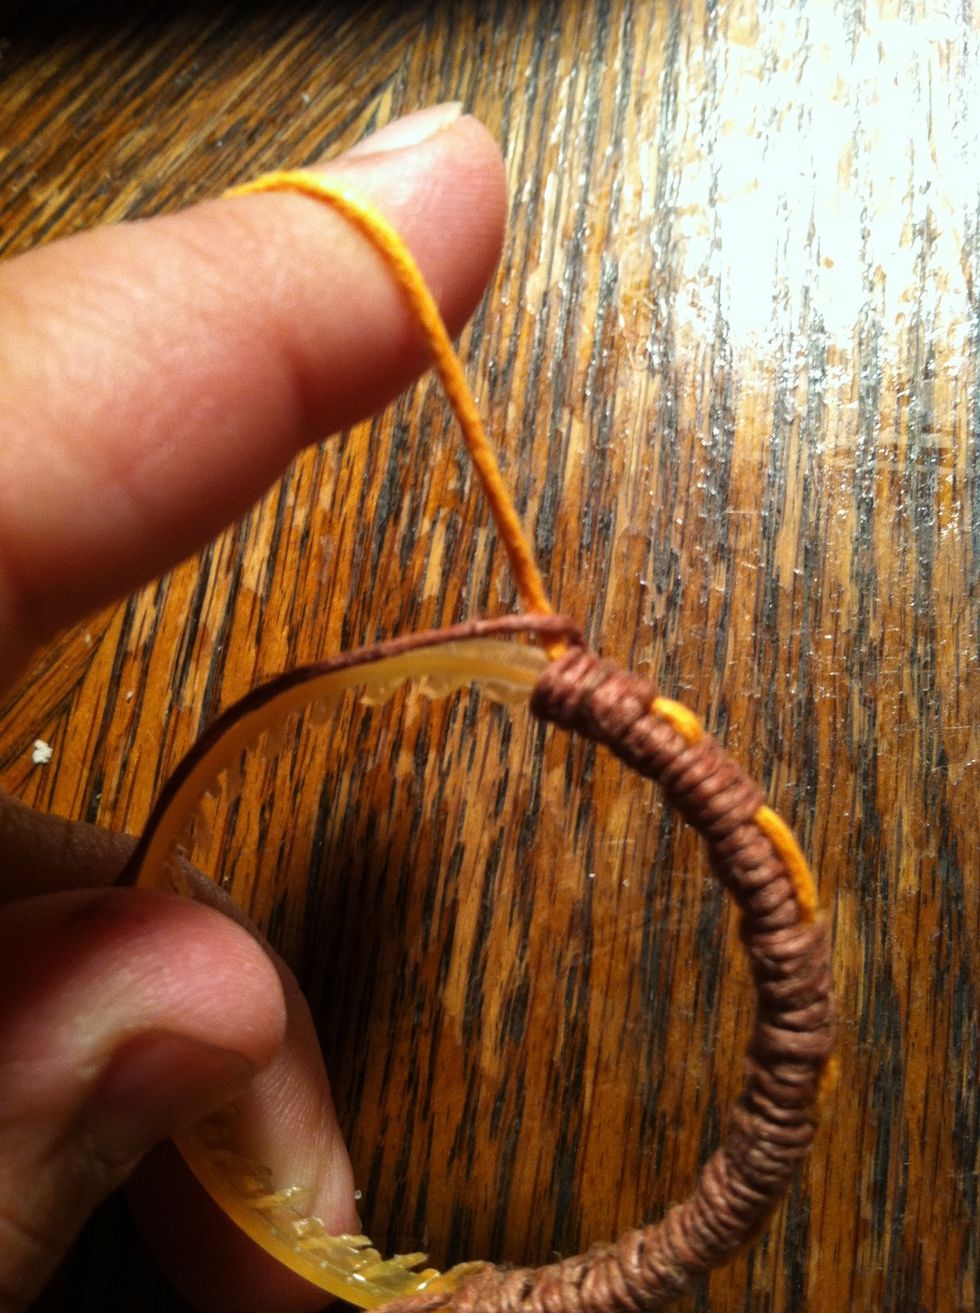
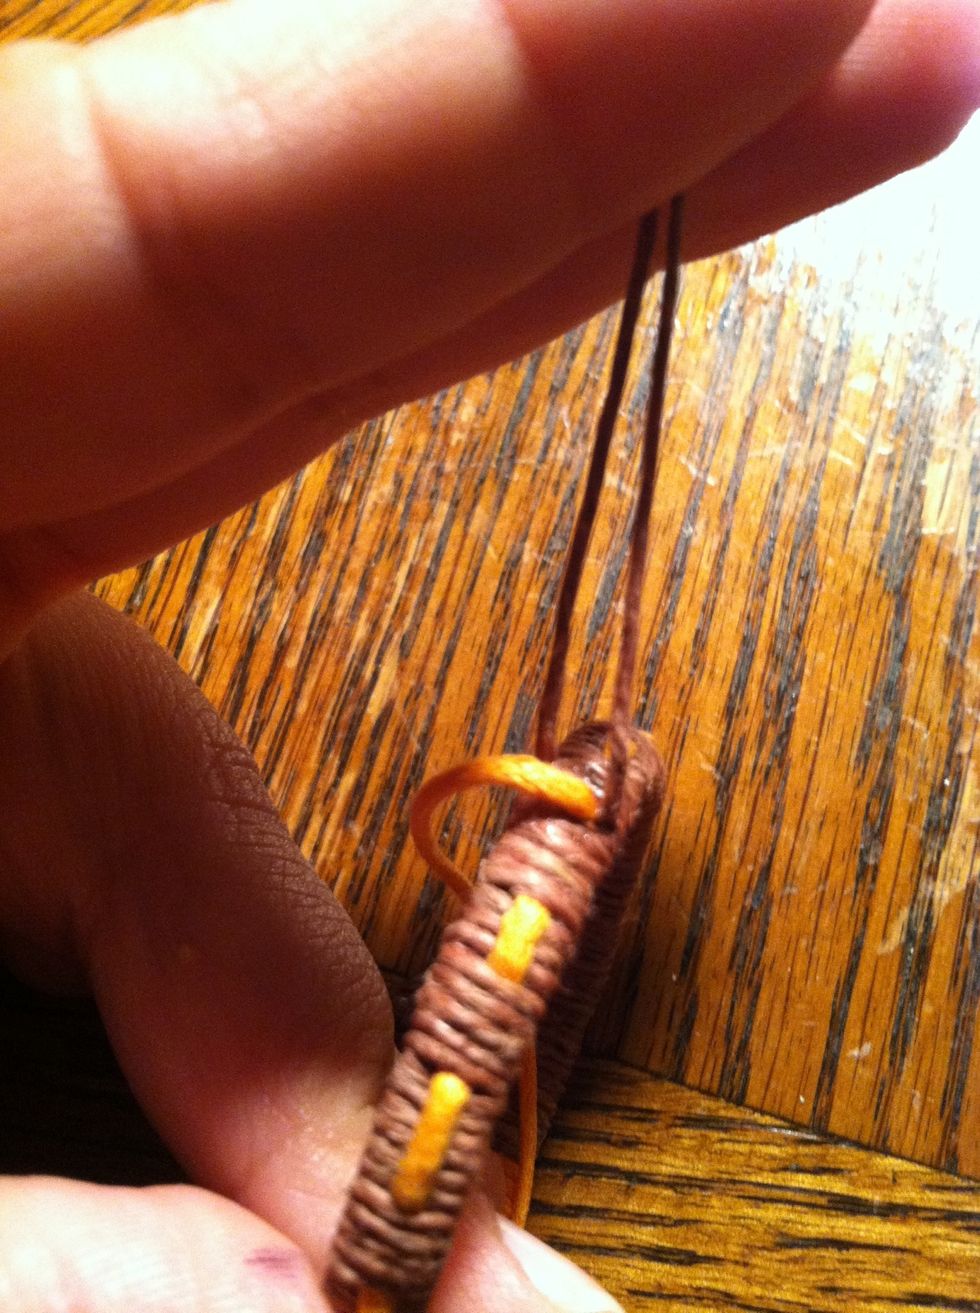
I wanted to wrap with my secondary string for a bit so I did an extra wrap and pulled my first string around my second; Pulling it tight against it. Then lay the first string against the ring.
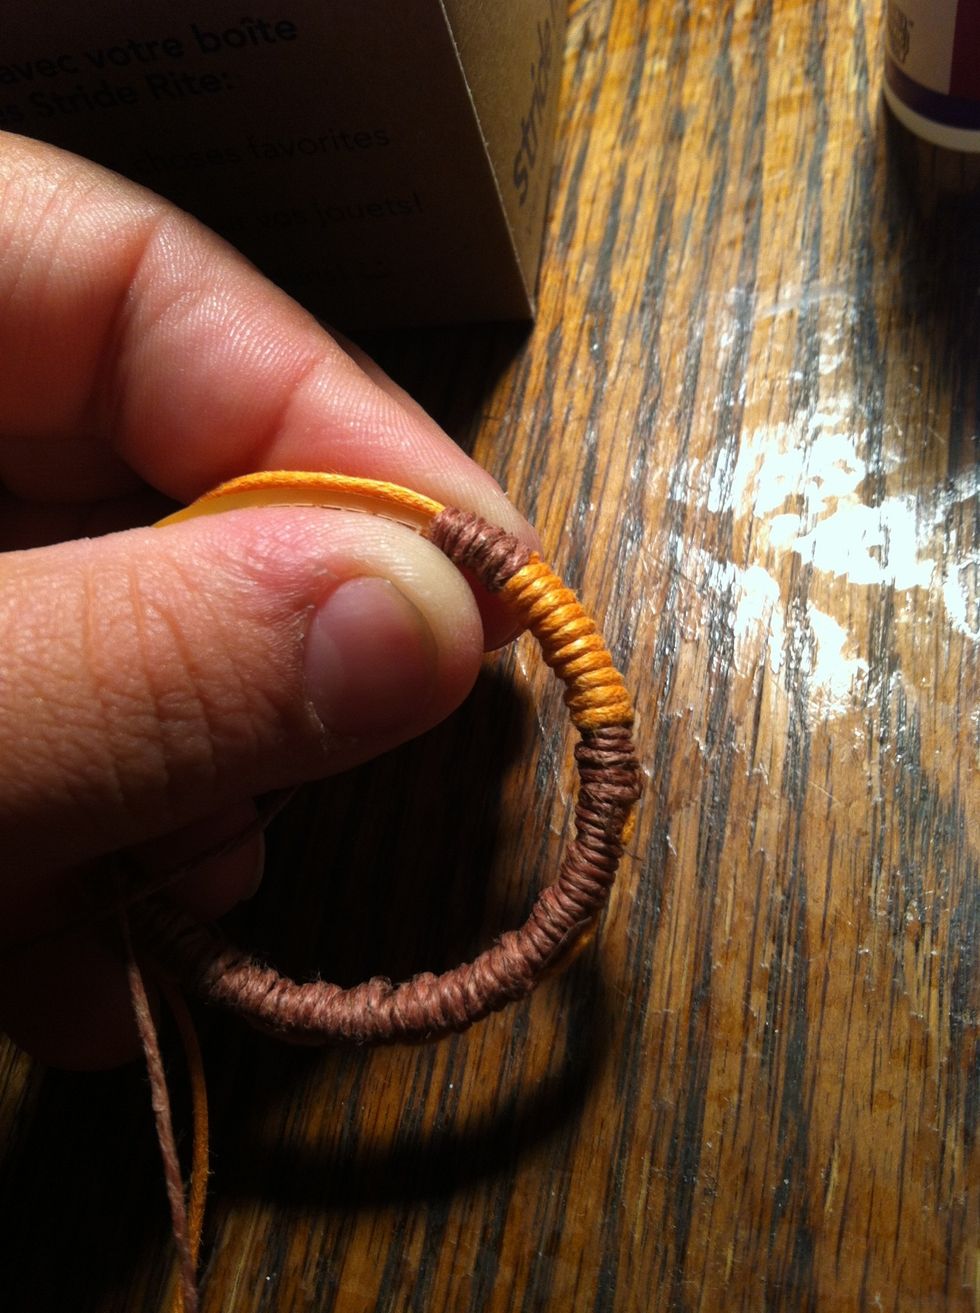
When you're done switch them back the same way. Continue with your pattern.
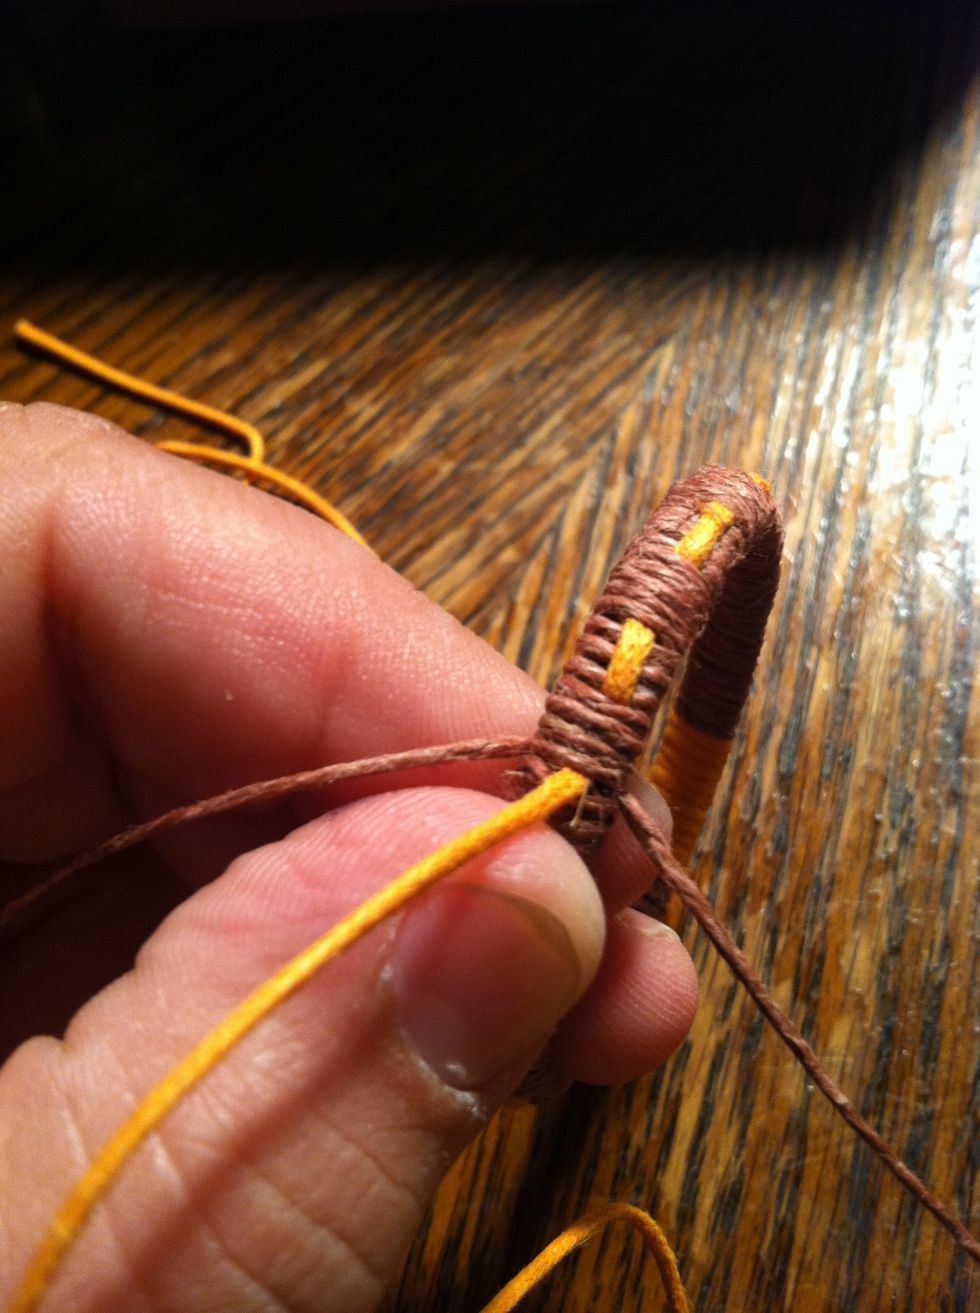
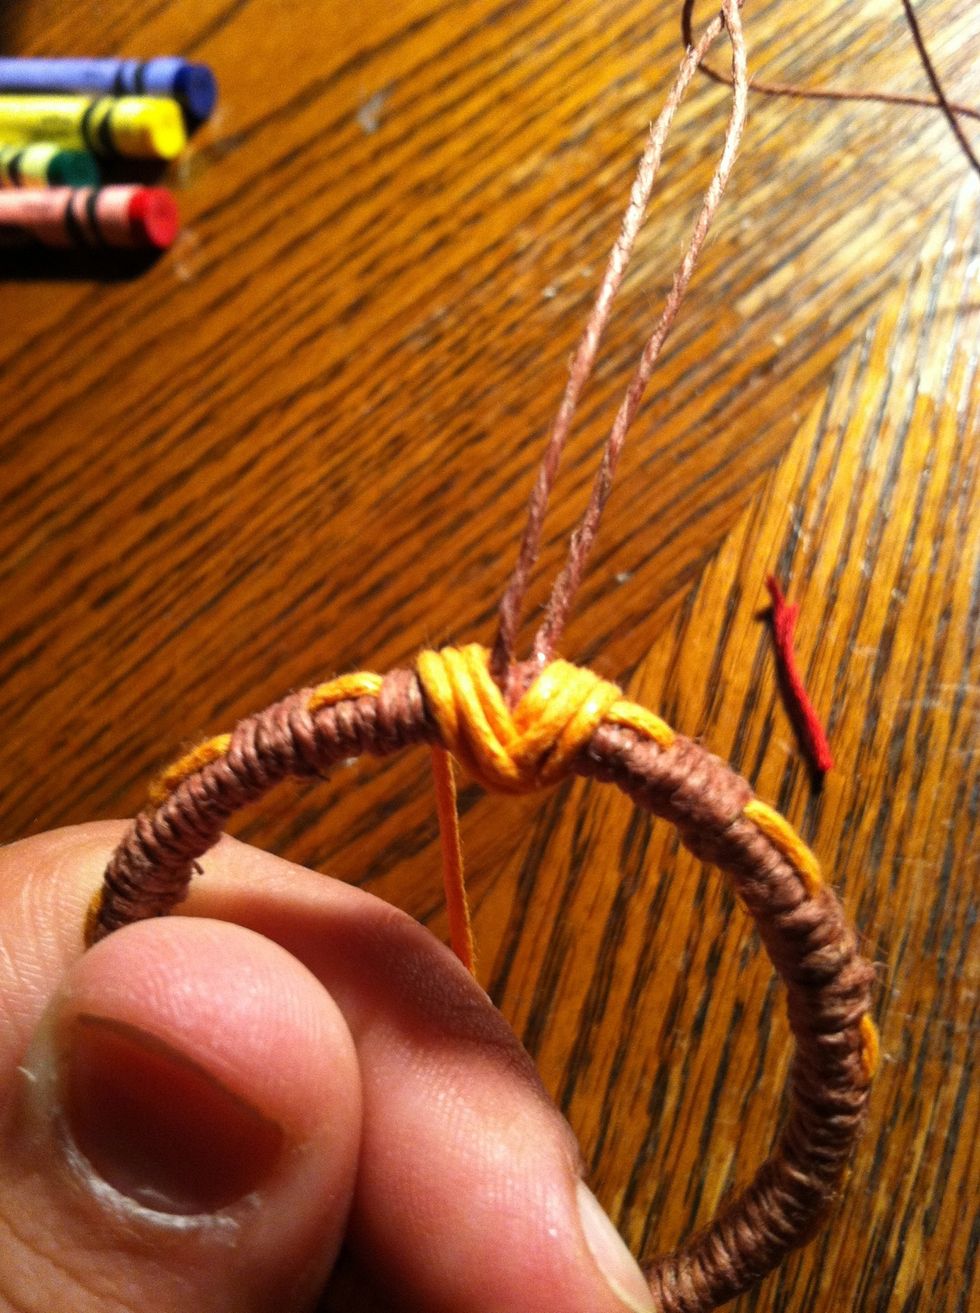
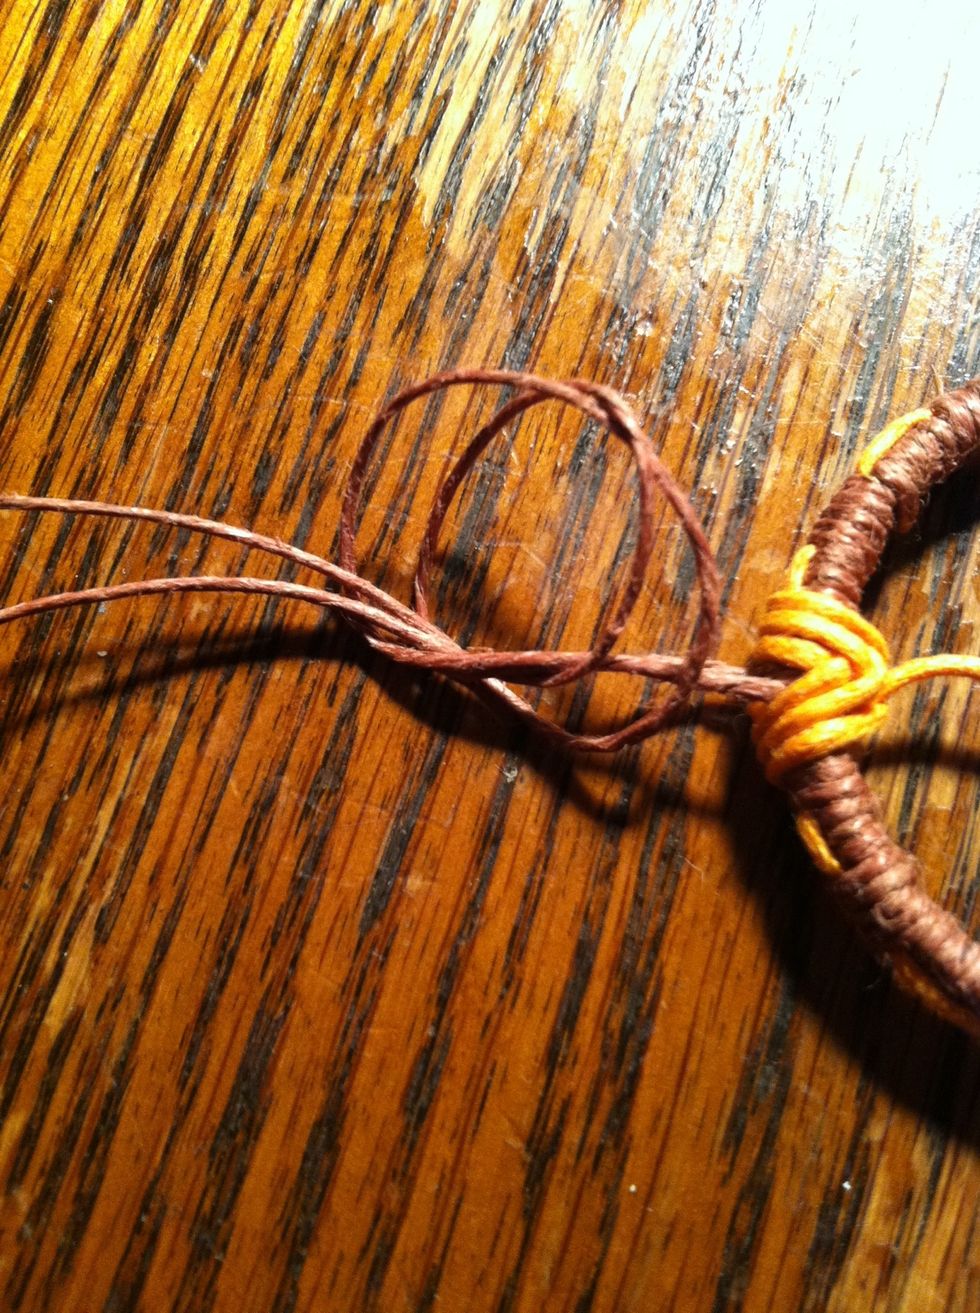
At the end you should have something like this. The left string in the picture is the string I wrapped with. The one to the right was the long "tail" that we left alone. Tie a knot with them.
Pull it tight. Add a dab of glue and let dry for a moment. Now it's time to creat your necklace. At this point you can decide what kind of necklace you want.
You have two basic options. An adjustable one piece necklace that uses the extra string to add embellishments OR make a clasp necklace and use "how to add to your wrapped bottle rings 1"
We will be making an adjustable one piece. Similar but not the same as this.
Pull you necklace strings up. You're going to be using your secondary string to wrap now. Start wrapping in a kind of figure eight. Under and over on either side of the necklace strings.

Decide which side you want to show as the front. This side or....
This side. I'm going to use this side. When you decide. Loosen you last wrap a little and slide your string through on the bottom.
Carefully retighten and spread your string back to cover any gaps. It should now be facing downward. This will hold your center charm. You can add it now but I'm going to wait.
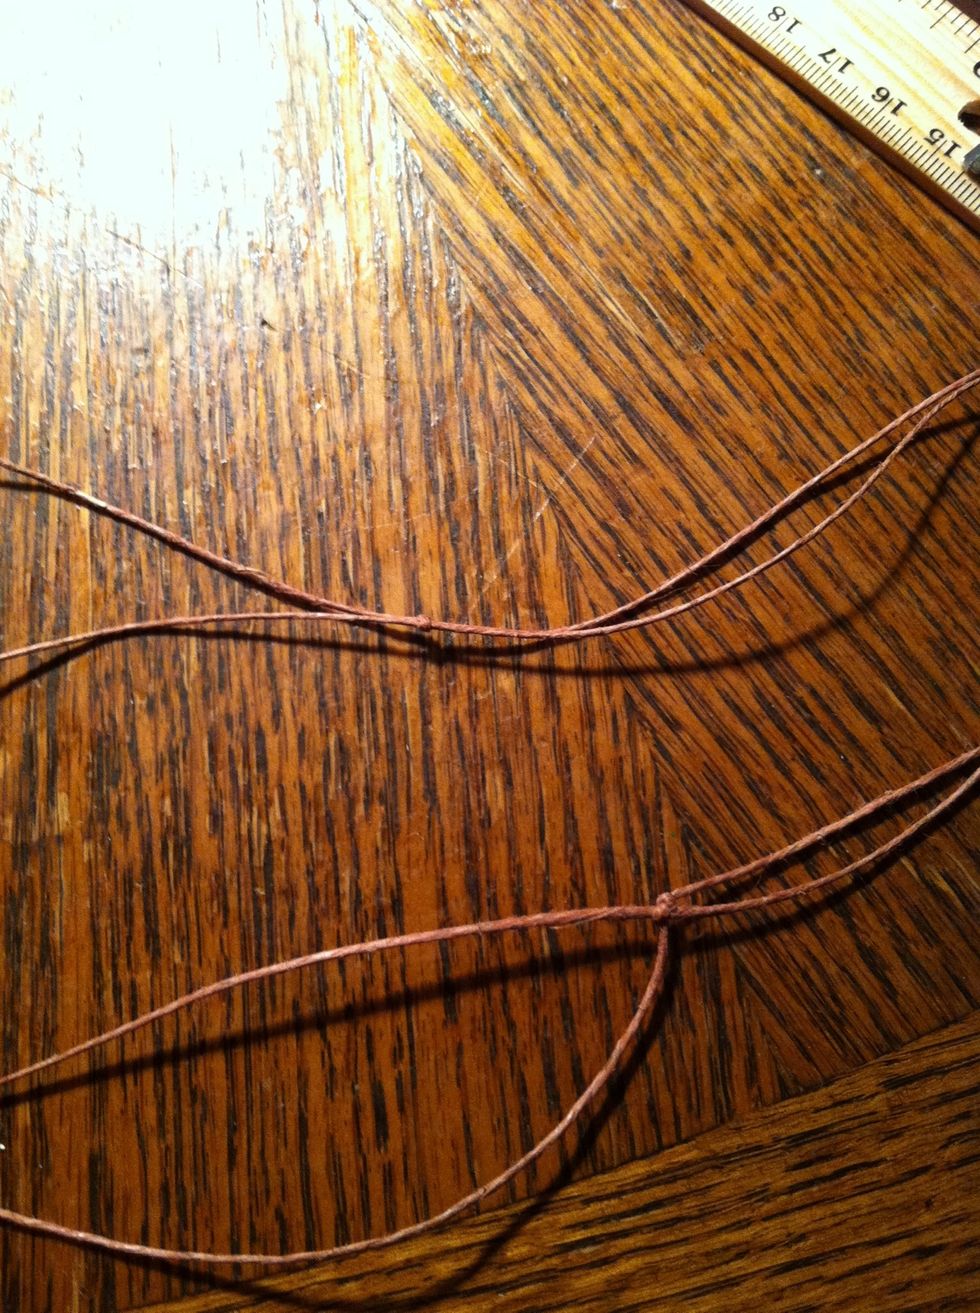
Tie an overhand knot and tighten as close to ring as possible. The easiest way to do this is slowly...
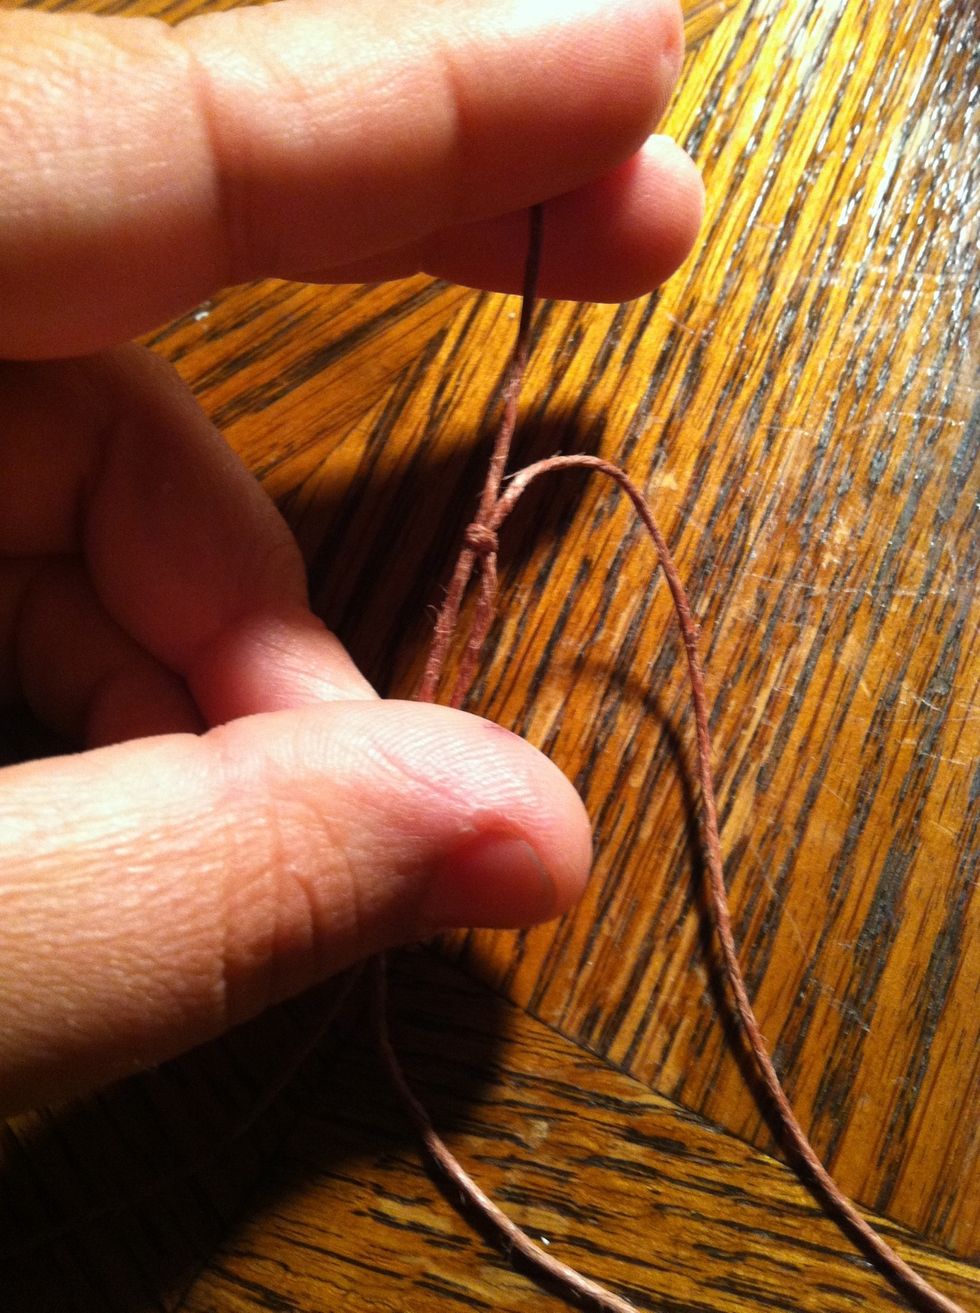
Tie a sliding knot with one string onto the other. Then repeat on the opposite string. ( next step is a video of how to tie a sliding knot)
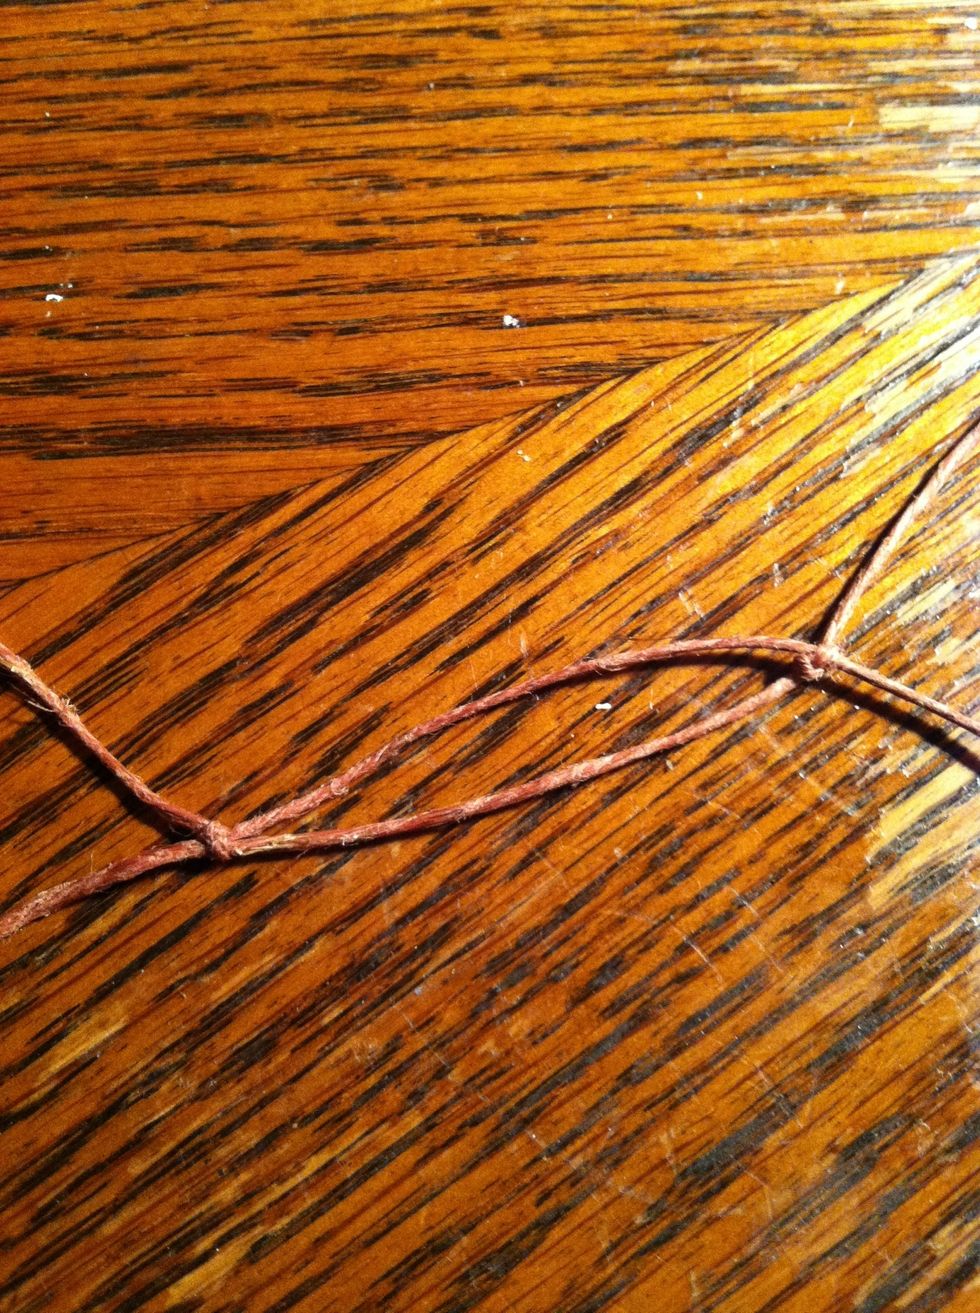
At almost it's largest it will look like this. The closer the knots are to each other the bigger your necklace is. It should be long enough to slip over your head. Don't cut your strings!
Put it on and measure it to a comfortable length. The strings hanging down are what you'll use to put your beads in. Don't cut them yet you still need extra to tie it off.
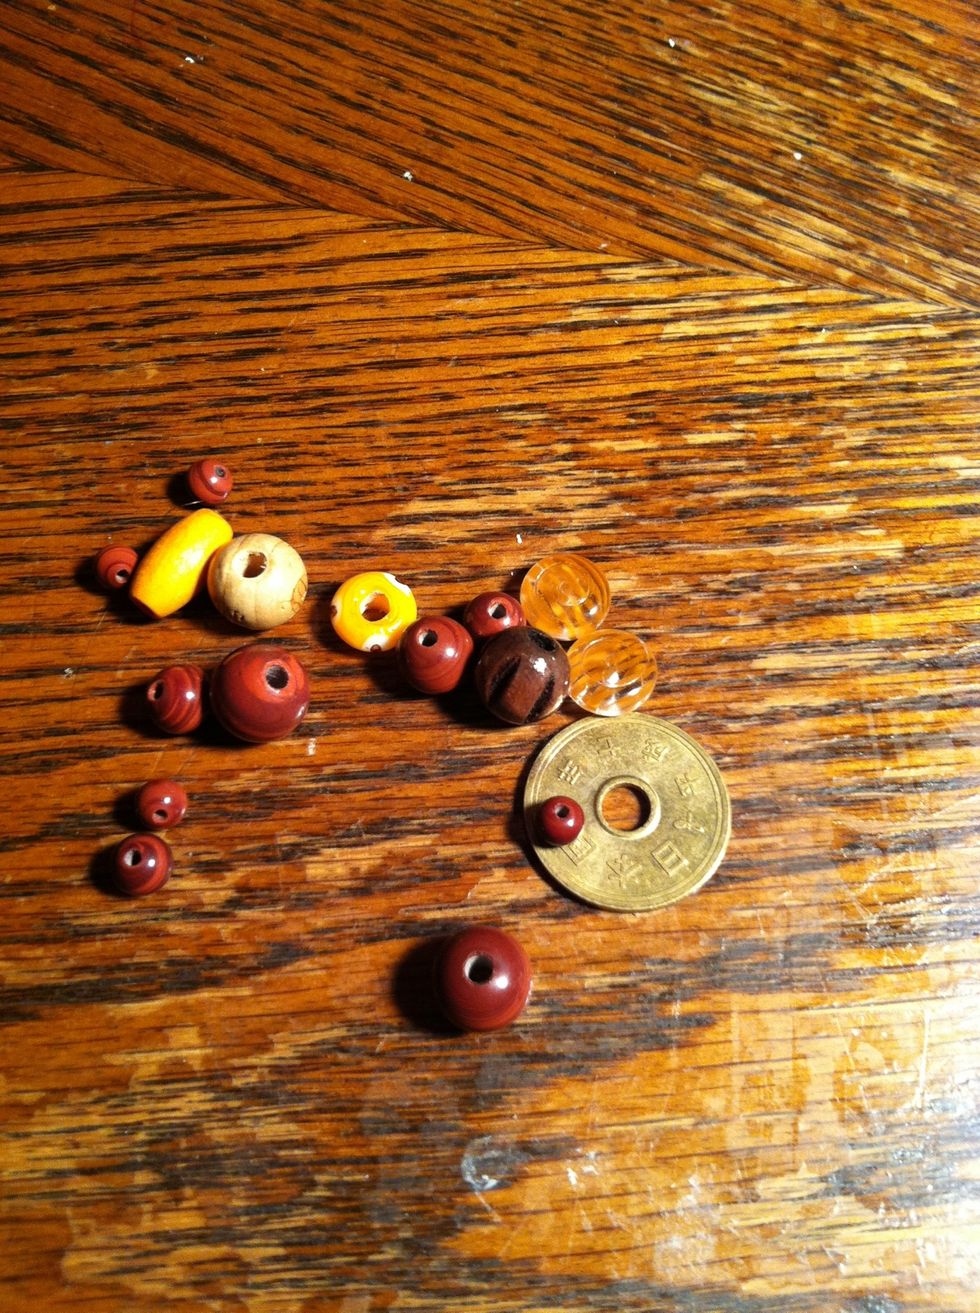
I grabbed a pretty random assortment of beads and a coin with a hole in it. That will be my center piece. I may paint it first so I'm going to add my beads before I decide.
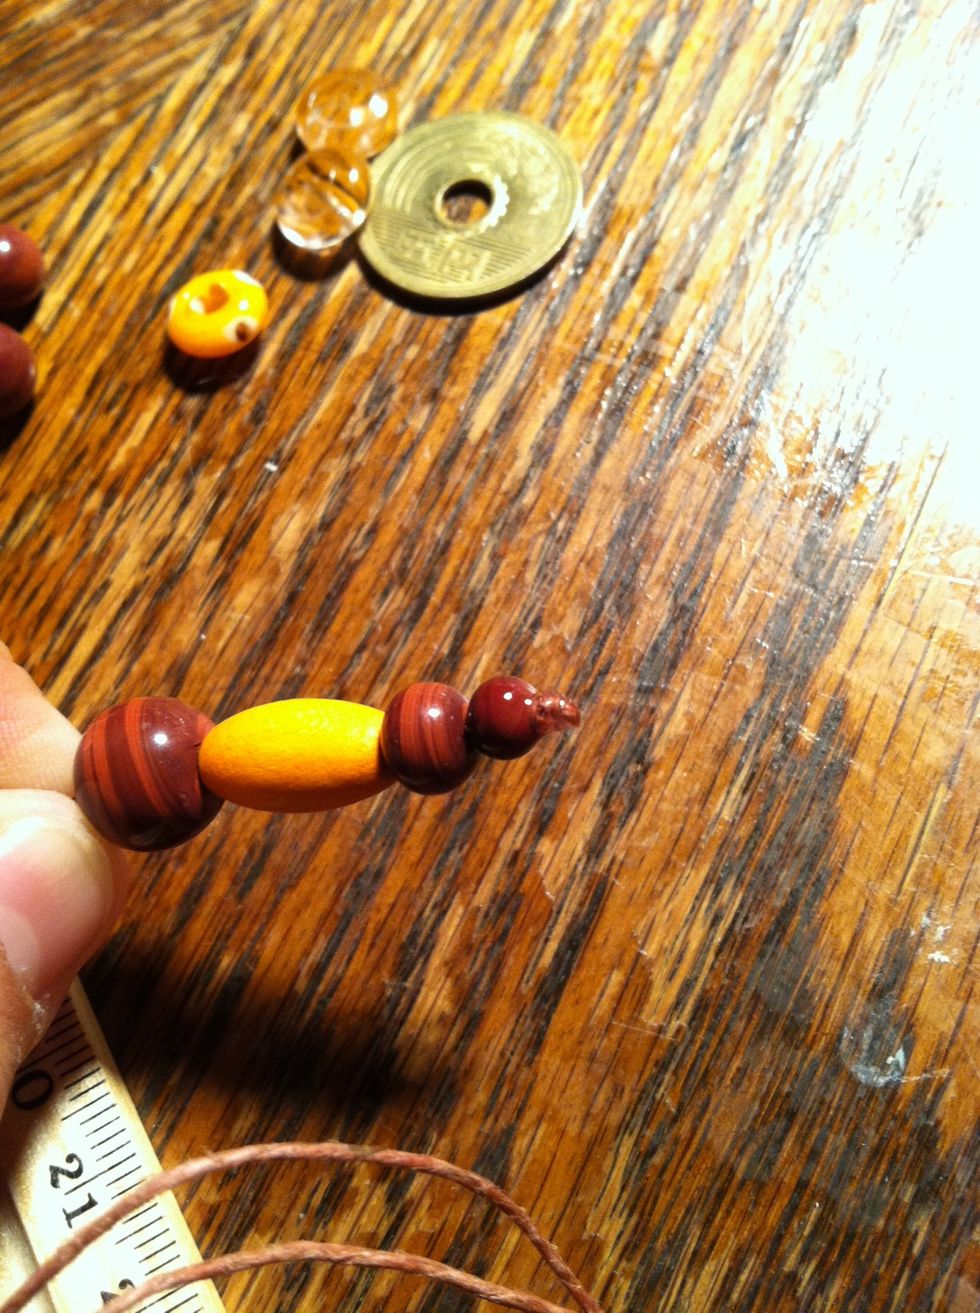
String your beads, tie a knot where you want it to end. Snip it and put a dab of glue. I've mentioned that I use fabric glue, I also like to glue the knot to the last bead for a stronger hold.
Add your center charm. Doing mine I had a little snag and didn't take pictures
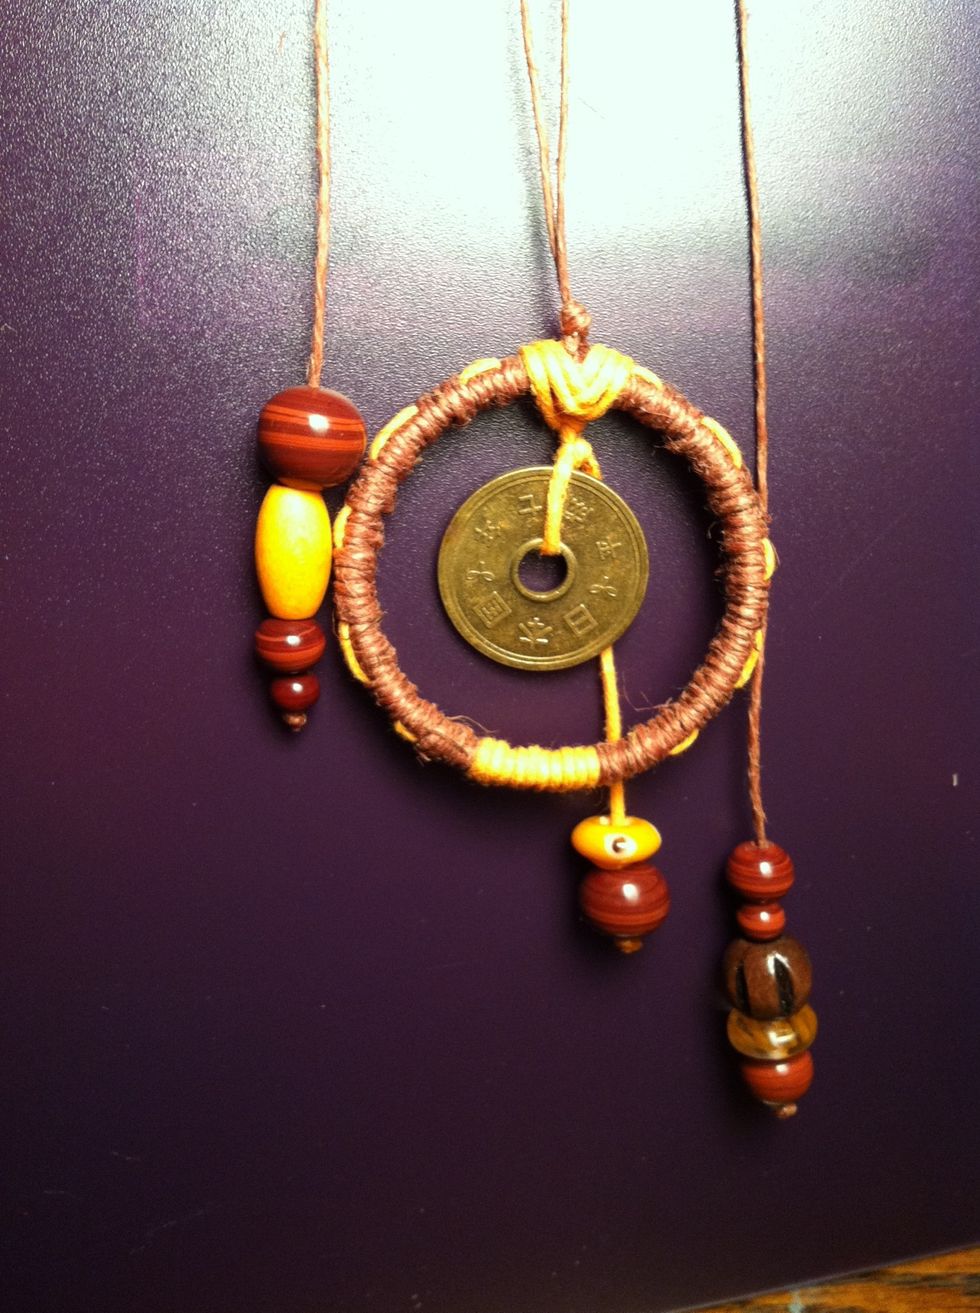
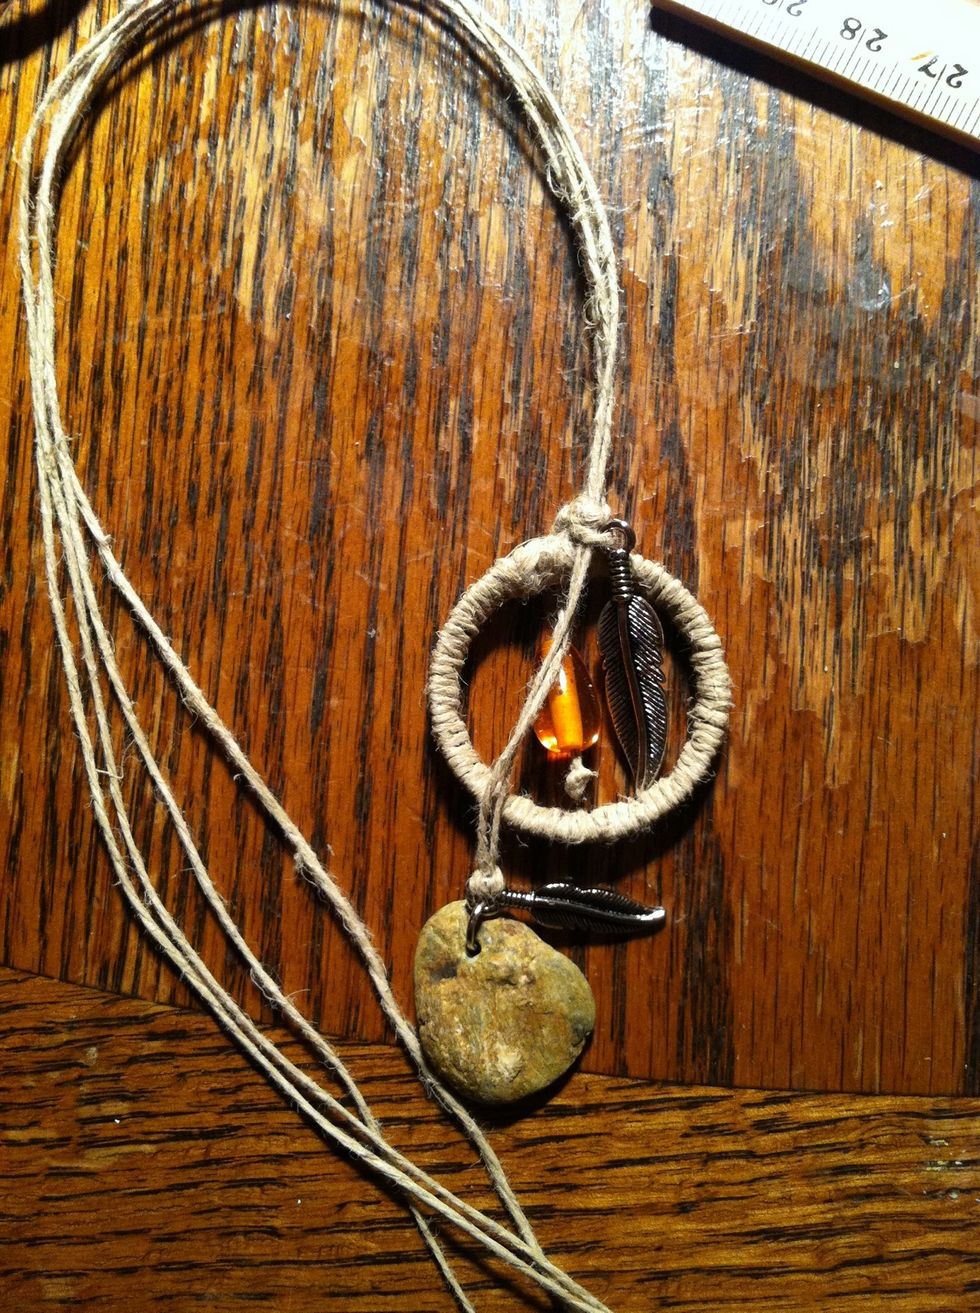
There you have it! A perfectly unique up cycled piece of jewelry. Adjustable and easy to wear.