The Conversation (0)
Sign Up
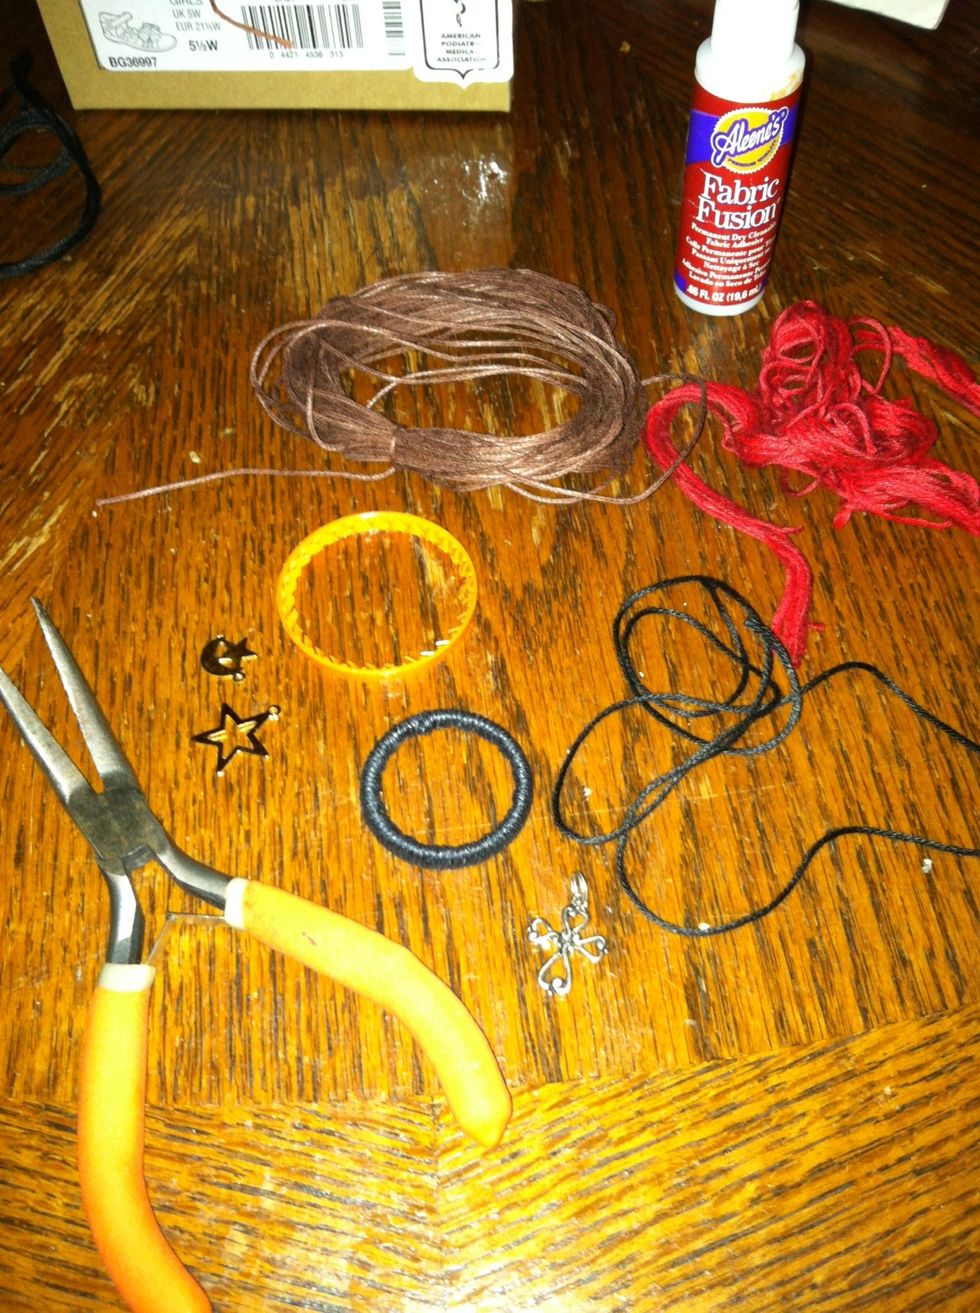
This is going to show you the first of two techniques. You may not need all of this for one or the other style.
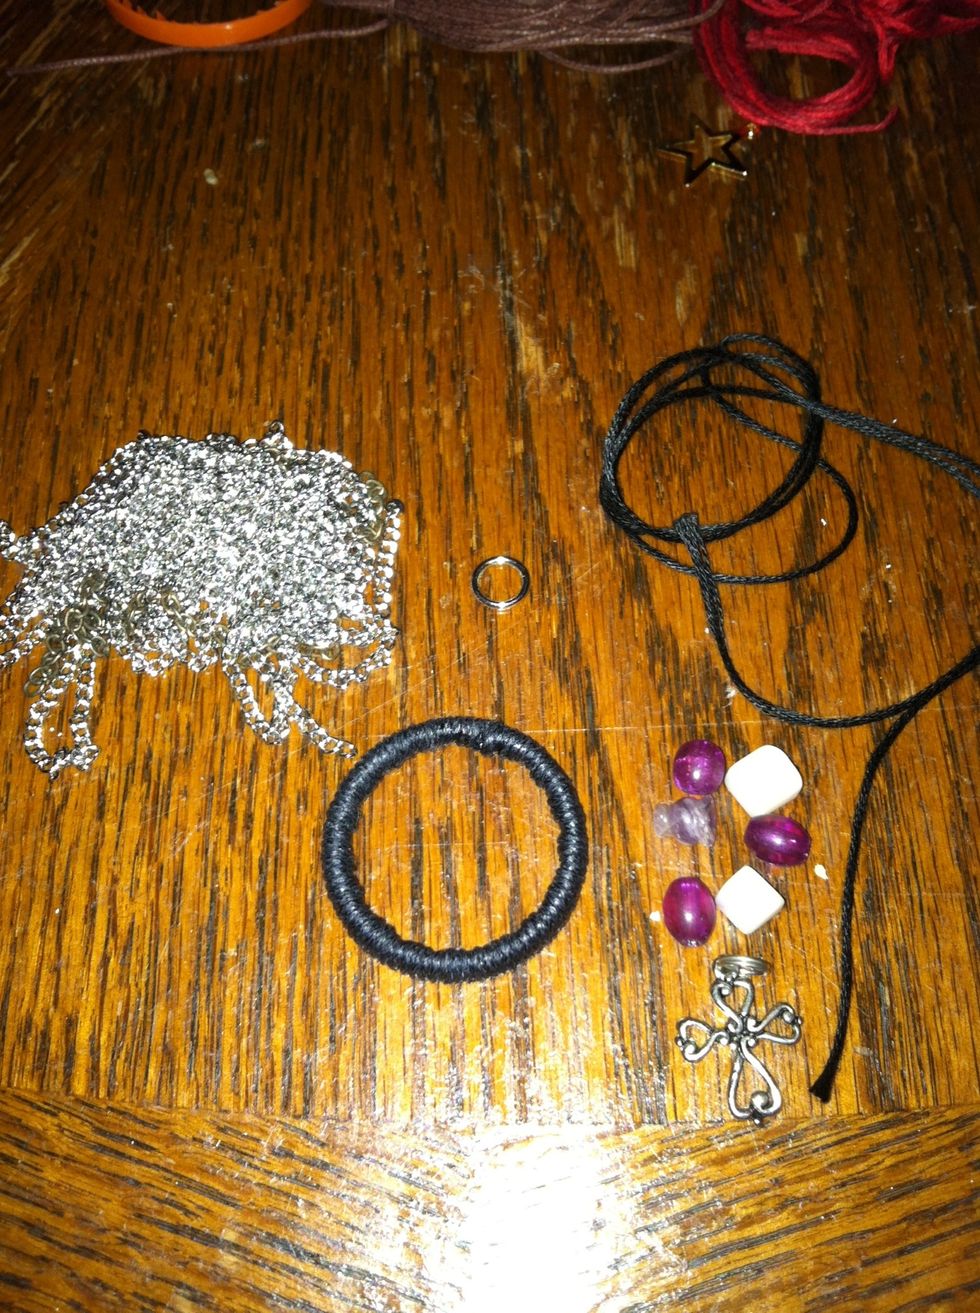
Technique 1: Adding to a pre-wrapped ring. I am going to make a center piece and two asymmetrical hanging sides. I'm also going to attach it to a chain.
Put your string through your center charm. Make your side even. (sorry its so bright without the flash it's too dark)
My video of this step got messed up. I'll try to explain it. If you don't know how to make a larks head knot leave a comment and I'll try to explain that too.
With your center charm on your string make a 'backwards' larks head knot. Do this by positioning you charm facing forward in the center of the ring and place you strings over the top.
Pull them through the loop (this is kind of hard to explain) on the outside of your strings. If you are familiar with a LH knot you would normally pull through the loop made. But not this time!
NOW put your strings through the hole created between the ring and your charm. Loosely pull it through.
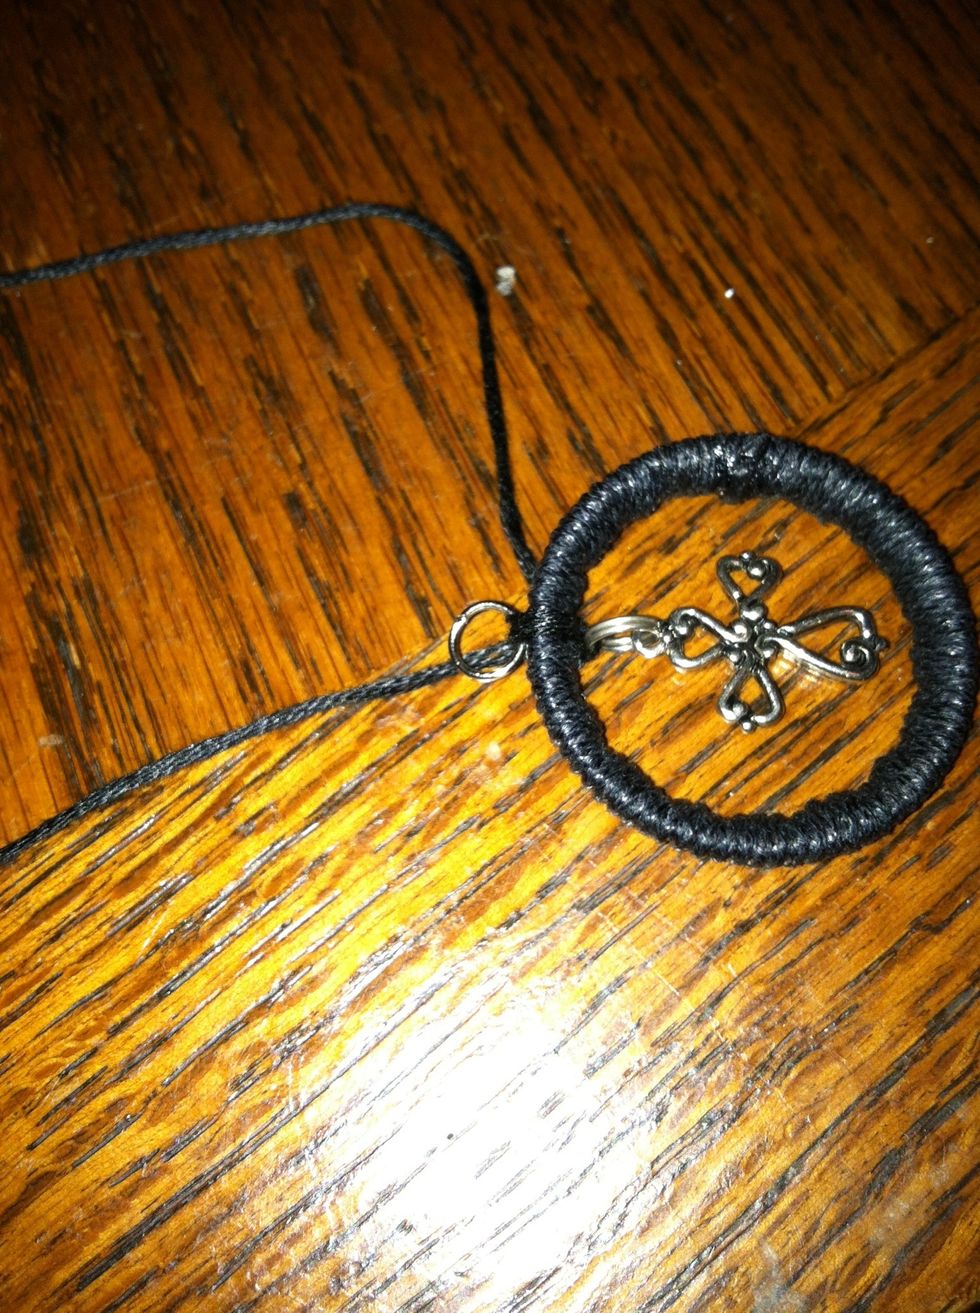
At the top of your ring pull the two strings that went over the ring together and up making a loop and thread your jump ring through. Close the jump ring and pull you strings tight.
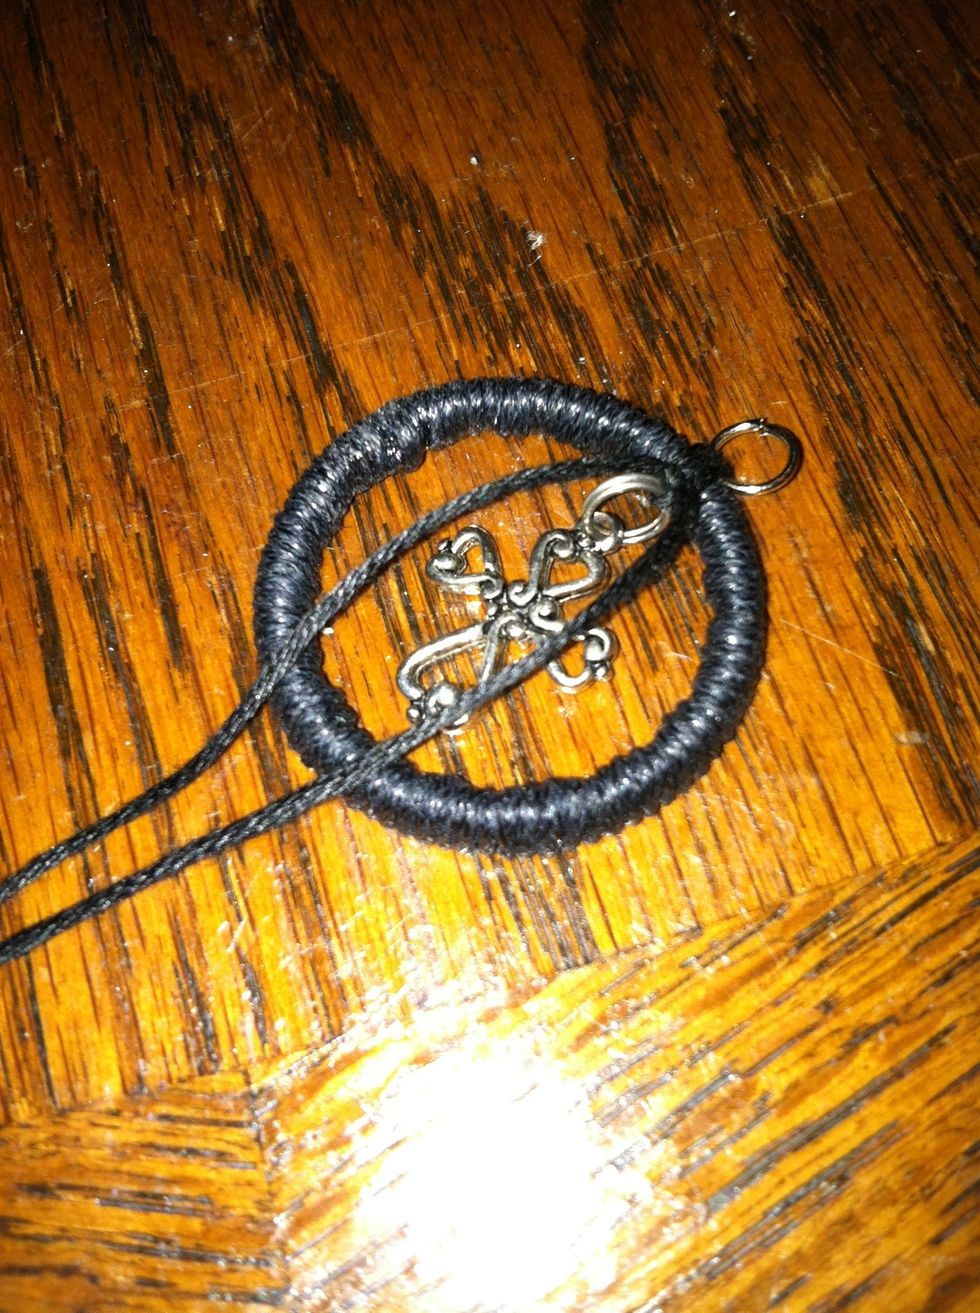
This is the view from the back. I also tied a standard knot to add strength. The strings should go down like the charm and the jump ring up. You may need to flip your LH knot as you tighten it.

String you beads or other charms. Remember that they will hang in the back. If you want them to hang in the front you will have to reverse your center charm when you attach it.
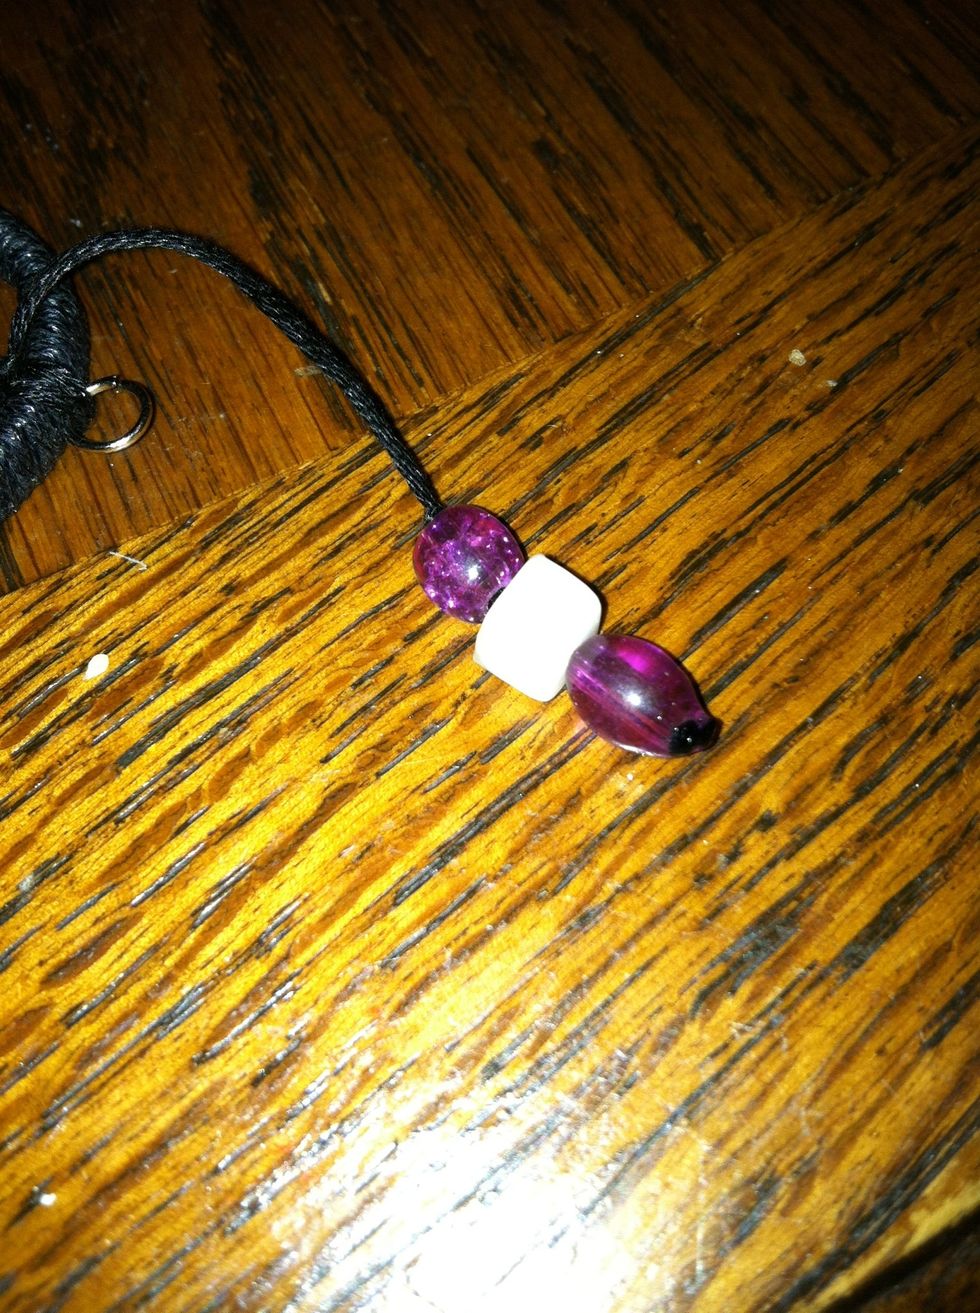
Decide on a length and tie an over hand knot. Snip it as close as you can and add s dab of glue. Do the same to the other side.
Note: I use fabric glue because it dries clear and strong and doesn't desolve if it gets wet. Also it dries soft so it doesn't scratch your skin when you wear it.
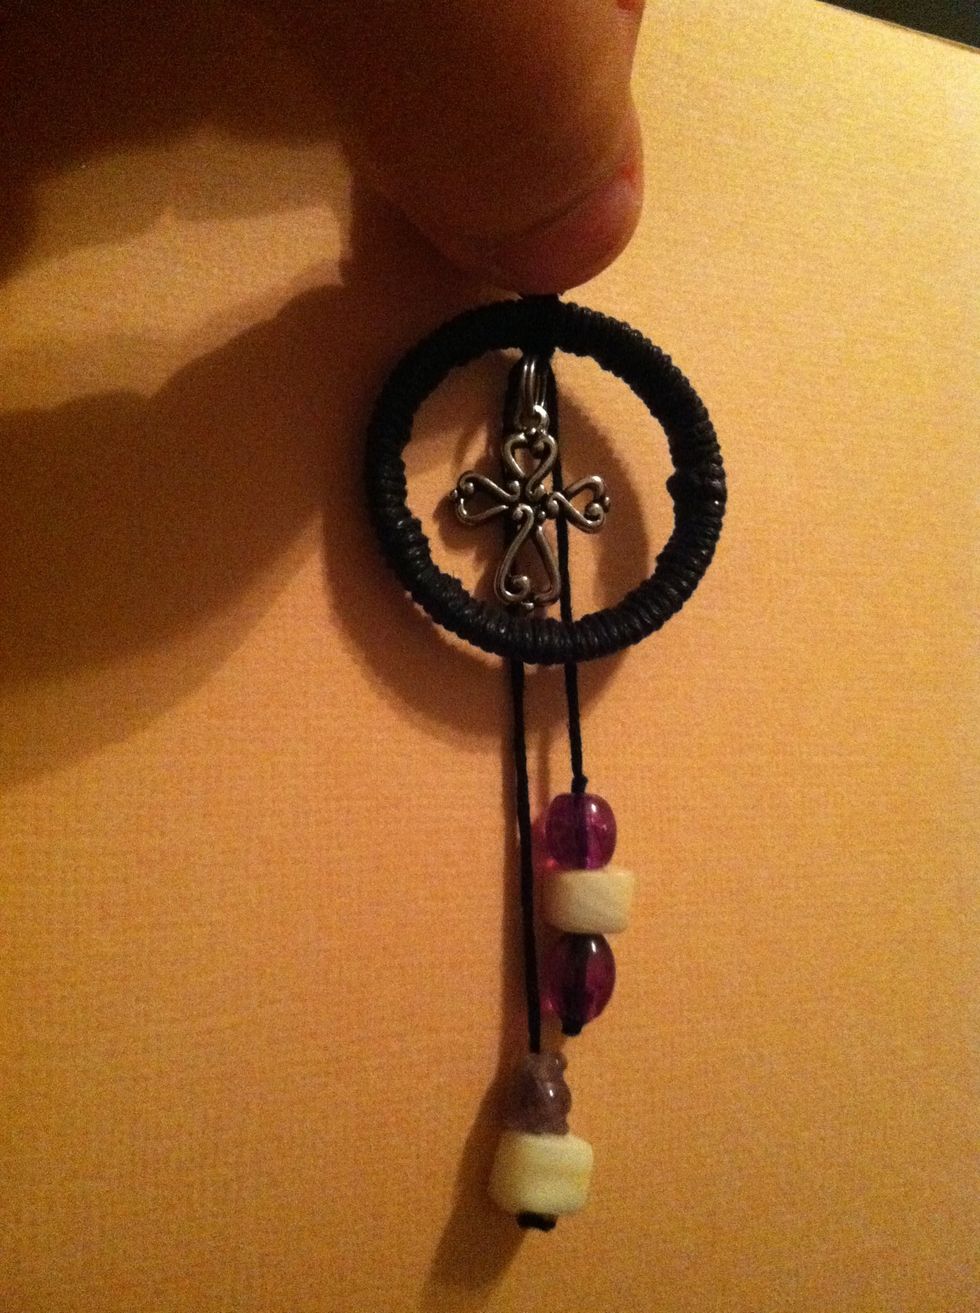
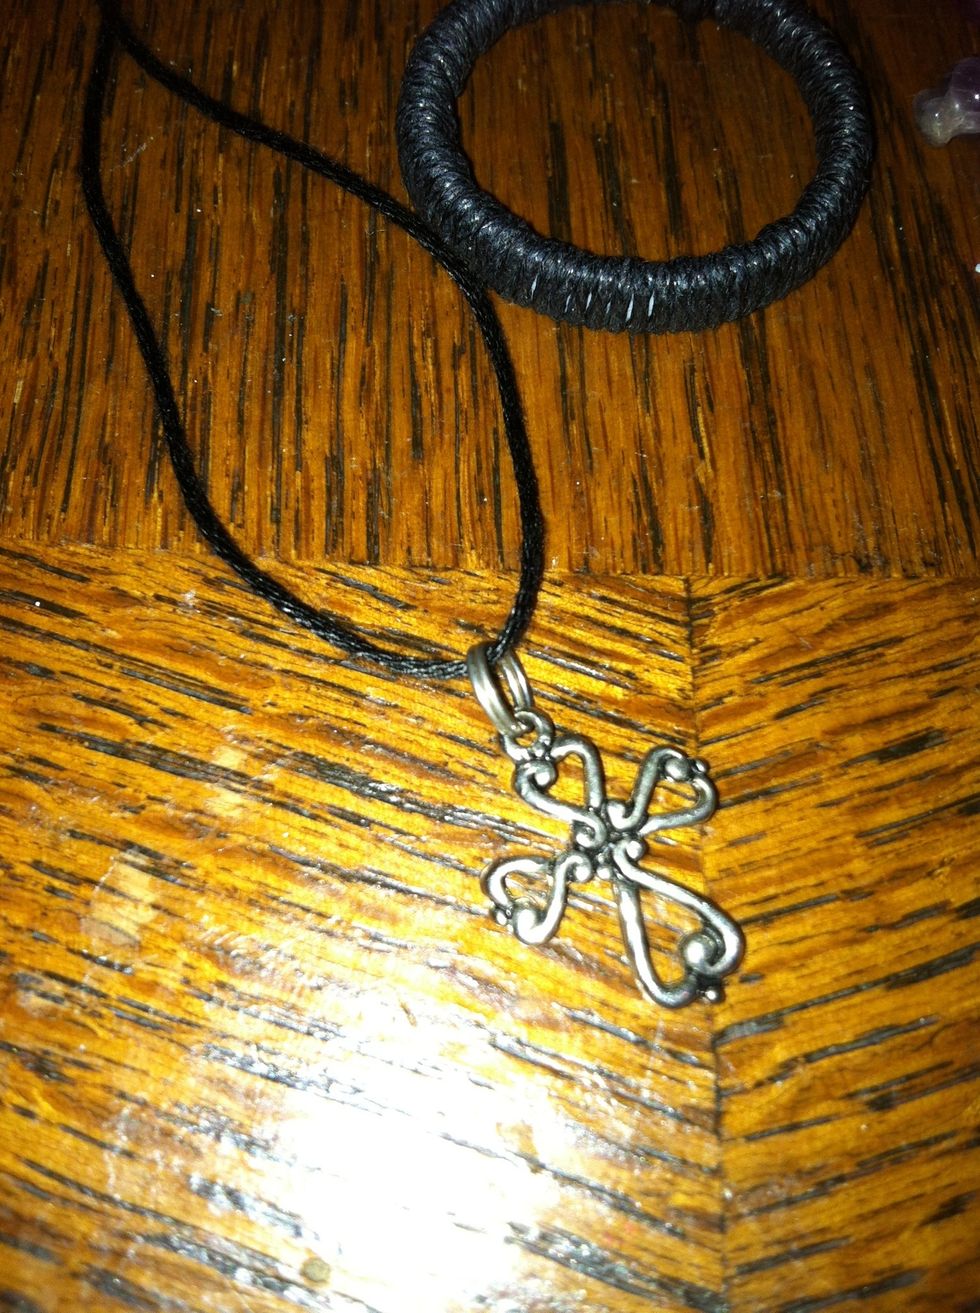
And that's it! Add another jump ring or a pinch bail and a chain and you're all set!