The Conversation (0)
Sign Up
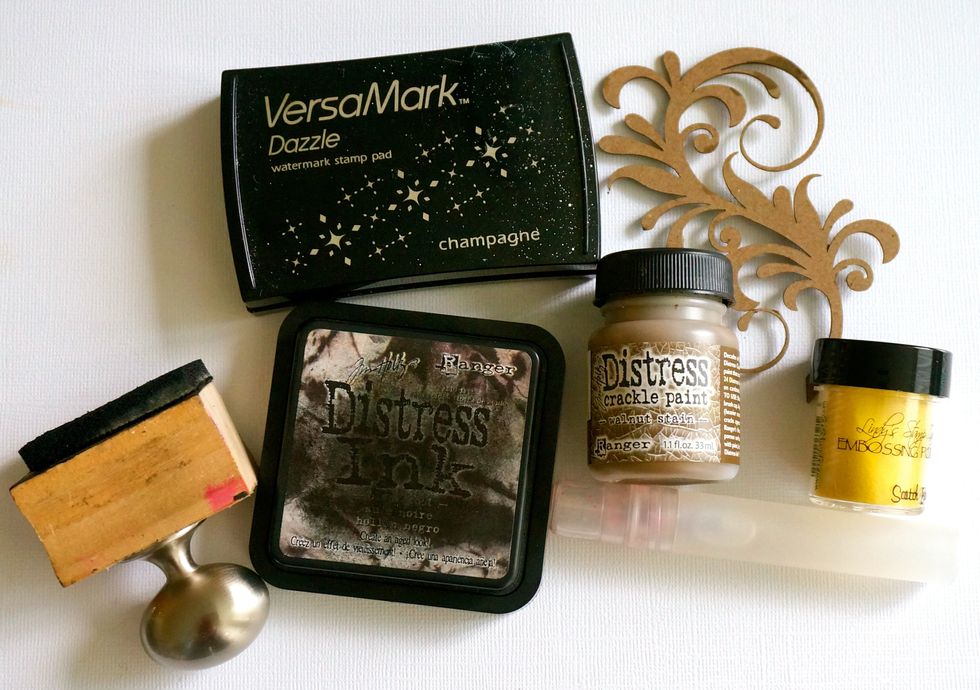
Grab your supplies! You'll need chipboard, crackle paint, distress ink, embossing ink and powder, and a mini mister!
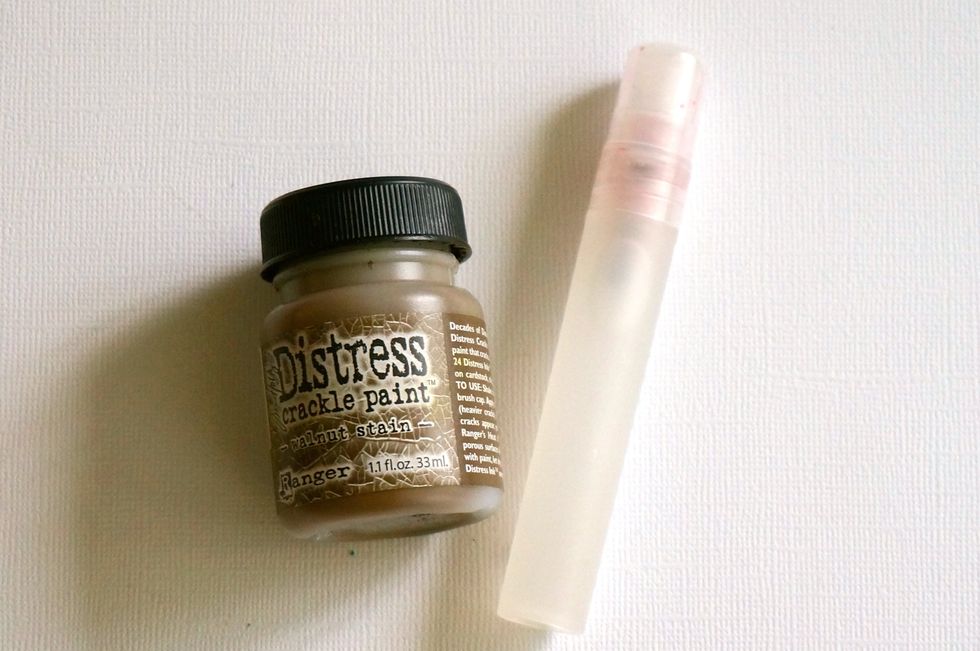
This Crackle paint is very thick and can be intimidating. Feel free to water it down! Add as much or as little as you like until you get your desired consistency. It will NOT affect your results!!!
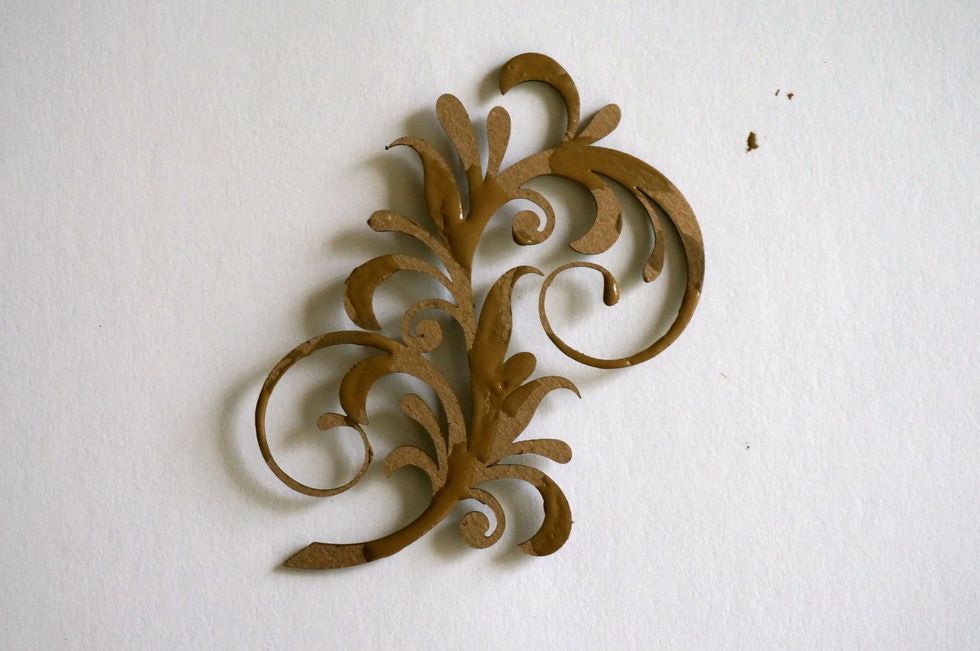
Add the paint to your piece in random areas, making sure to apply a medium to heavy coat! This is a necessity for this paint to work correctly!
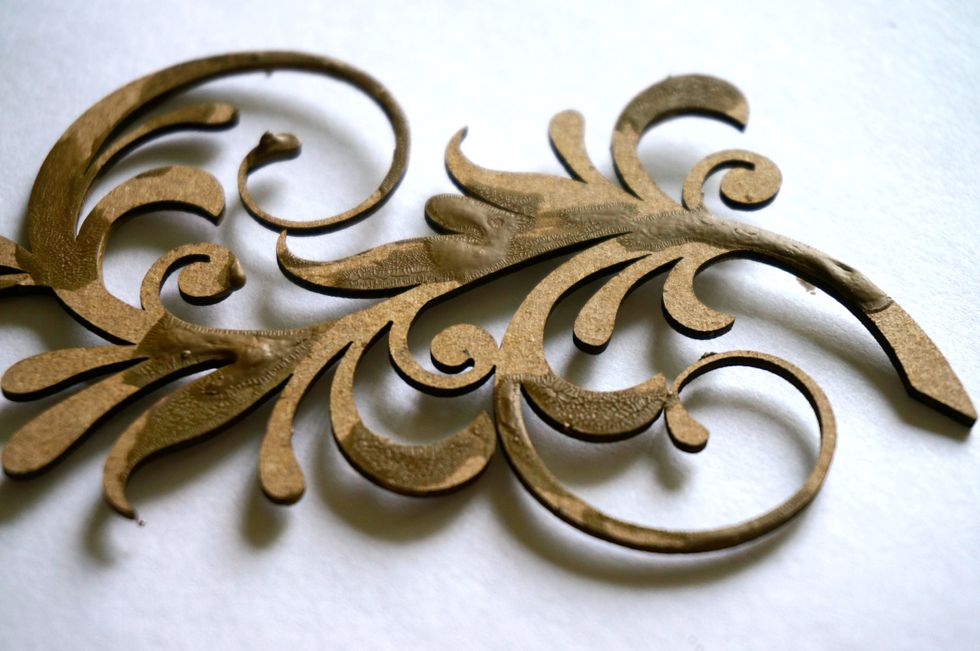
Allow your piece to dry... I sped up the process with my heat gun :-) Look at those beautiful cracks!
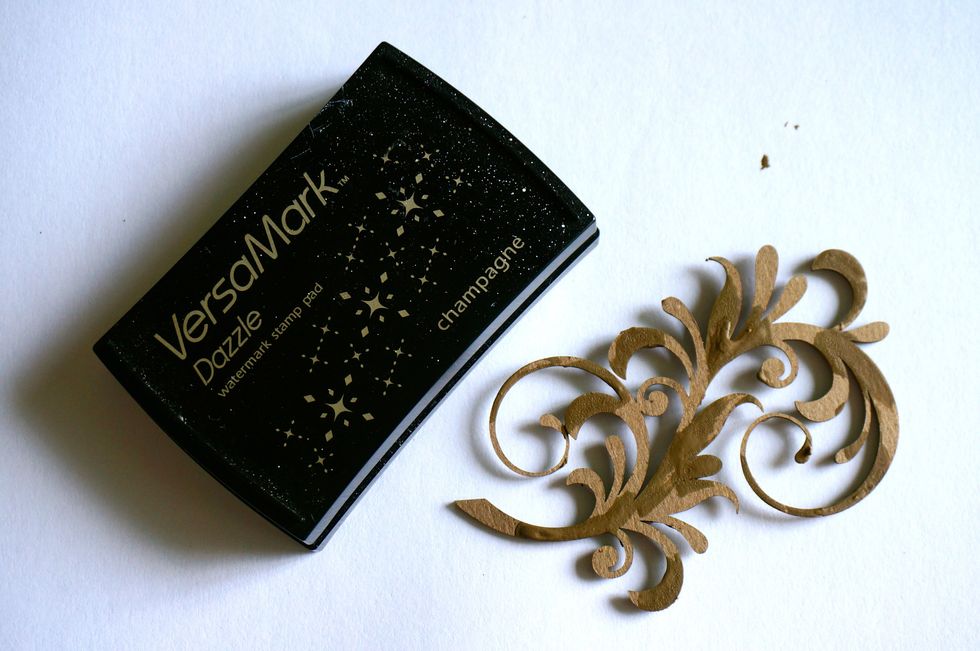
Apply a generous amount of versamark (or other embossing ink) over top of your dried piece.

So I forgot to take a picture of this step, but add your powder over your piece, then use your finger to remove some in random areas. Use your heat gun to emboss!

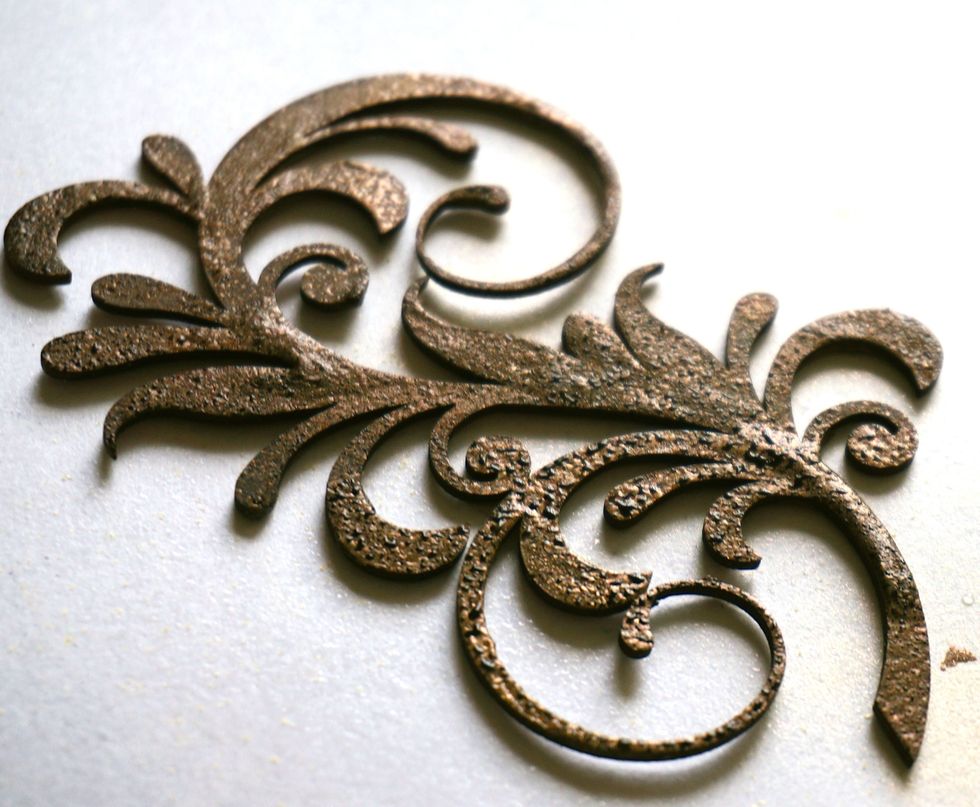
Voila! Look at that beautiful texture!!! And the LIndy's powder gives it an amazing shine too!
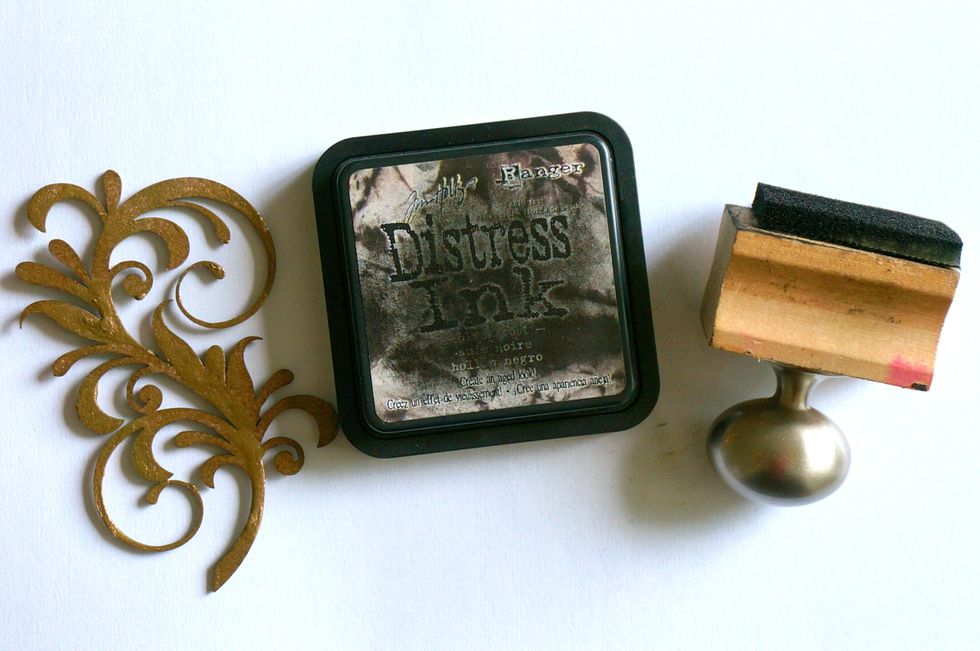
Grab your favorite ink, but make sure it's quite a bit darker than your piece. Apply a generous amount over your entire chipboard, making sure to really get it into those cracks!
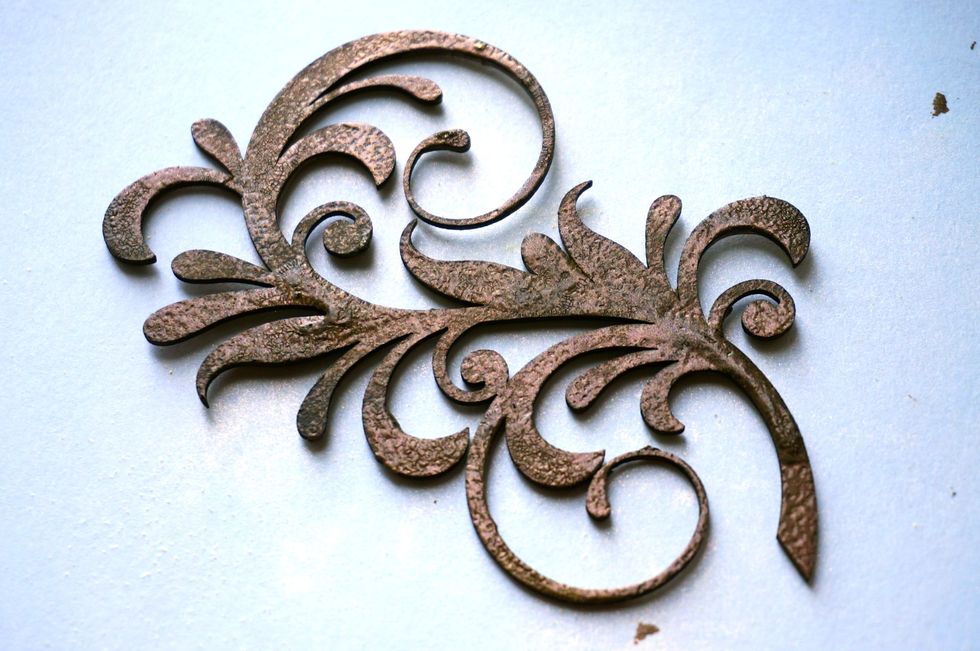
It should look like this!
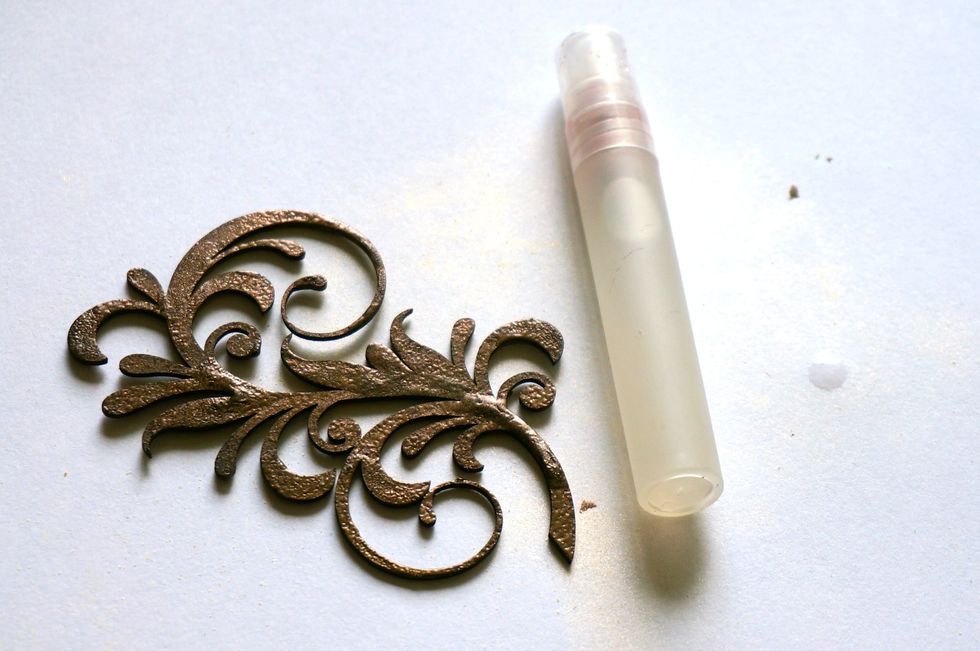
Use your mini mister to add a small amount of water to the top of your chipboard.
You can see how the distress crackle paint acts as a resist, causing the ink to "bead up"! I used a paper towel to dry up the water on top!
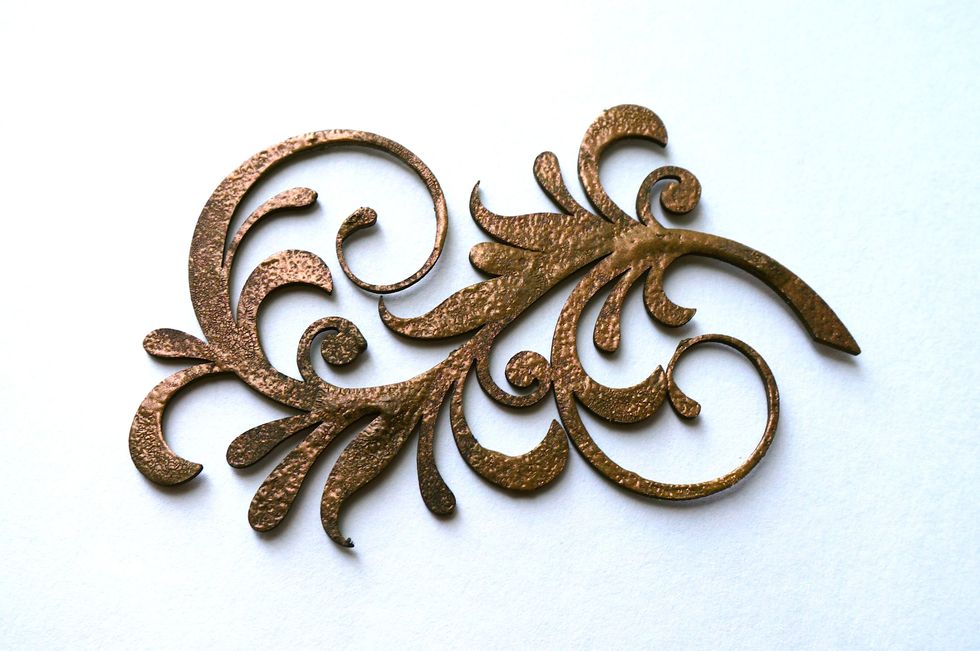
Here's my finished piece! The black stays inside the grooves of the cracks, but wipes right off the top coat to let your beautiful color shine through!
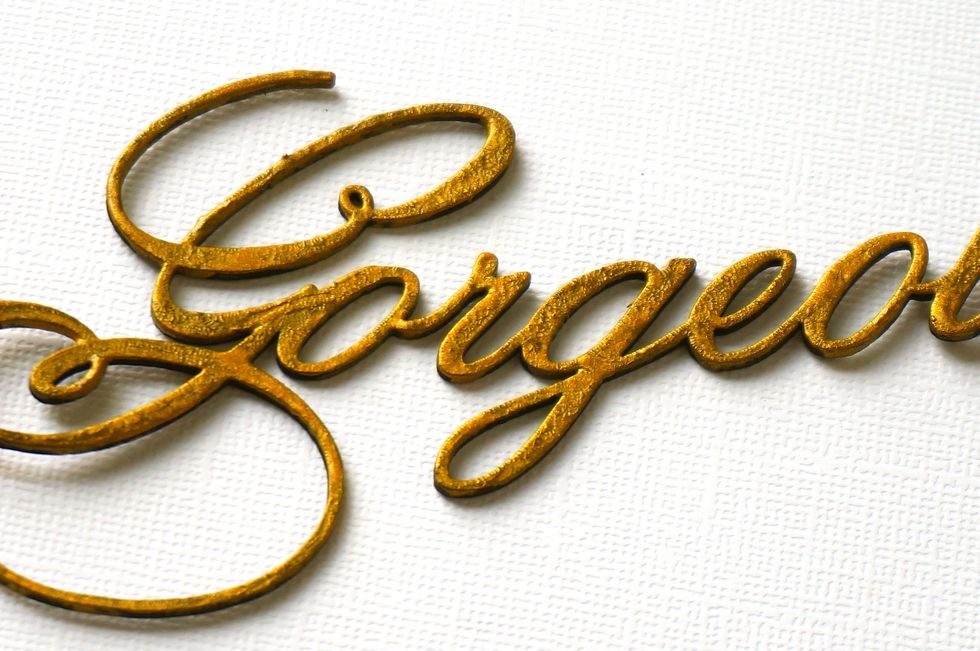
Here's the other chipboard I used on my page. I used the same technique, only adding Smooch Accent ink in Sundance over the dried crackle paint, then a generous amount of Black Distress ink.
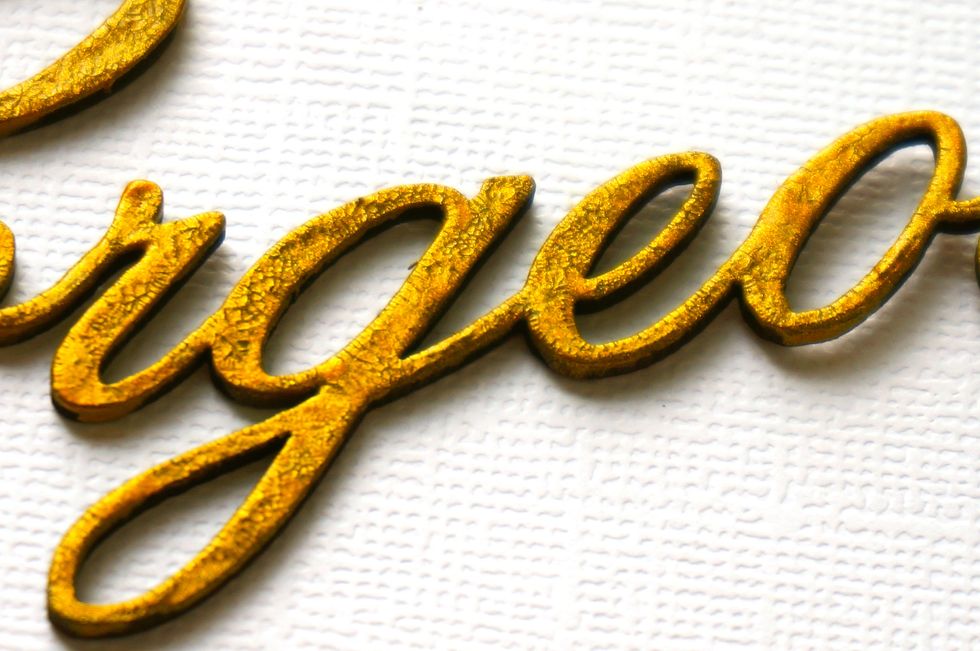
You can see how the black stays in the cracks, but wipes right off the top coat!
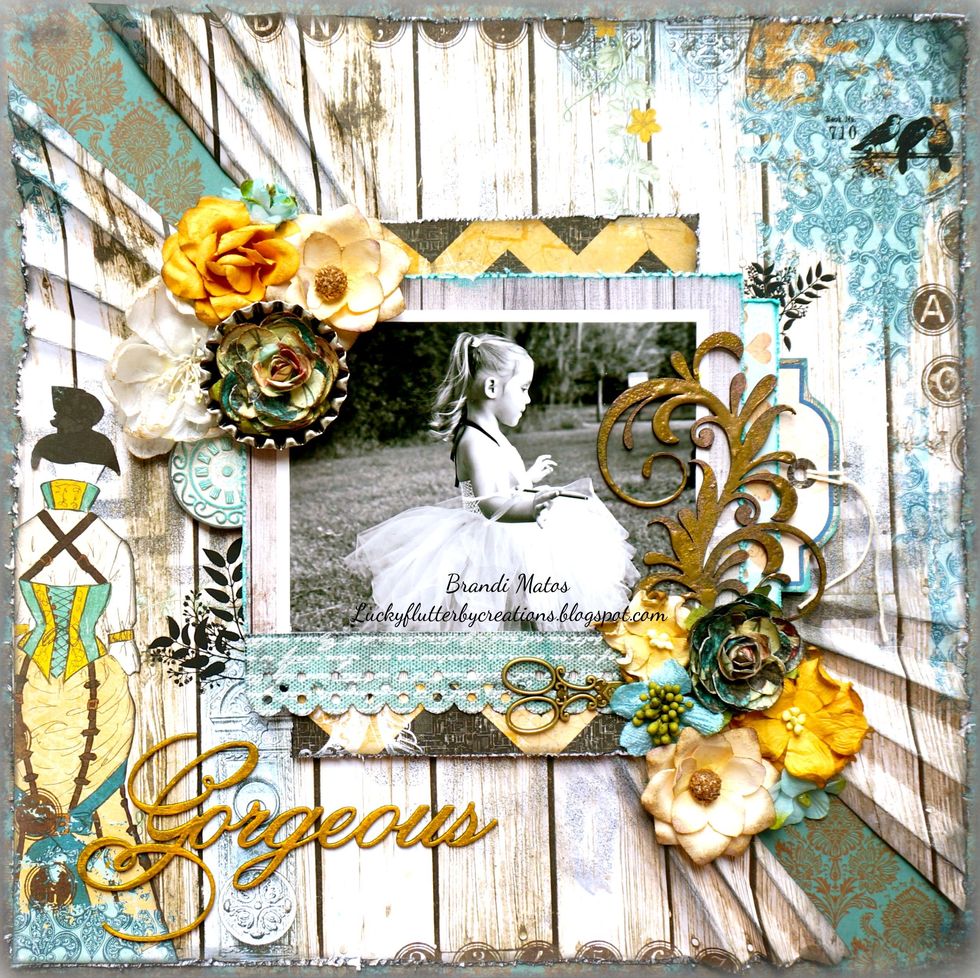
Add your altered chipboard to your layout for amazing results!