The Conversation (0)
Sign Up
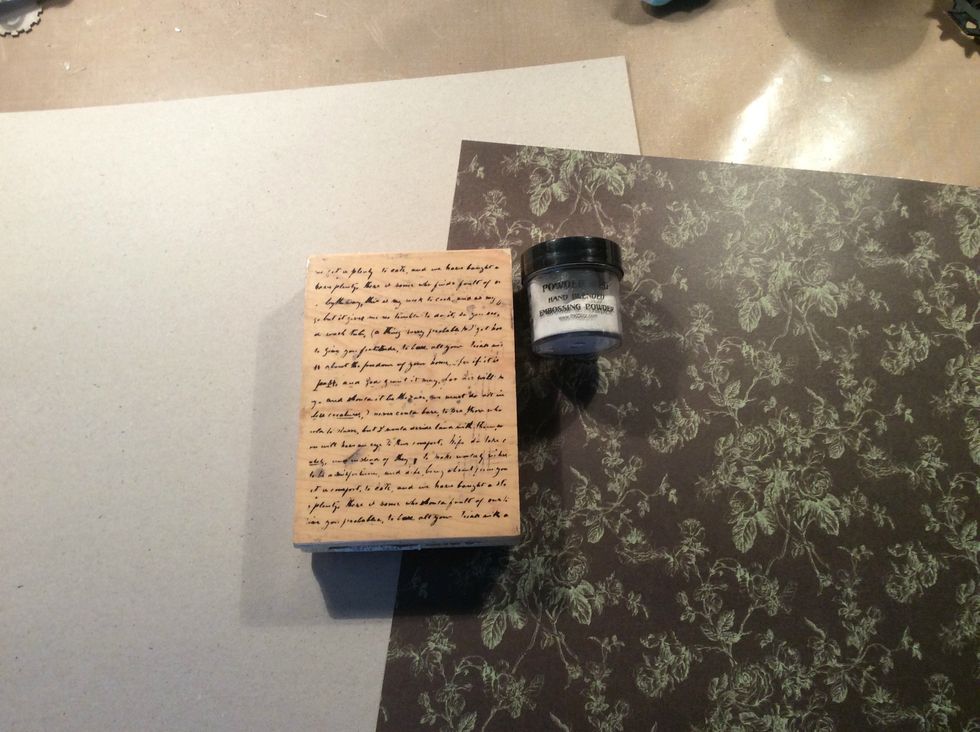
Because this layout will have weight to it, I adhere chipboard to the back of my 12 x 12 scrapbook paper. Using script stamp and white embossing powder, stamp & heat set your impression randomly.
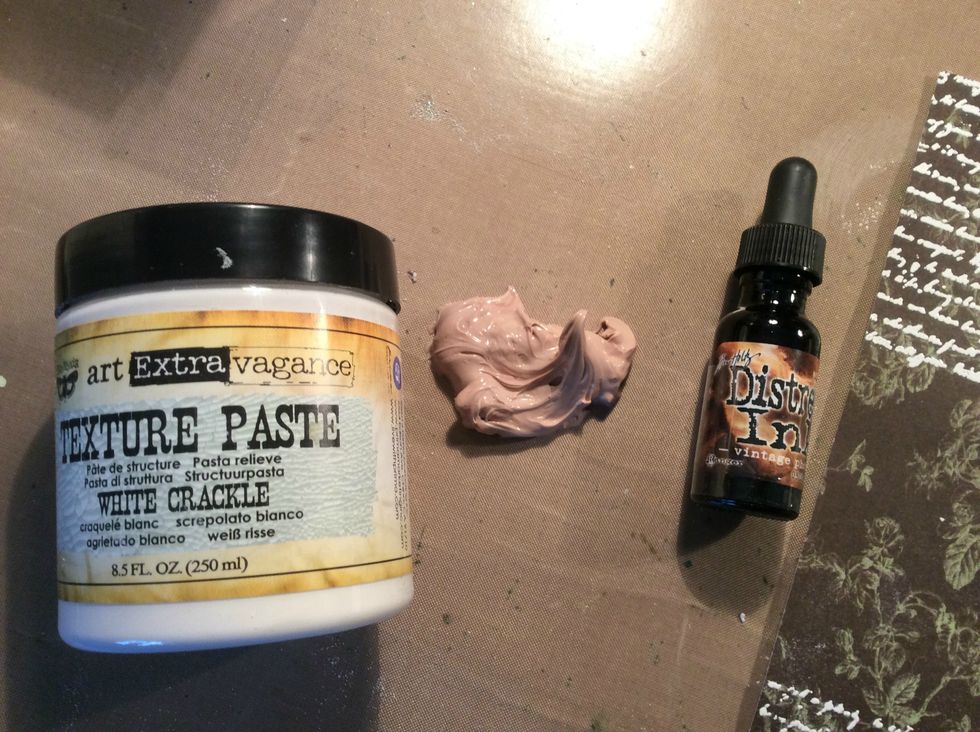
Mix a bit of Texture Paste with your choice of Distress Ink. You can also use acrylic paint, mica powders etc. to customize you paste color.

Randomly spread your paste over your stencils throughout your layout.
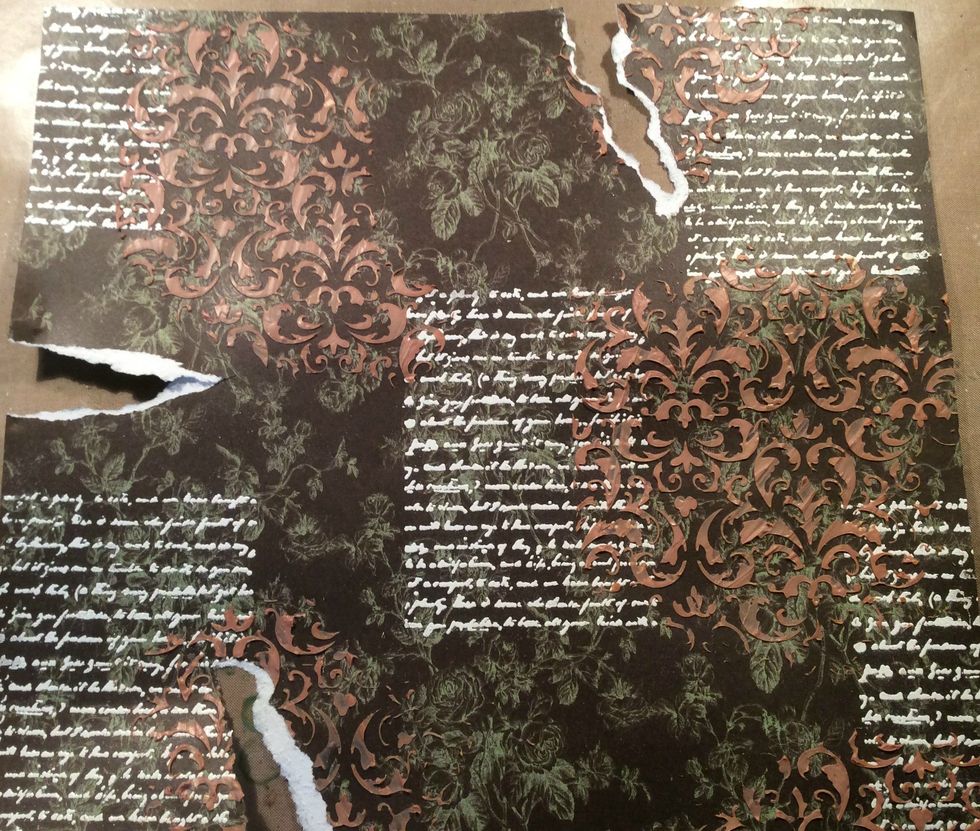
Allow your paste to dry completely. To add more texture, rip sections of your paper away to leave negative areas.
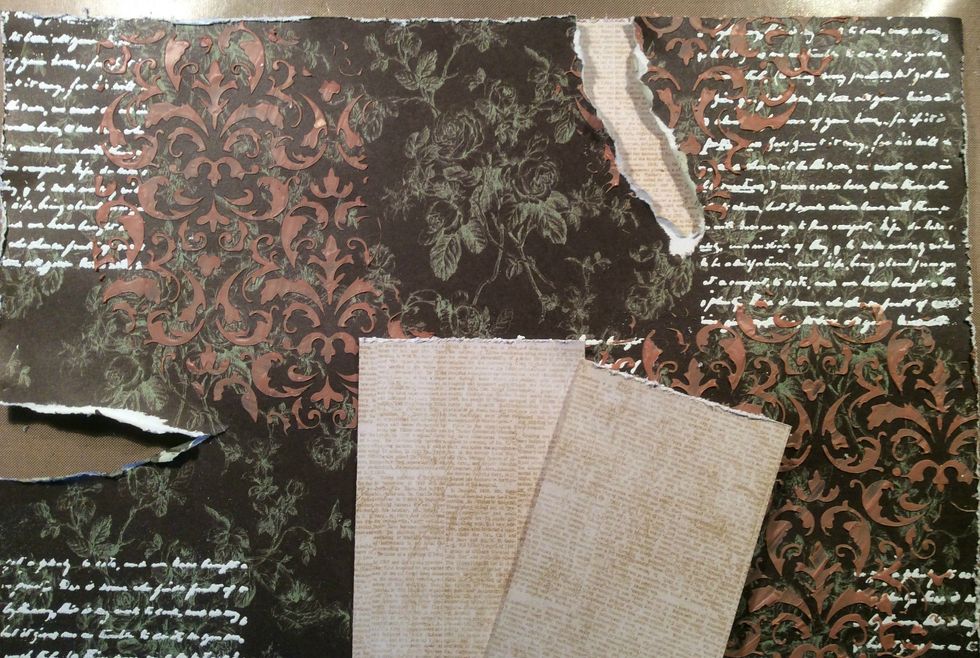
Choose contrasting colors to be glued behind your ripped sections. I also distessed the edges of the papers.
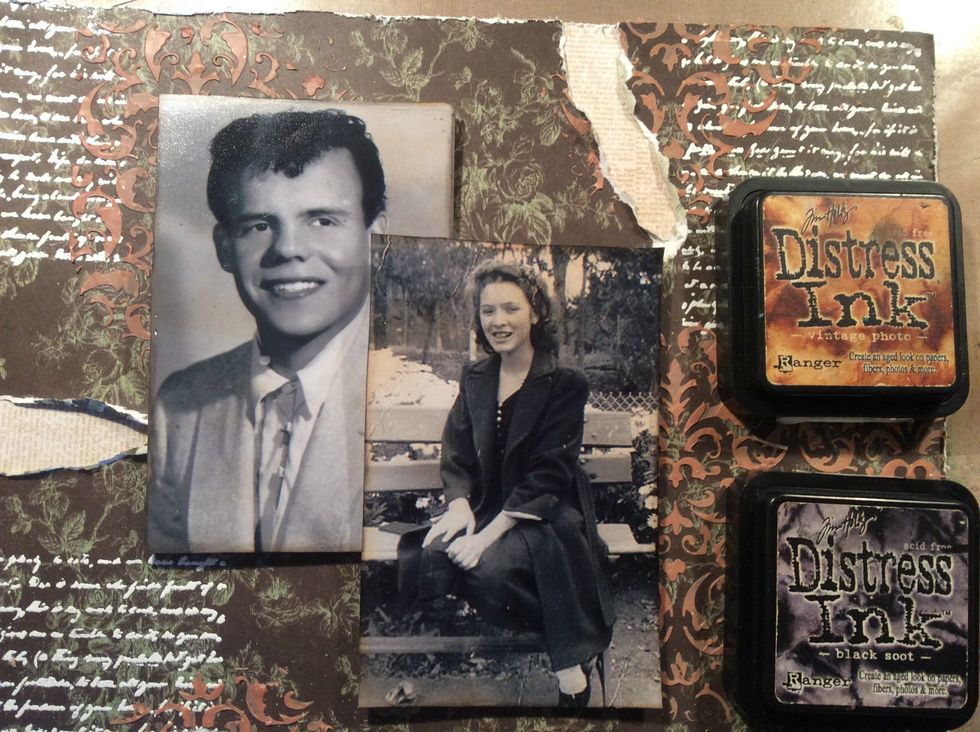
Taking Vintage Photo DI lightly apply to edges of my photos and then edge the photo with Black Soot Di to add that vintage appeal. Adhere your photos to layouts.
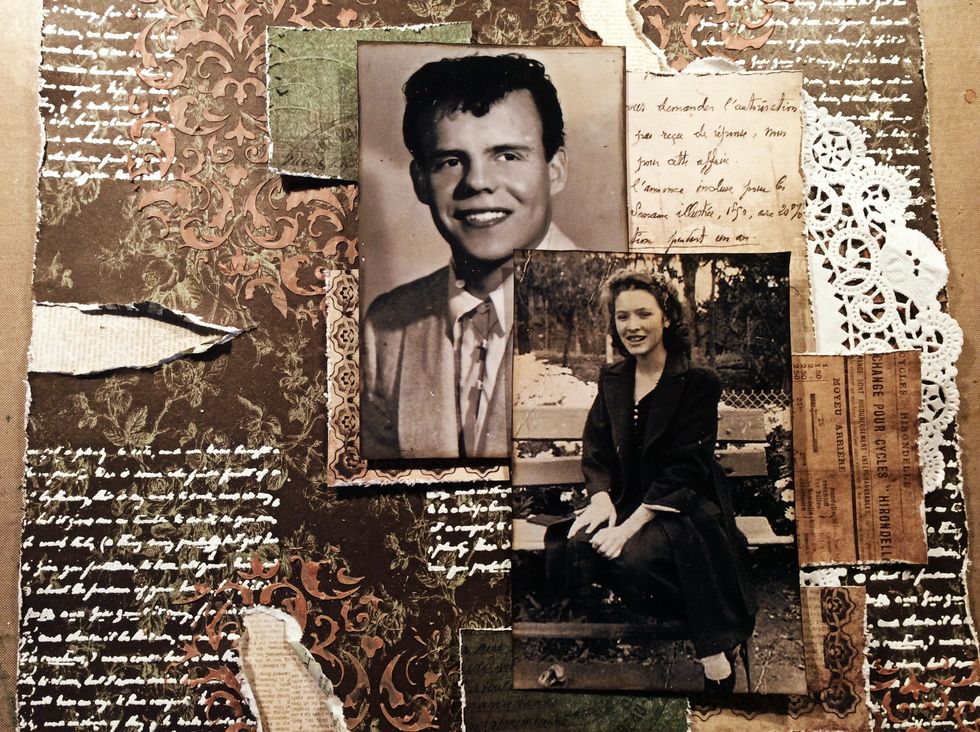
Distress pieces of ephemera to layer around your photos. I glue pieces of thick cardboard under my photos first to lift them a bit which then allows for room to add your ephemera. Glue down.
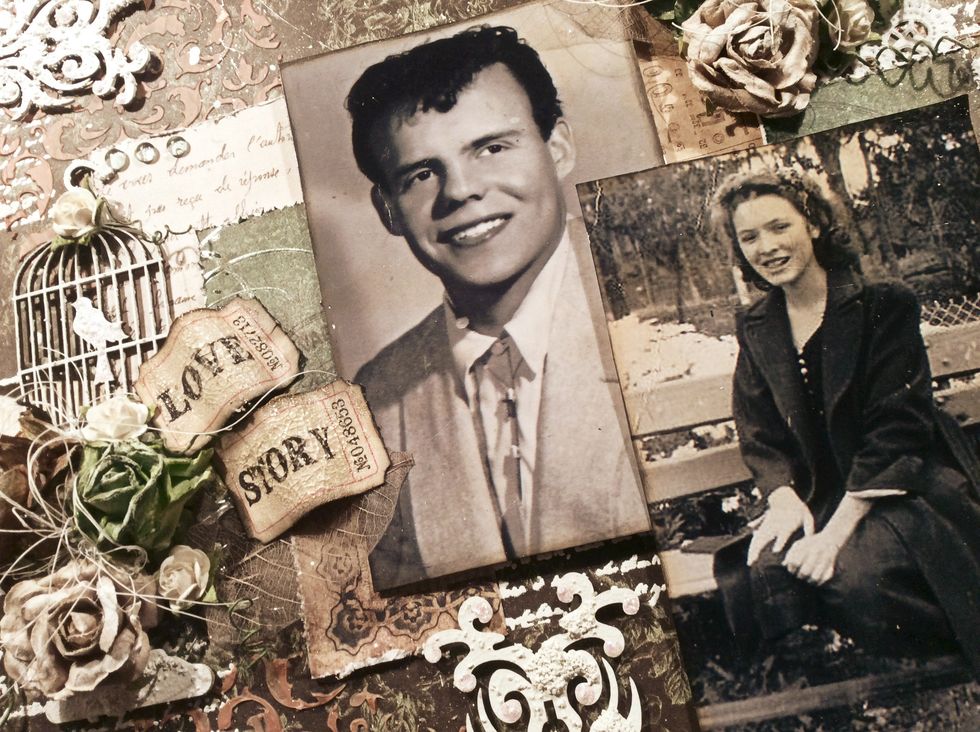
To finish off your embellishments, apply Texture Paste to your chipboard pieces. Add your flowers and dry brush a bit of white gesso on top. Glue your fibers down.
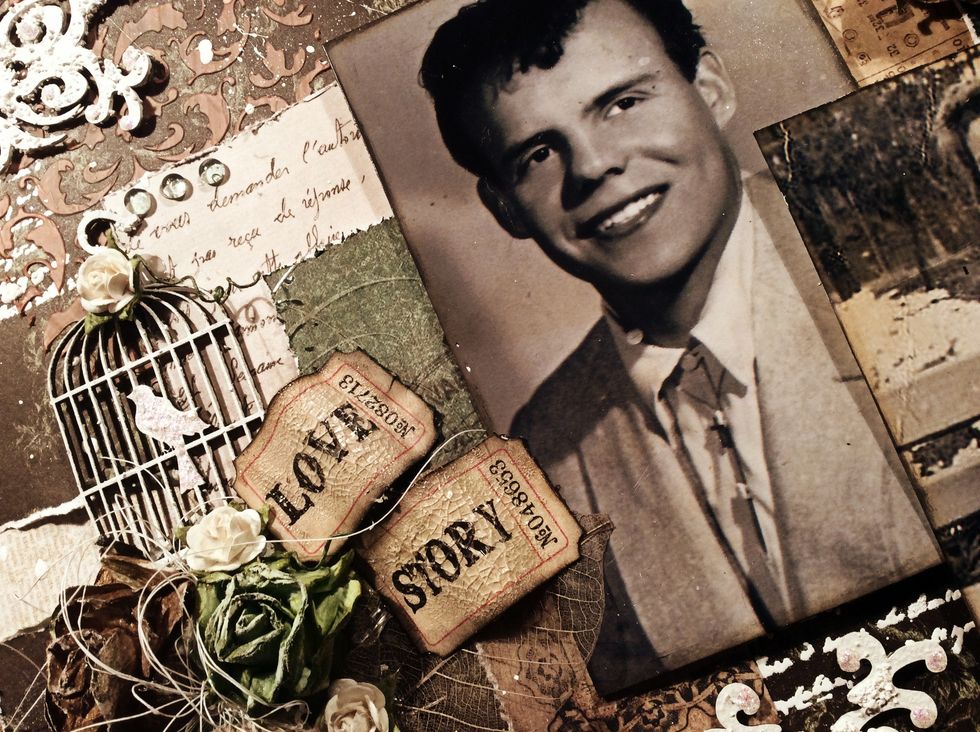
Apply a thick coat of Rock Candy Distress Paint to some of your ephemera for a beautiful cracked effect. Once dried apply Vintage Photo DI to the top.

And there you have it a quick layout, vintage style with pretty textured pieces. Hope you enjoyed.