The Conversation (0)
Sign Up

Personalization is definitely king this year, so we teamed up with JCPenney to show you how to make some darn cute denim with their basic jeans and jackets for back to school.


Next up is placement! The best place for patches to sit is an area that will sit fairly flat and won’t bend often when worn (hint: Avoid the knees!).
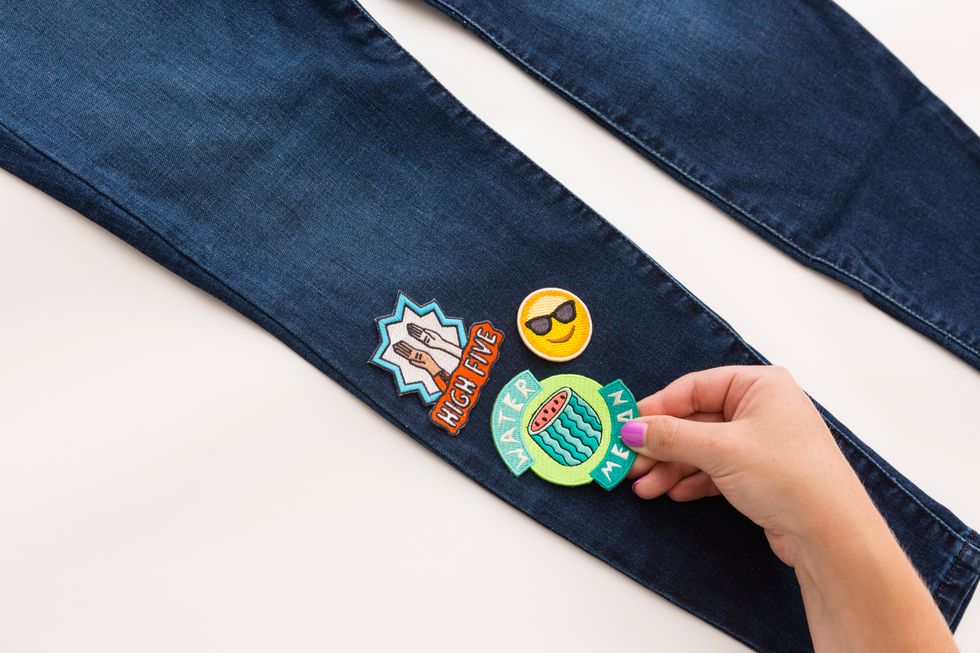
Arrange a few of your fave statement patches, then place in some smaller and/or quieter patches in amongst the others.
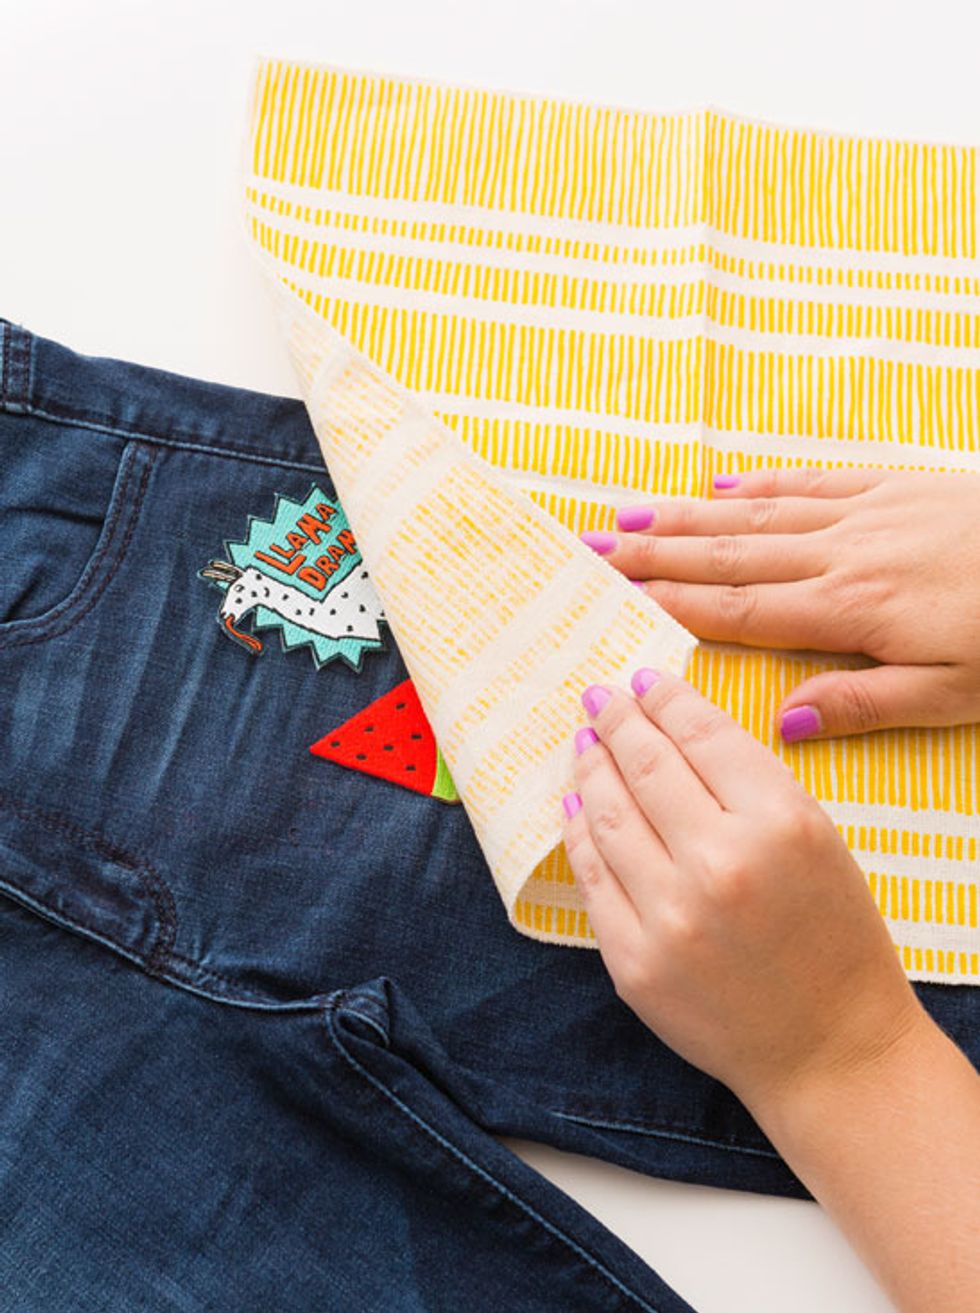
Once you’re happy with your layout, carefully lay a clean dish towel over the top of your patches.
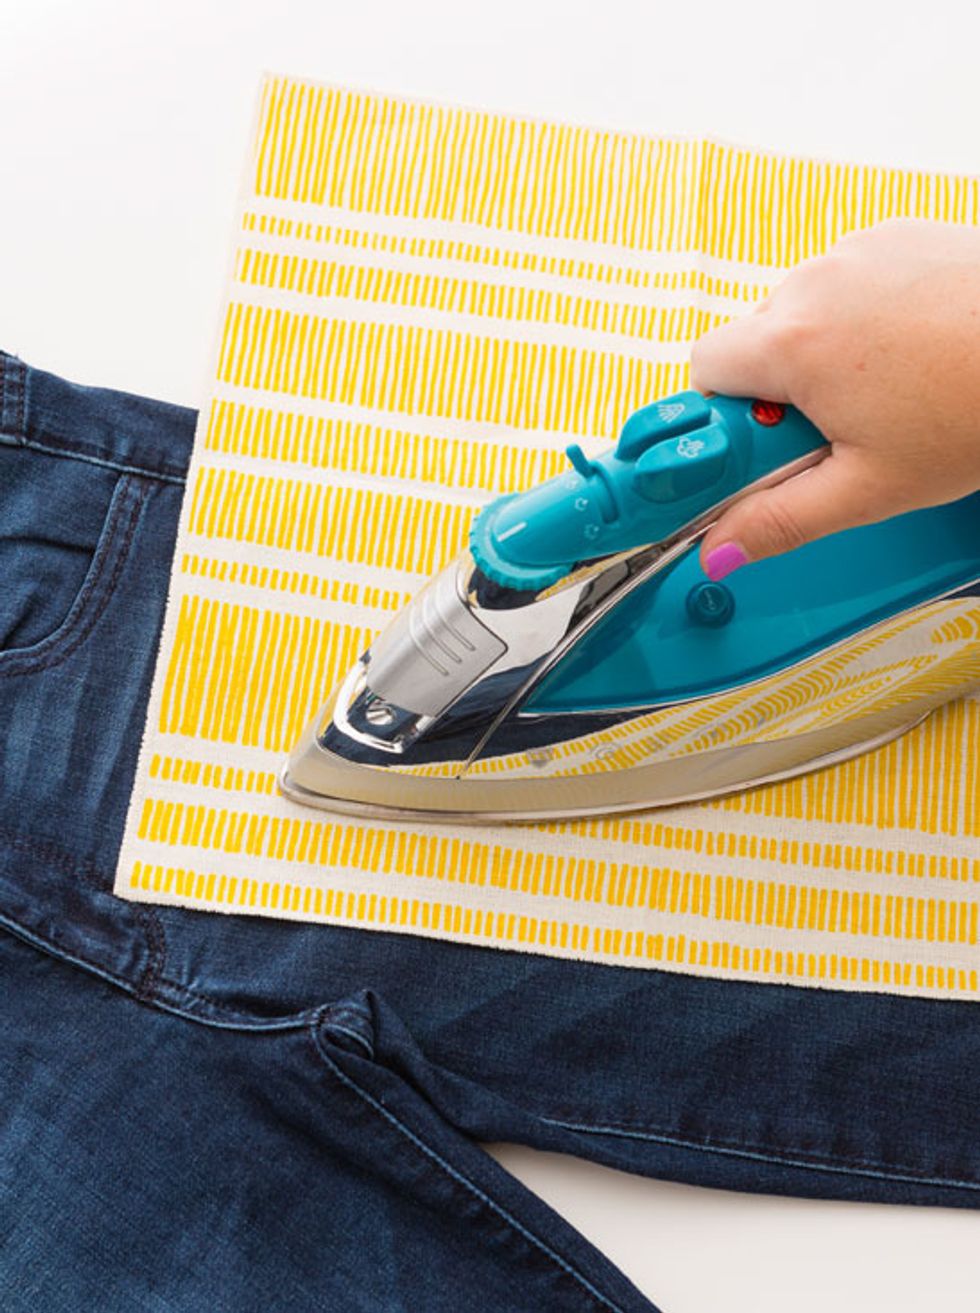
Then, iron on the cotton setting for 10 minutes or so, or until the patches can’t be lifted up at the edges. Let cool completely before wearing.

Congratulations on successfully taking your plain denim to the next level with some well-thought-out patch planning!

We couldn’t resist making a jacket with the rest of our patch haul.
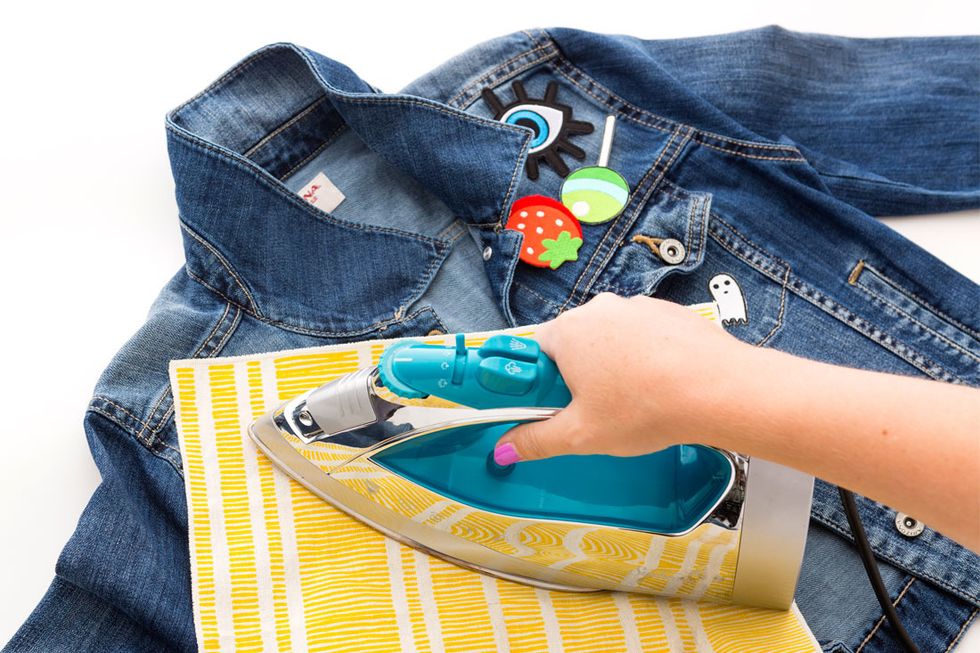
By now you know the drill, but for this jacket specifically, we scoped out these two flat panels on the shoulders (staying within the boundaries of the raised seams) and tucked underneath the collar.

And here’s the end result! Pat yourself on the back for a magnificent patch layout.

Lookin’ good.

That’s it, folks! Go forth and cover all of your clothes in patches!