How to add memory to a dell latitude "d" series laptop
Add Memory to a Dell Latitude "D" Series Laptop
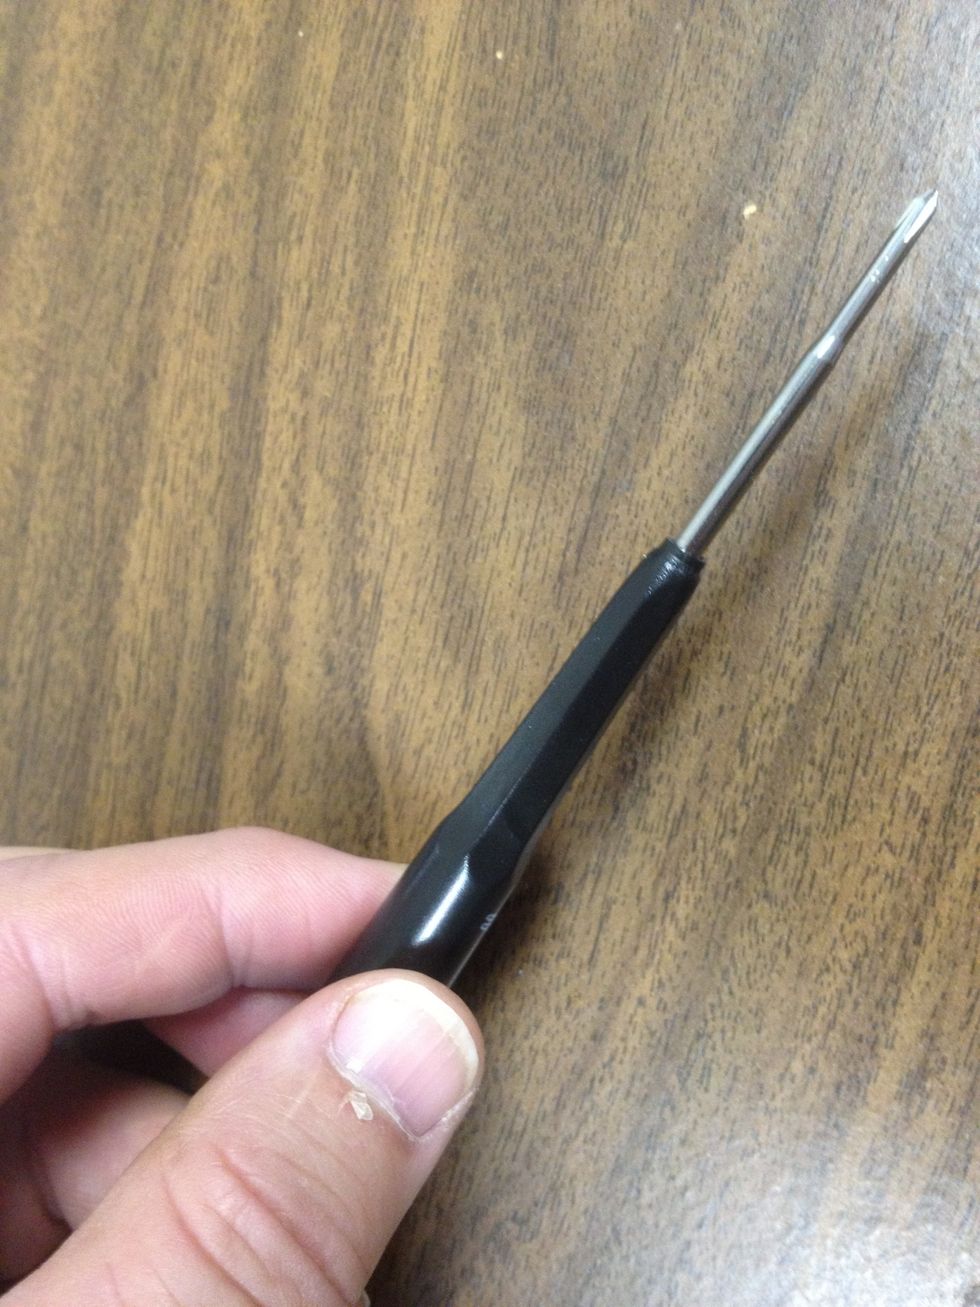
Small Phillips screwdriver
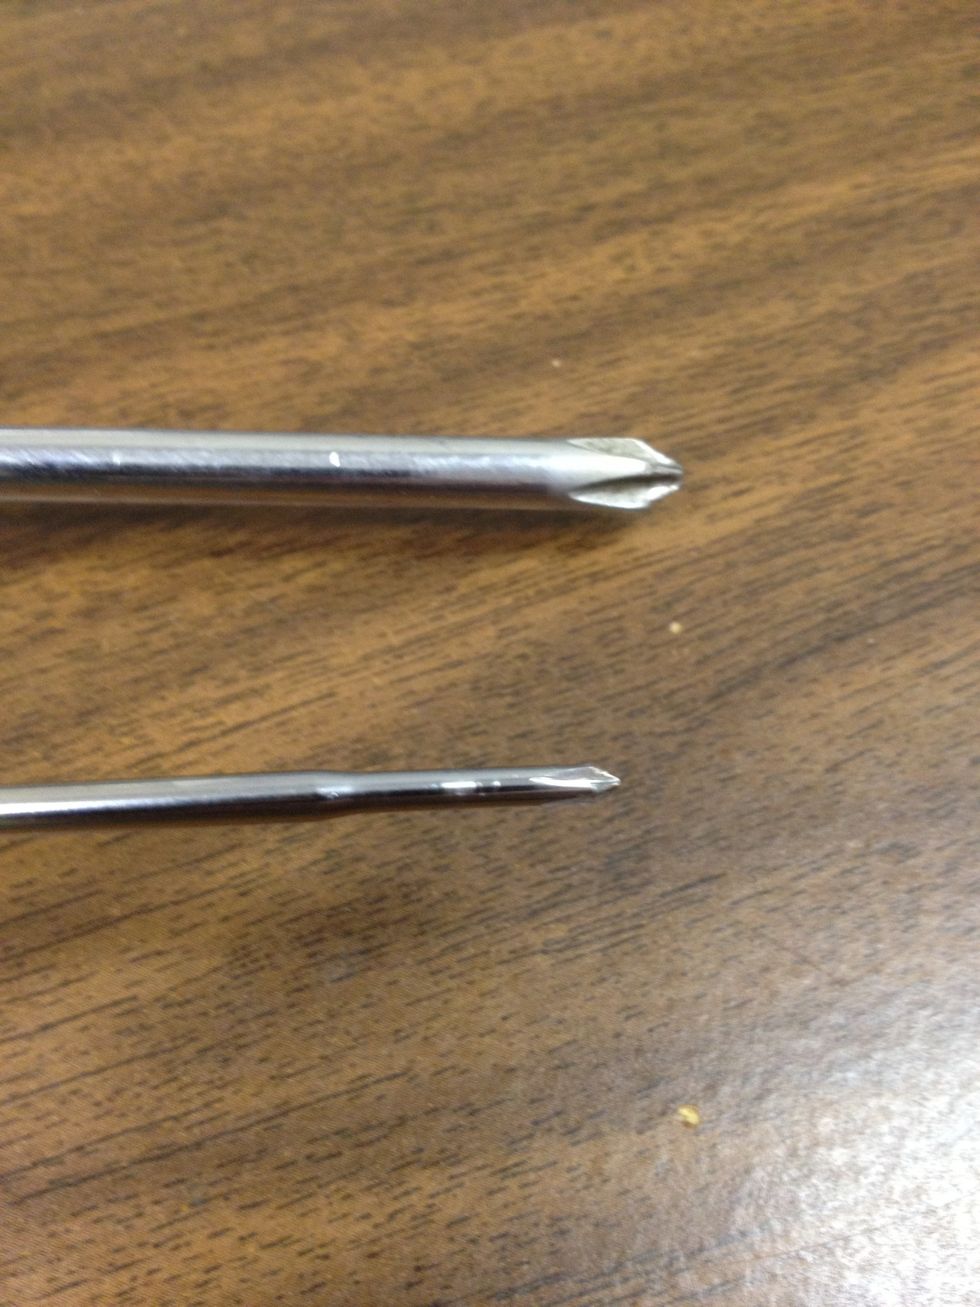
Small Phillips screwdriver as compared with large Phillips screwdriver
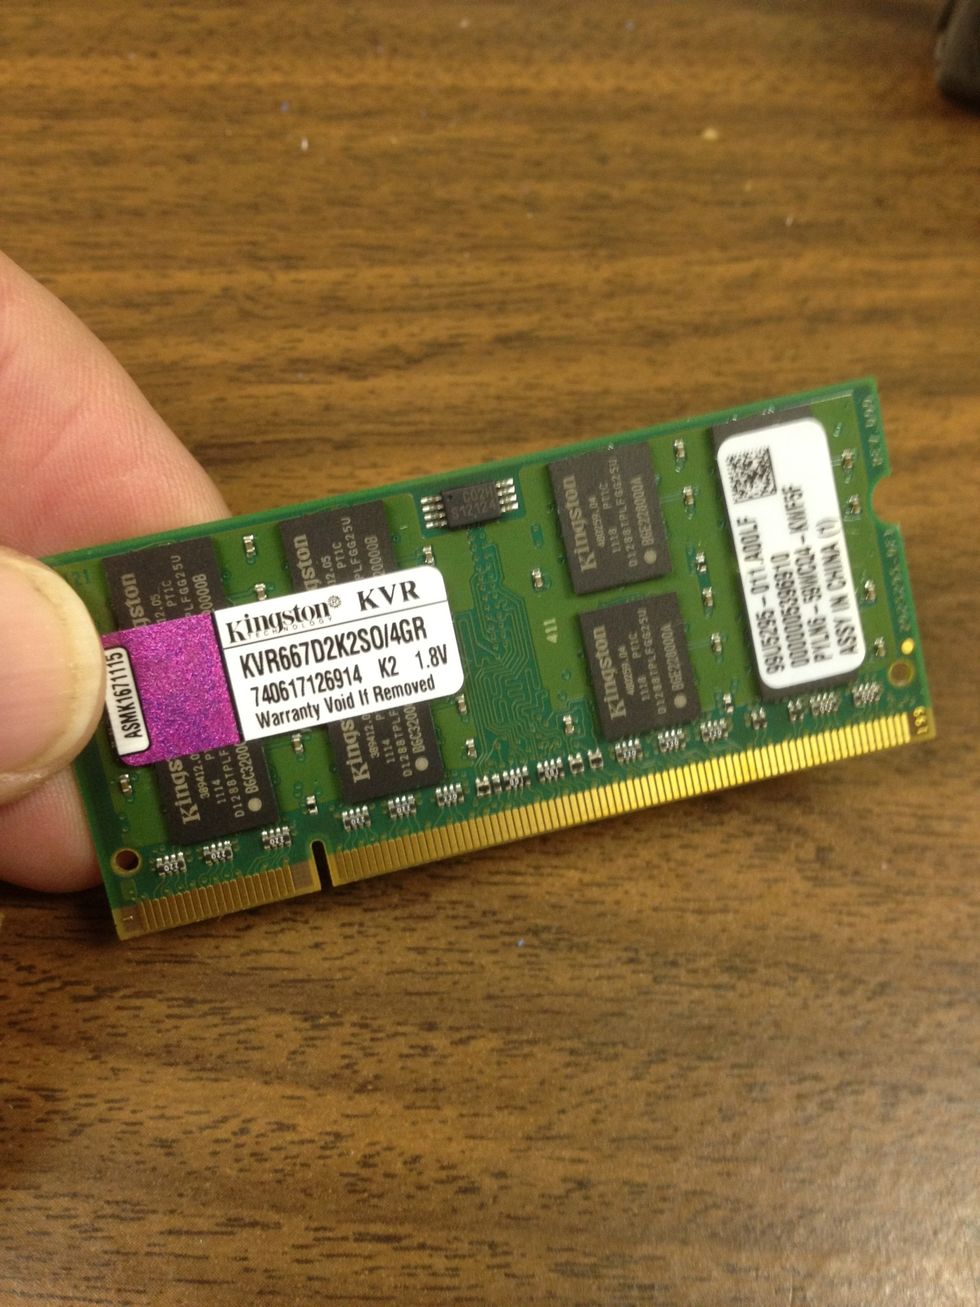
Memory stick for laptop. You may be installing more than one of these , depending upon your memory upgrade.
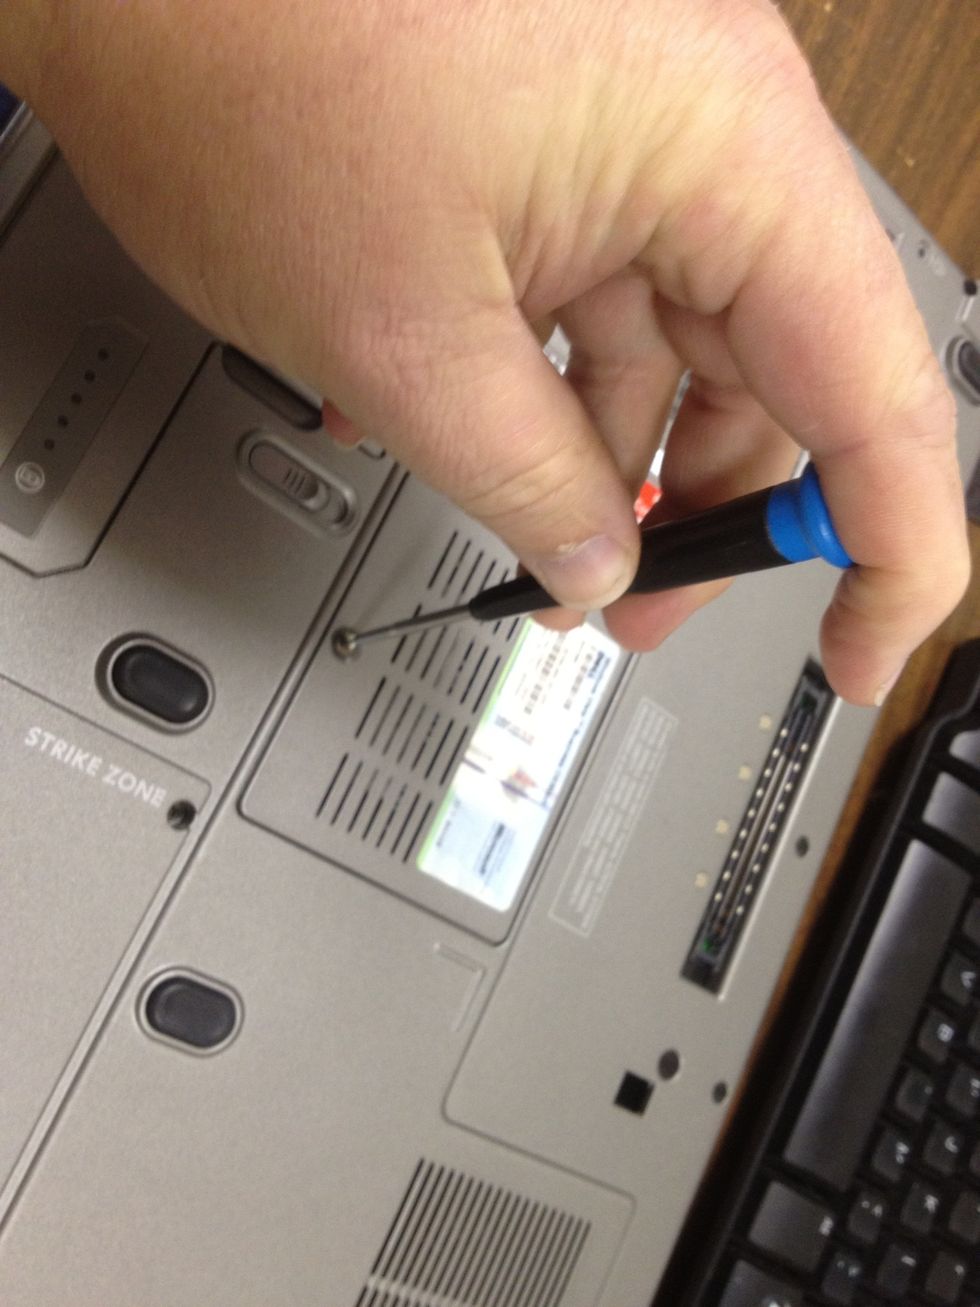
Using the small Phillips head screwdriver, loosen the screw(s) holding the memory module cover to the laptop.
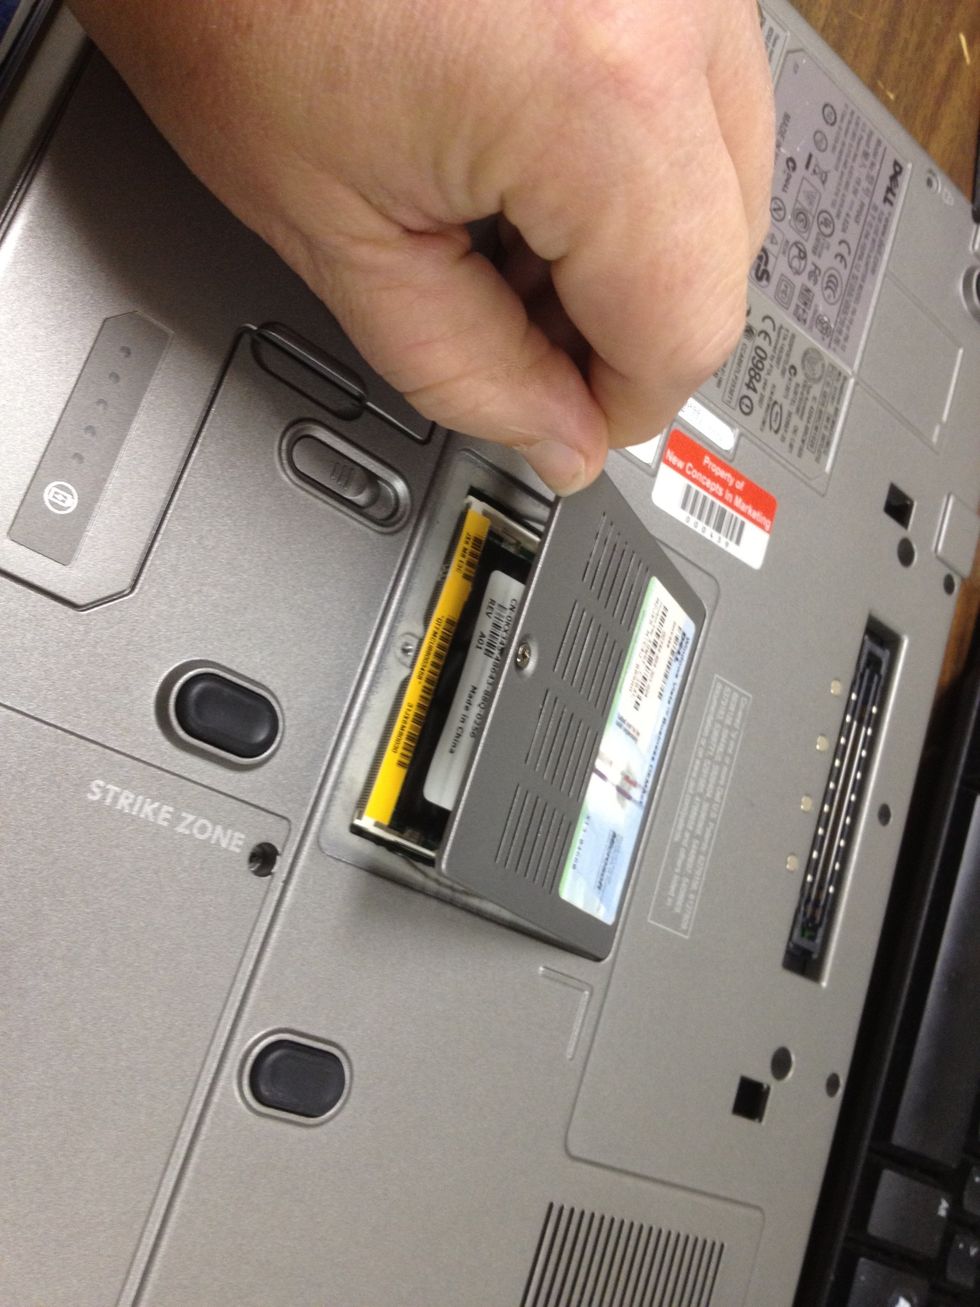
Once the screw(s) is loose, lift and remove the cover for the memory module compartment, being careful not to lose the screw(s).
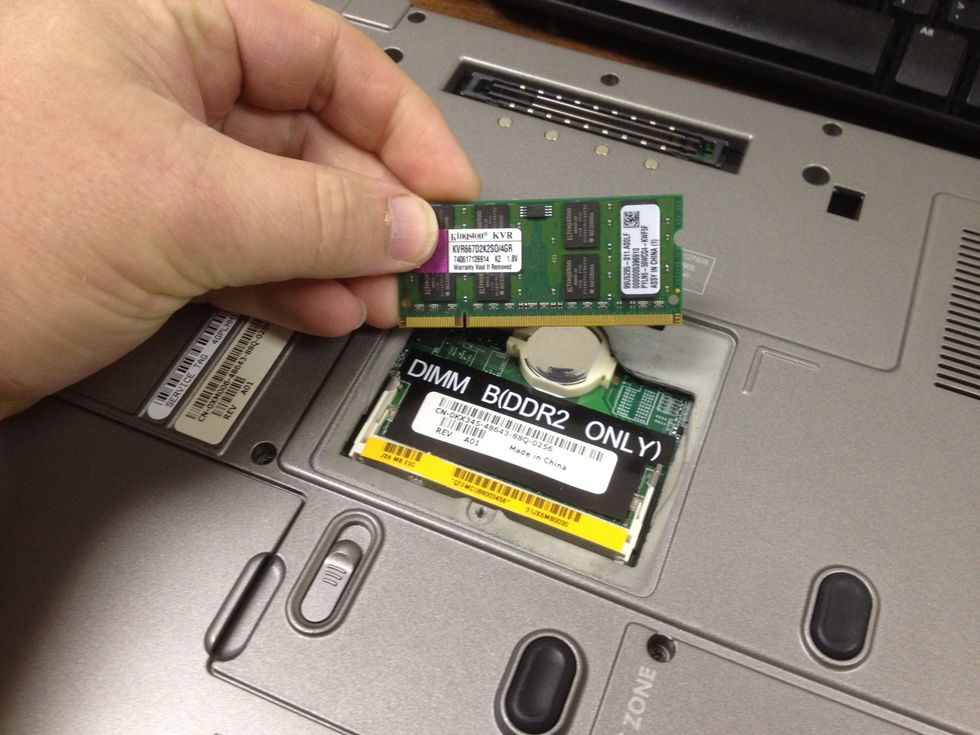
The memory module has one or more slots cut into the bottom of it. Make sure that you align these slots, properly with the memory module port. Insert the memory module at a 30 to 45° angle
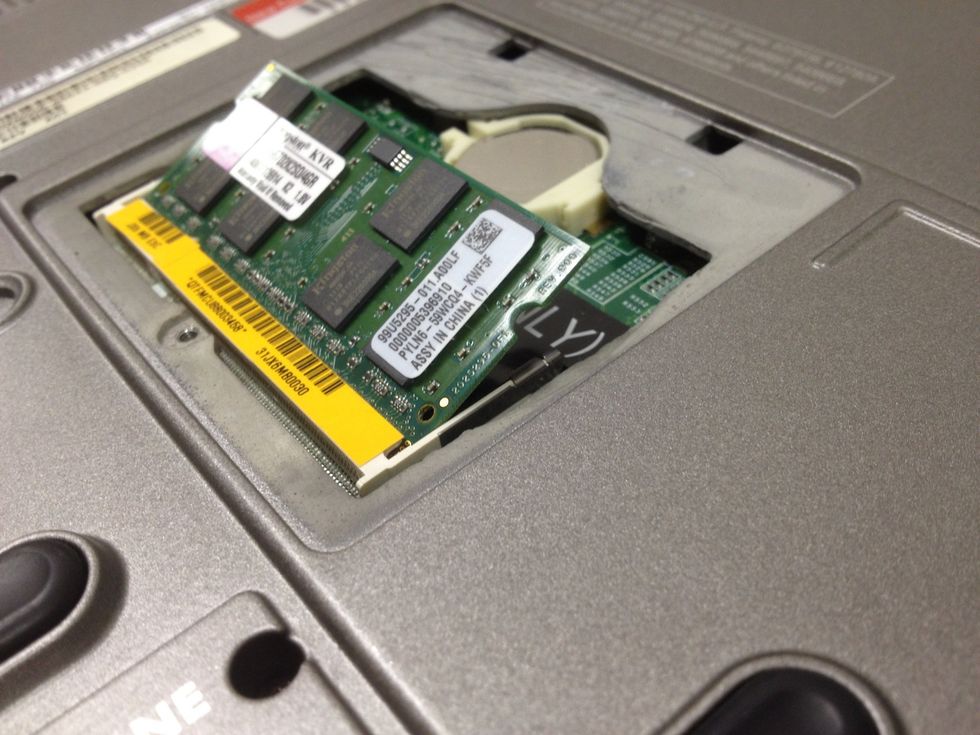
When inserted correctly, the memory module should stand up at about a 30 to 45° angle in the memory slot.
Reverse your previous steps by placing the cover back on the bottom of the laptop and inserting and tightening the screw which holds the cover on.
If you are adding two (2) memory modules to your laptop, then we'll have to dig a little deeper to locate and replace the "base" memory module for your laptop.
Place the battery back into the laptop and then power the laptop up. During the boot process, you will see a message that says that the amount of memory has changed. Press F1 to continue.
Congratulations! You have now completed adding new memory to your laptop.
- 1.0 Small Phillips head screwdriver
- Proper memory modules(s) for your laptop.
- 1.0 Small flat-head screwdriver.
- Confidence