The Conversation (0)
Sign Up
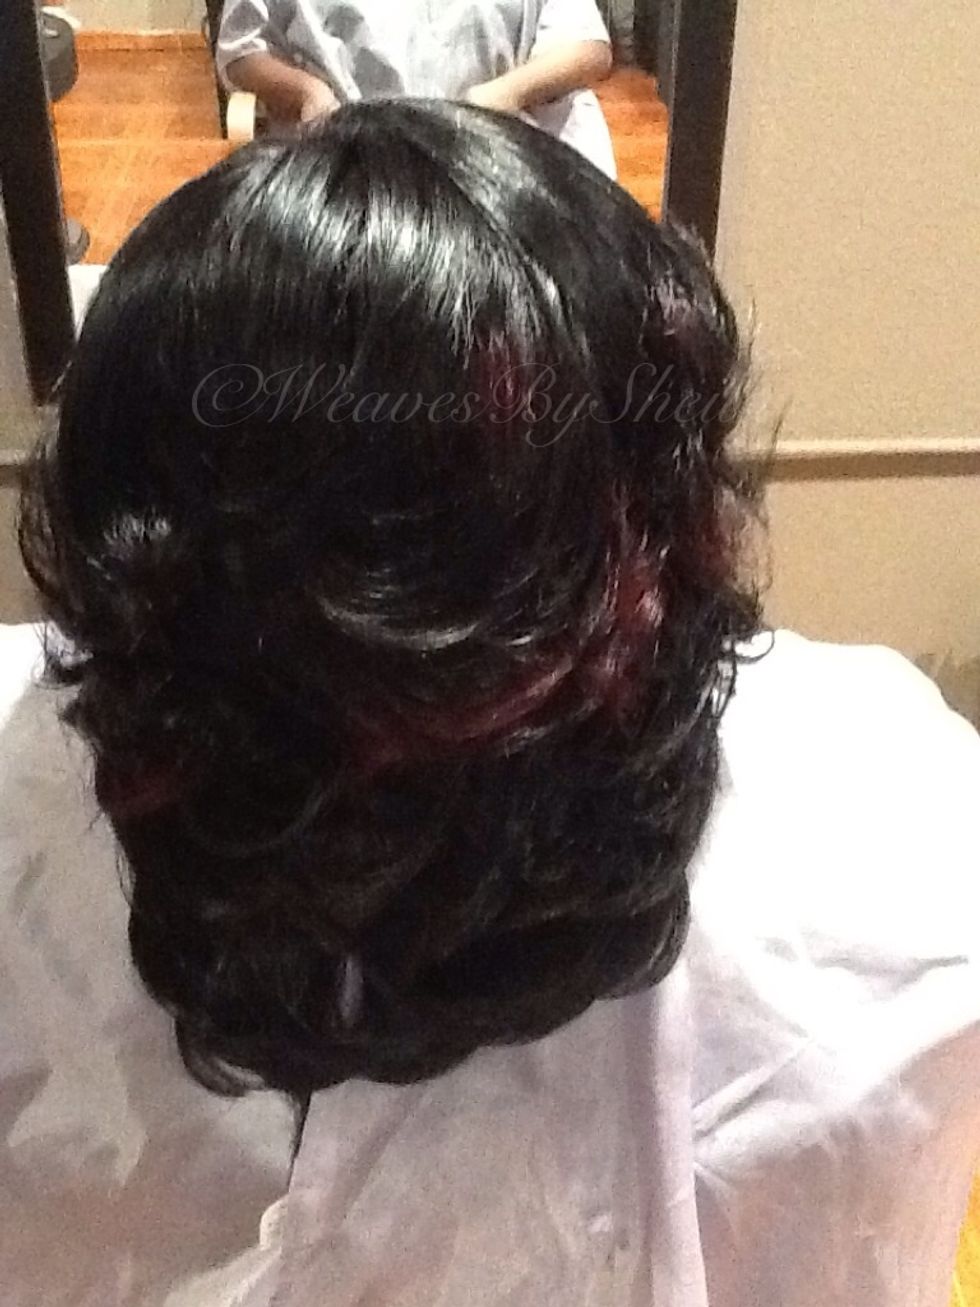
Adding layers to a cut gives the hair more flair. Layers come in different shapes, round, square & triangular.
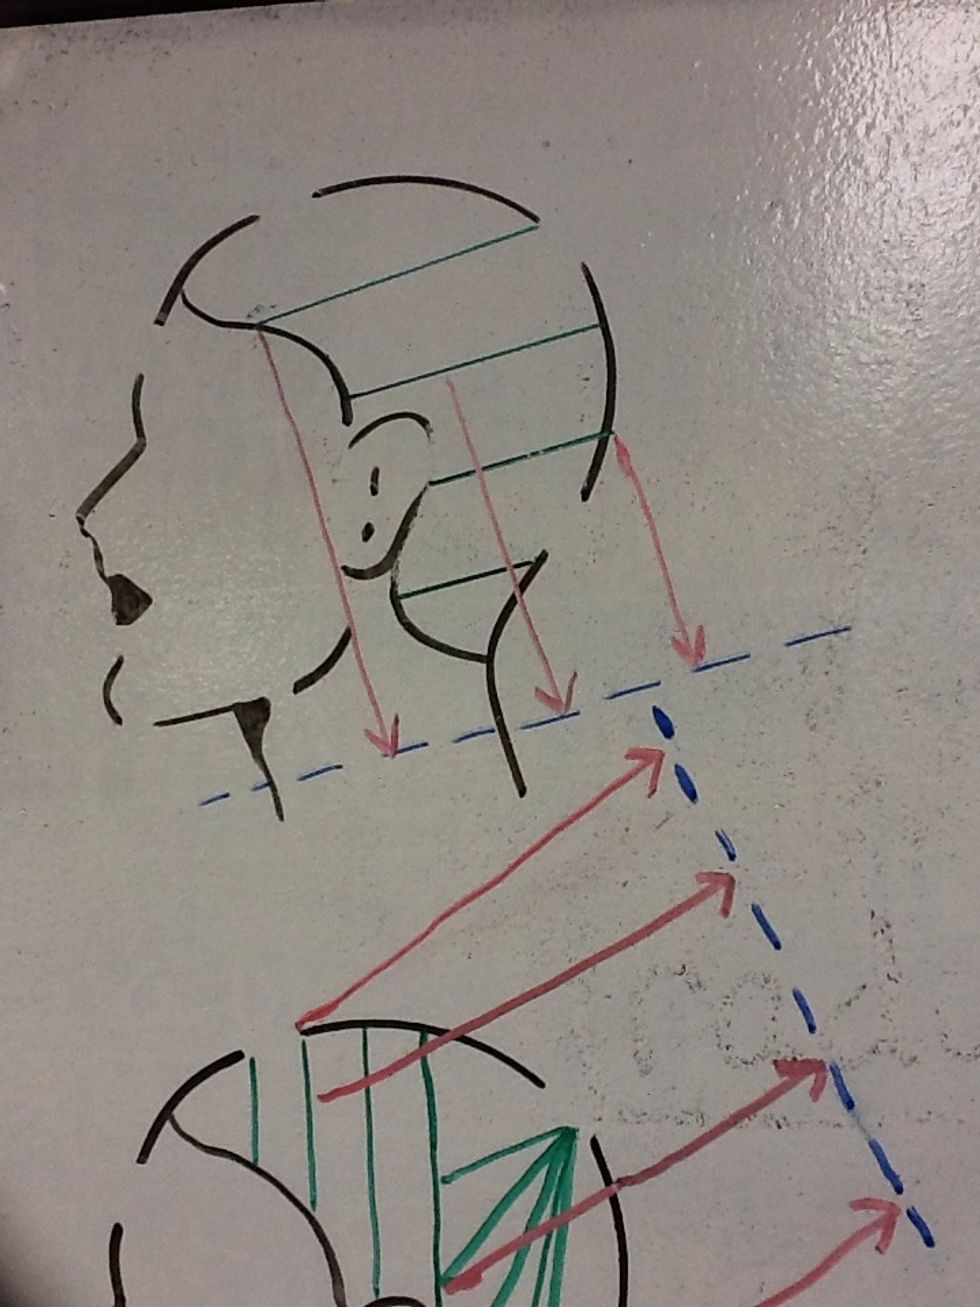
In this cut, all the hair was brought down to the blue line & cut at an angle to give it a diagonal-bob shape. Tis guide will show you how to cut TRIANGULAR layers. Notice the blue line, triangular.
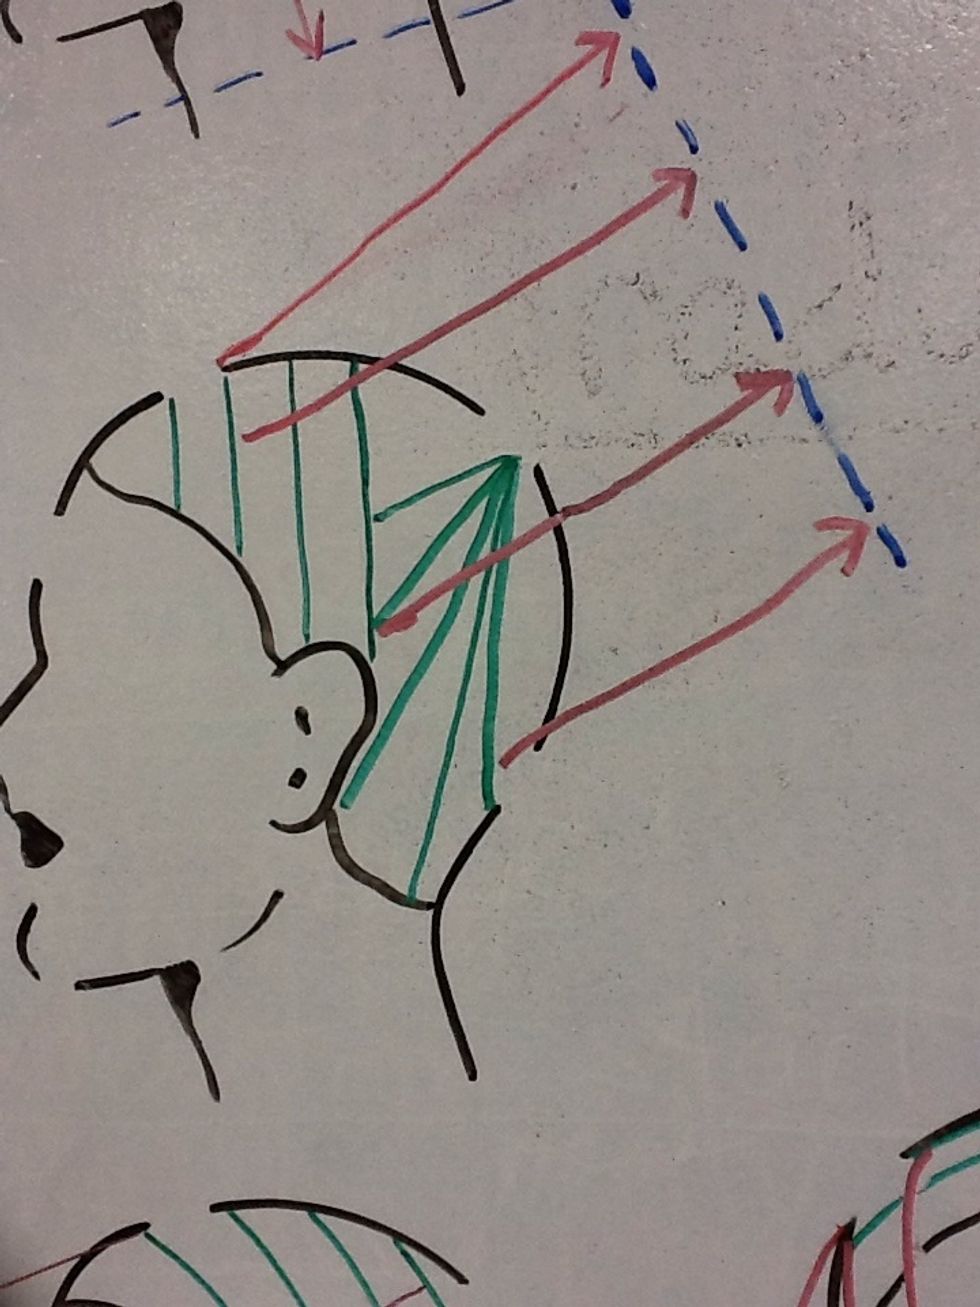
Then pull the hair back & up following the red lines, allowing the length to drop(Cutting the length will ruin the line) and cut the remaining following the blue line. The blue line becomes stationary
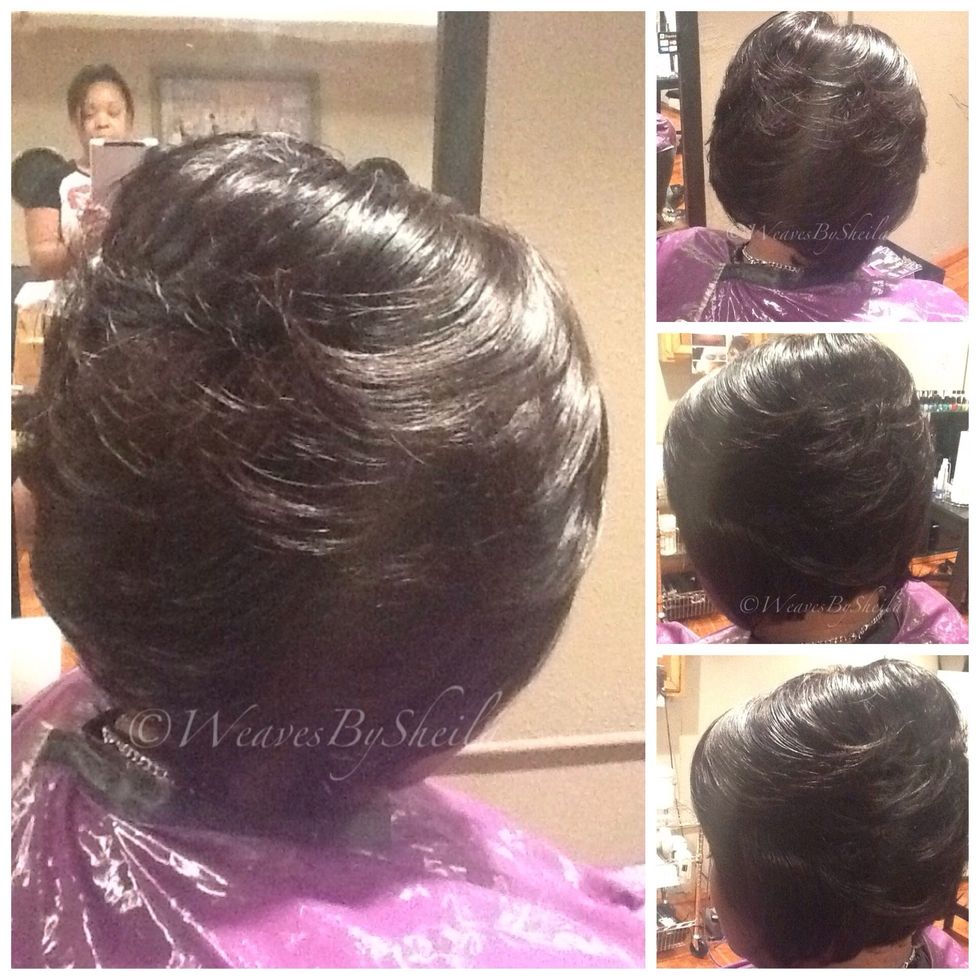
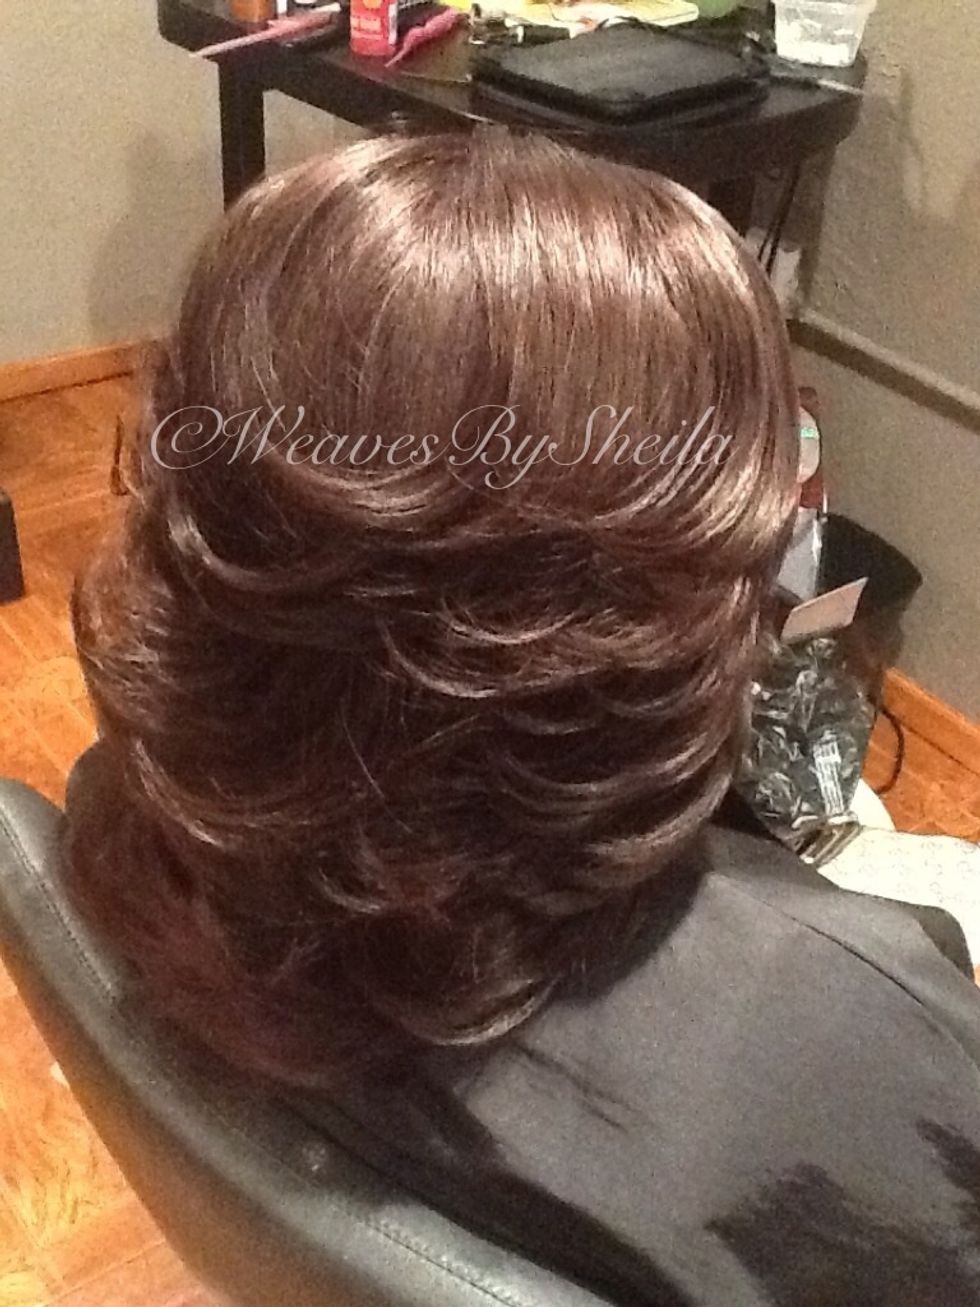
Now you have a LINE with LAYERS. lifting the hair & allowing the length to fall creates lovely layers. I enhanced them with a ceramic flat iron(Babyliss)
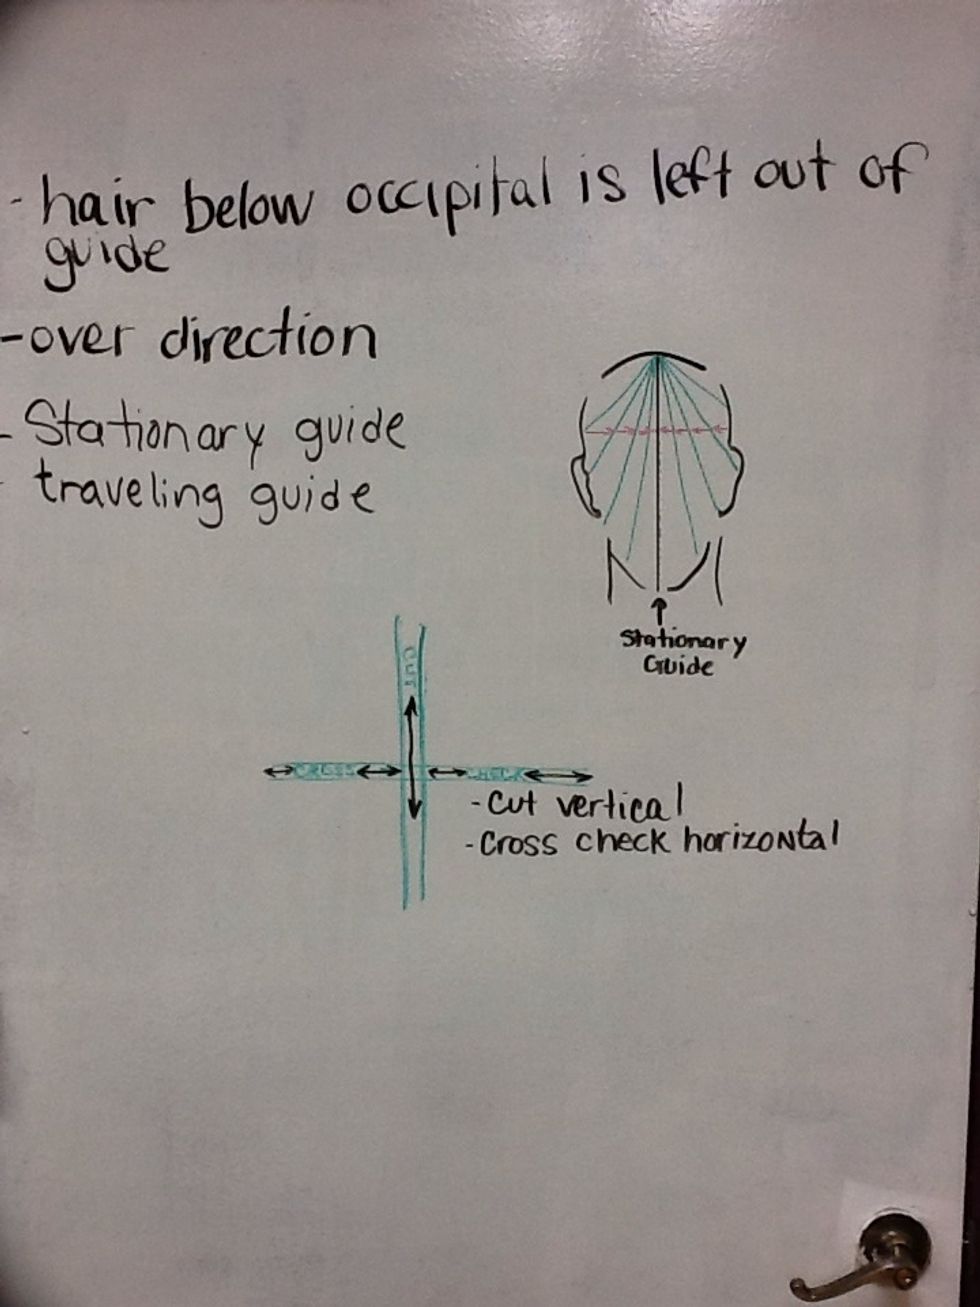
Over direction;pulling hair away from its natural fall. Can be forward or backward. Stationary guide; never moves, ALL hair is over directed to this type of guide. Traveling guide; is opposite.
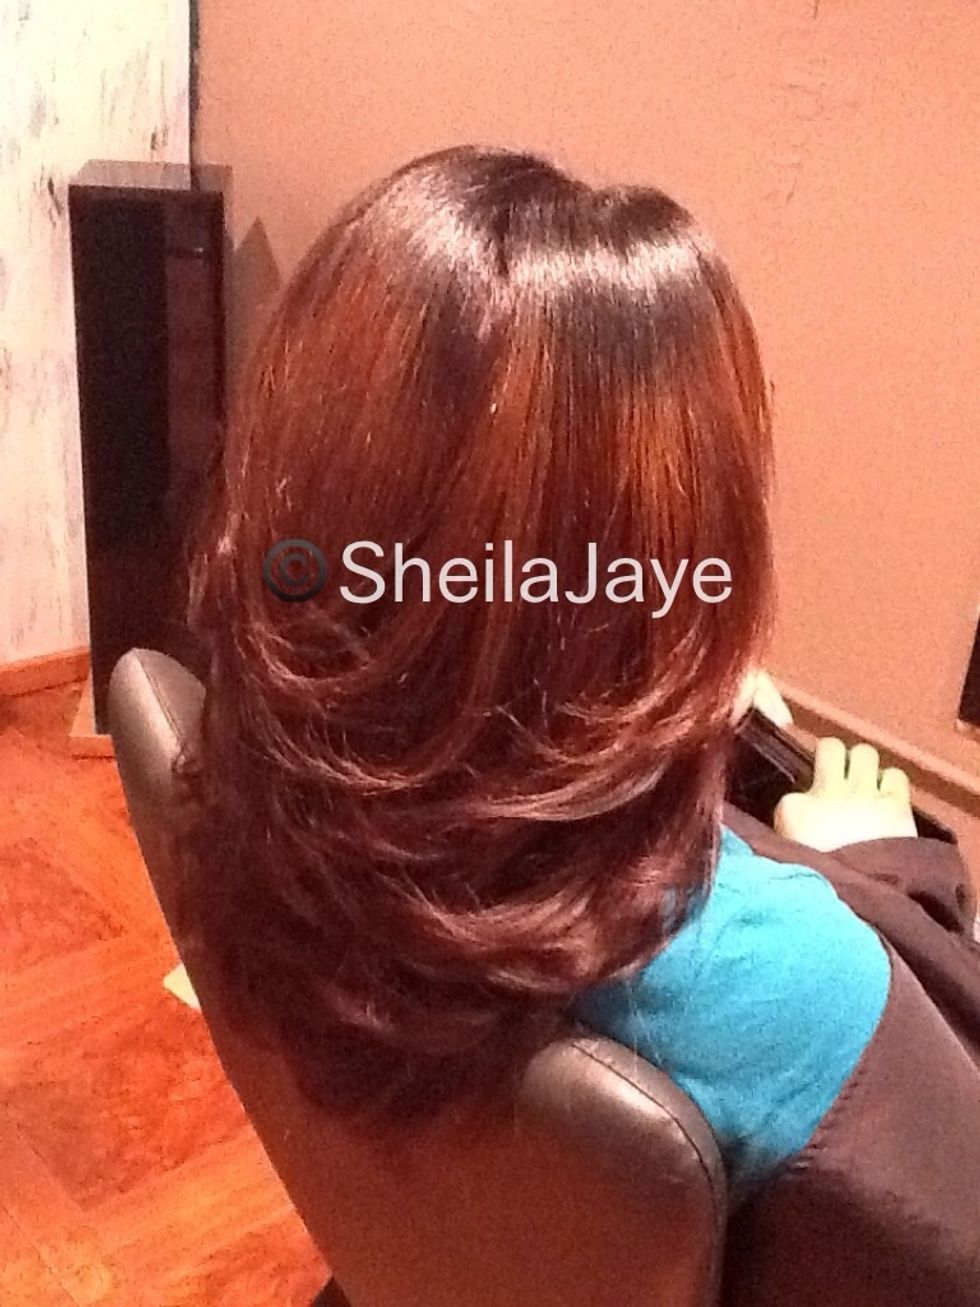
Square▫layers on a longer square line. Same technique, holding the hair up, allowing the length to drop out of my guide (traveling),and cutting with my fingers parallel to the walls around me. Square.
These may be a bit tricky, but all hair was pulled forward with a traveling guide as I stood in front of her to create this 80's feathered look on a sew-in weave.
Here, the line was cut first, then I added the layers according to this guide by holding the hair up,allowing the length to drop while using a TRAVELING guide.
I am a Sassoon trained educator who LOVES TO TEACH! Good luck. I hope this guide helps.