The Conversation (0)
Sign Up
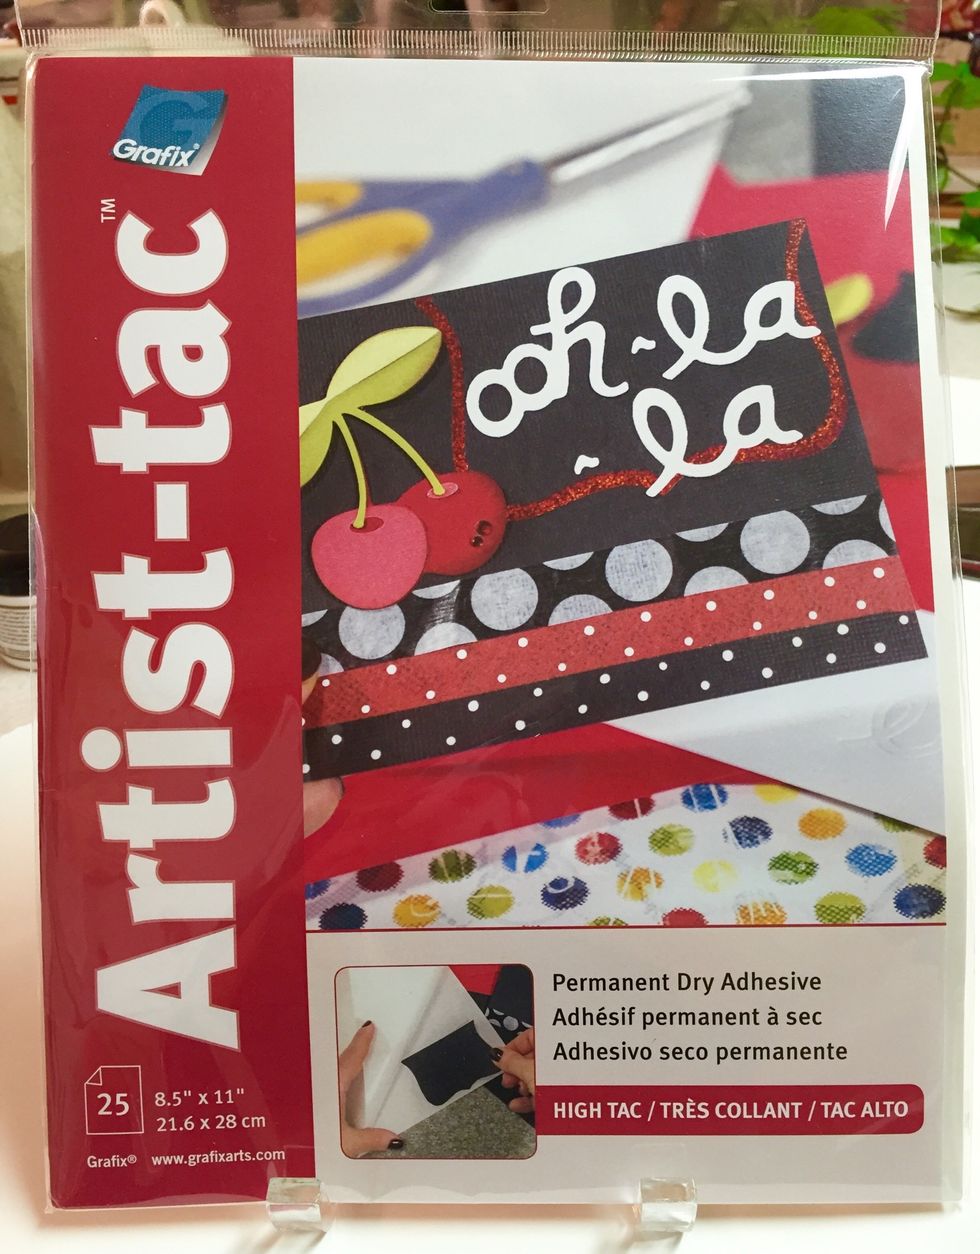
ARTIST-TAC by Grafix is a permanent dry adhesive that is neat, clean and easy to use. it comes in sheets that can be cut to size or punched for shapes.
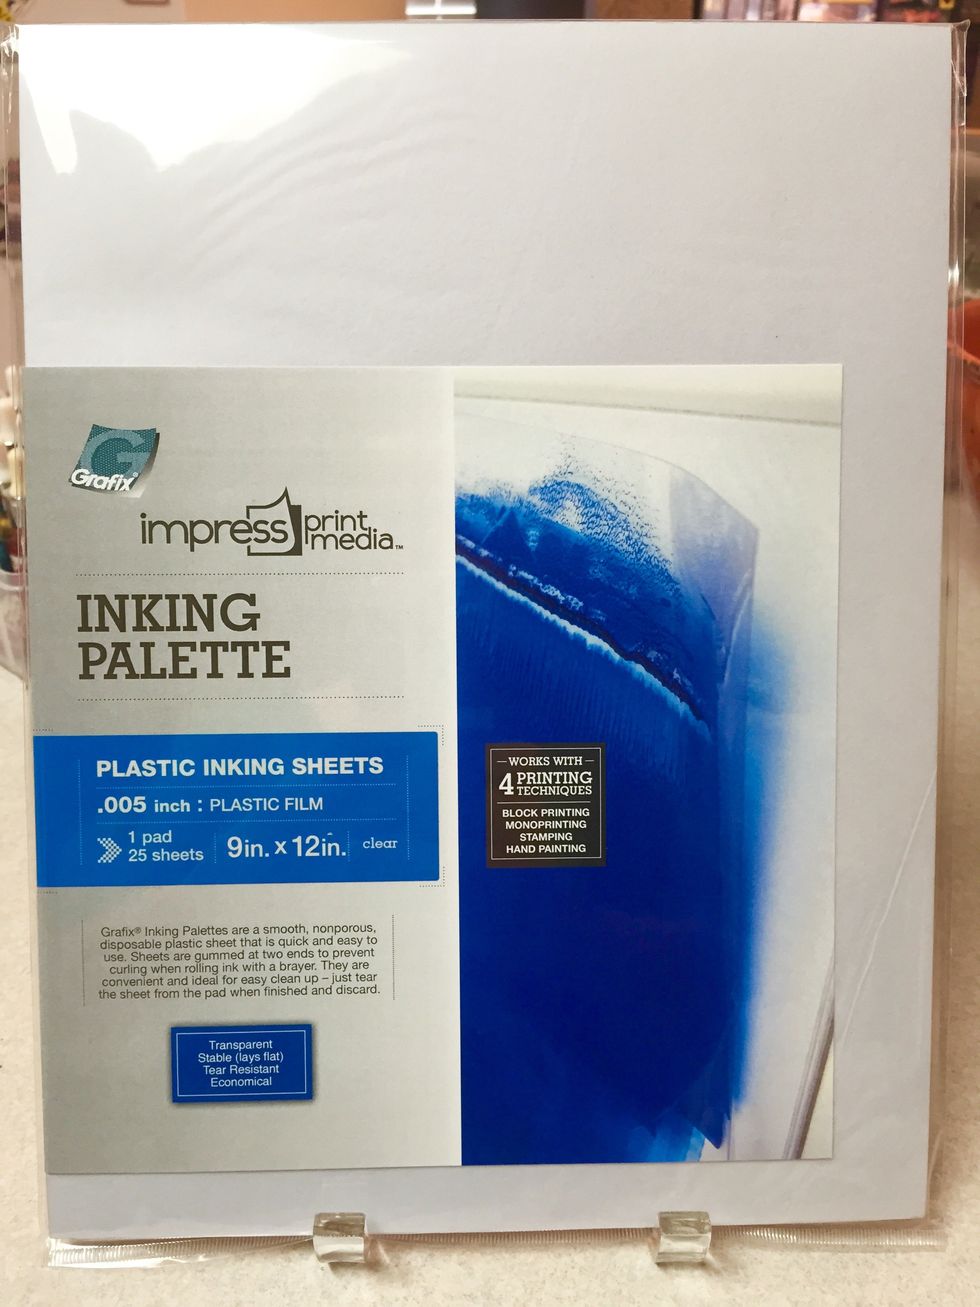
the Inking Palette from Grafix has 25 disposable plastic sheets, separated by white paper. the sheets are anchored at each end of the stack keeping the palette stable during use.

use the palettes for staging your ink. the white paper separators make your colors appear true and make them easy to see.
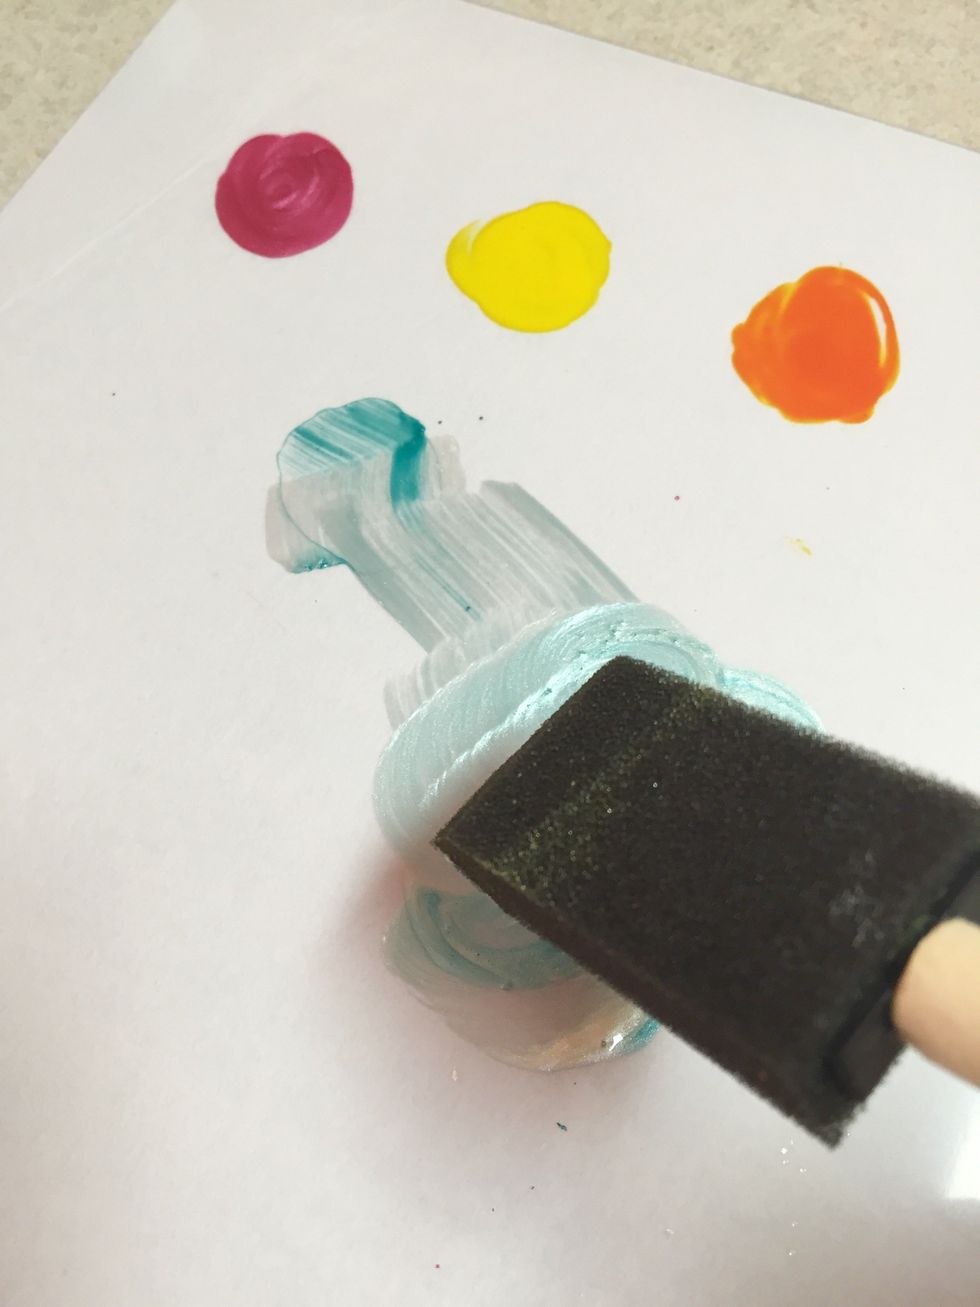
the palettes are also great for blending colors.
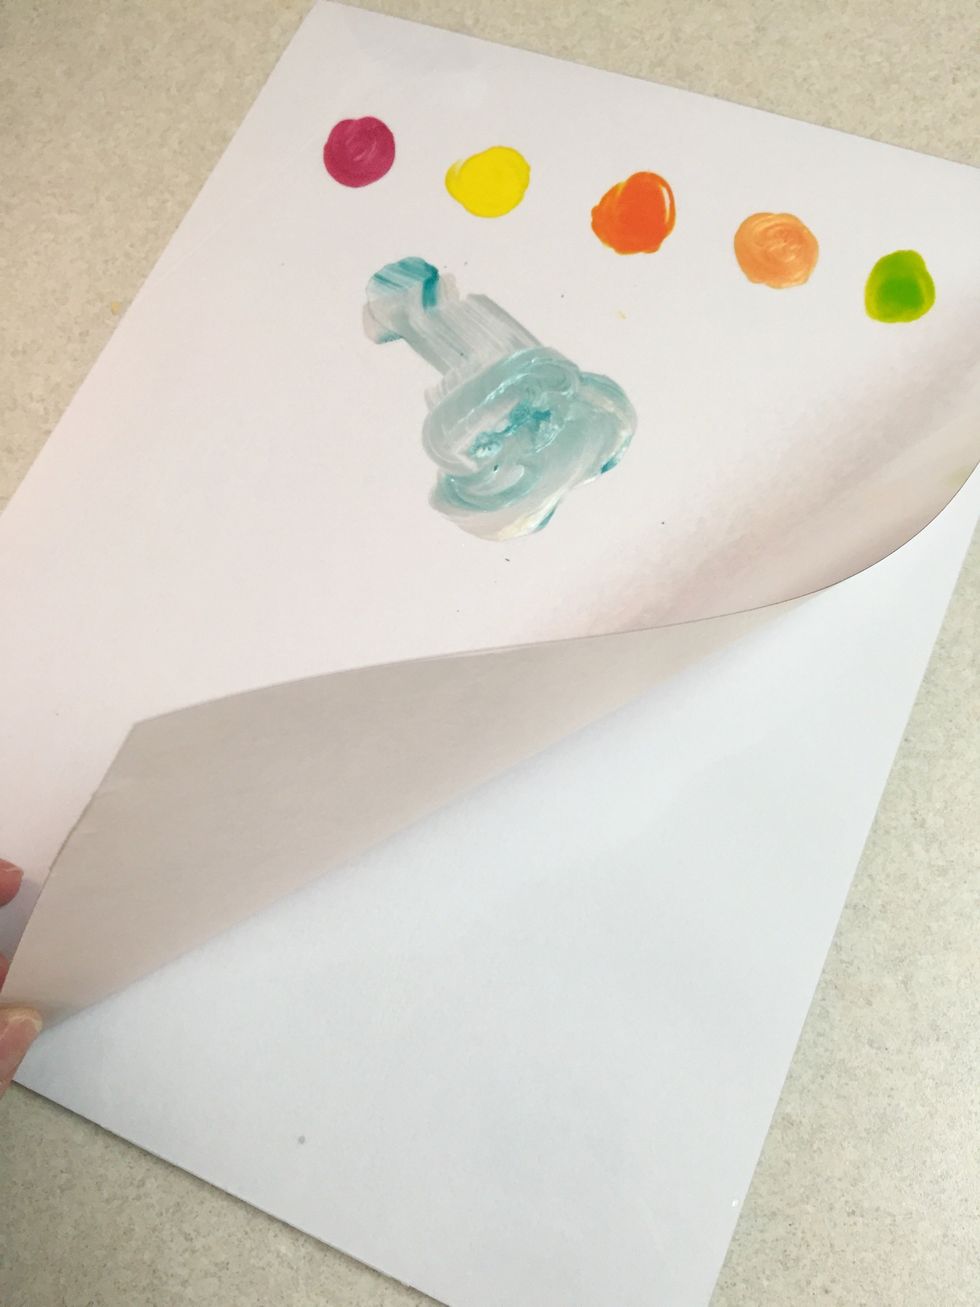
once you are done, tear your used palette off the stack to reveal the next clean palette.
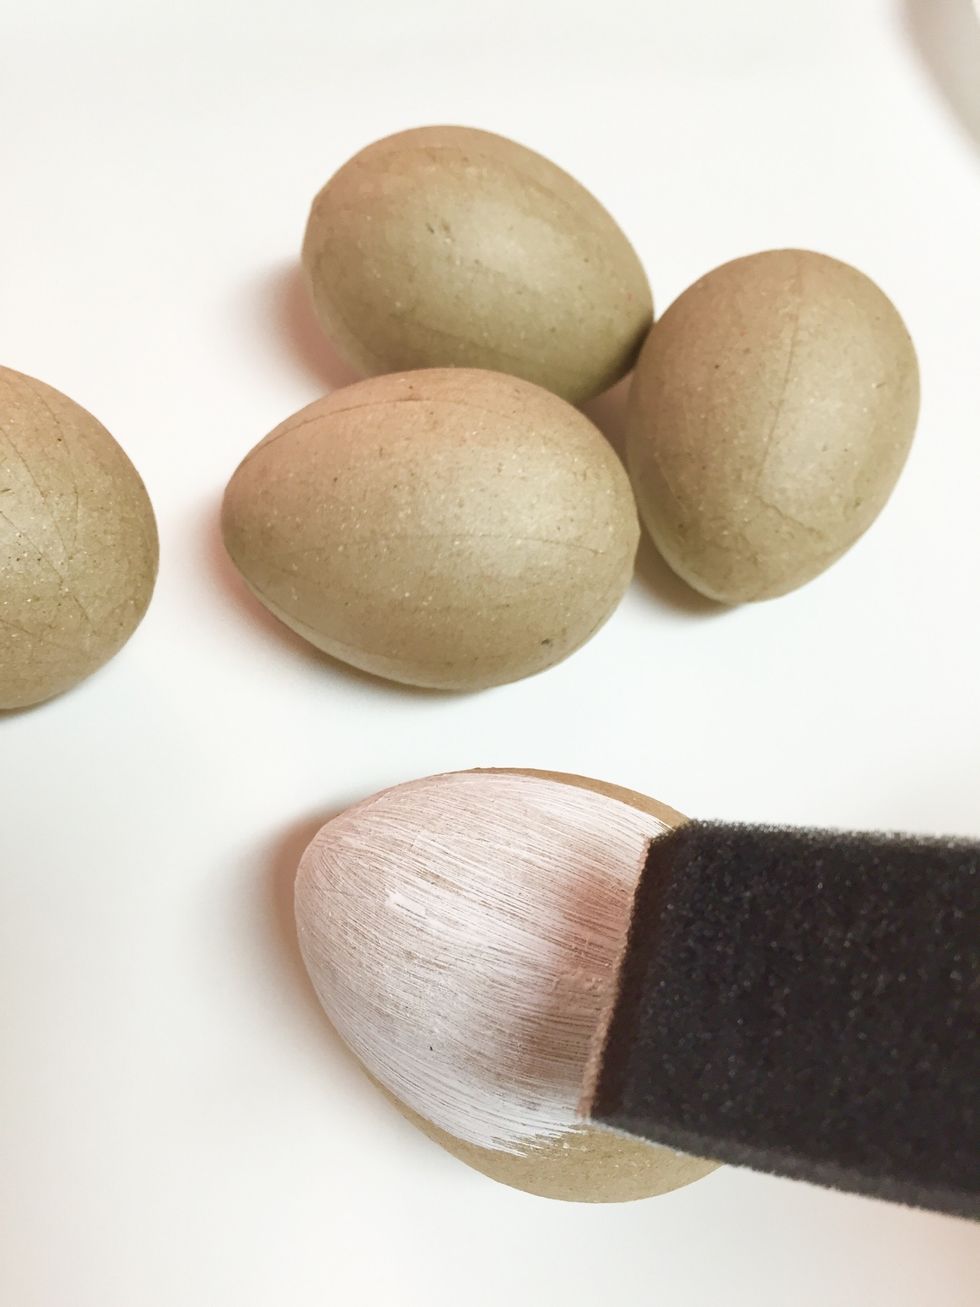
paint eggs with 2 coats of white acrylic paint; allowing eggs to dry between coats. the white color will allow the Izink Inks to shine brighter!
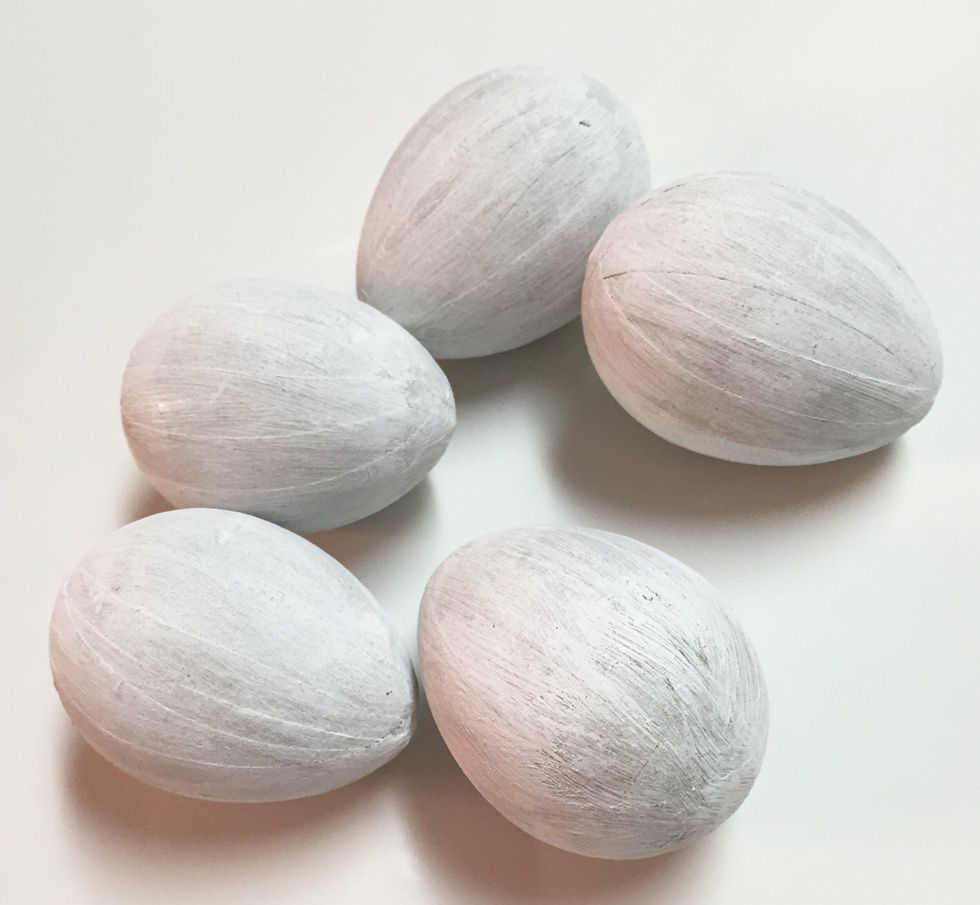
painted eggs.

match up Izink Ink Colors to Designer Foil Colors; mixing and matching as you like.
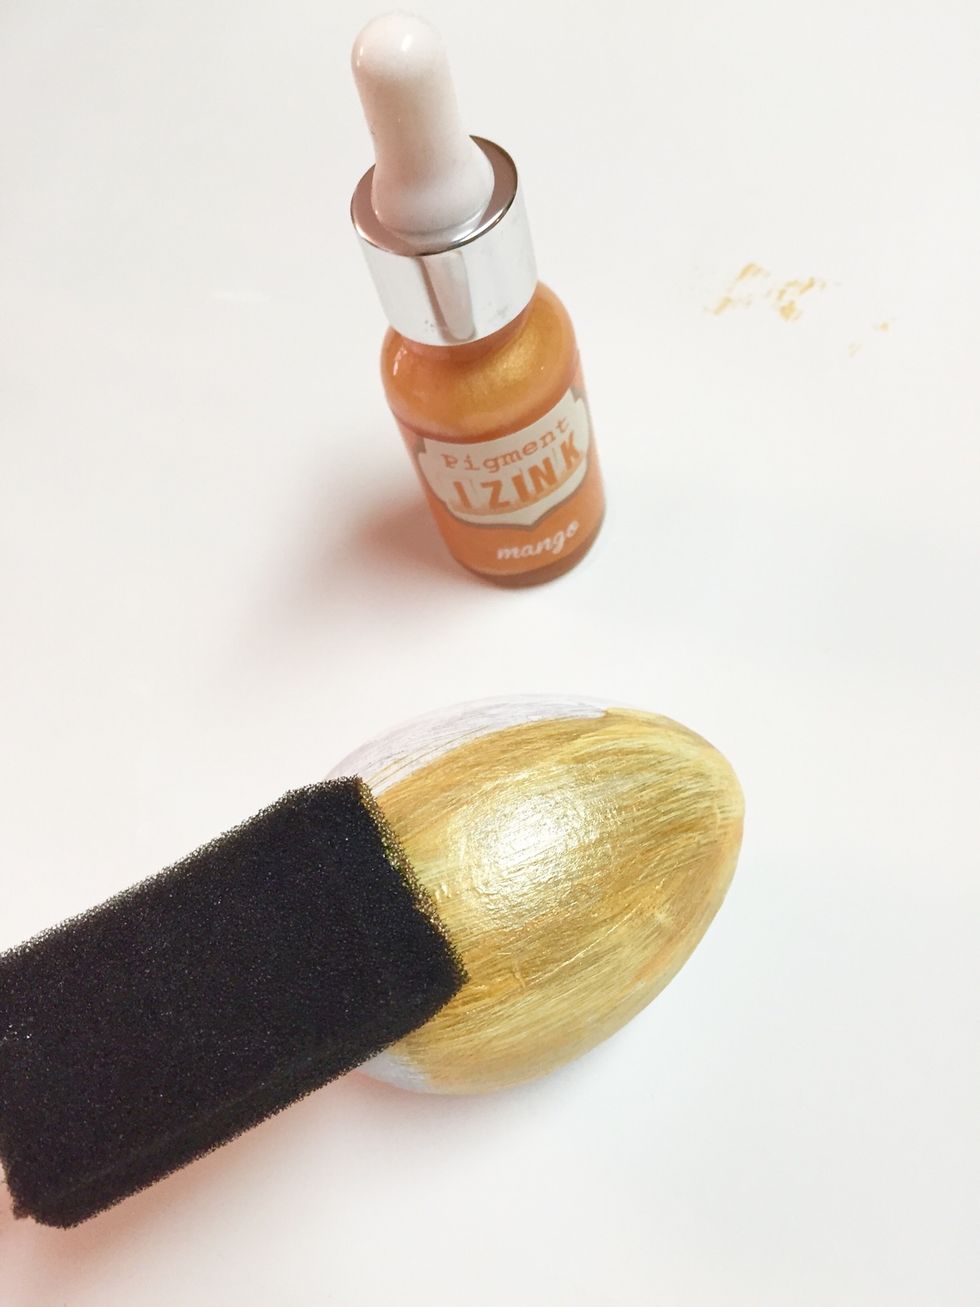
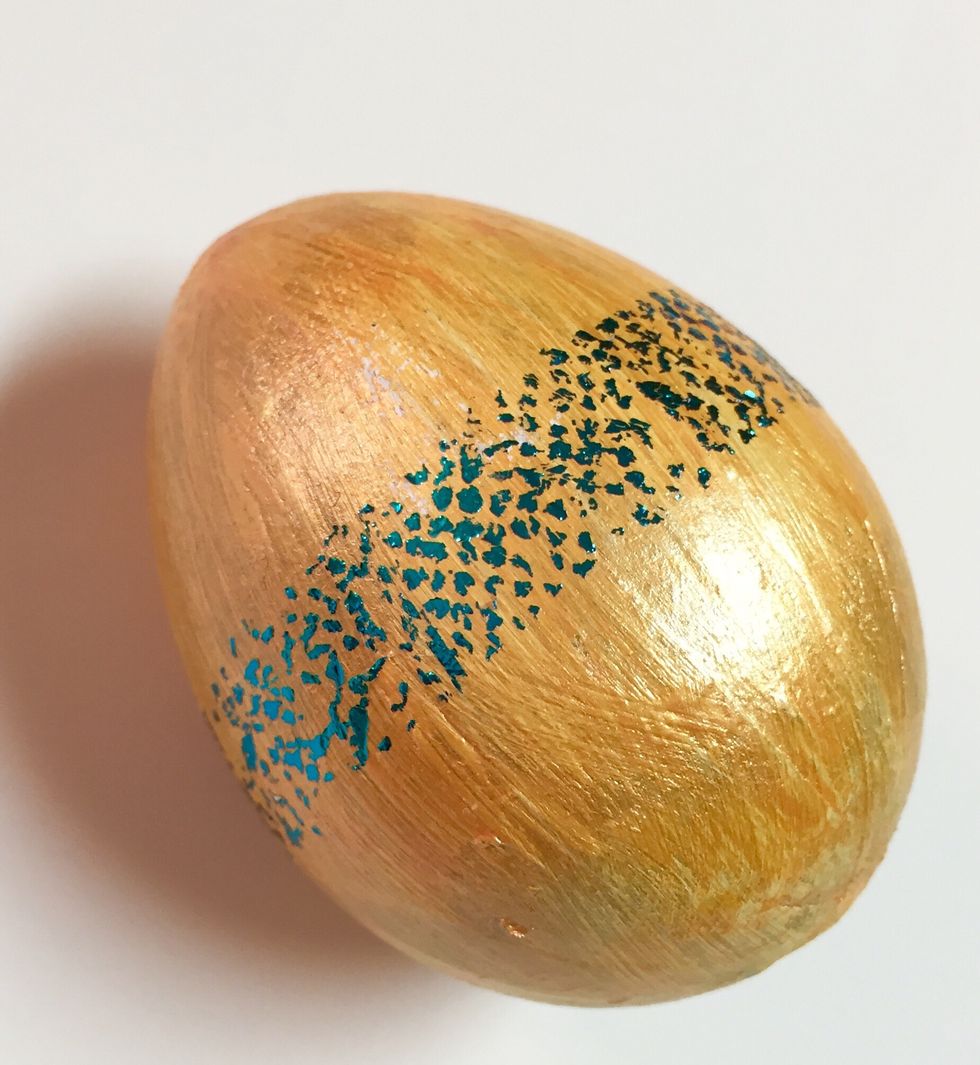
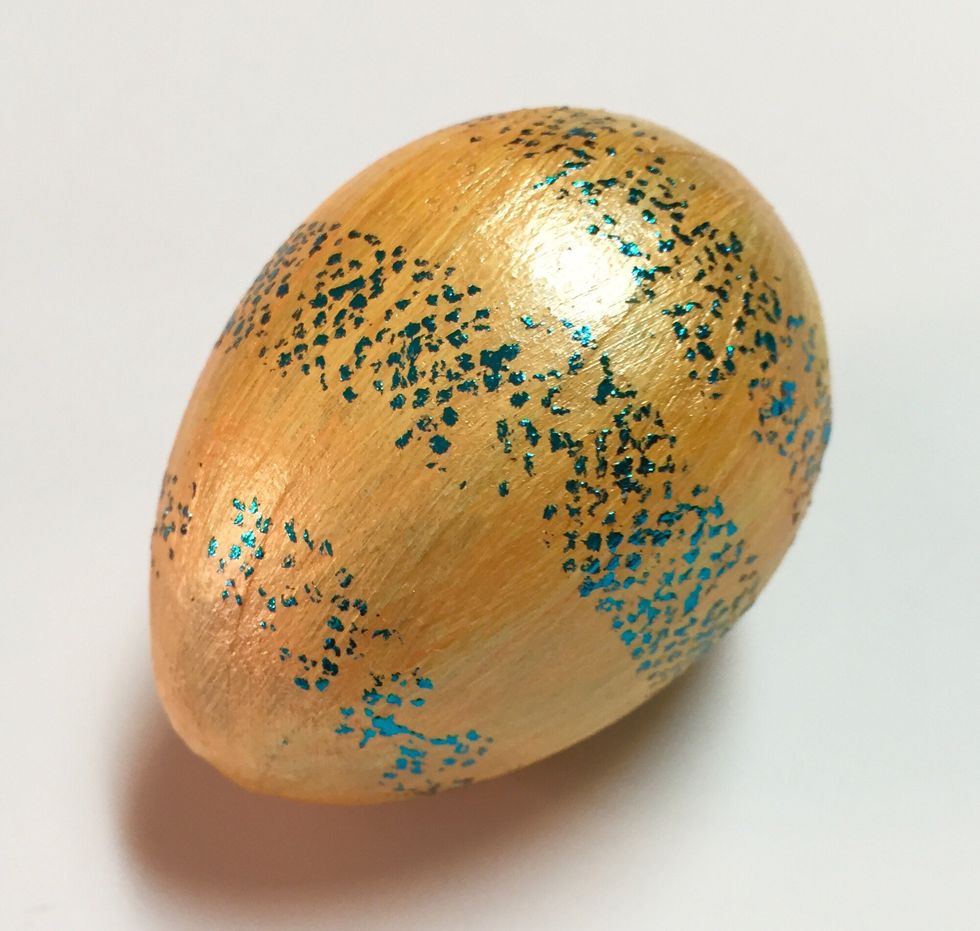
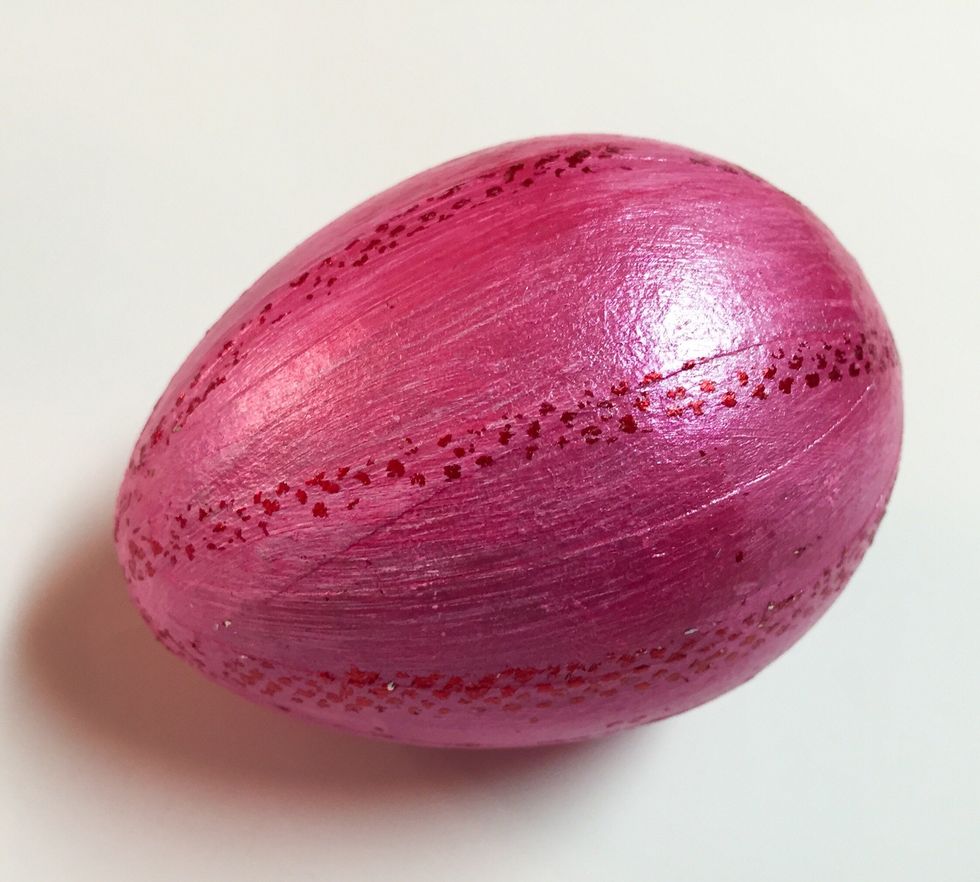
paint eggs with Izink. one coat should cover well, but apply 2 coats if needed.
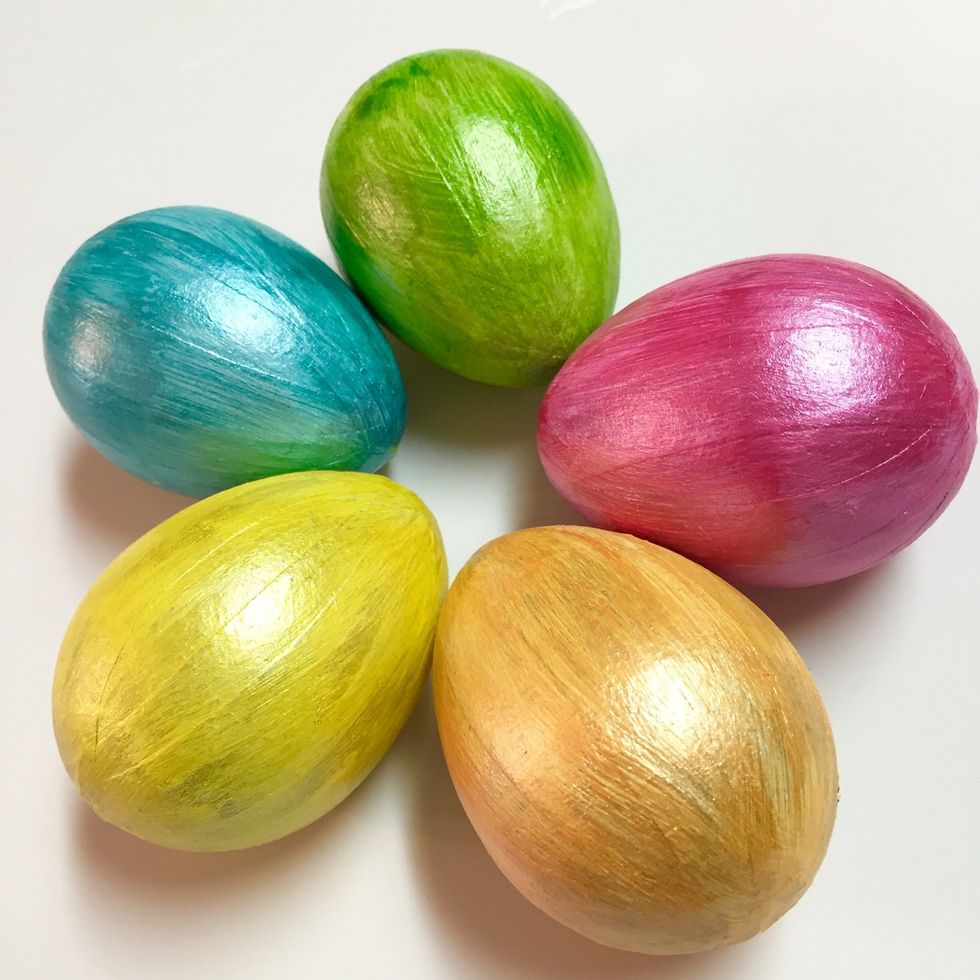
eggs painted with Izink Inks.
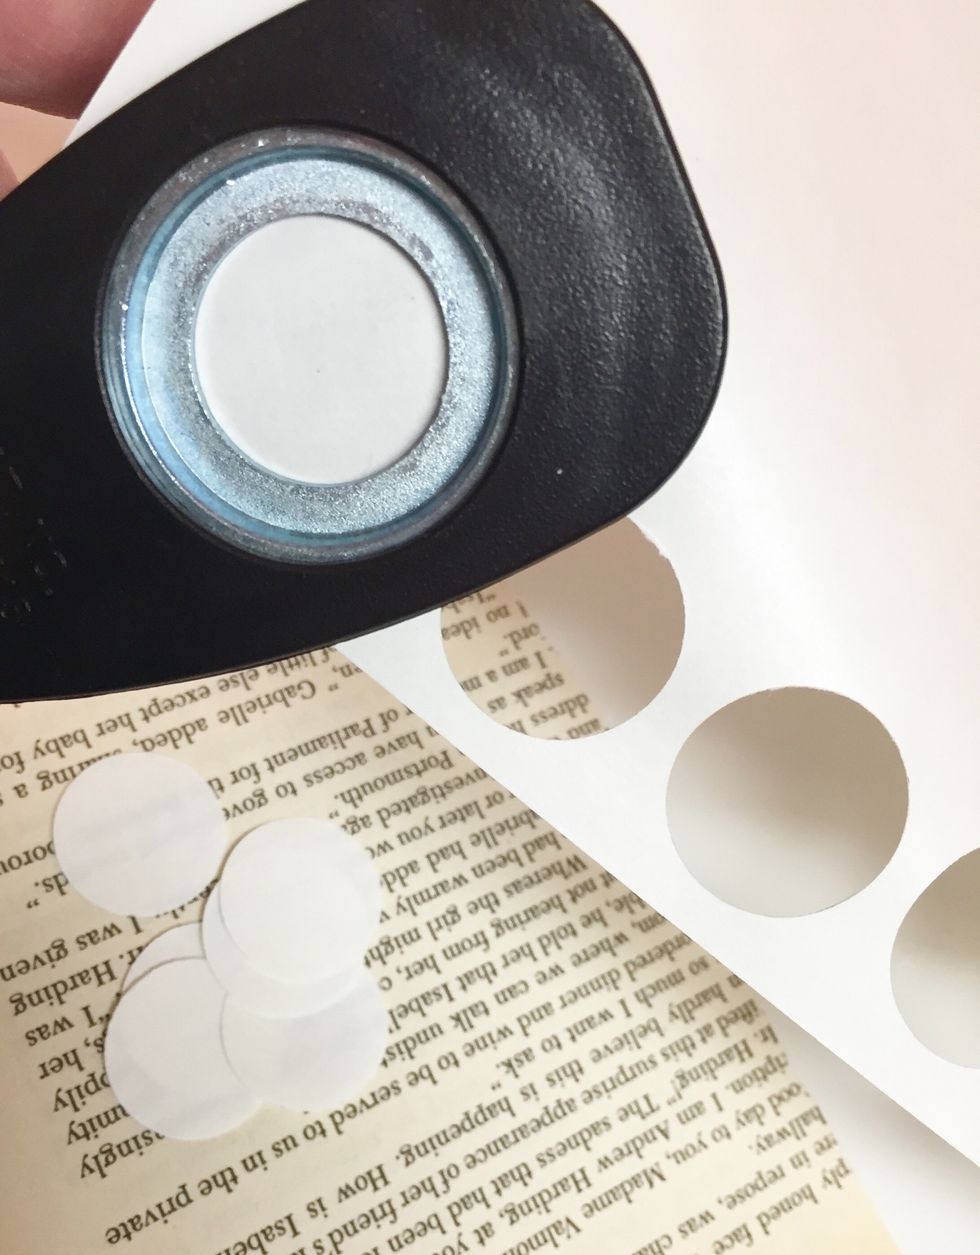
POLKA DOT EGG: punch circles from Artist-tac sheet; you'll need about 8-10.
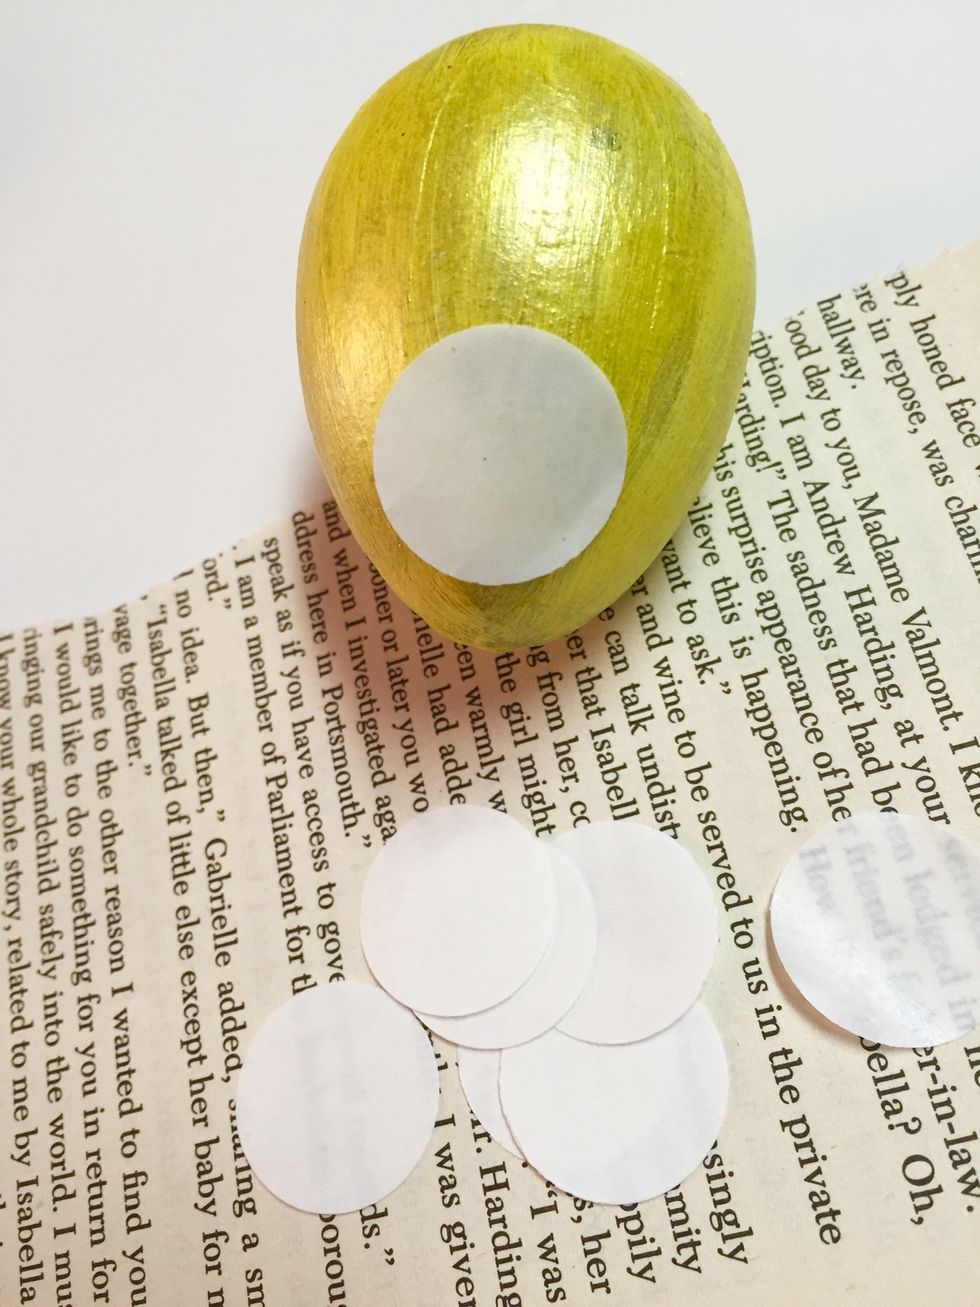
remove backing from circles and place sticky side down on egg. rub with your finger to transfer adhesive. you'll want to work one dot at a time as adhesive is clear and hard to see once applied.
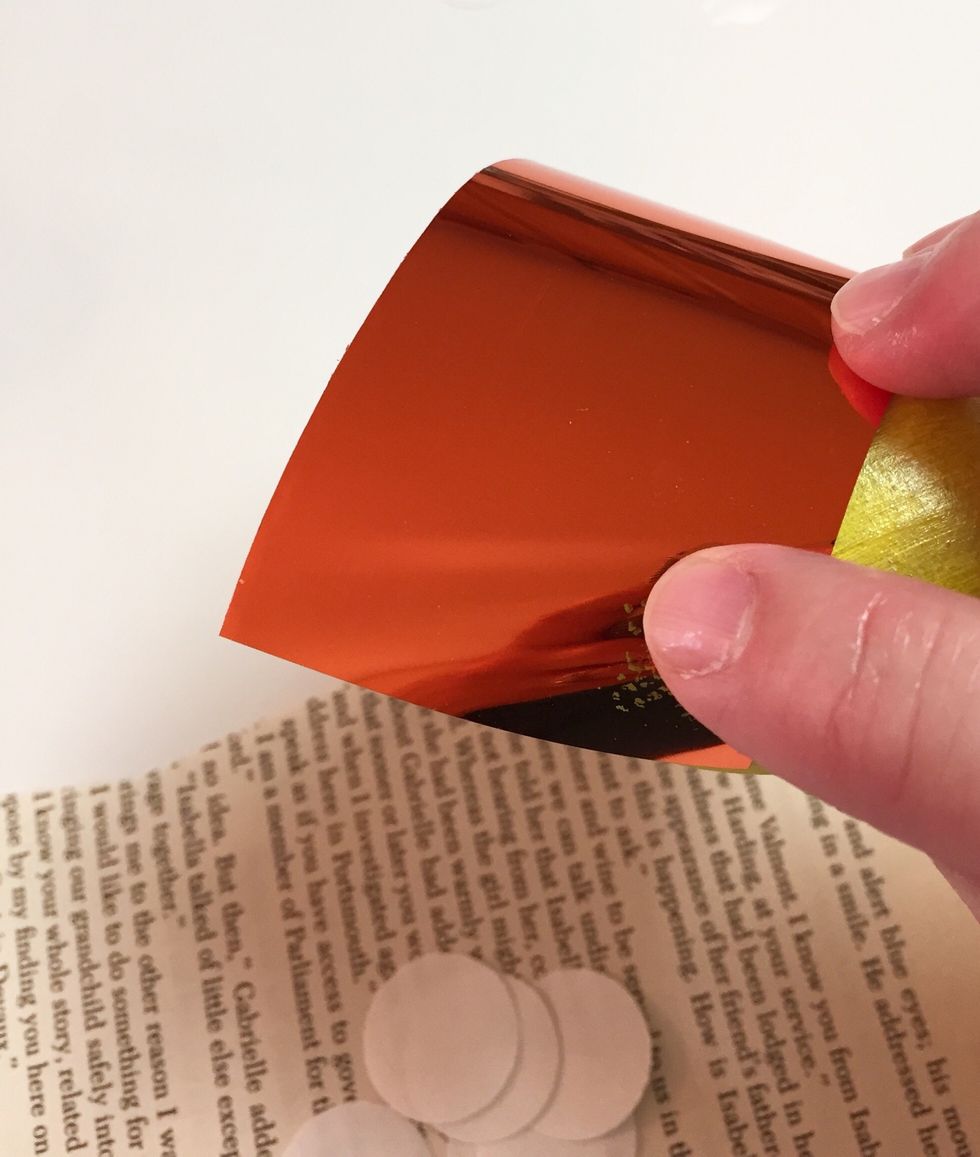
place foil sheet over adhesive dot and rub with your finger to transfer foil.

foil dot added. notice that the adhesive has a dot pattern that adds a nice texture to the design.
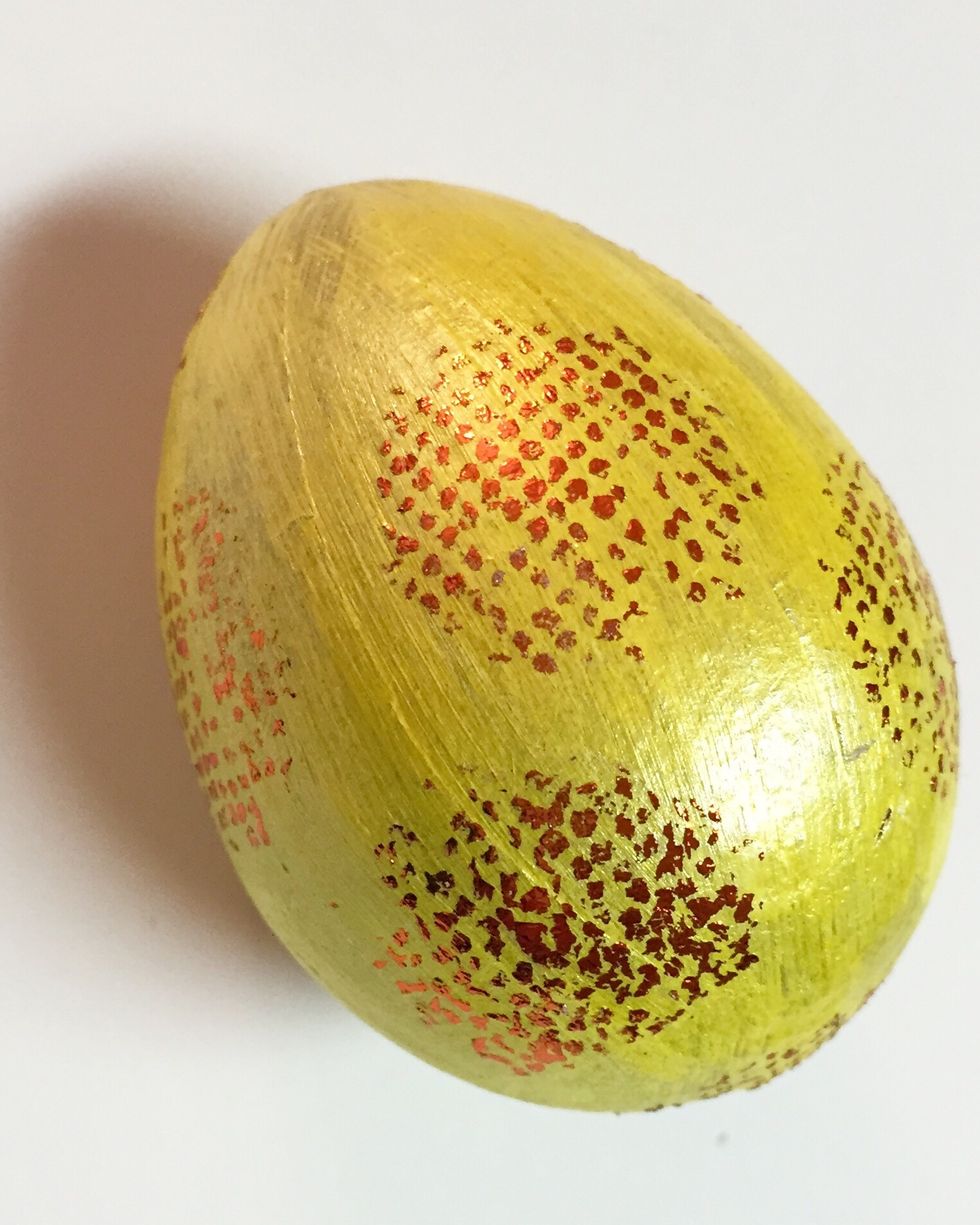
continue adding adhesive dots and covering them with foil until you are happy with the design. if any sticky areas remain, just rub over with the foil sheet. the foil sheet can be used multiple times.
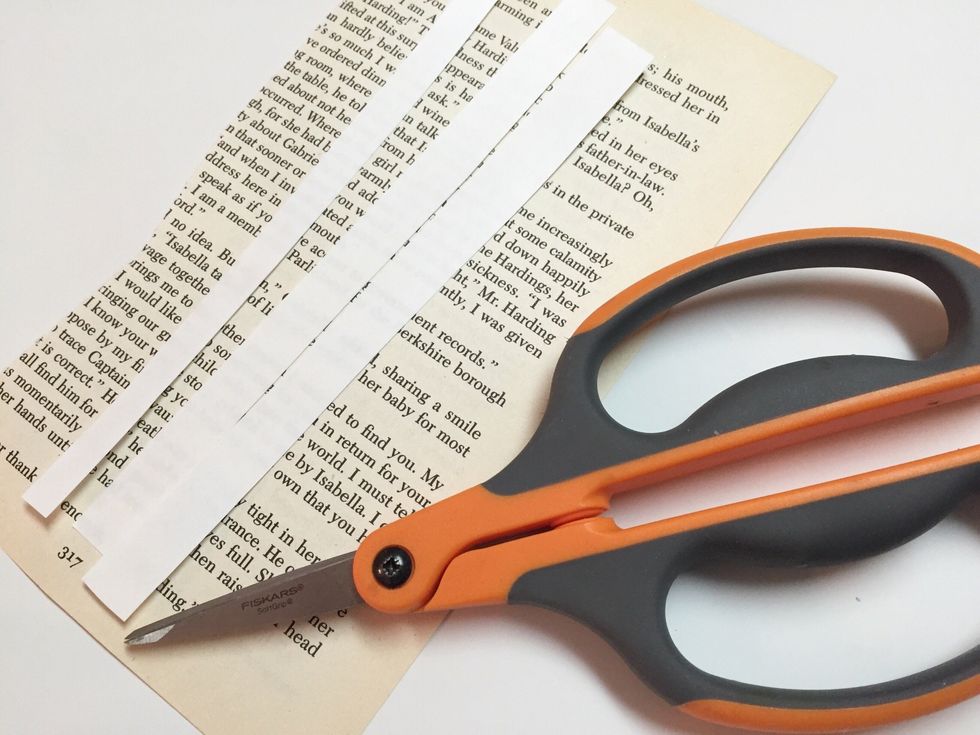
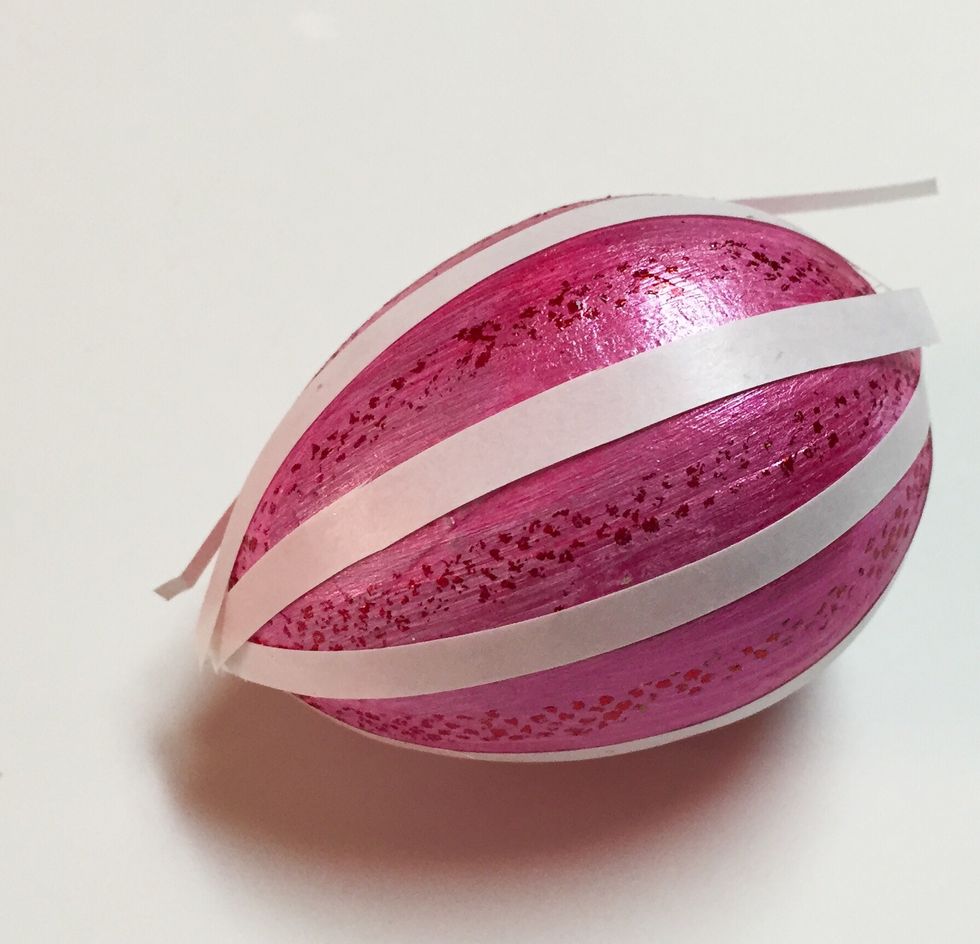
HORIZONTAL STRIPED EGG: cut strips of adhesive sheets long enough to wrap around egg plus a little bit extra.
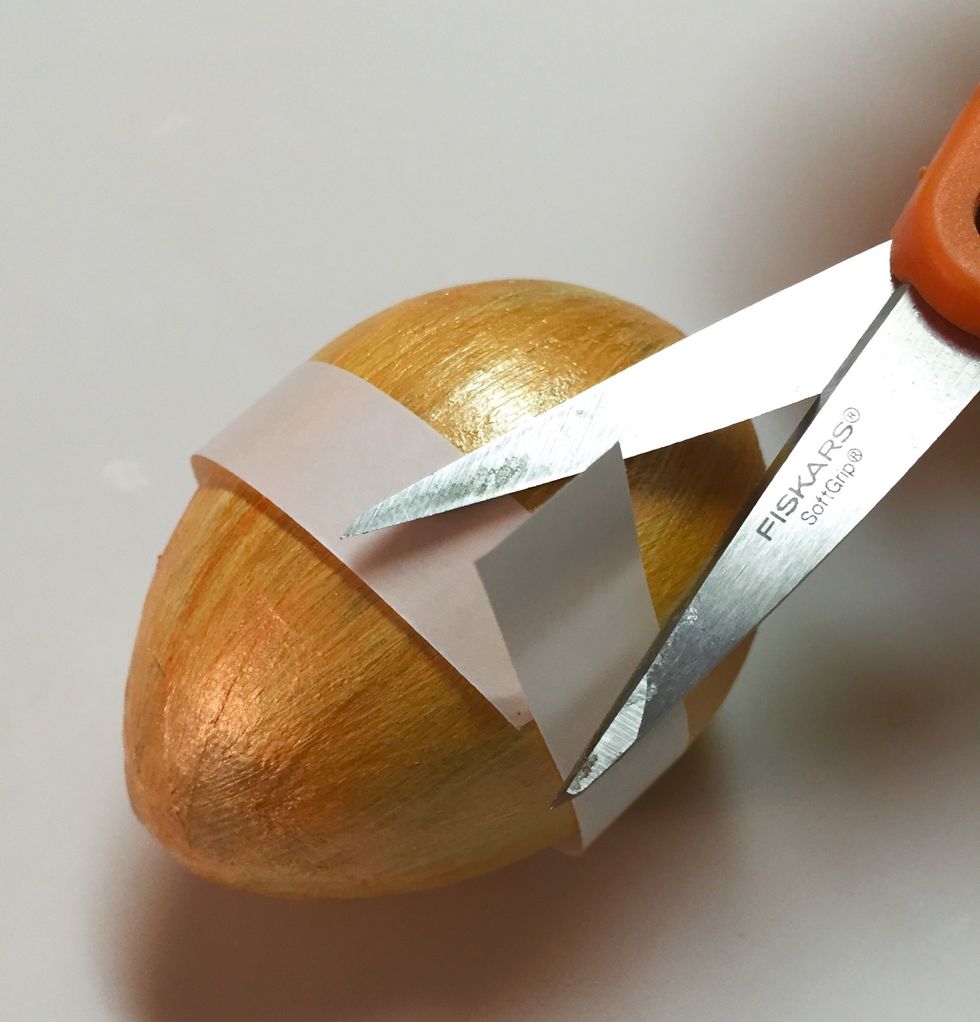
wrap strip around center of egg, then trim excess.
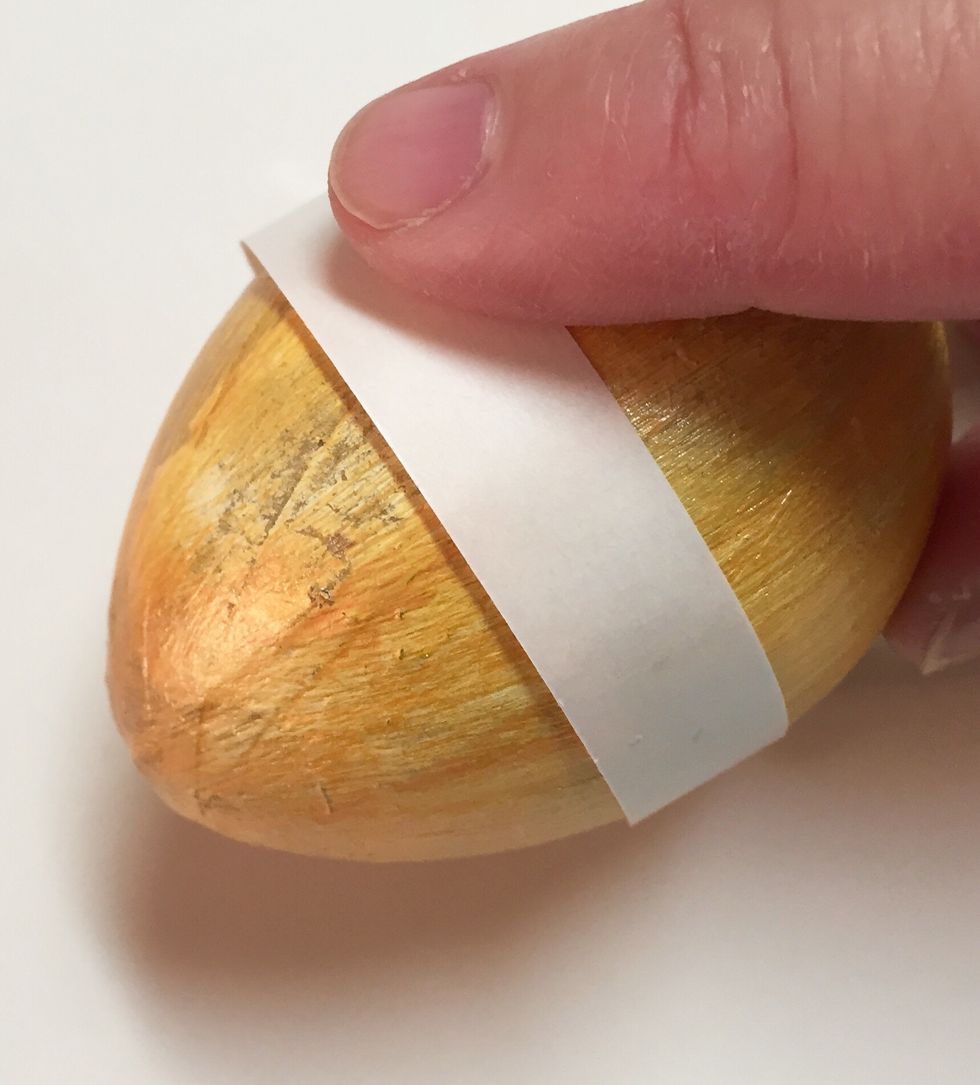
rub with finger to transfer adhesive and then remove backing strip.
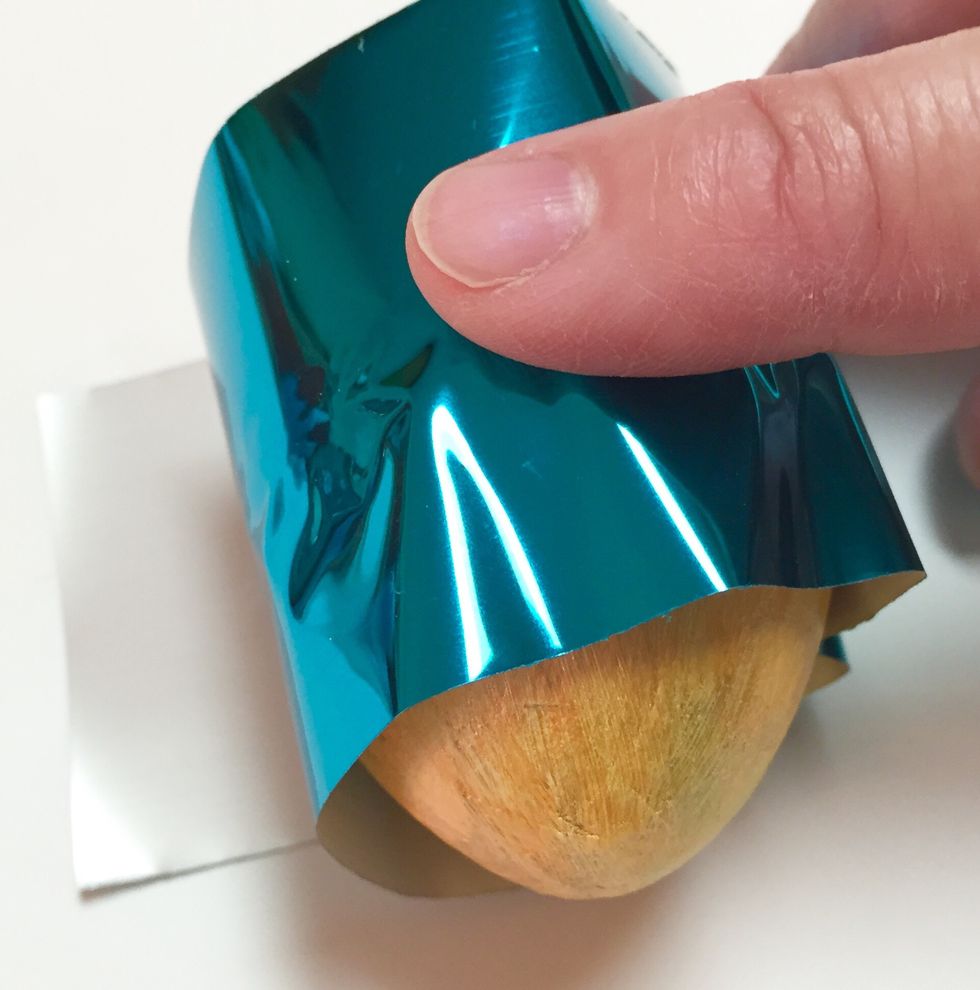
rub foil sheet over strip.
stripe added to center of egg. repeat steps at either end of egg to add 2 more stripes.
finished striped egg.
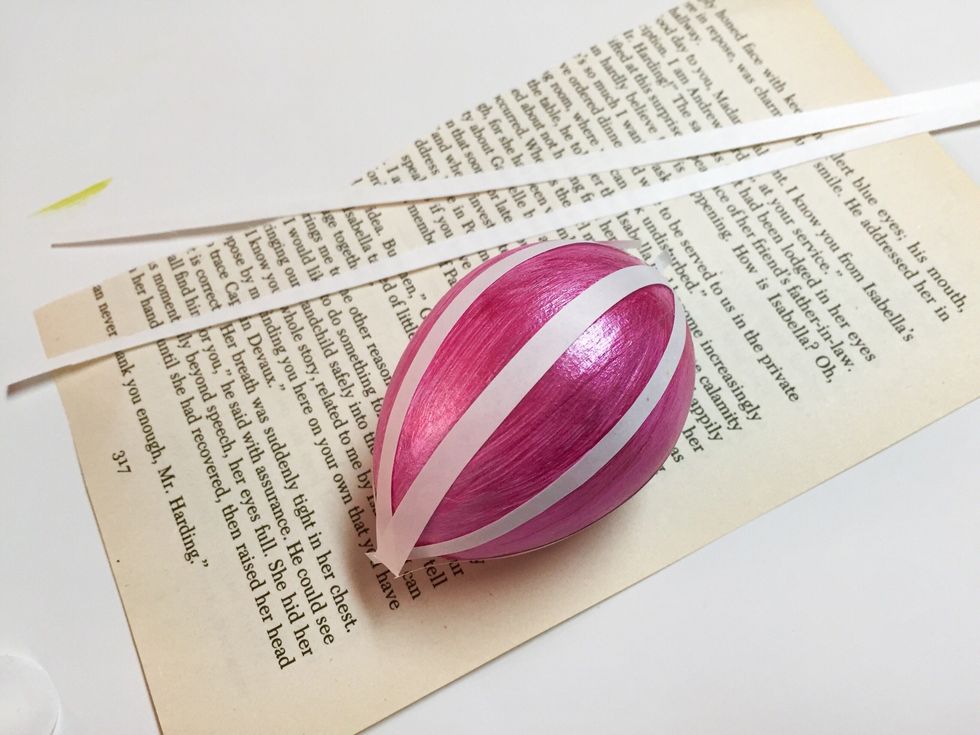
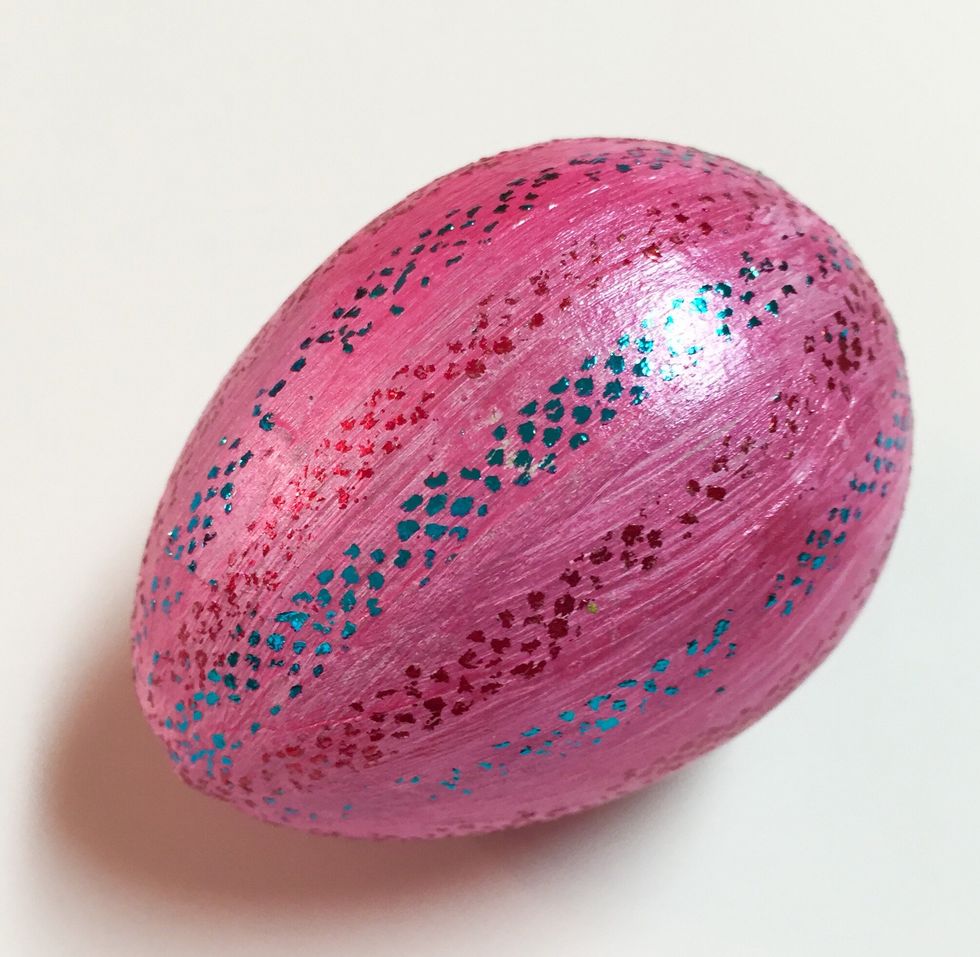
VERTICAL STRIPED EGG: cut narrow strips from adhesive sheet the length of the egg plus a bit. apply strips to egg as shown, spacing evenly. rub strips with finger to transfer adhesive.
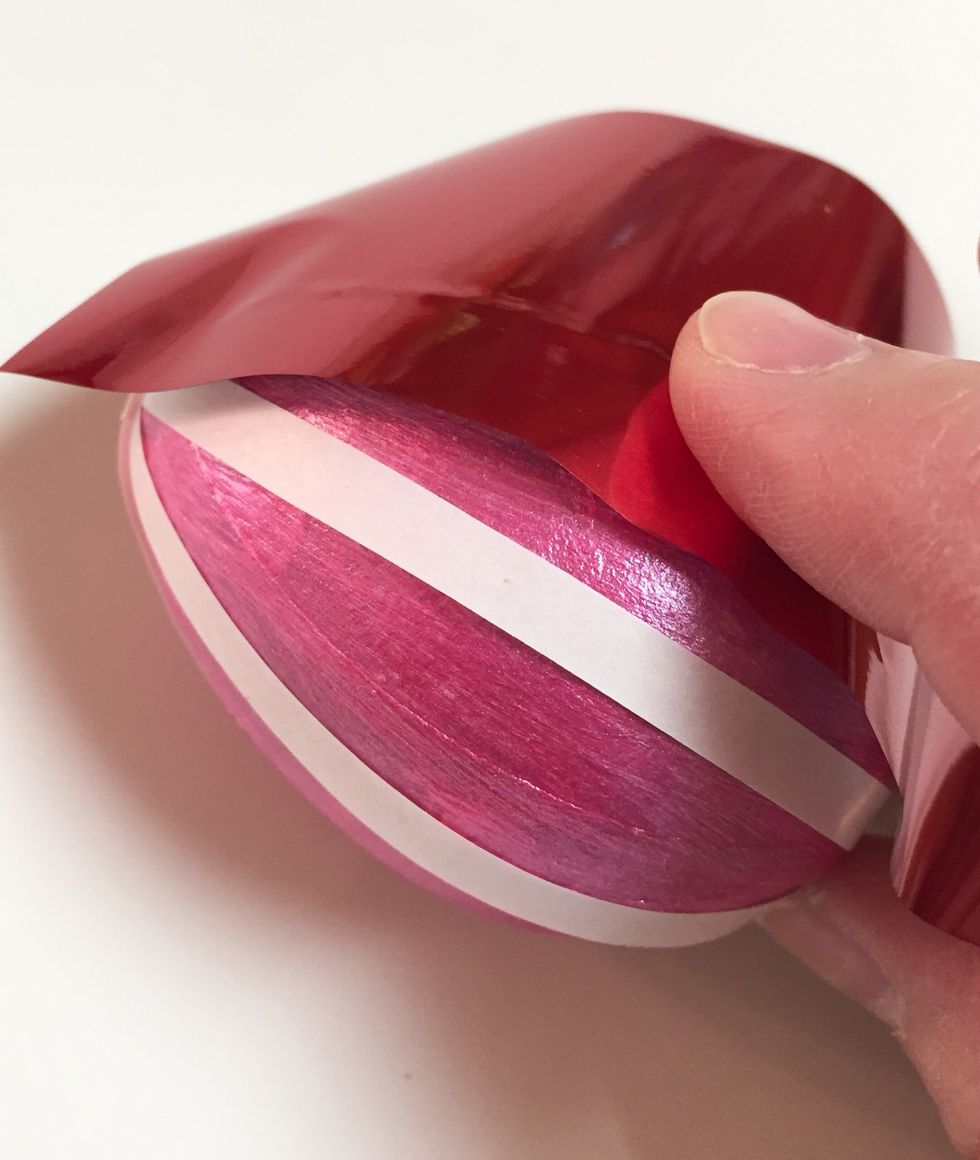
working one strip at a time, remove backing and rub with foil.
egg with one set of vertical stripes added.
you can add one or more sets of stripes to the egg and use multiple colors of foil. here another set of stripes has been added in between first set.
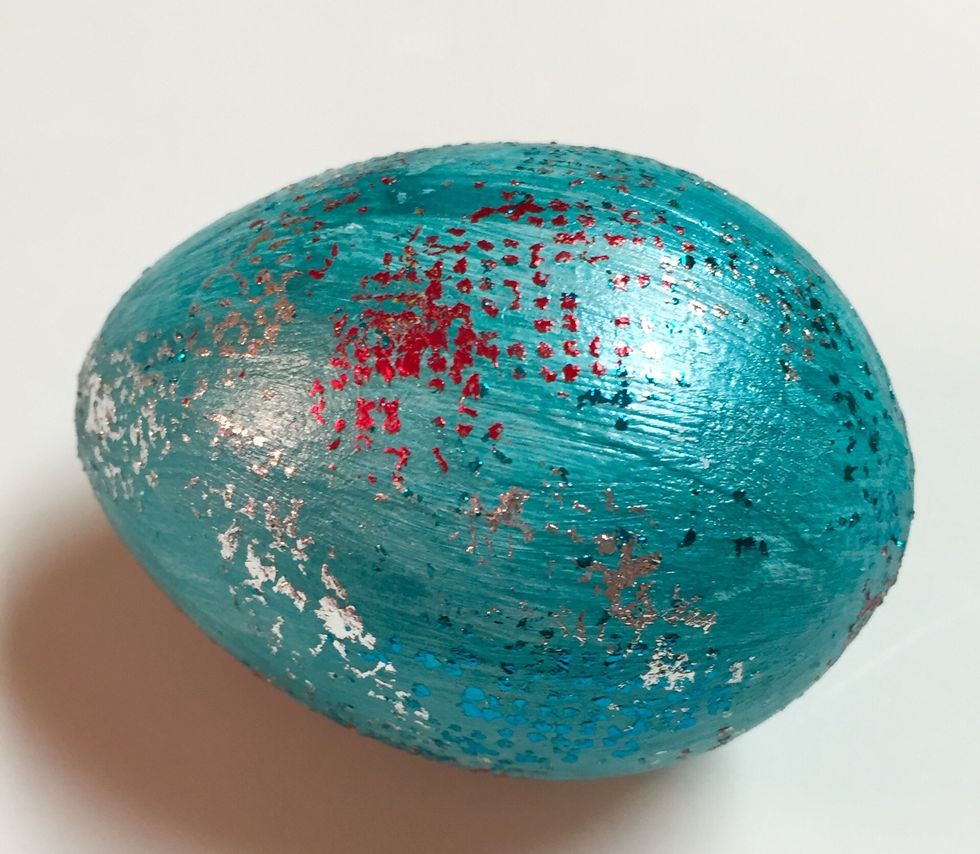
process was repeated using aqua foil.
another way to foil egg, and to use up any leftover bits of adhesive and foil, is an all over random pattern. just rub bits of adhesive on egg and then rub with leftover foil.

here are all of the finished eggs, all foiled and ready for Easter! Grafix: http://www.grafixarts.com --- tami sanders * paper crafter: www.tamisanders.com