The Conversation (0)
Sign Up
What I will be showing today is a simple yet highly effective technique to add detail and richness to some of your photos. This style is called the Dragan Effect.
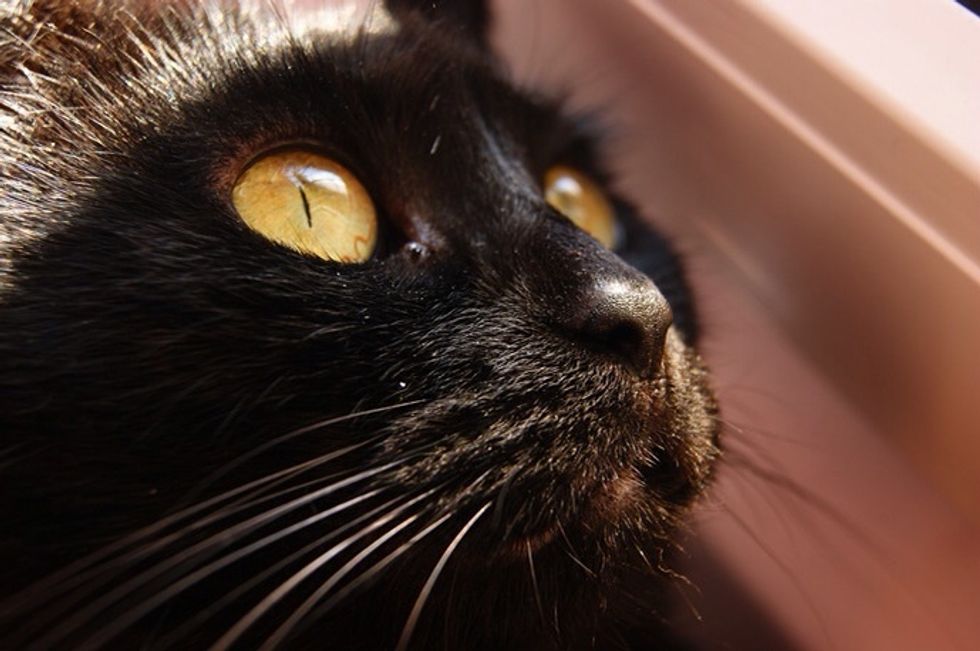
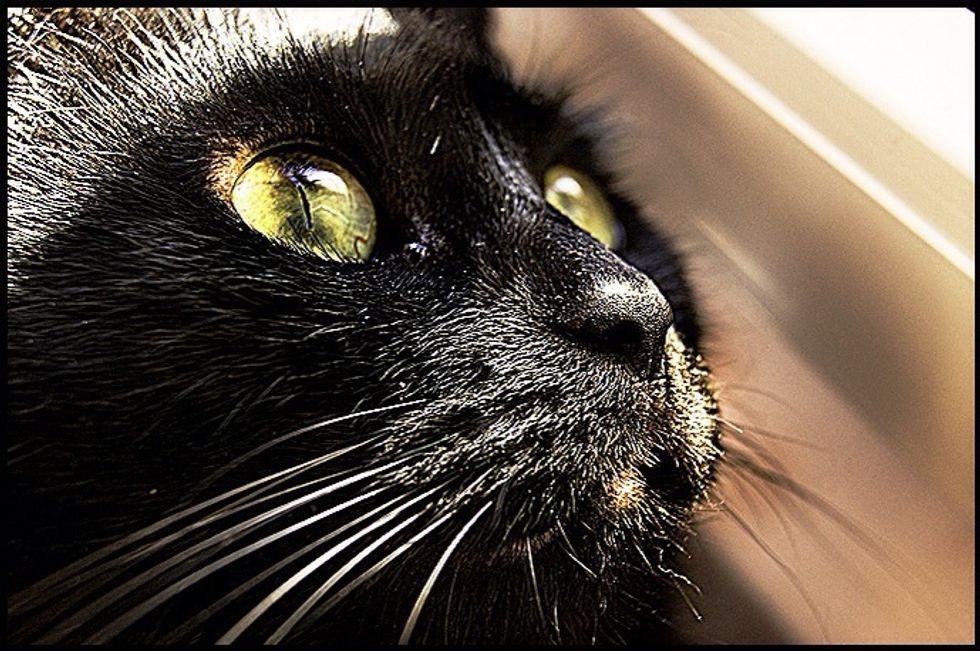
First find a photo that you'd like to add a bit more emphasis to. I found this beauty from http://justanotherstock.deviantart.com
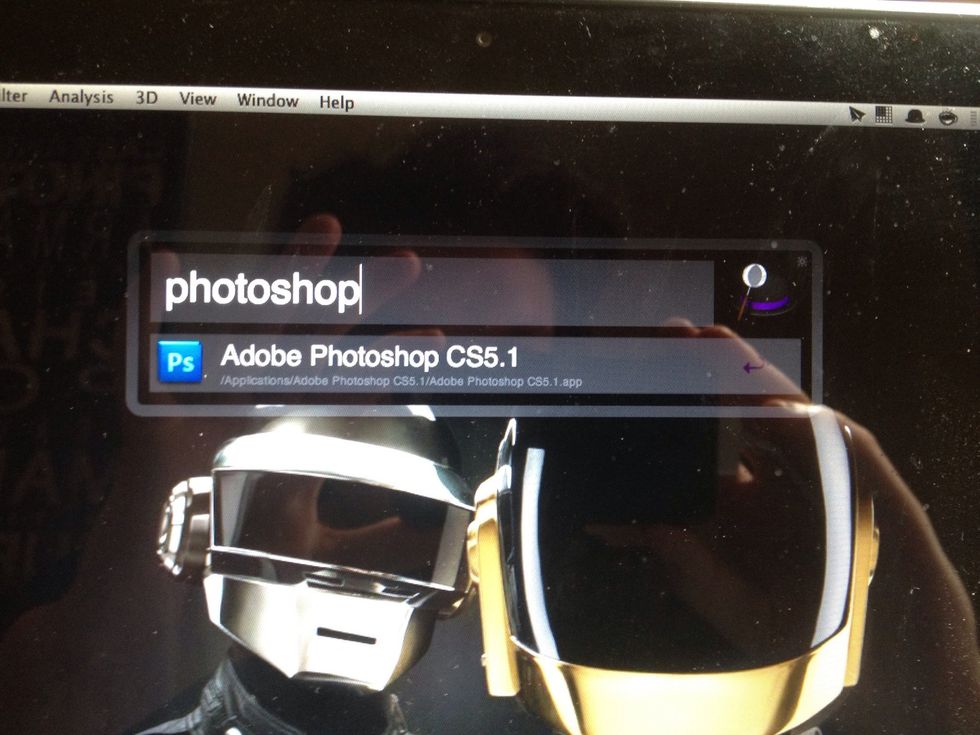
Open Photoshop
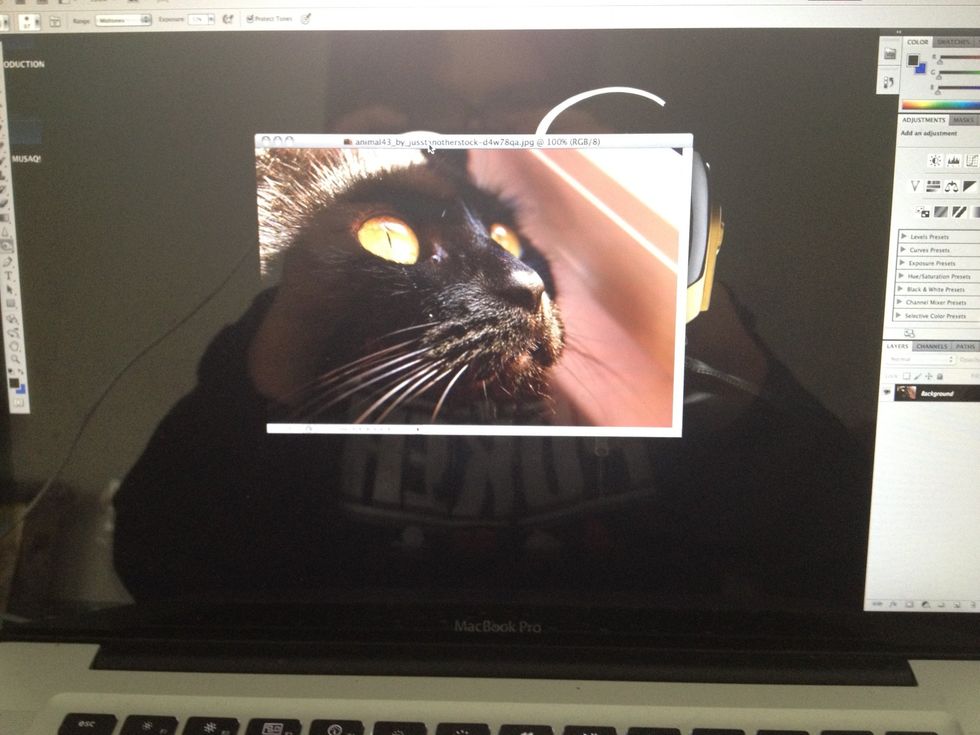
Drag your photo into photoshop (my reflection need not be dragged in though)
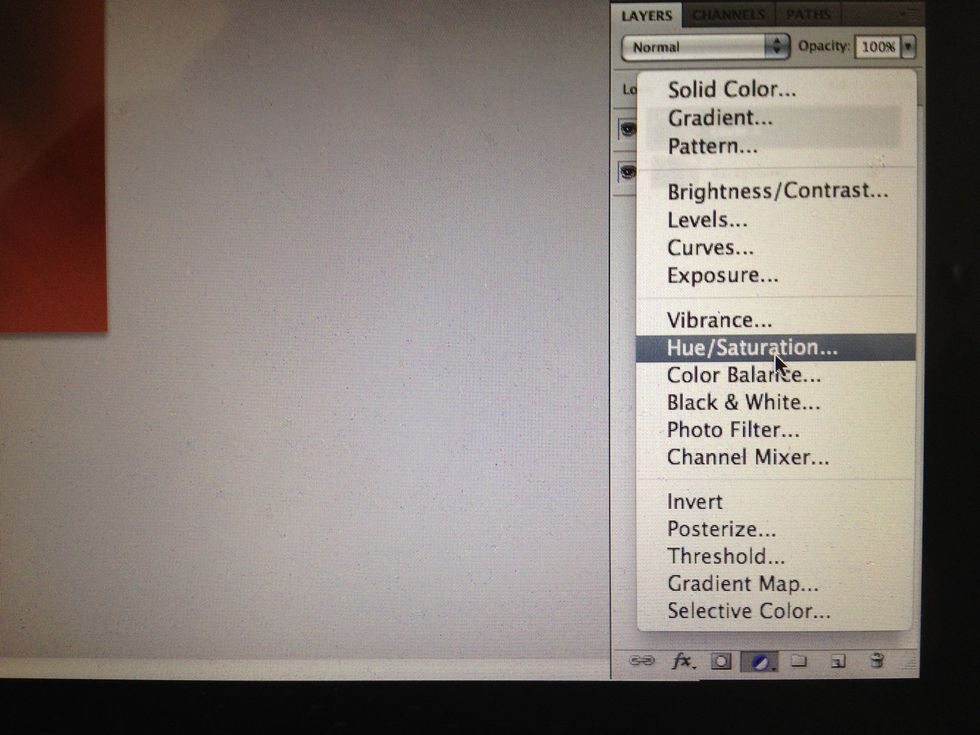
Now we are going to adjust some lighting and color features. So click the circle with half white and half black and choose hue/saturation. What we are doing is creating a mask of our alterations.
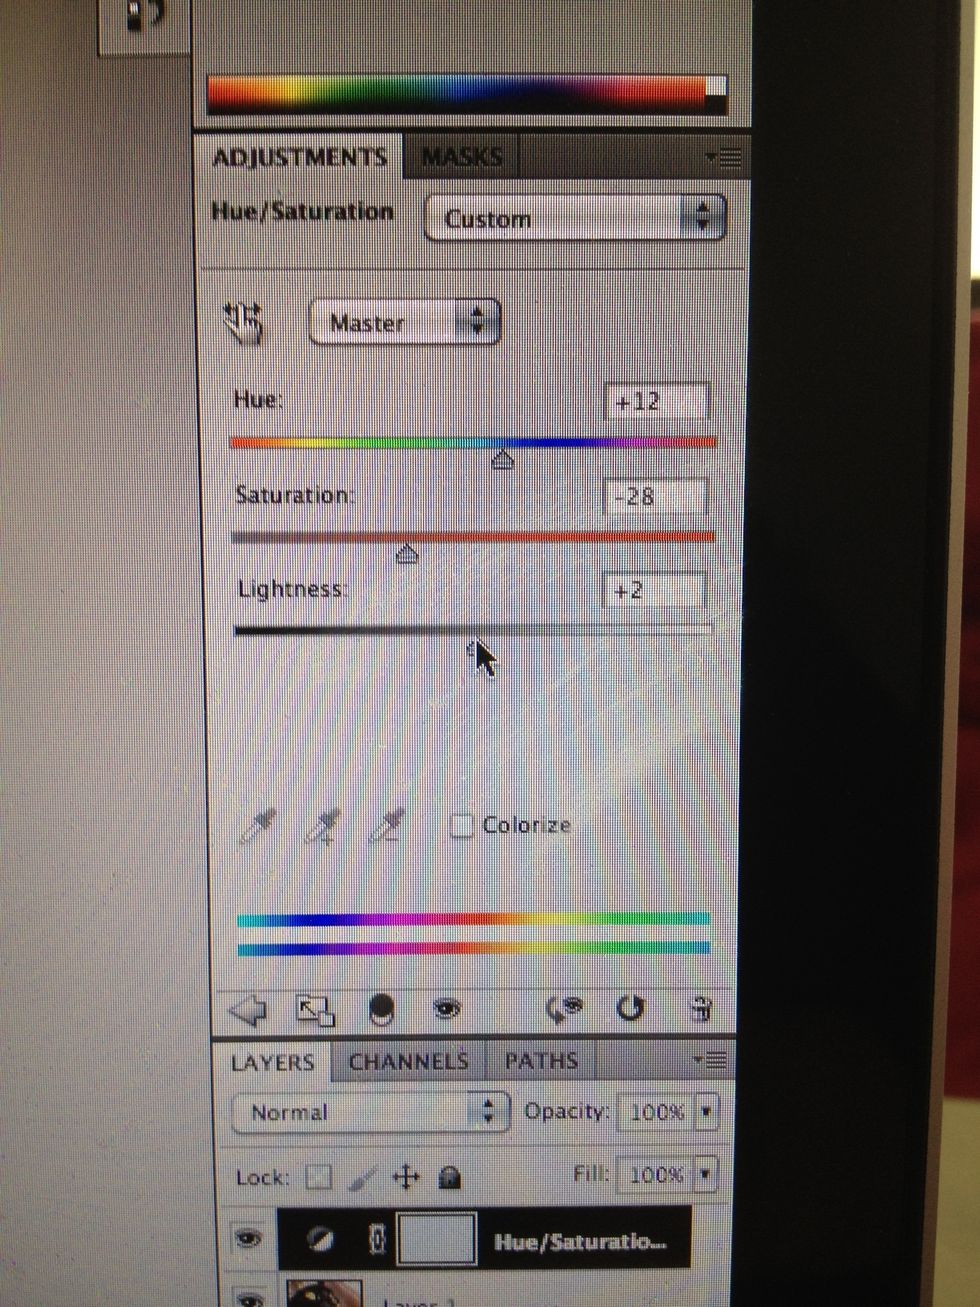
Now we are going to alter the saturation aspect of the image mainly. I usually choose anywhere from 20-50 depending on the lighting of the photo. The hue an lightness can be adjusted to your liking.
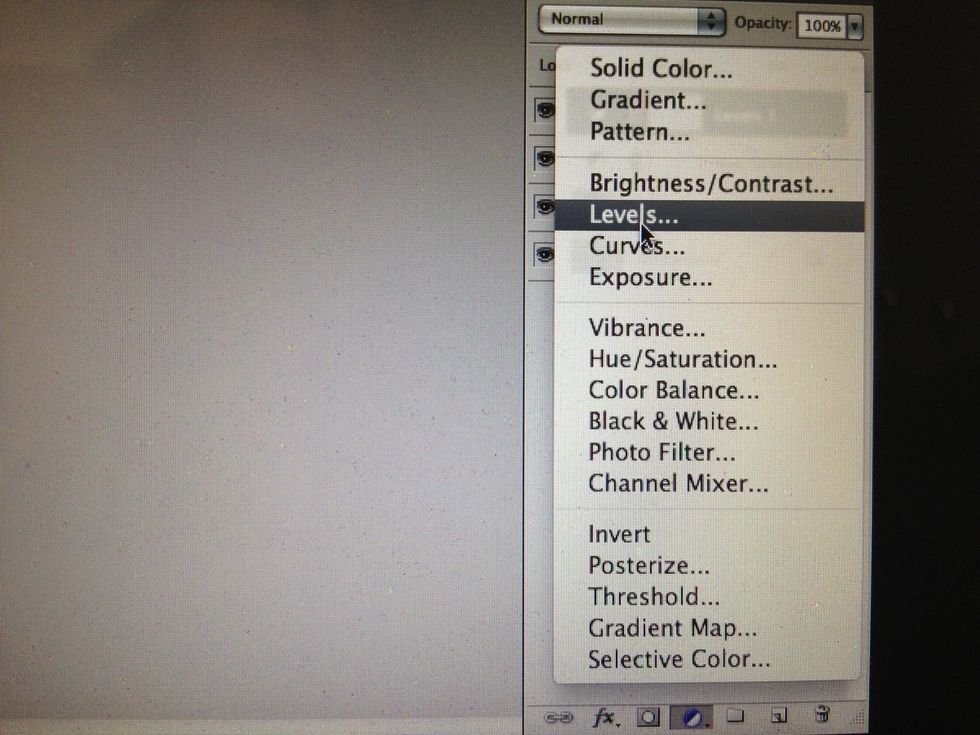
Now we are going add a levels mask to adjust lows, mids, and highs of the shadows in the photo.
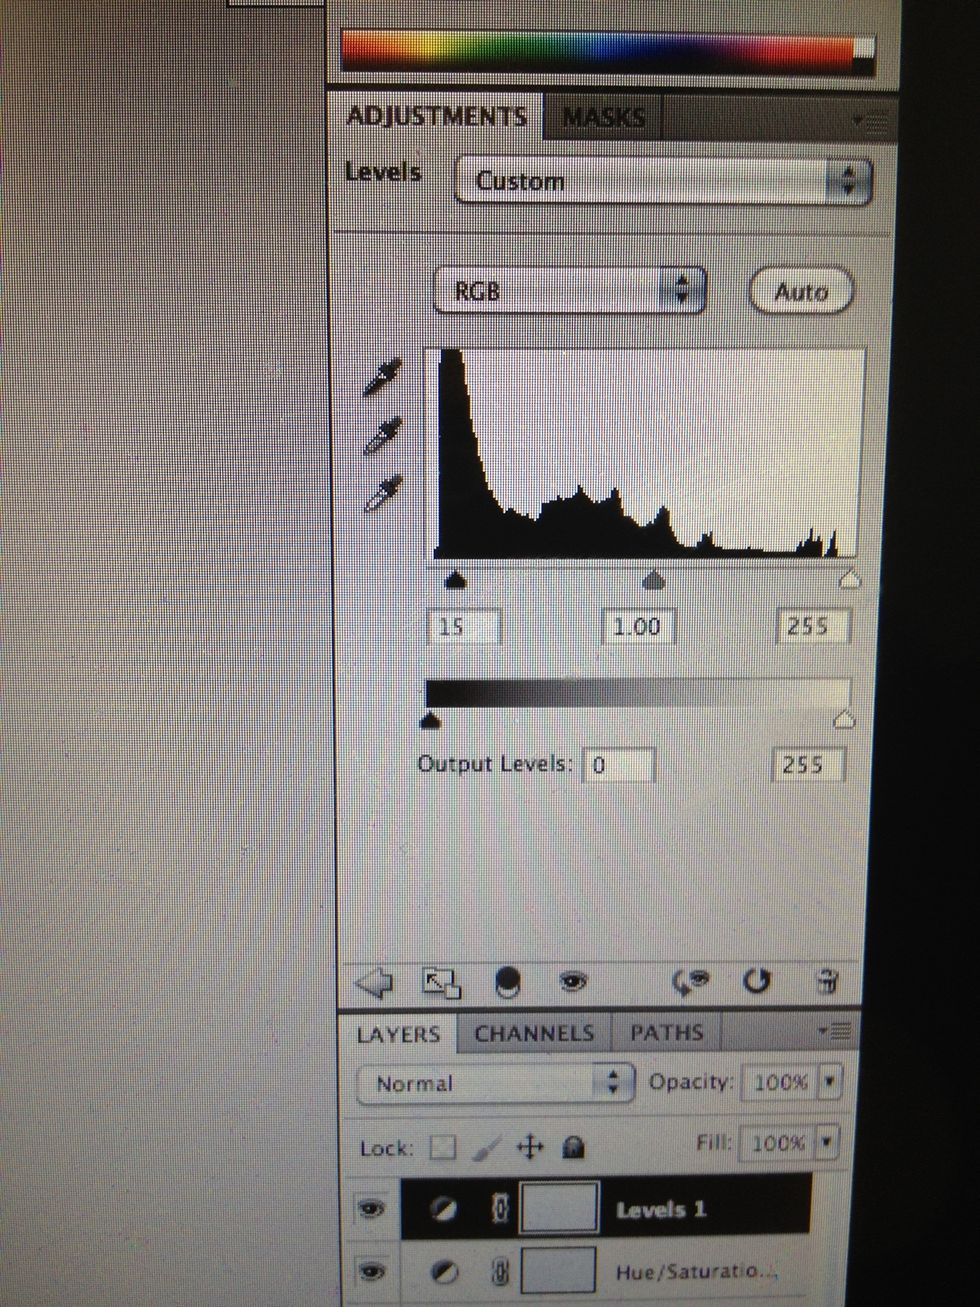
Now I'm going to set the lows to 15. I leave the others the same. You can set the lows higher depending if your image is lighter or not. Since the cat is black it doesn't need much boost.
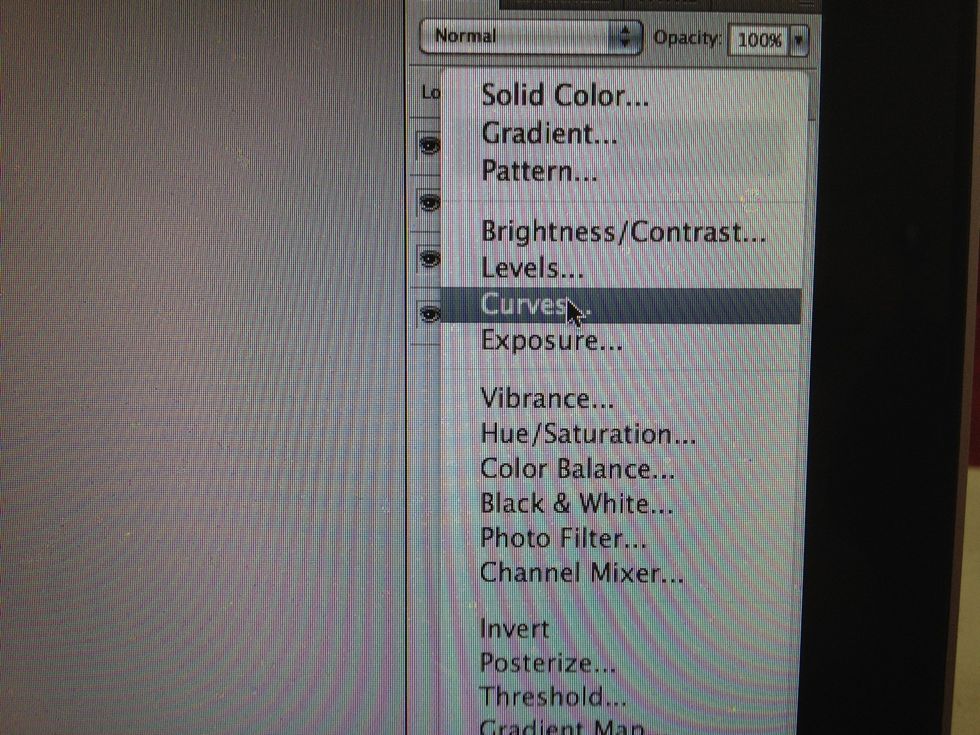
Next add a Curves mask. This will help us define the image using lighting.

Next you make your adjustments. Now this is varied depending on your photo. But a good rule of thumb I use is that I create three points like so and just adjust until I get something desired.

Next duplicate your photo. Highlight your layer and hit CTRL+J (Command+J on Mac) or you can press the little notepad near the trash icon in the layers palette.
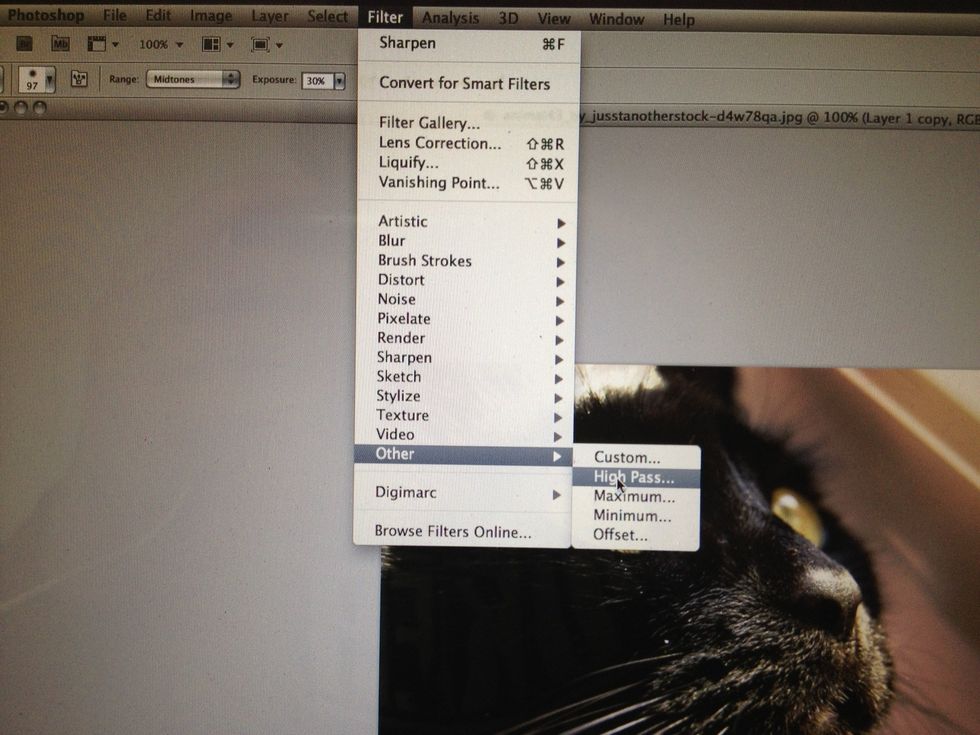
With your duplicate highlighted, go to Filter>Other>High Pass
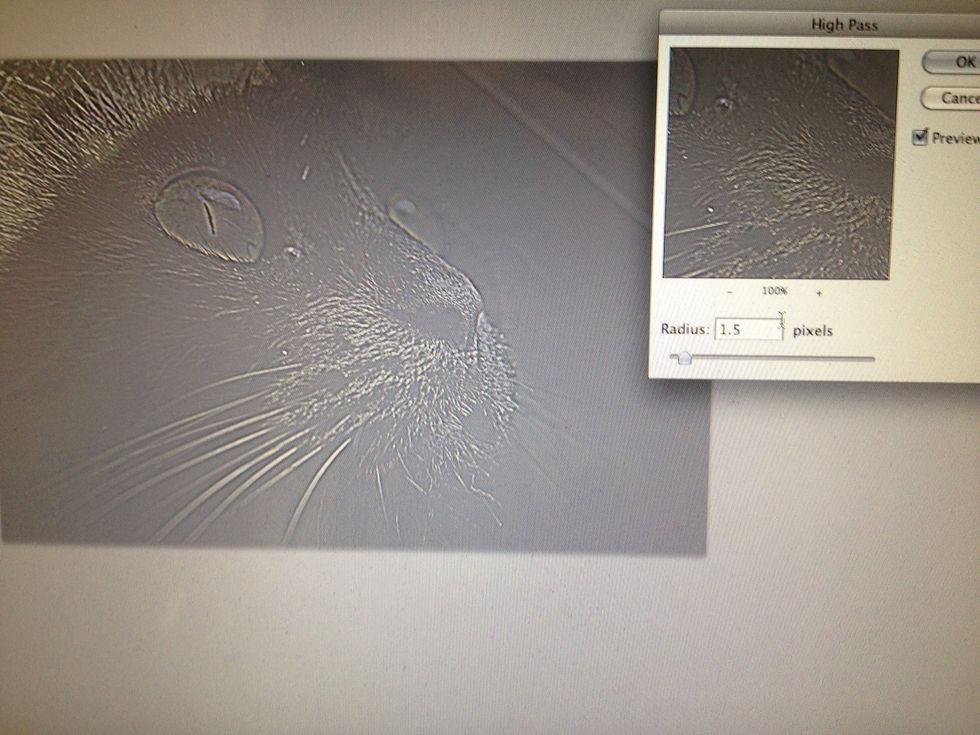
Type in 1.5 for your radius. Now your image should almost look metal. Like so.
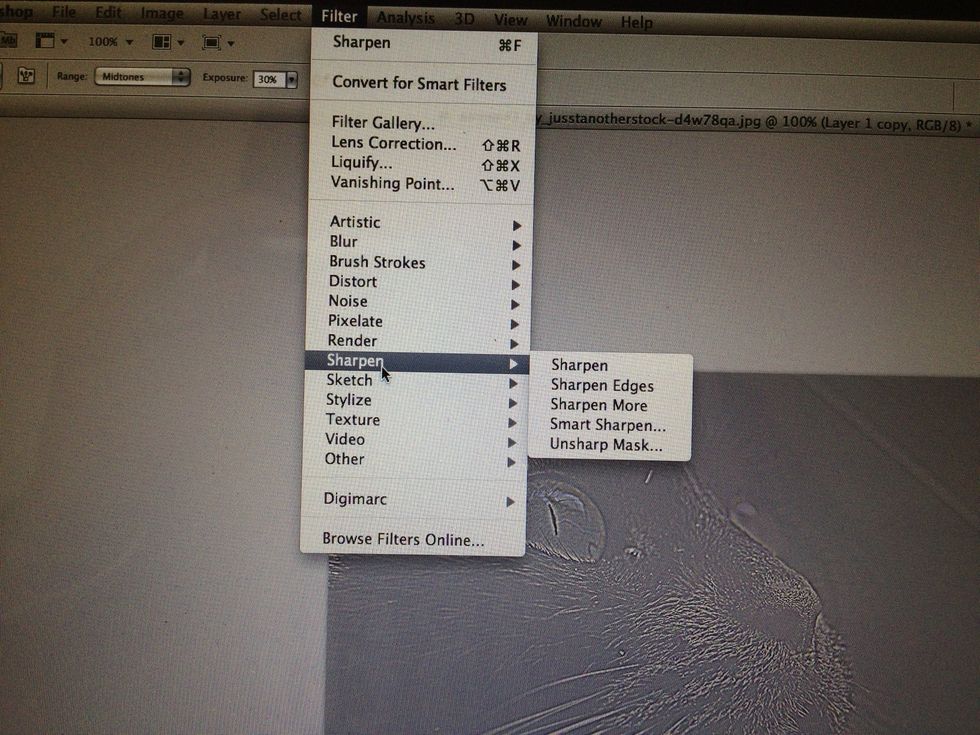
Then go to Filter>Sharpen.
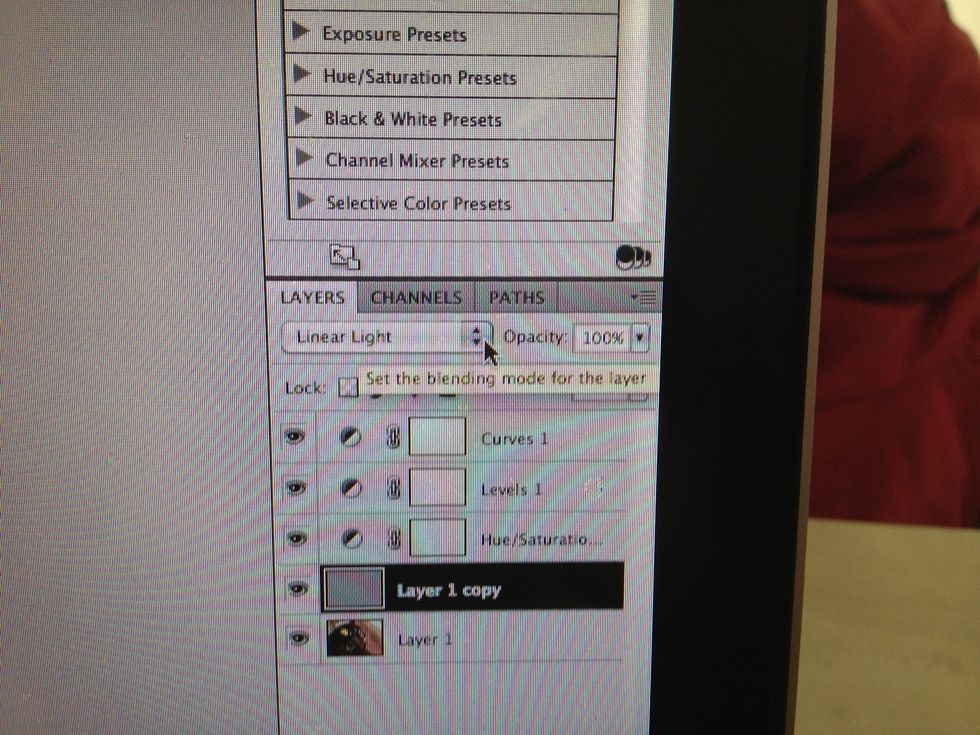
Then in blending mode...
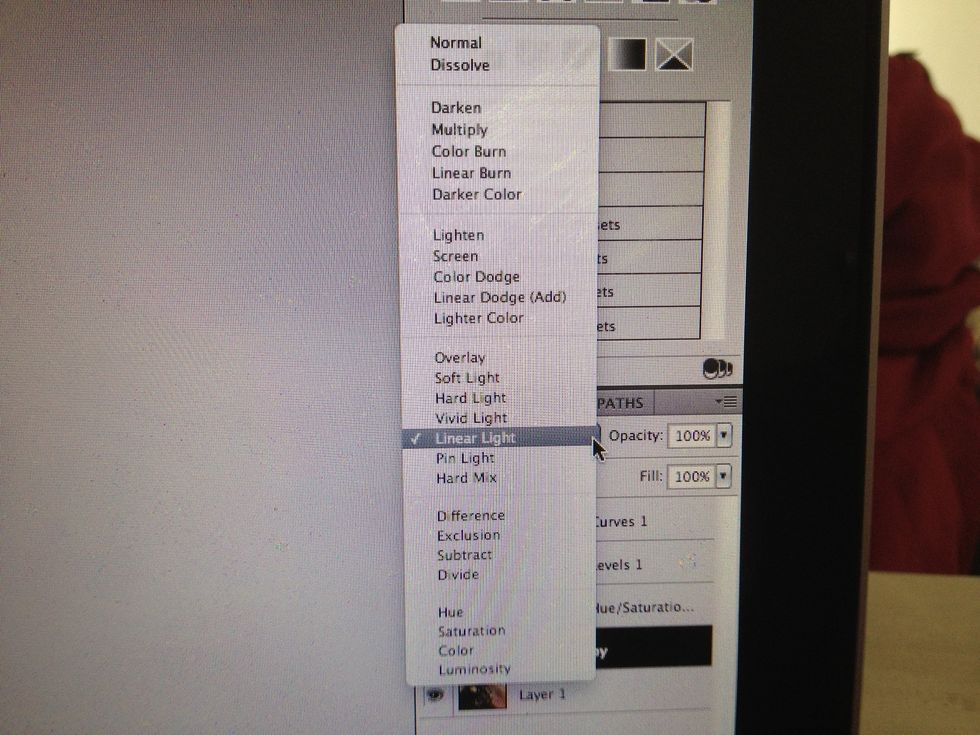
Choose a blend that will work well. However, overlay or linear light yield best outcomes generally. I used linear light for this tutorial.
If all went well your image should be much more vivid an stunning. This technique works amazingly well on portraits of people. If you want to see more examples just type Dragan Effect into google
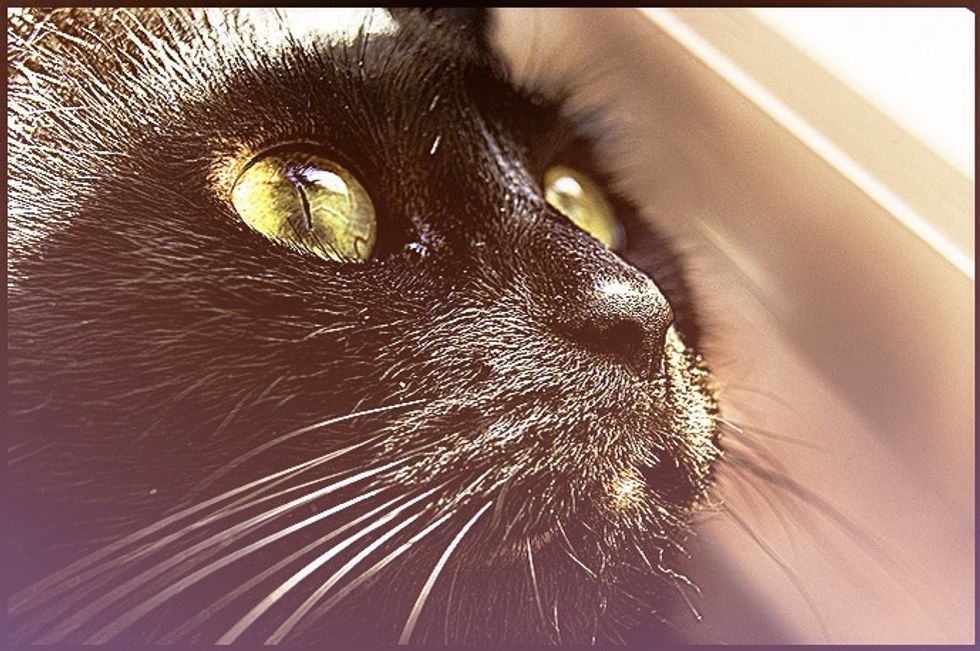
After I added some of my own creativity.
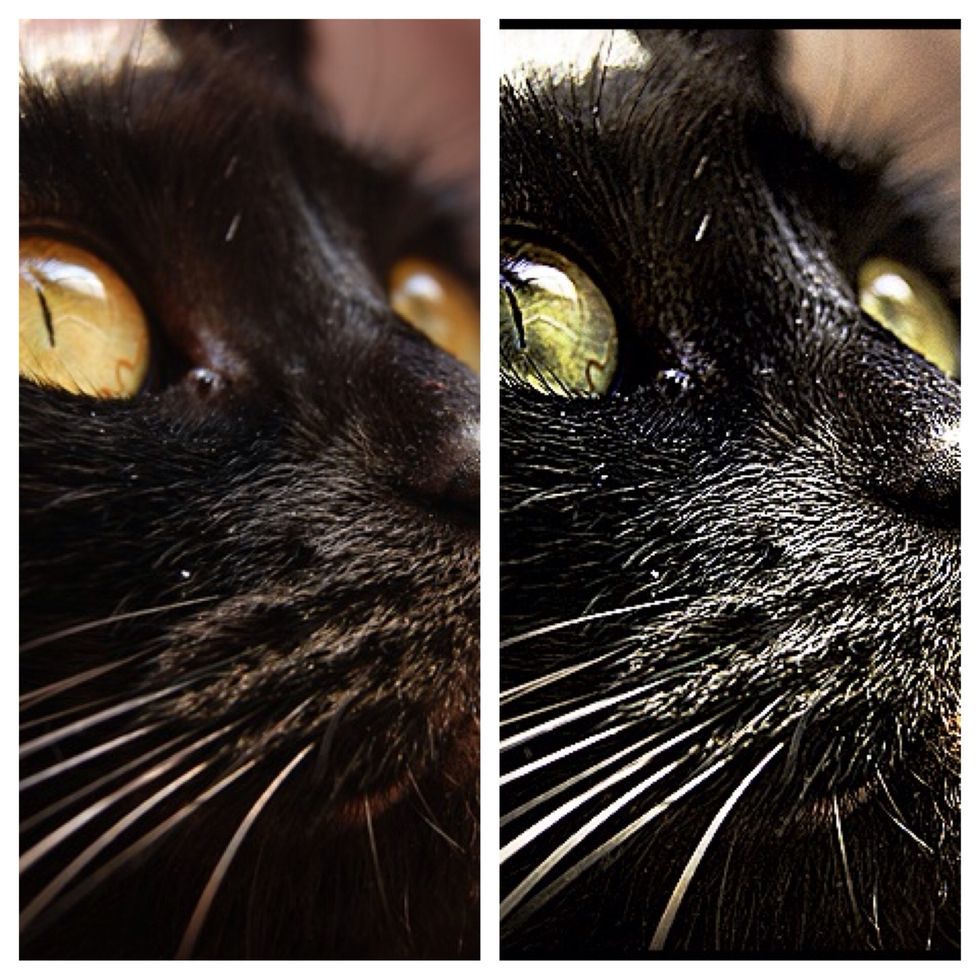
Lastly a comparison side-by-side to see the changes and differences.