The Conversation (0)
Sign Up
In my last guide I walked through an image editing app called ArtStudio. It's the best image editing and designing app I've found, but it's not very good when it comes to text on images.
For example it doesn't allow you to add styles such as drop shadow, bevel, glow, etc… to text. So in this guide I'll give you a cool work around right from your iPhone/iPad.
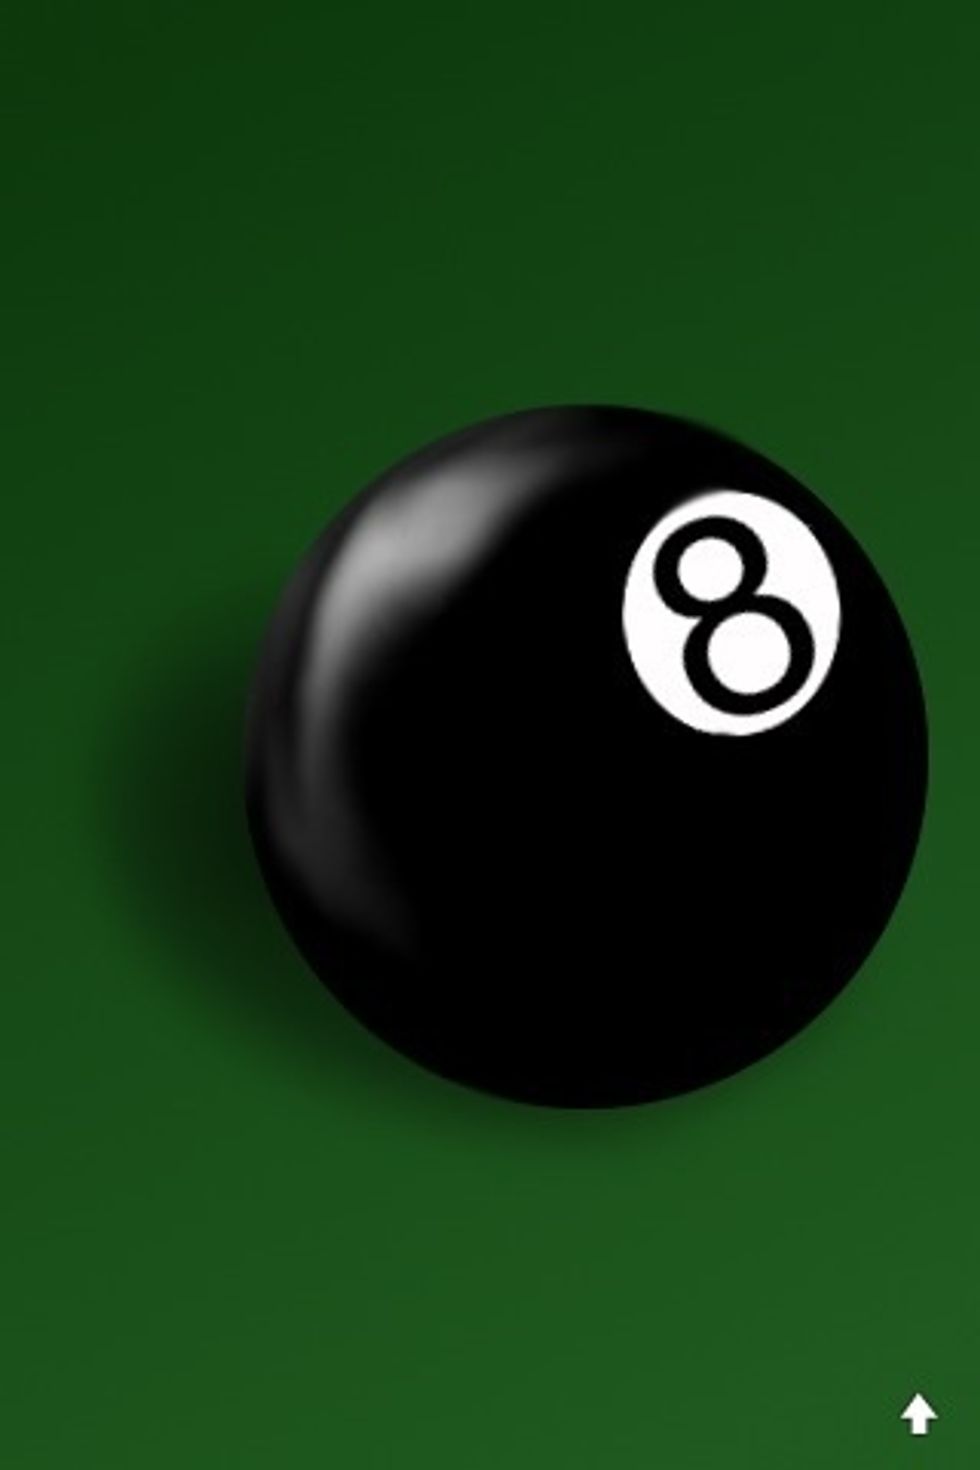
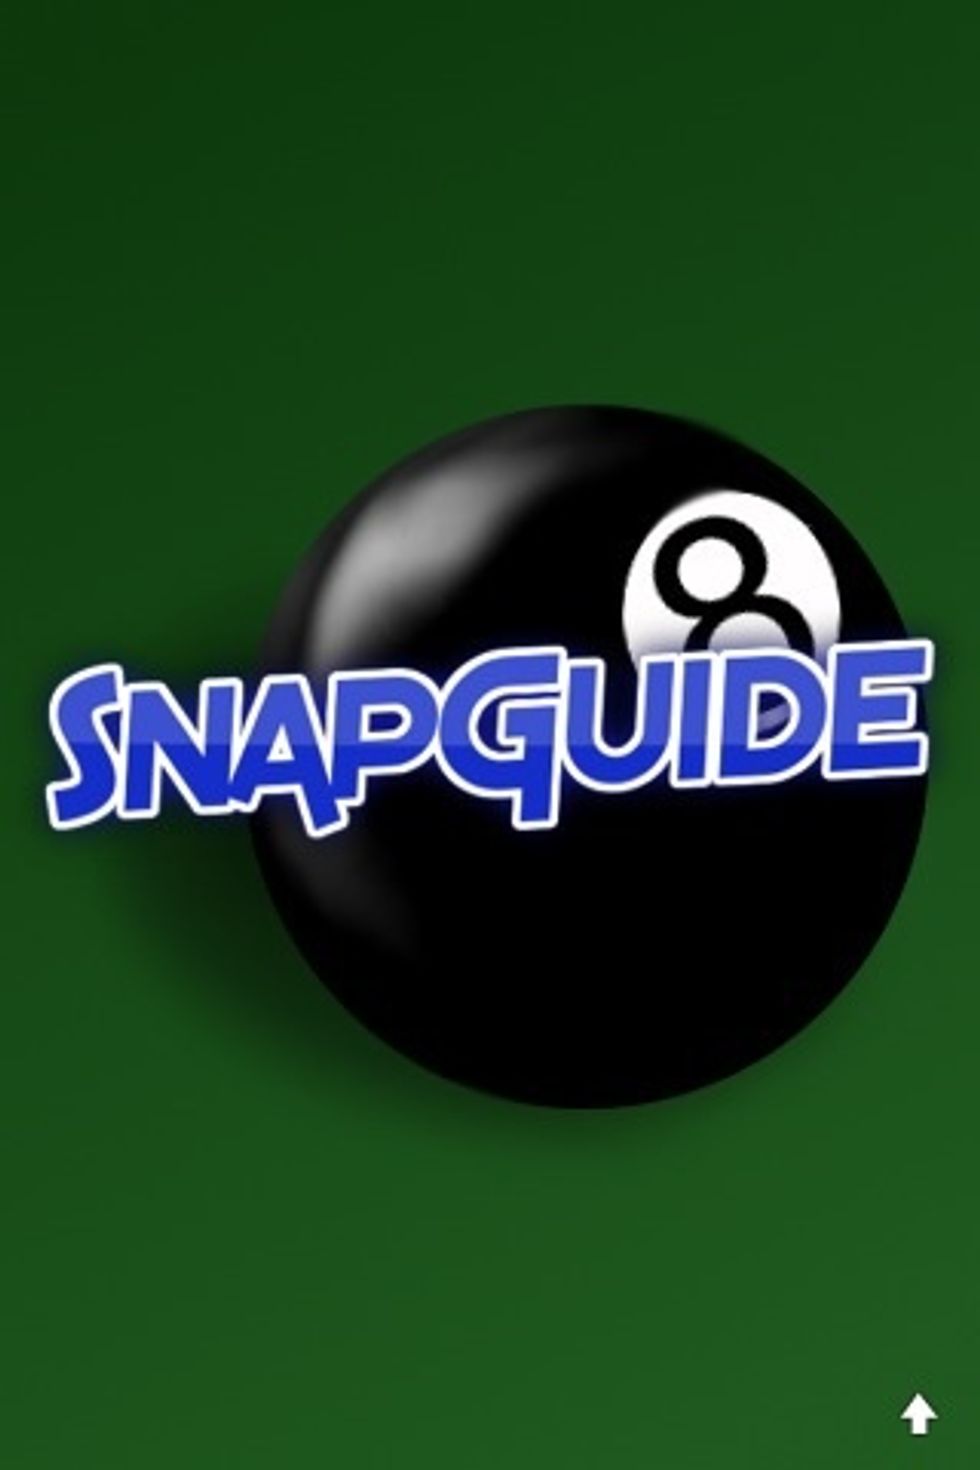
Here's an image I creates from scratch on the ArtStudio app. I opened the image in ArtStudio and I want to add some decorative text to it. Here's how.
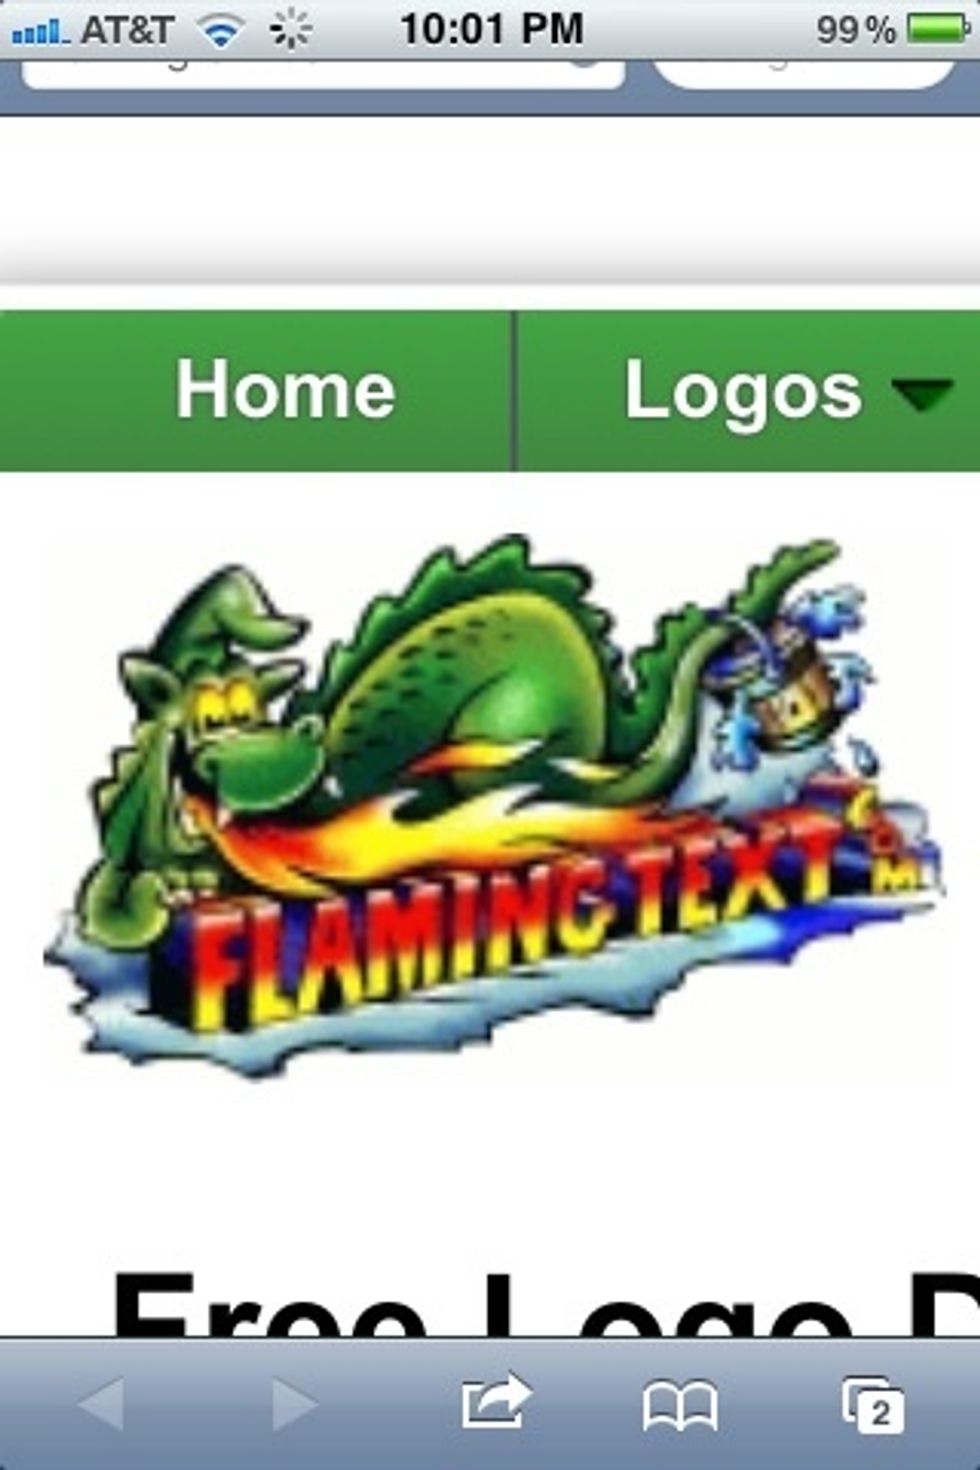
In your safari browser go to FlamingText.net.
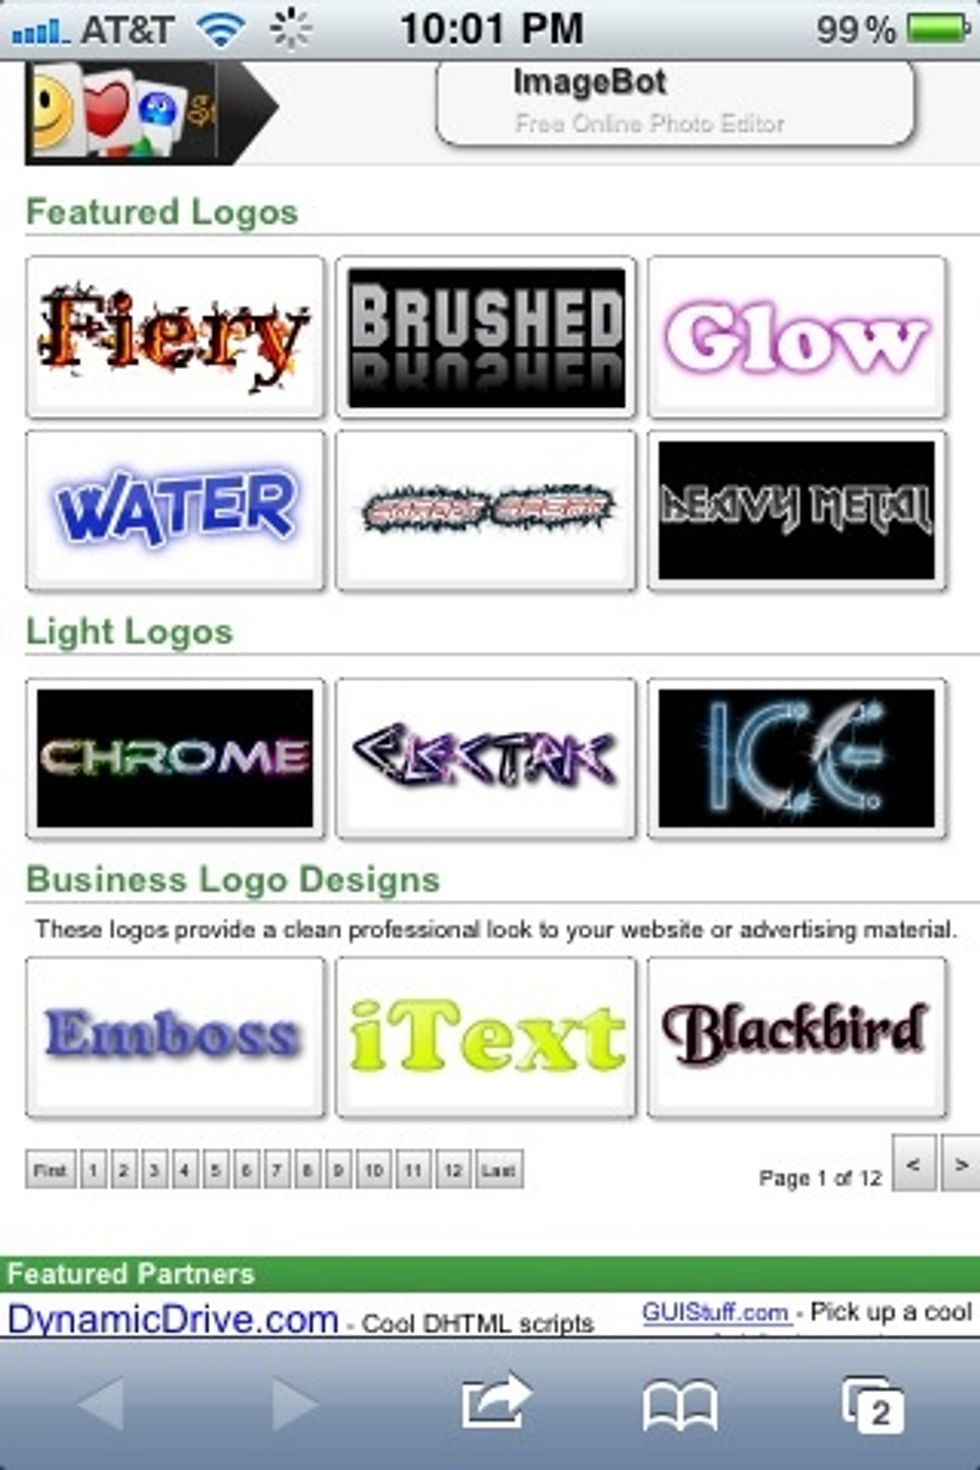
You'll see a selection of decorative text. But don't worry if you don't find the exact style you want You can edit all of them. But browse around and find one as close to your liking as you can.
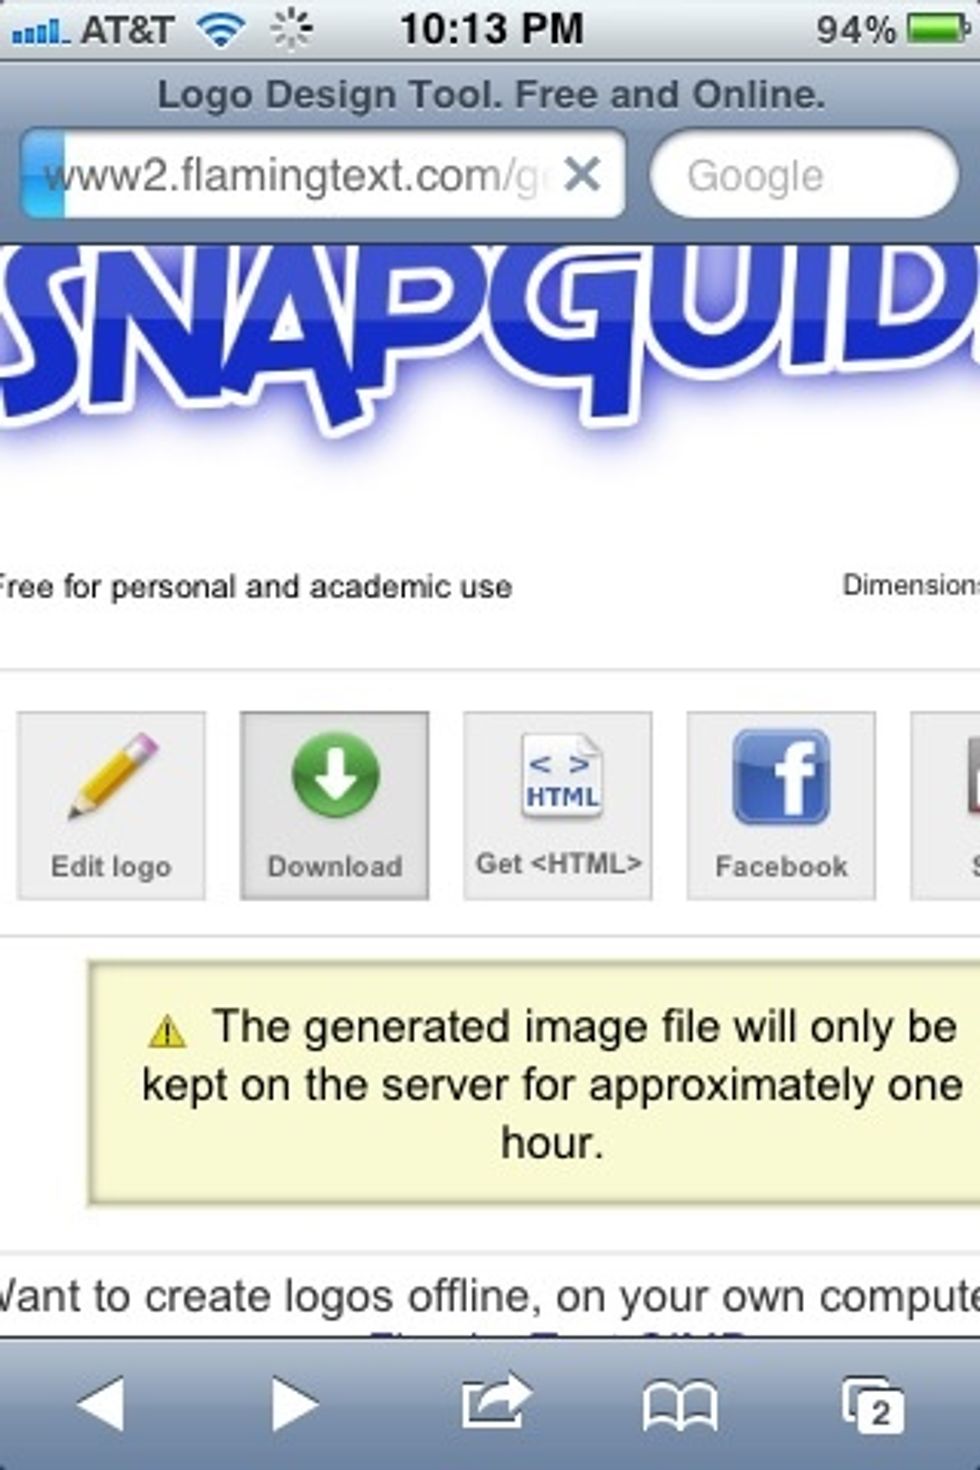
Select "Feature Logo Designs".
You'll find a large selection of designs. Remember, you can edit every aspect of these. So find one close to what you want so it won't take as much work to adjust it.
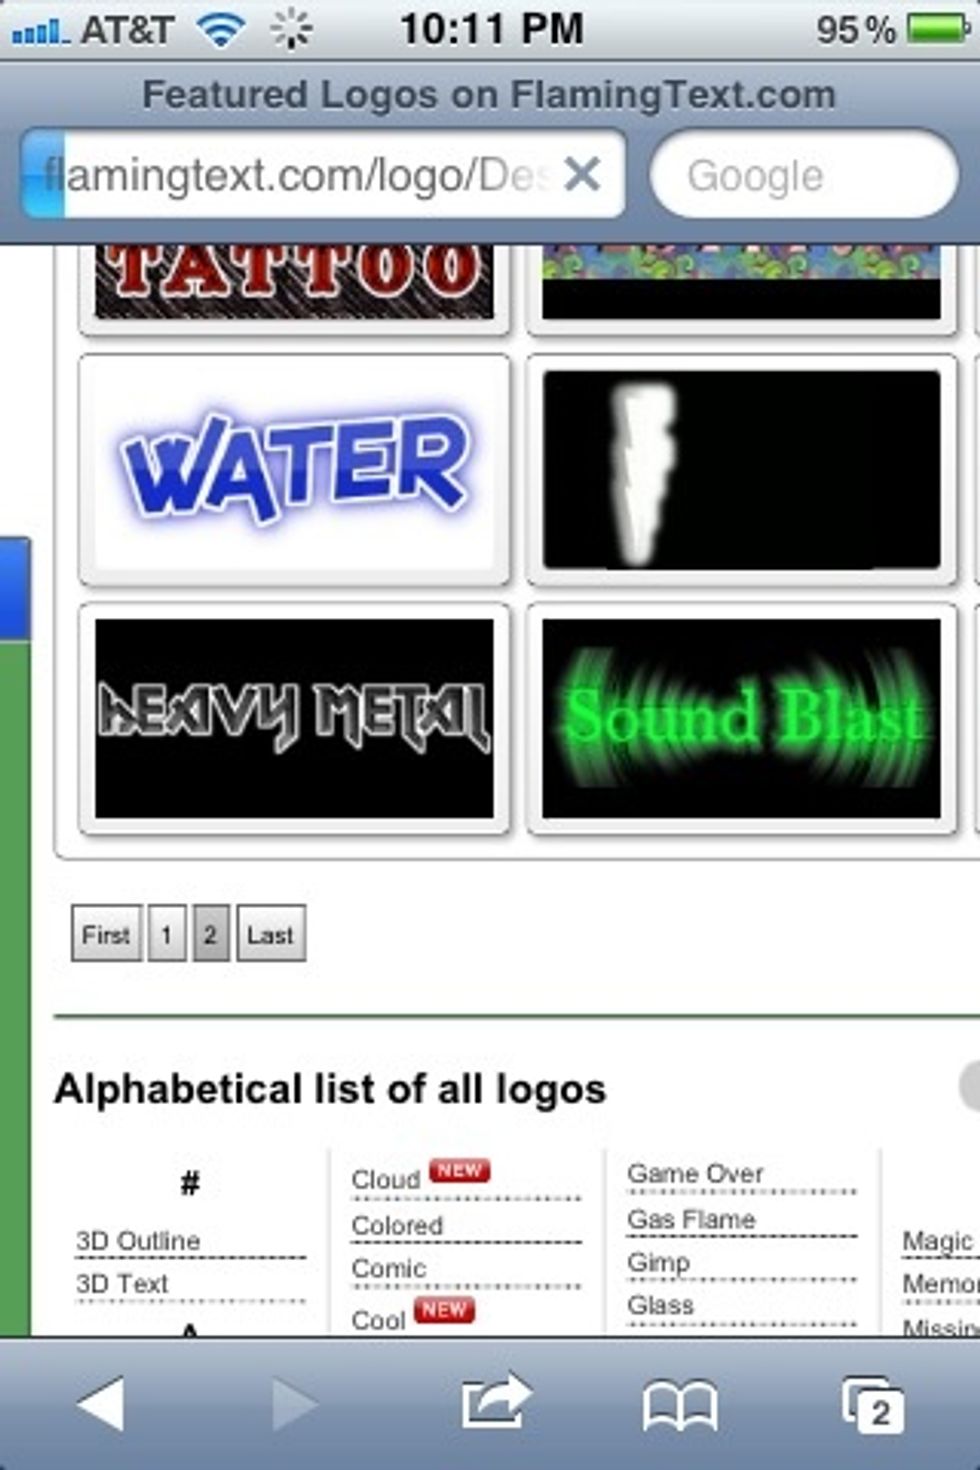
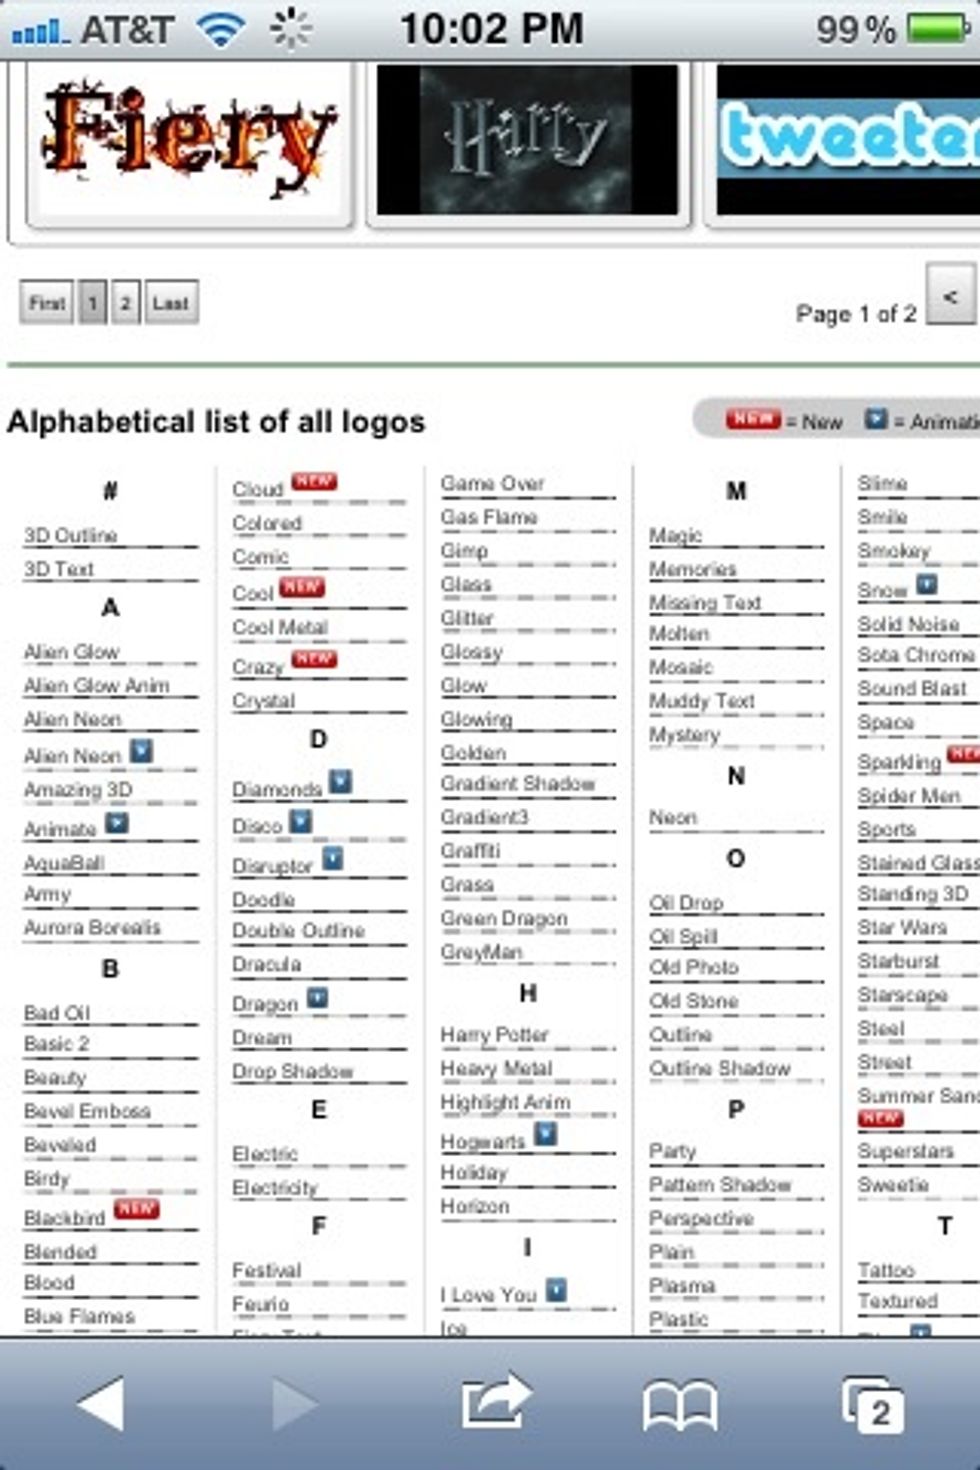
For this guide I'll just pick one. I'll use the "Water" one in this image.
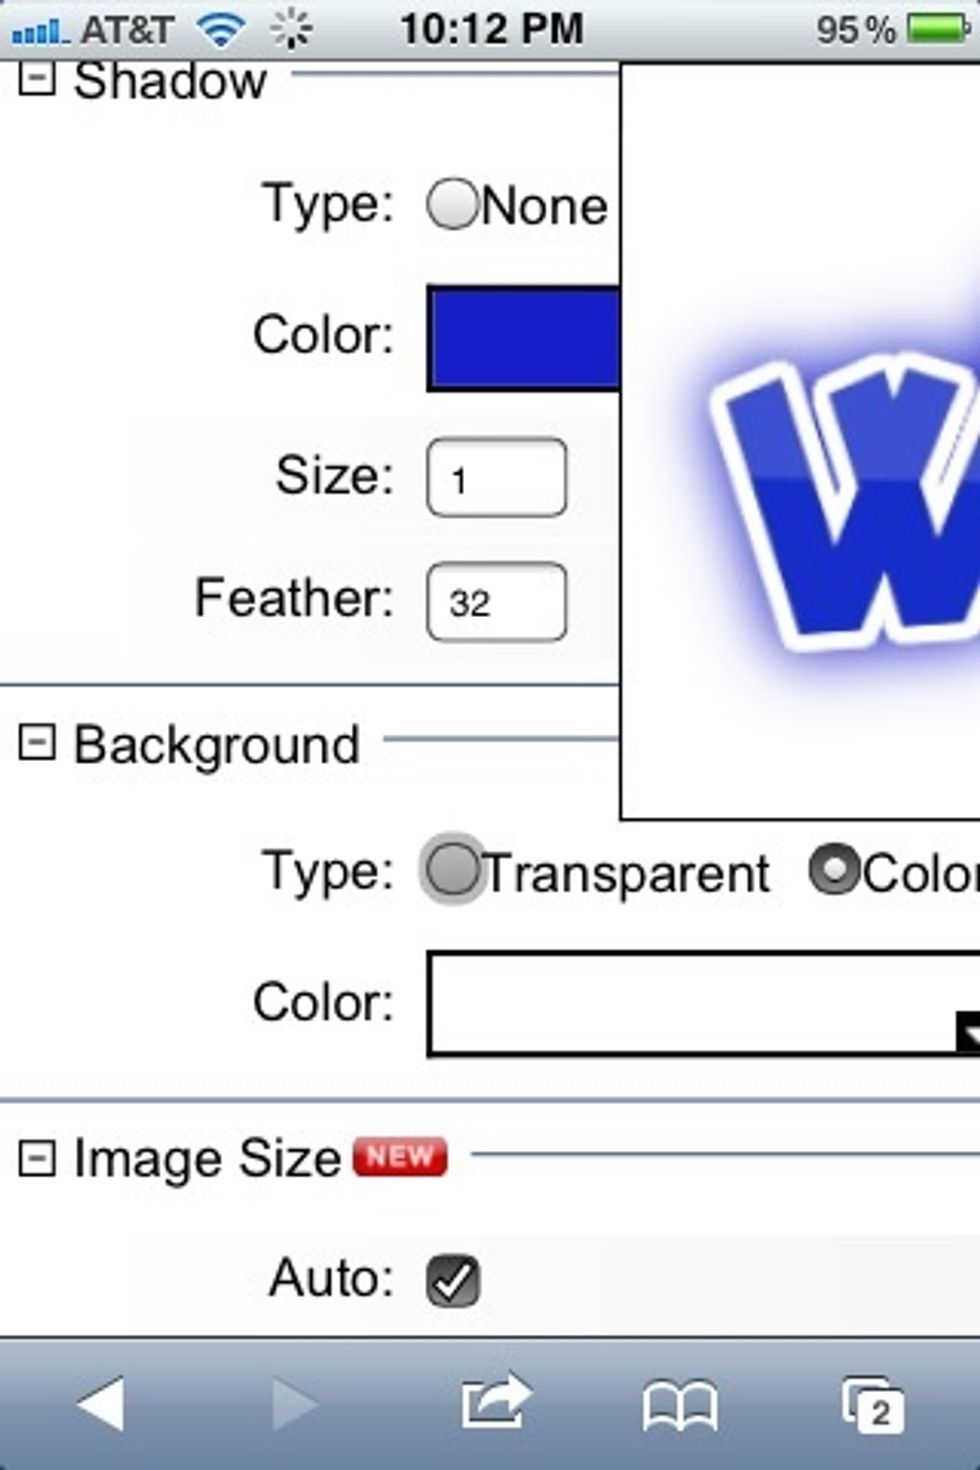
After you select the design you like. Open it. The first thing you'll want to do is scroll down in the background section and set the background to transparent.
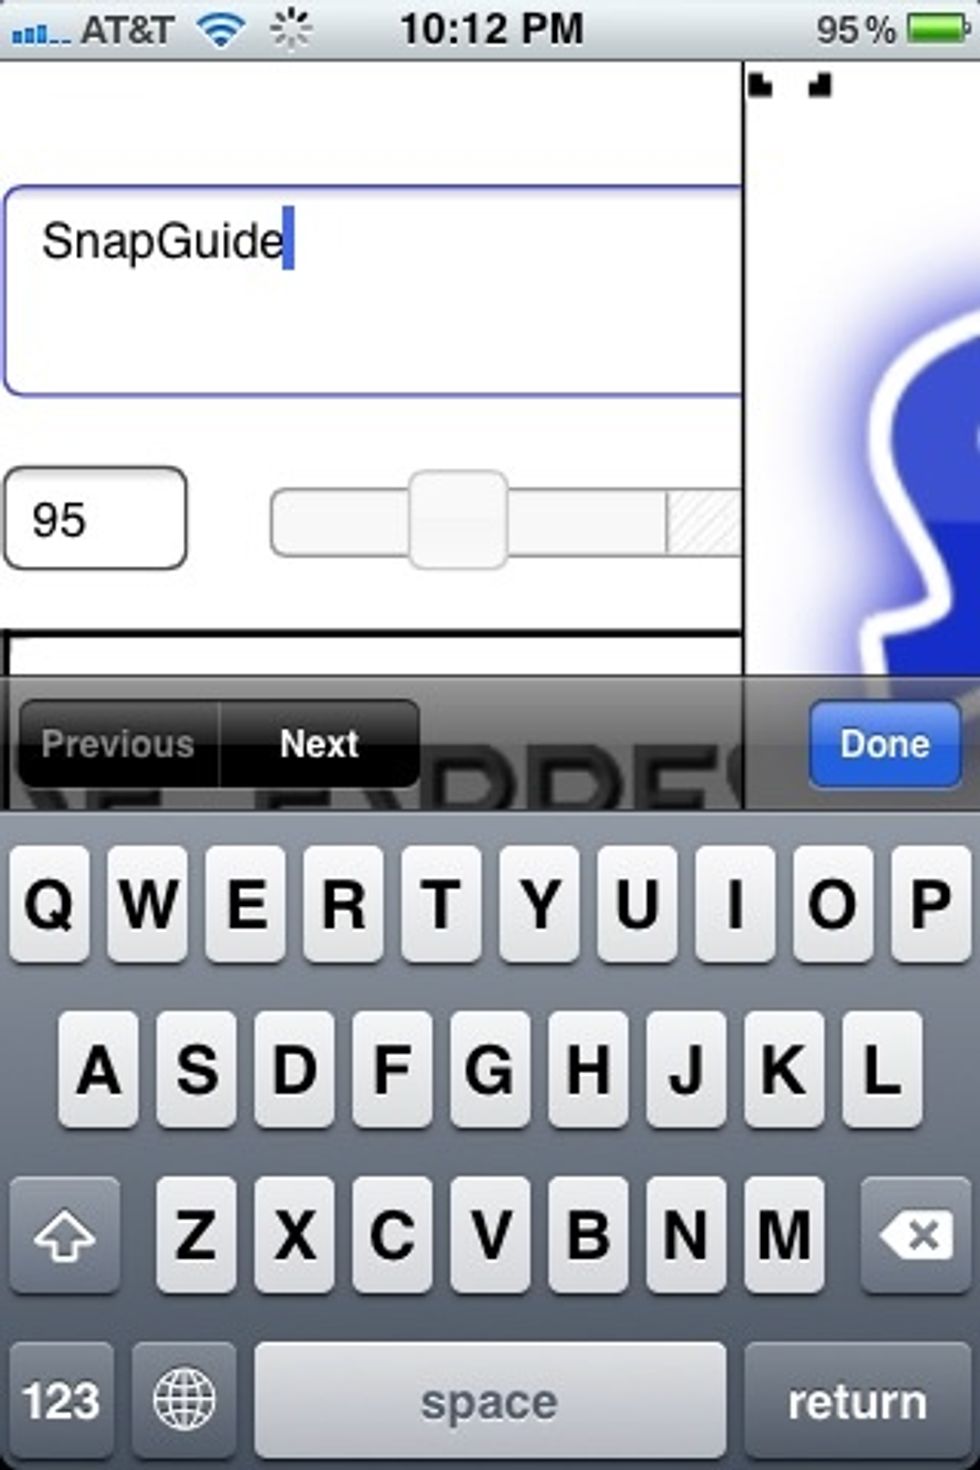
Then scroll back up and edit the text to what you want it to say. Wait a few seconds and the preview will change to your new word/s.
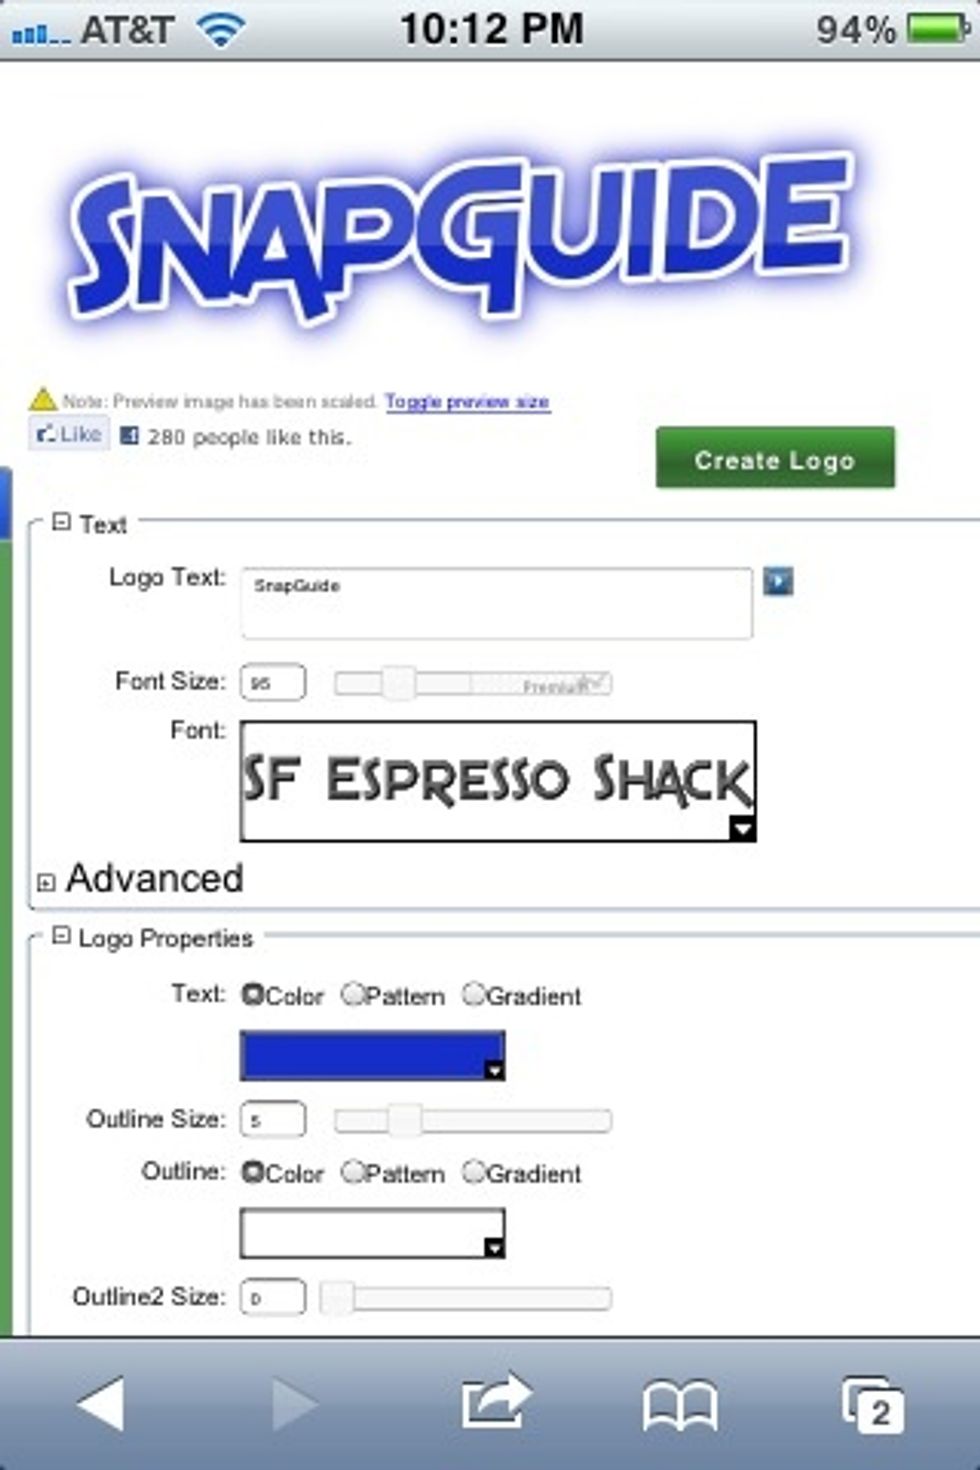
Scroll around and make any changes you want such as color, font, size, shadow color, opacity, etc… When you're finished tap "Create Logo".
On the next page you'll be presented with options you can do with the image. But the easiest way on an iPhone is to just tap the image.

It'll open in a new page in safari. The image will be a .PNG image because you have a transparent background. More on why this is important to know in a moment.
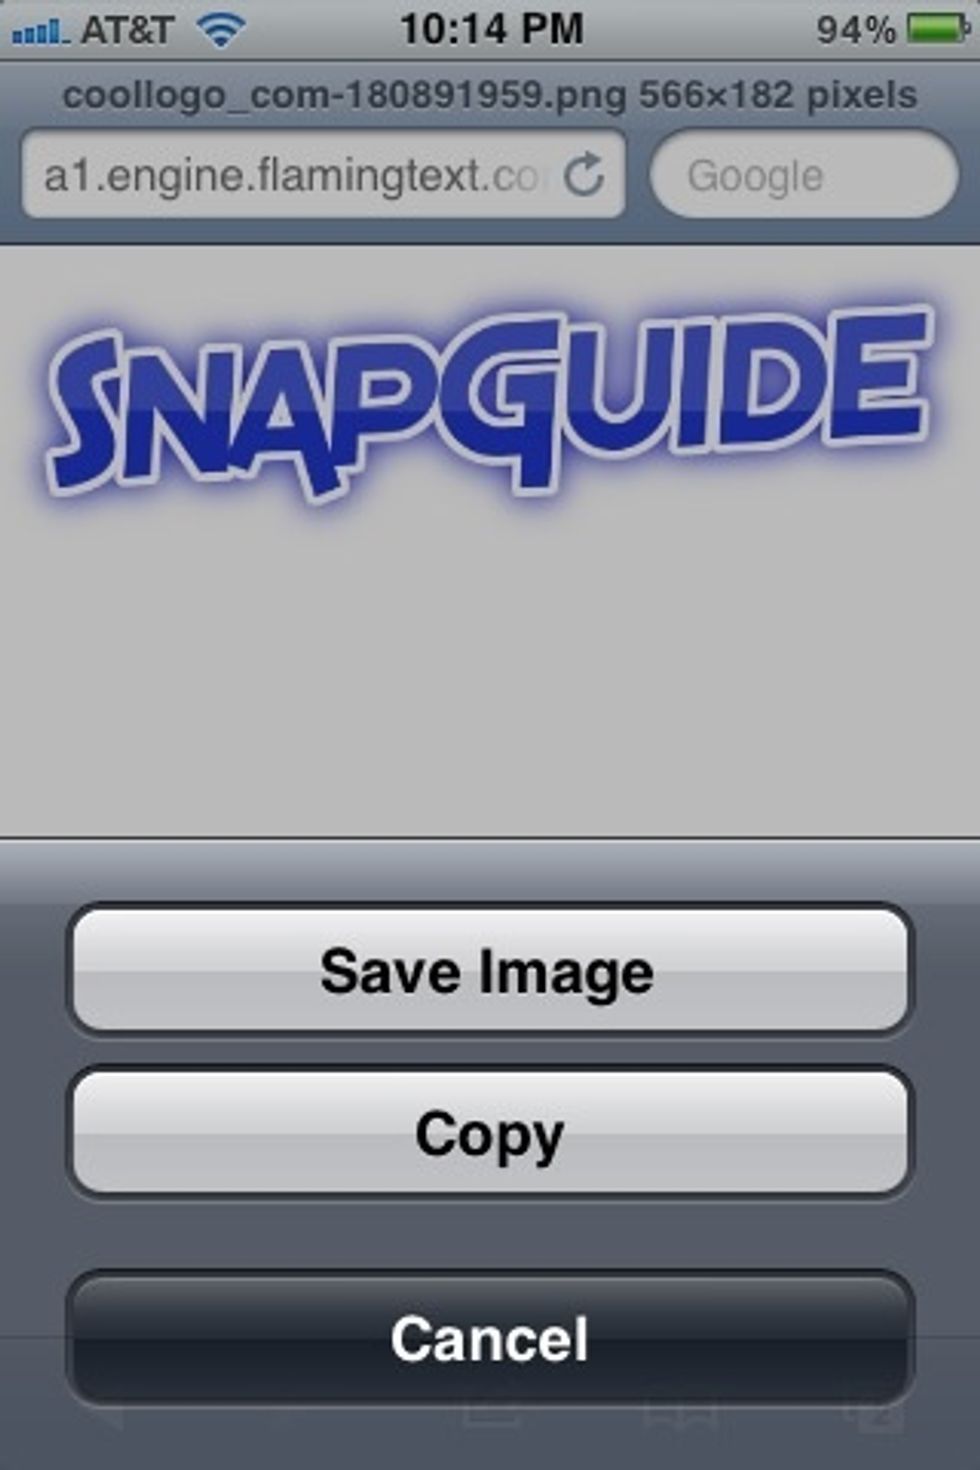
Hold your finger on the image to download it to your camera roll just like you'd download any image in safari.

Now in the image above you see it with a white background. But in your camera roll it'll have a black background. This is because the web page I got it from had a white background.

So in your camera roll it'll be black like this. Don't worry. This is normal. It just means it has a transparent background.
Now that we've created our decorative text or logo and downloaded it (with transparent background) into camera roll. Now let's add it to our image in the ArtStudio app.
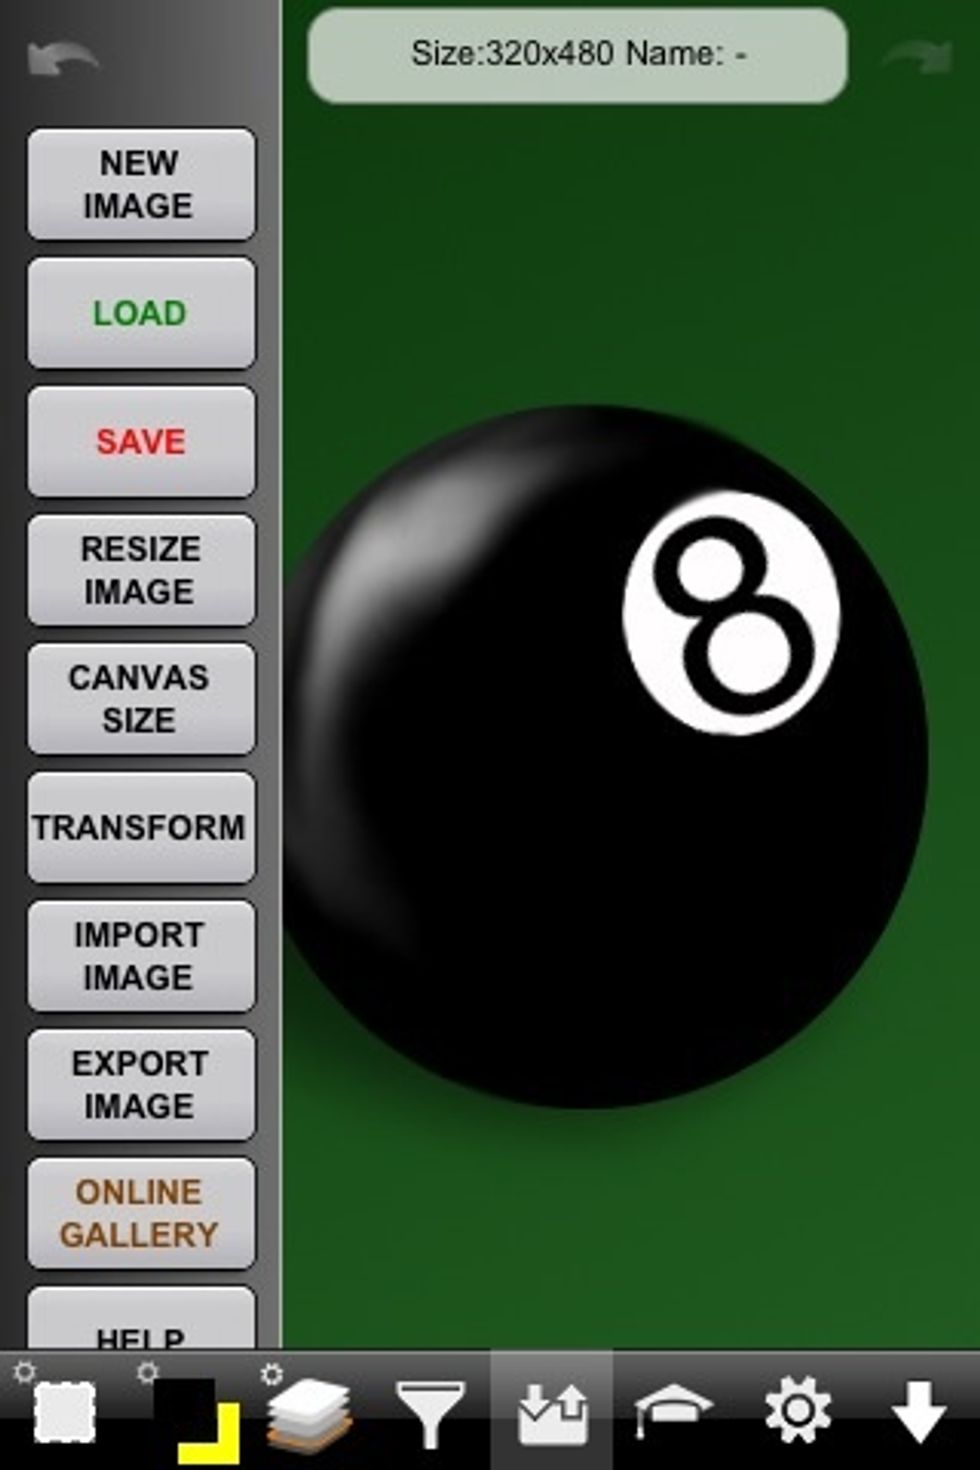
Open your image in art studio that you want to place the text on. Then go to the main menu and select "Import Image".
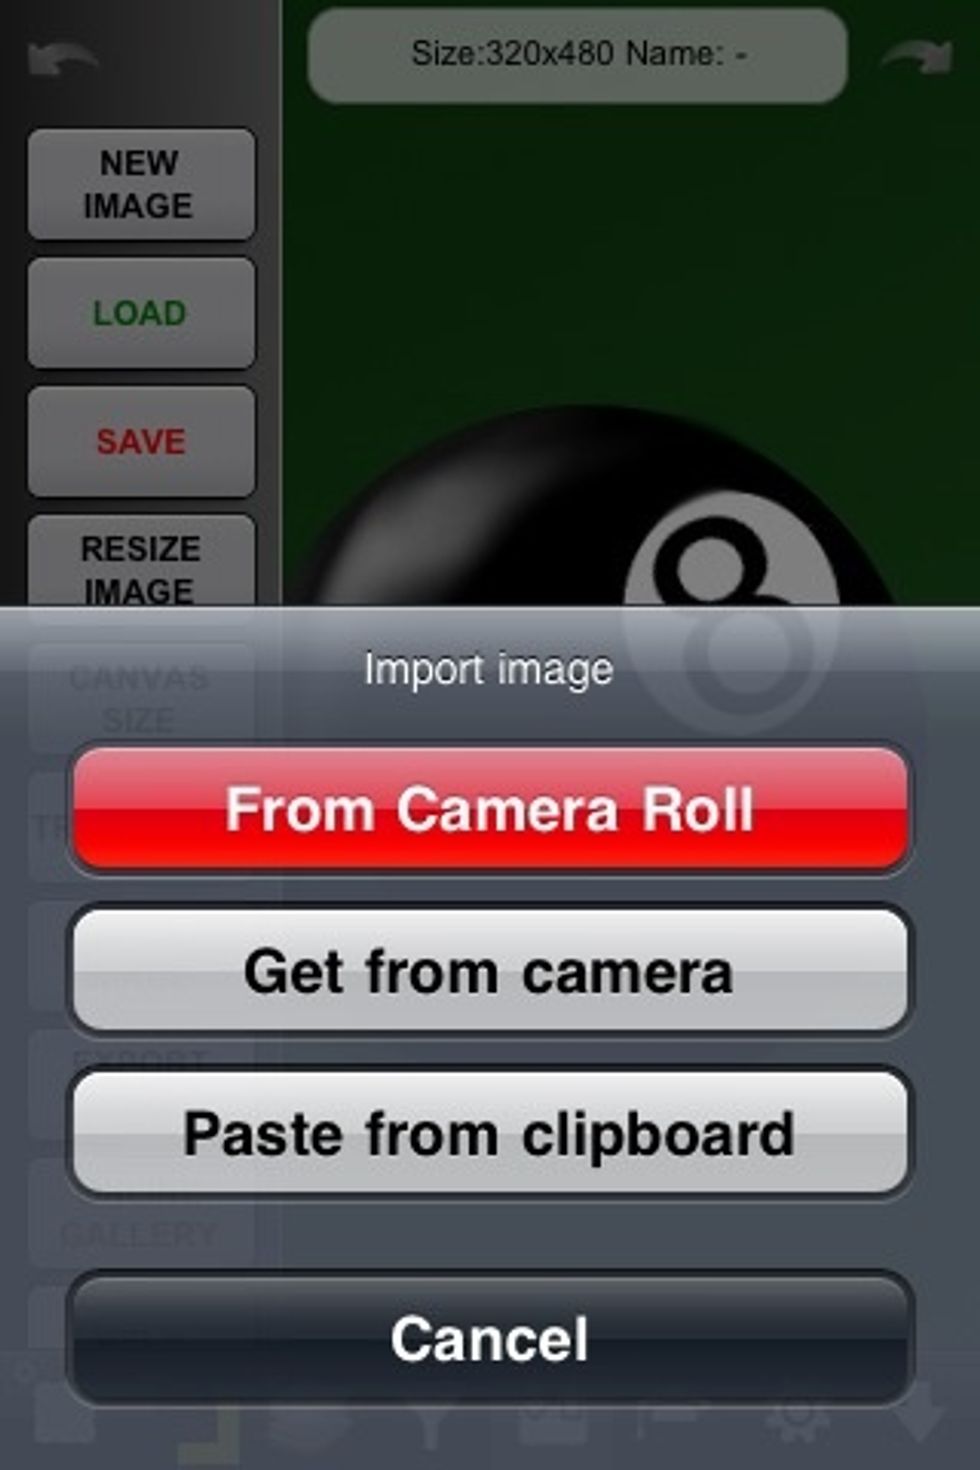
Find the text image you just made in your camera roll.
It'll be placed as a new layer over your image.
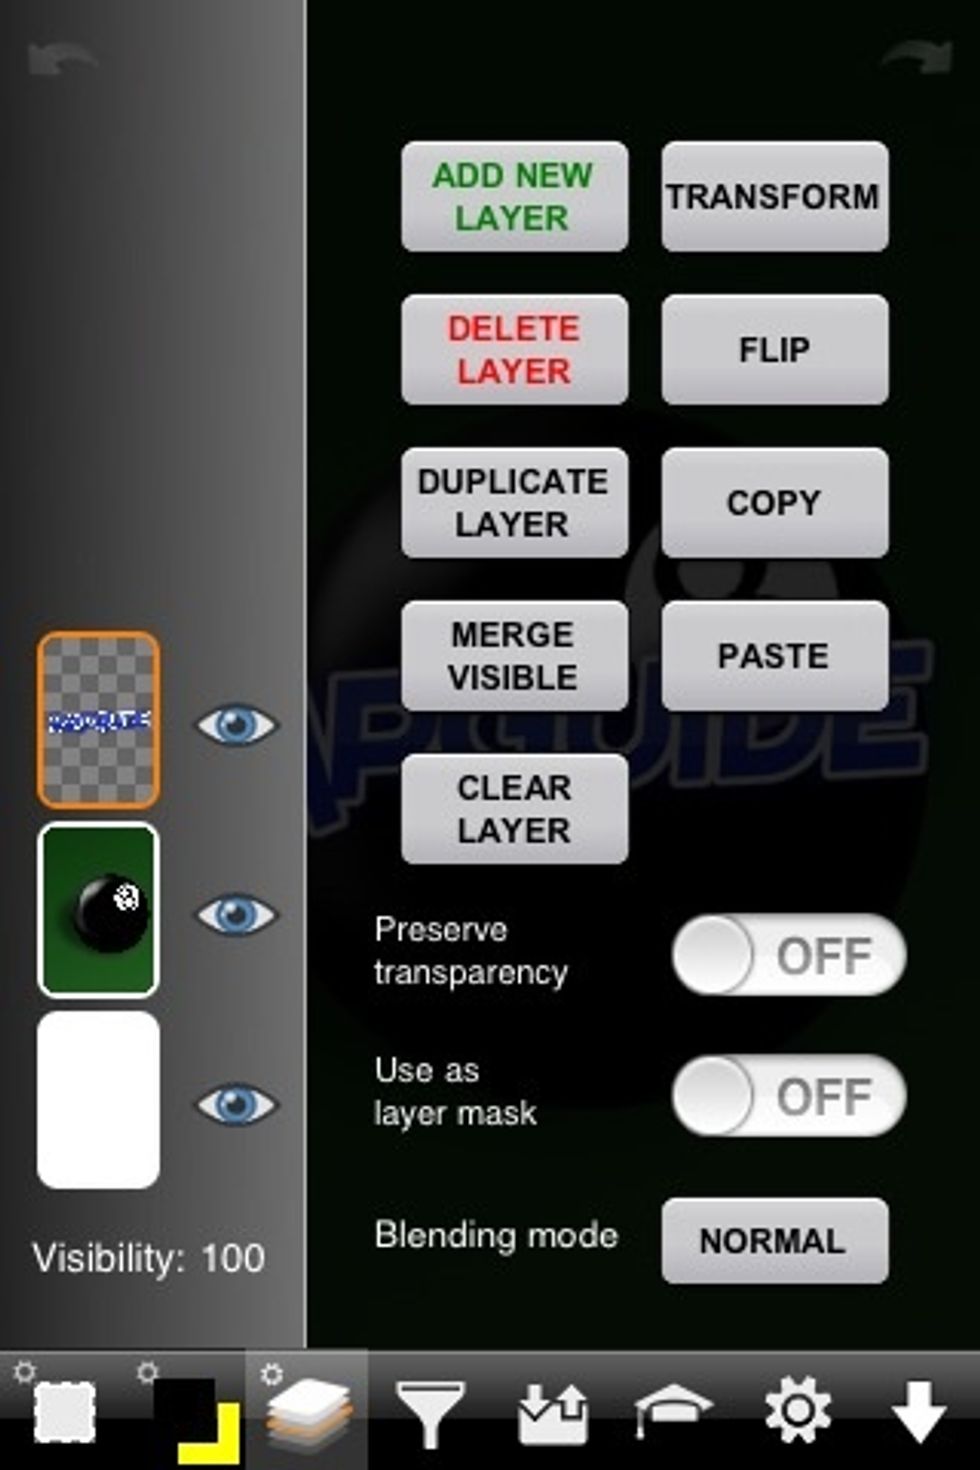
Go to layers menu and select the layer your text image is on (Left with orange border). In the menu that appears select "Transform".
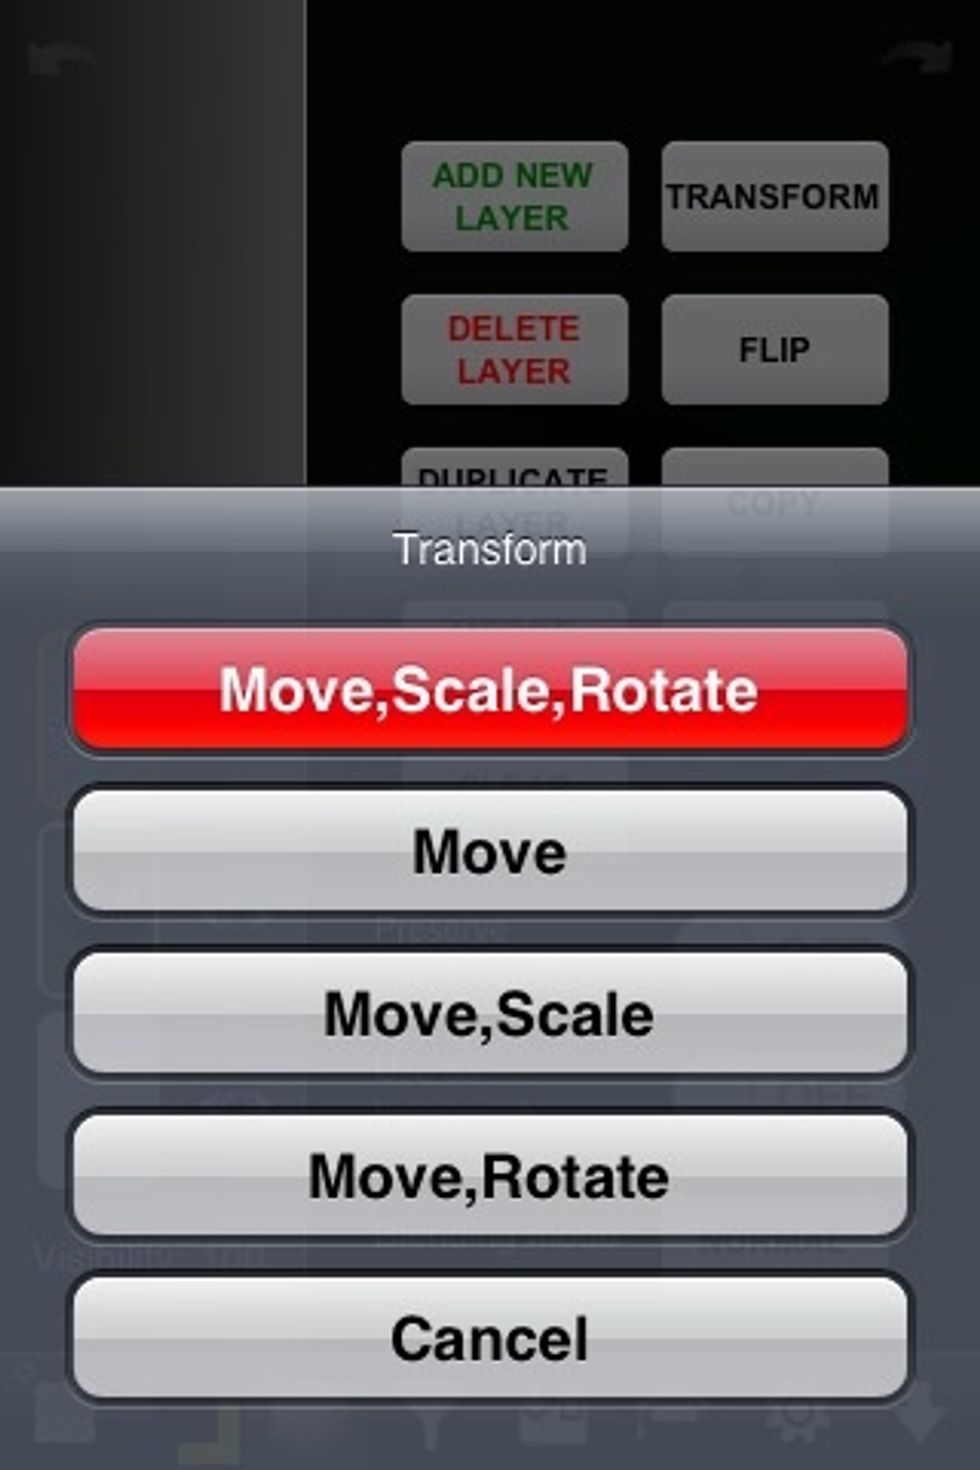
Here you can move, scale and rotate the text to where you want it on the image. I usually just use the red button that allows you to do them all at once.
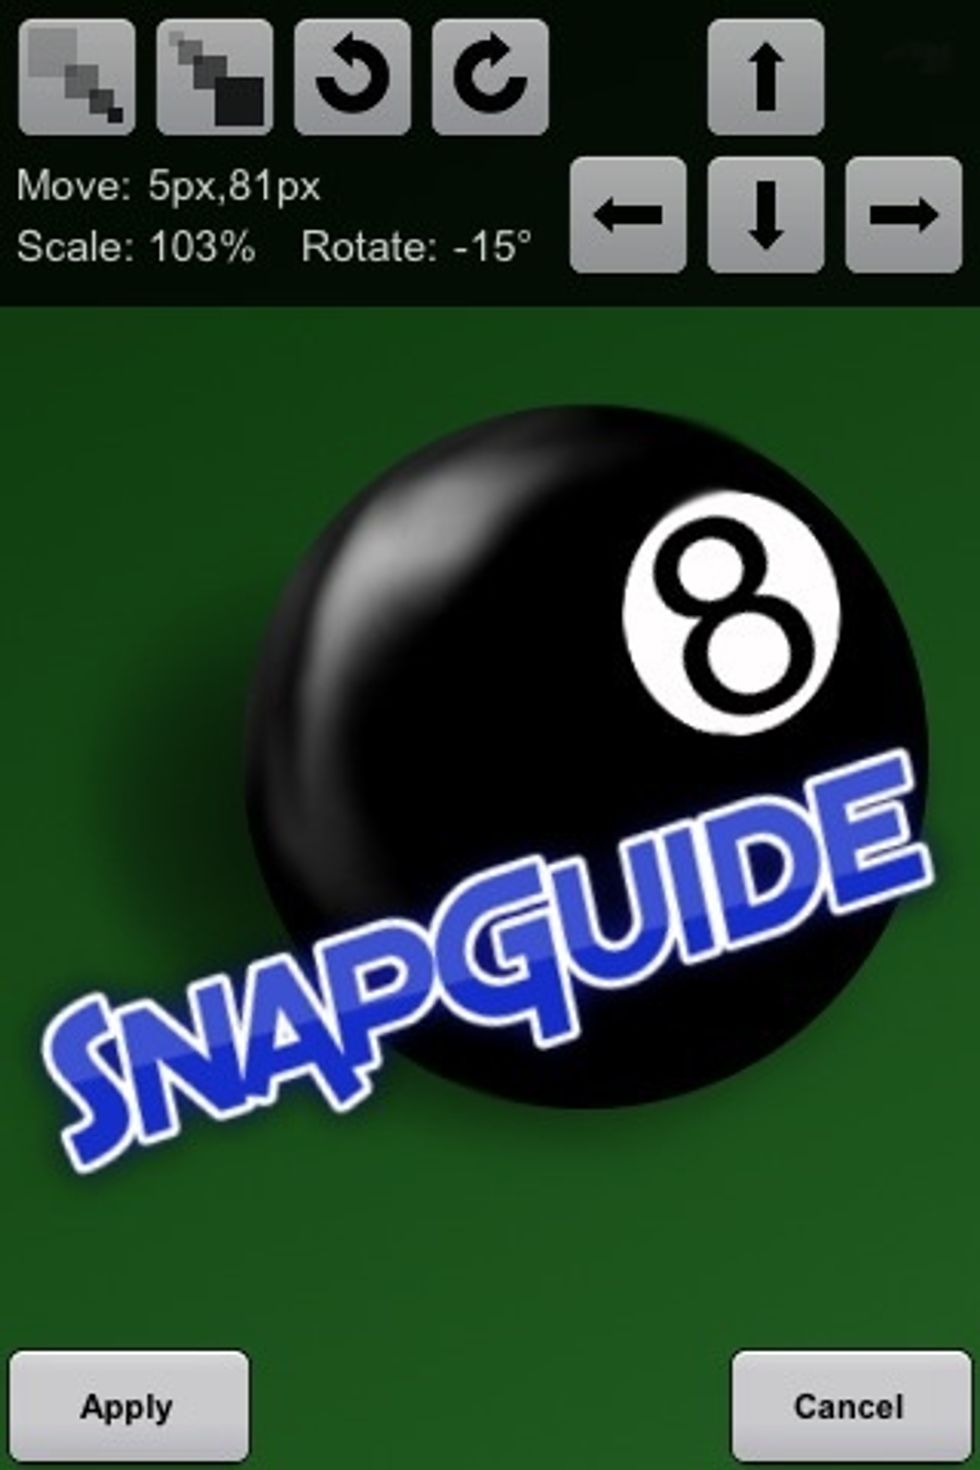
You can use the arrows above or you can just use two fingers to zoom it in and out, slide it's position and twist to rotate its angle.

When you got it where you want it. Go back to the main menu and select "Export Image" to save it.
That's pretty much all there is to it. I'd recommend you visit flamingtext.net on a pc and learn more about how to use the site first. It'll be easier then learning on the tiny iPhone screen.
Enjoy!!!