The Conversation (0)
Sign Up
The default ringtones that comes with the iPhone are pretty basic. You can, instead, use your own piece of music or sound as a ringtone on your iPhone.
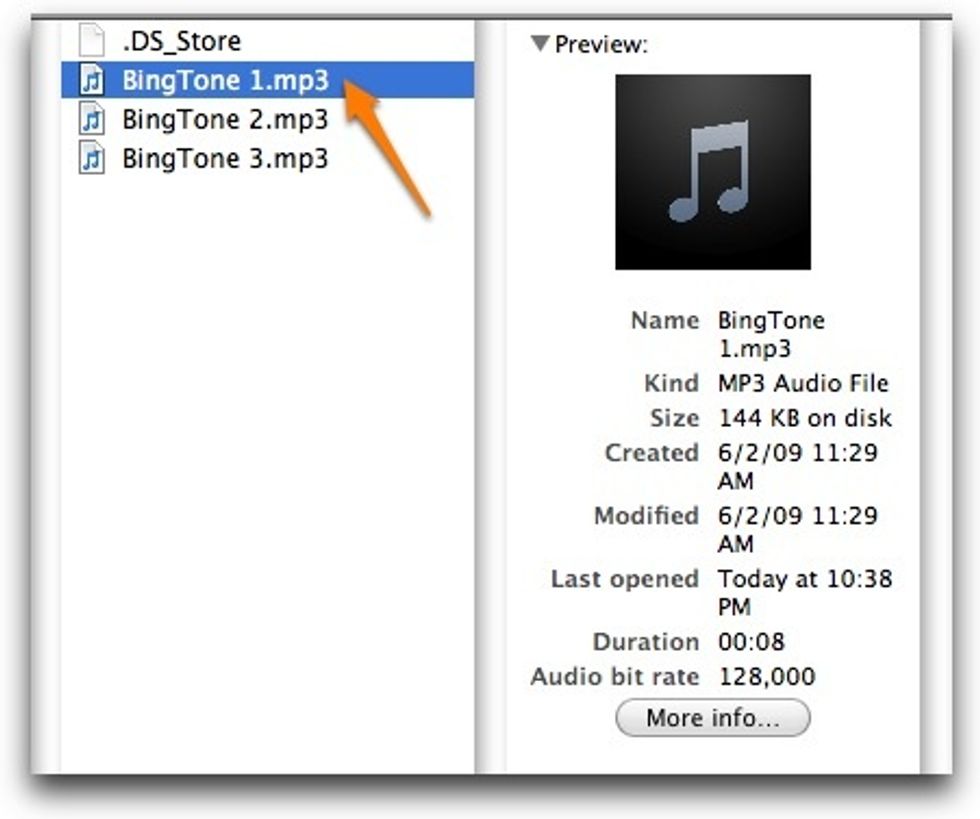
Start by choosing the .mp3 file that you’d like to have a piece of it as your ringtone. The maximum allowed length of the ringtone can be less than 30 seconds.
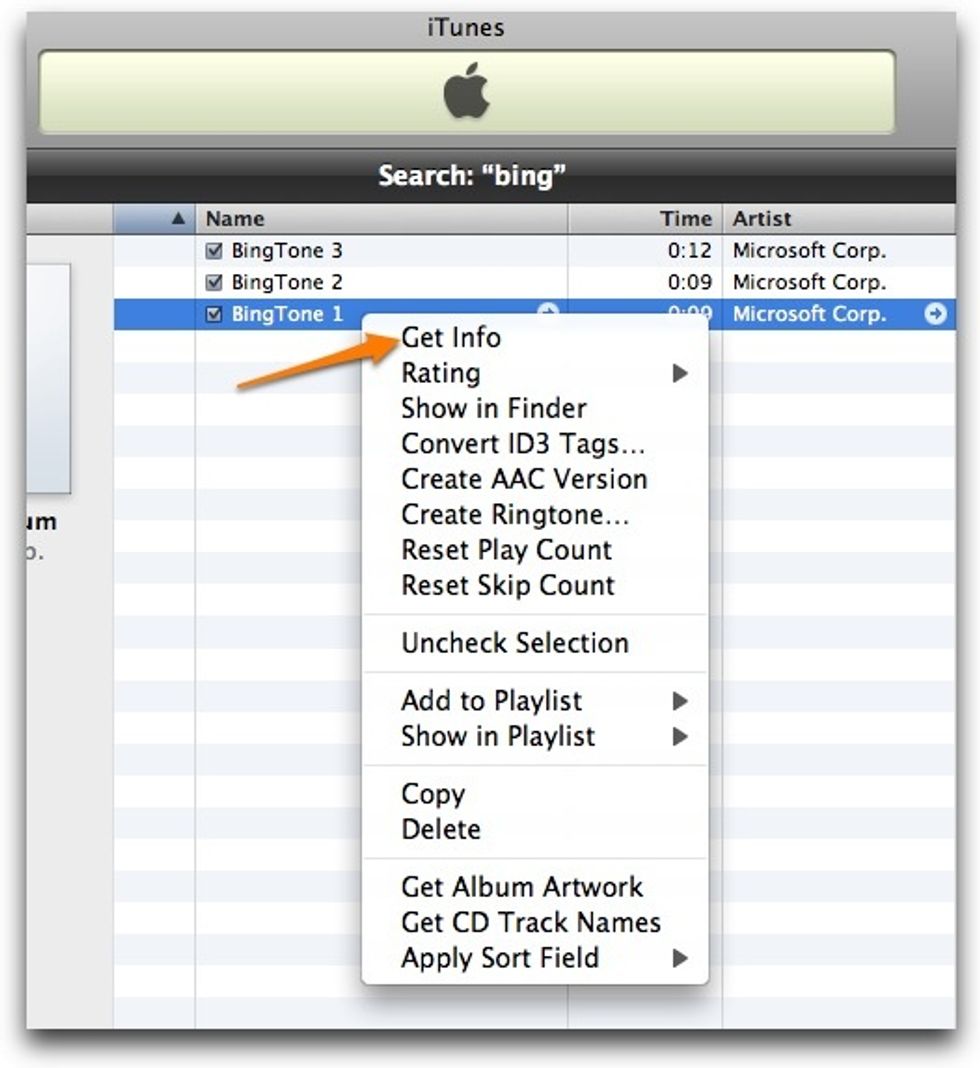
Open the .mp3 file in iTunes. Right-click the .mp3 file and choose “Get Info“.
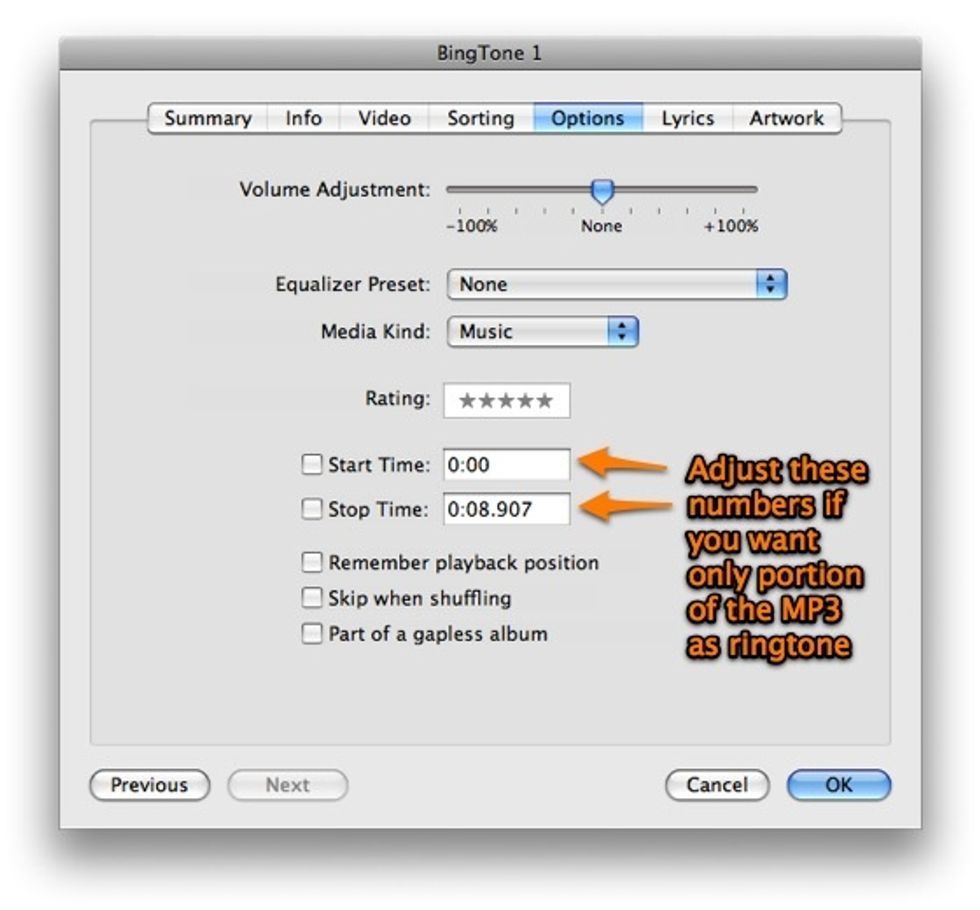
Once the Get Info dialog comes-up navigate to the Options tab. If you are using a short .mp3 file as your source then you might not want to touch any of the settings on this tab.
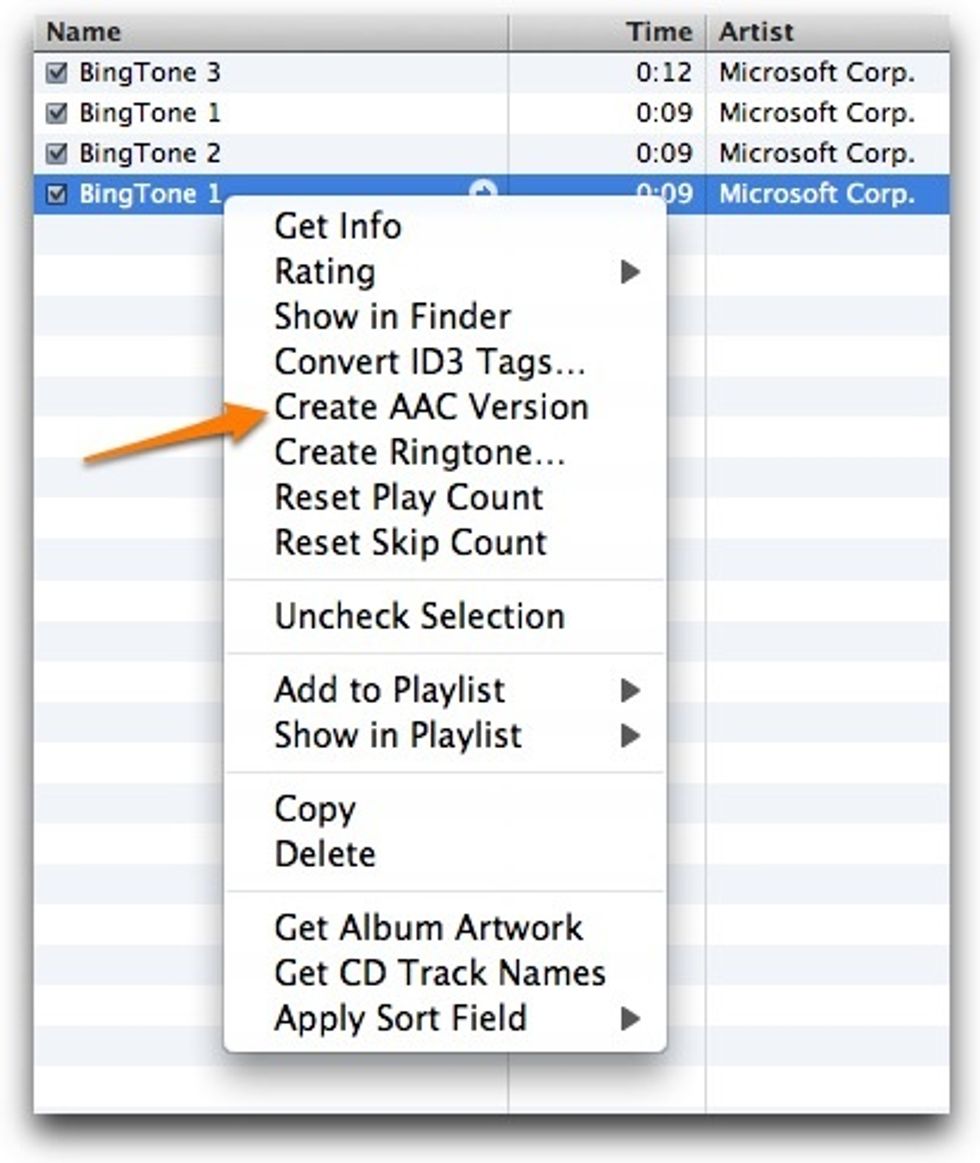
Now we are ready to convert the file to a more friendly format that .mp3. Right-click on the same file again and choose the “Convert AAC Version” option.
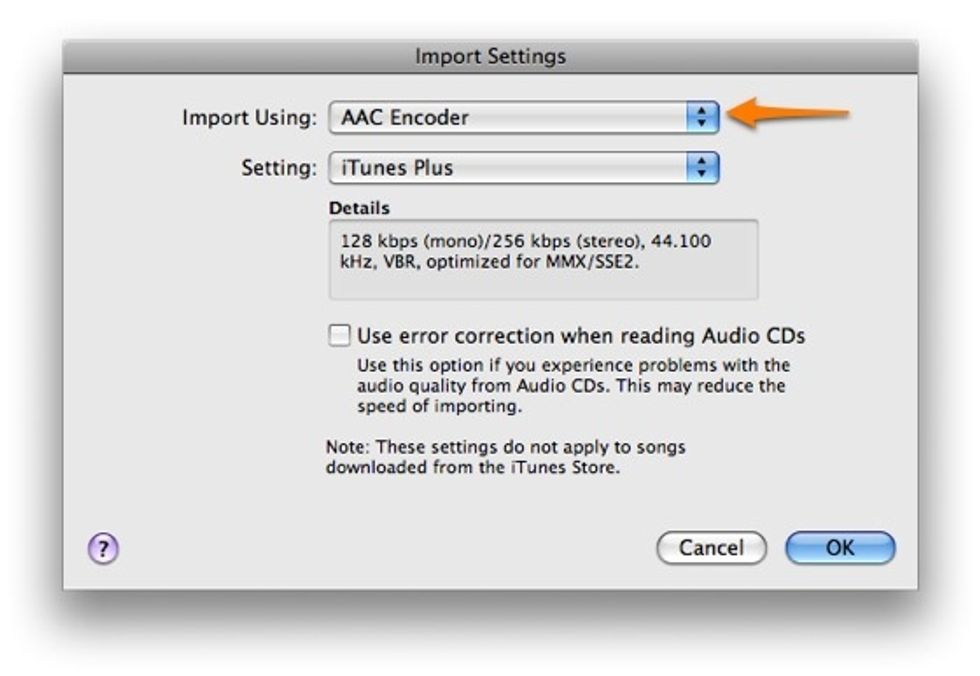
If you don’t see the option on your right-click menu then go to iTunes > Preferences > General Tab and click on the “Import Settings…” button. Change the “Import Using” dropdown menu to “AAC Encoder“.

Once the file is converted to AAC version it generates a .m4a file. Drag the file to your Desktop (or any other location that you prefer).
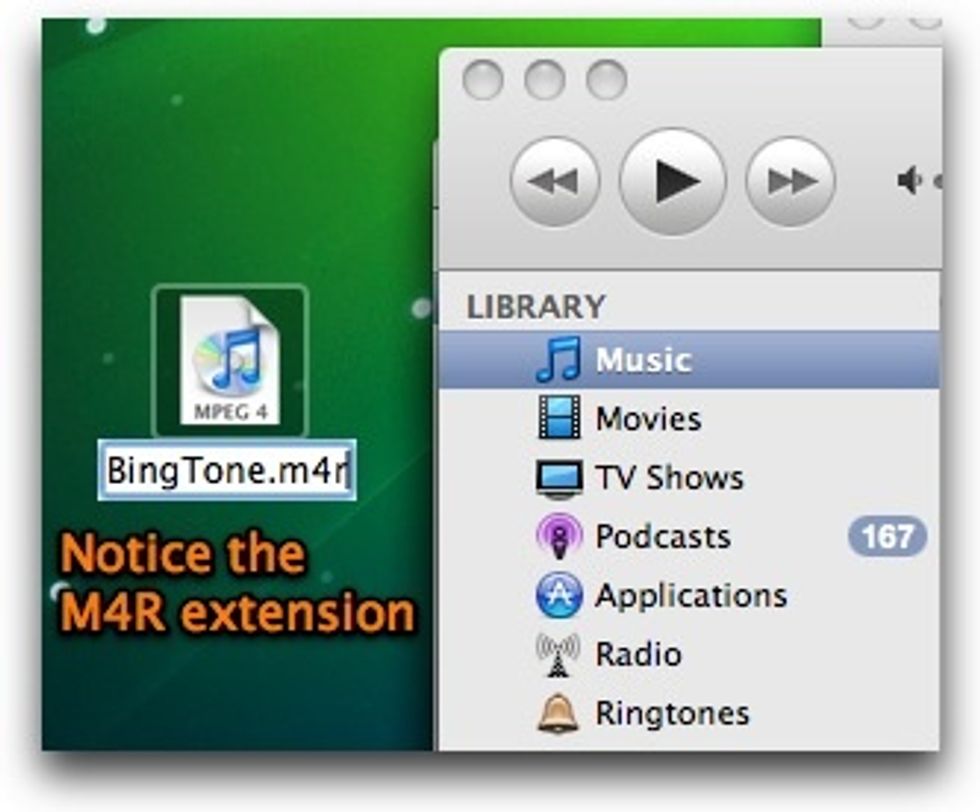
Rename the .m4a file to .m4r file. If you have any questions on how to do it the safest way to do is to right-click the .m4a file and choosing the “Get Info” option.
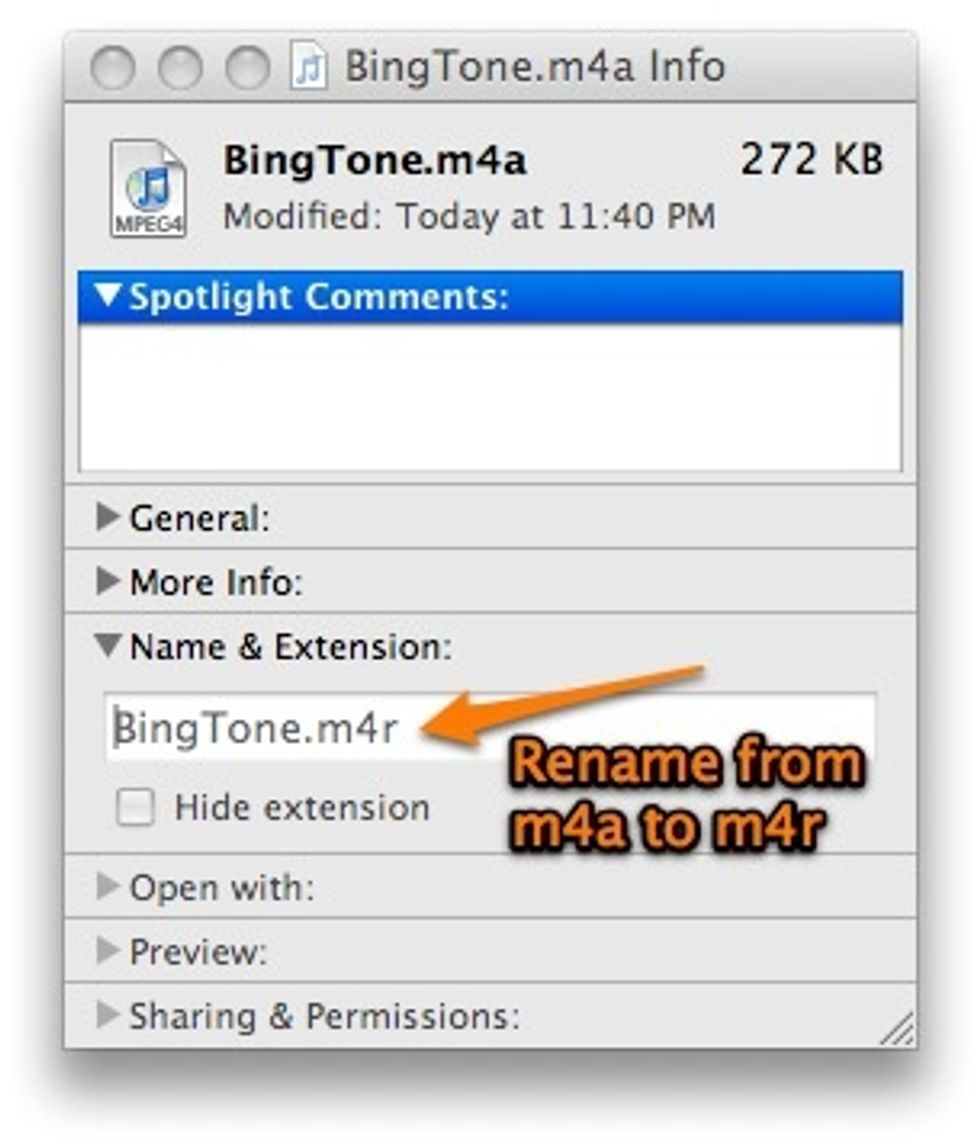
On the dialog that comes up change the extension of the file to .m4r and confirm the rename.
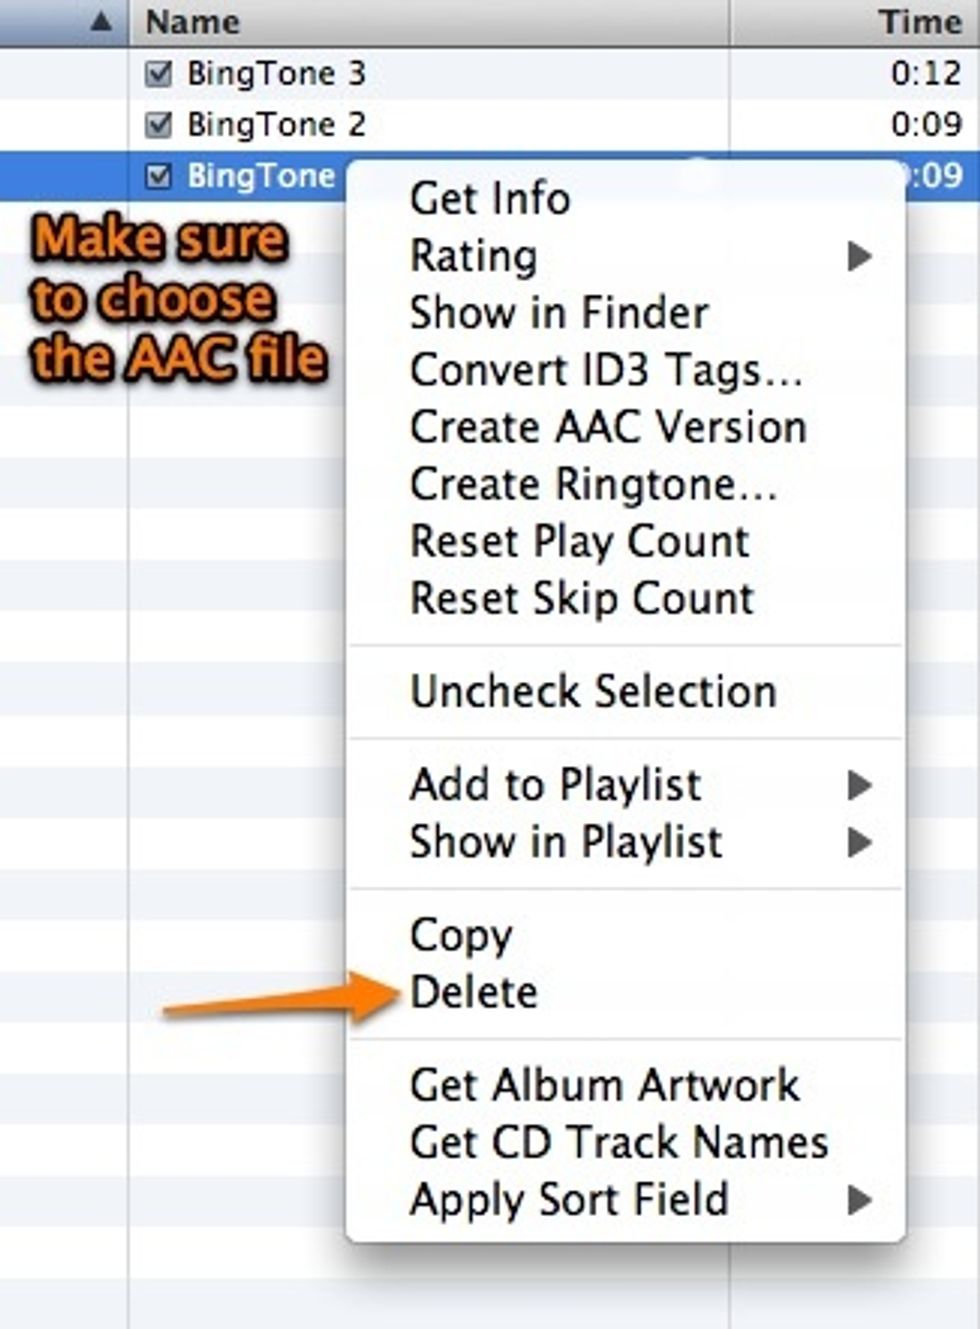
Before you proceed any further you should remove the AAC version of the file that’s on your iTunes.

Now, move the .m4r file that’s on the desktop to the Ringtones folder on iTunes.
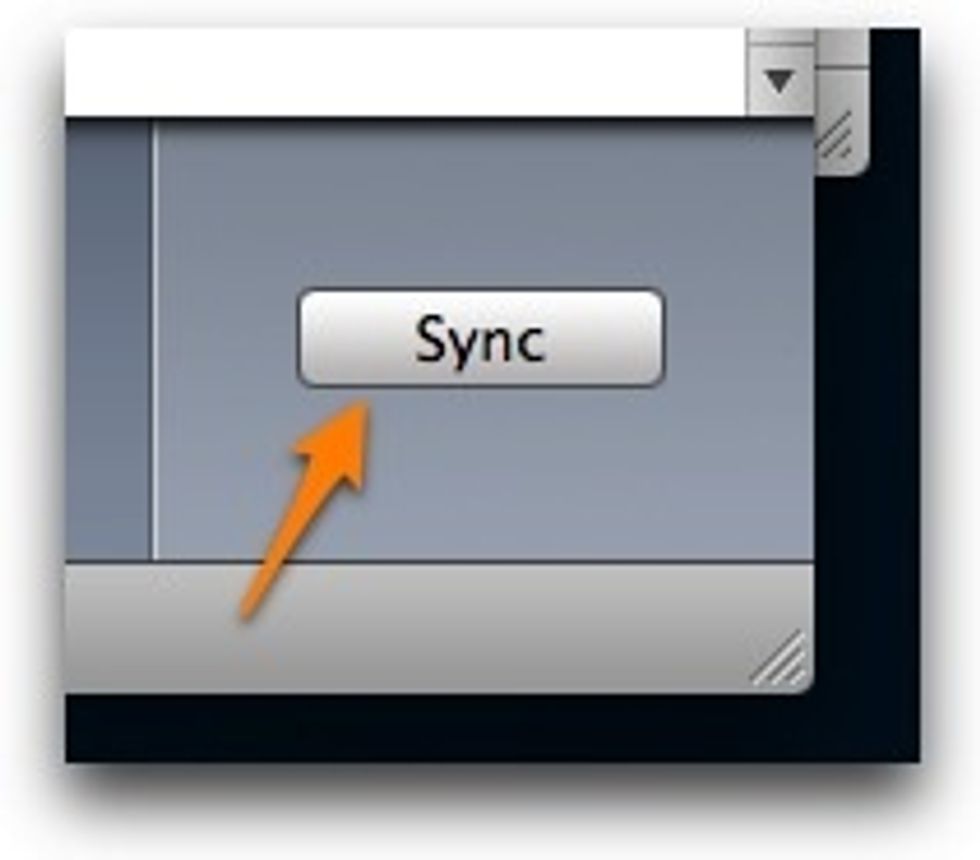
Now it’s all pretty much set for you to make use of the custom ringtone. Connect your iPhone and do a Sync.
Once successfully synced, tap on your iPhone Settings app then tap on the “Sounds” option. Then select the alert you want to change and pick the new tone you just made.