The Conversation (0)
Sign Up
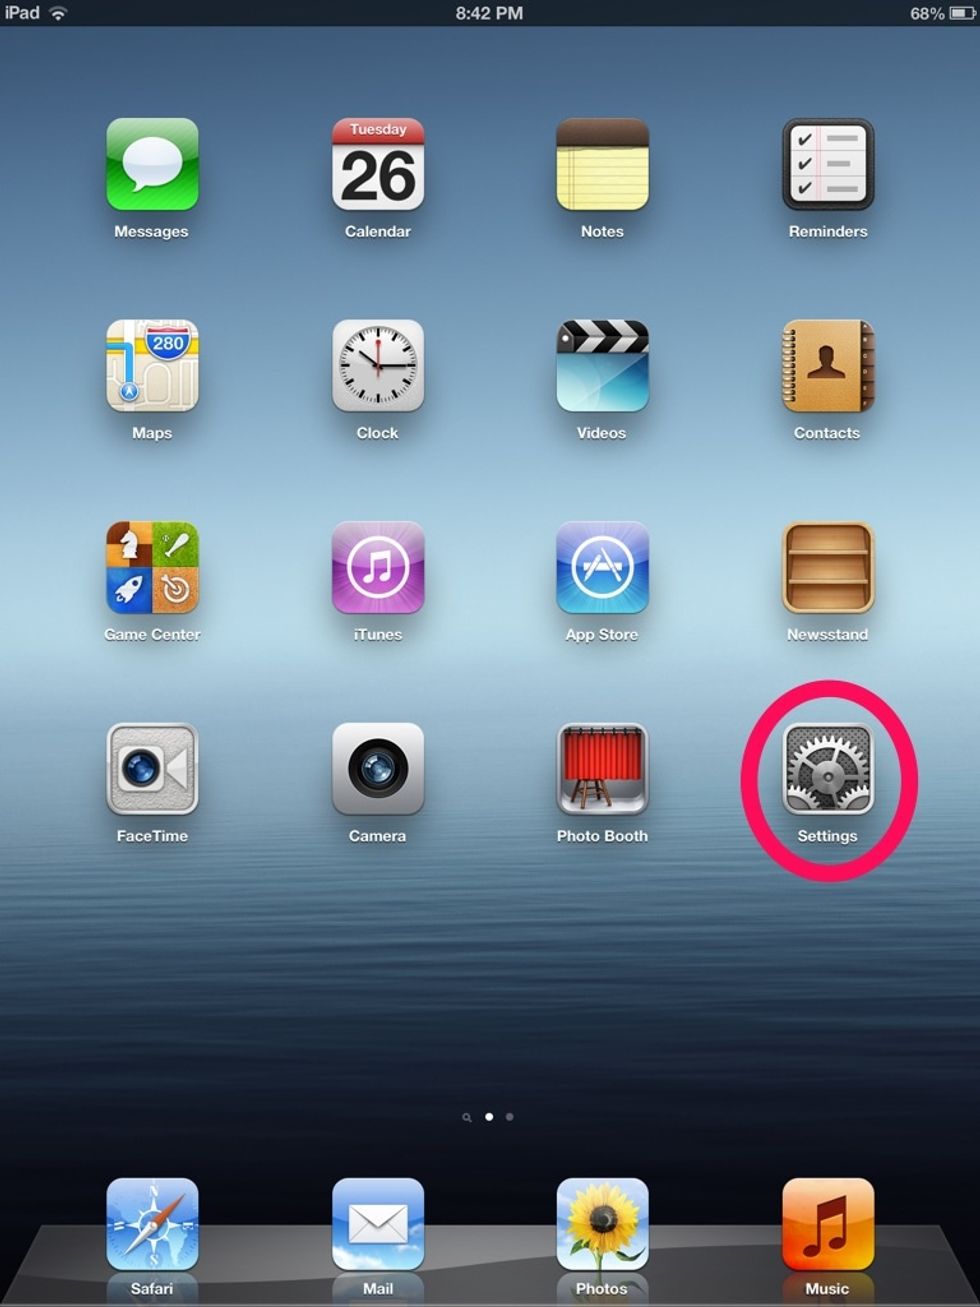
Open the Settings app.
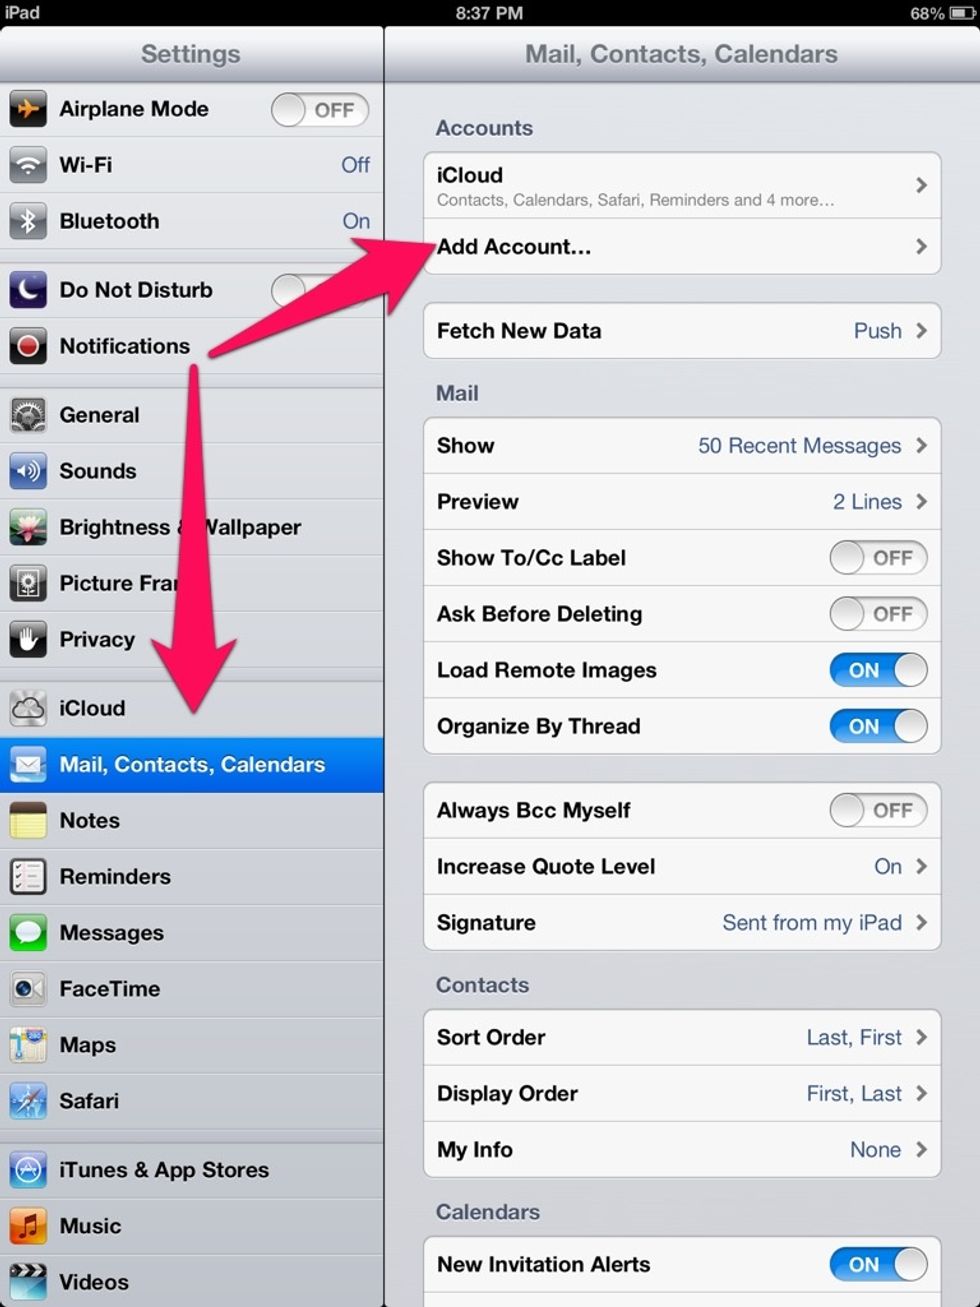
Select the Mail, Contacts, Calendars tab from the index on the left. Then select Add Account...
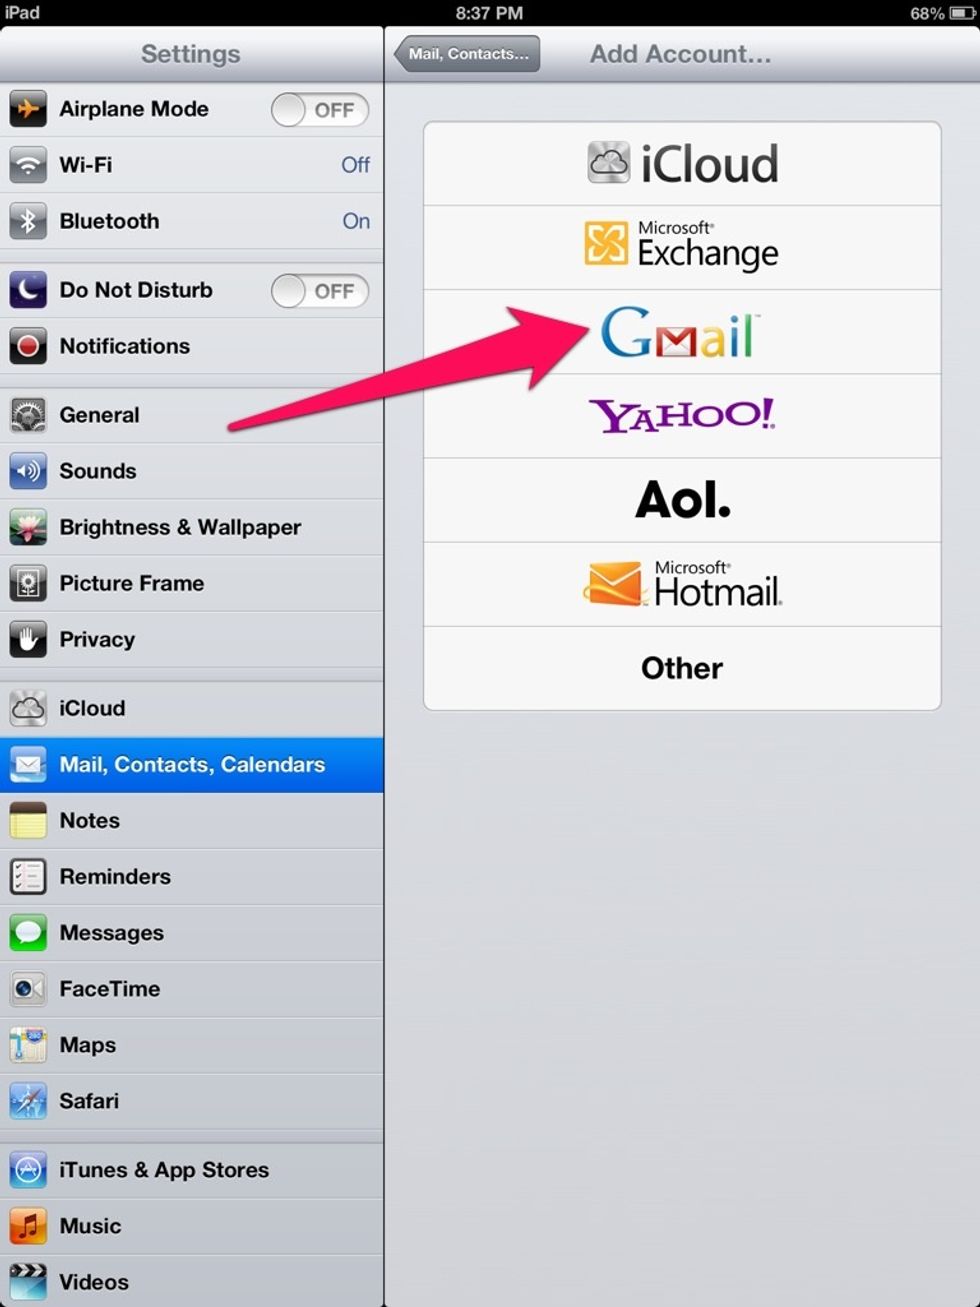
Select the type of account. When adding an East Central ISD email account, select Gmail.
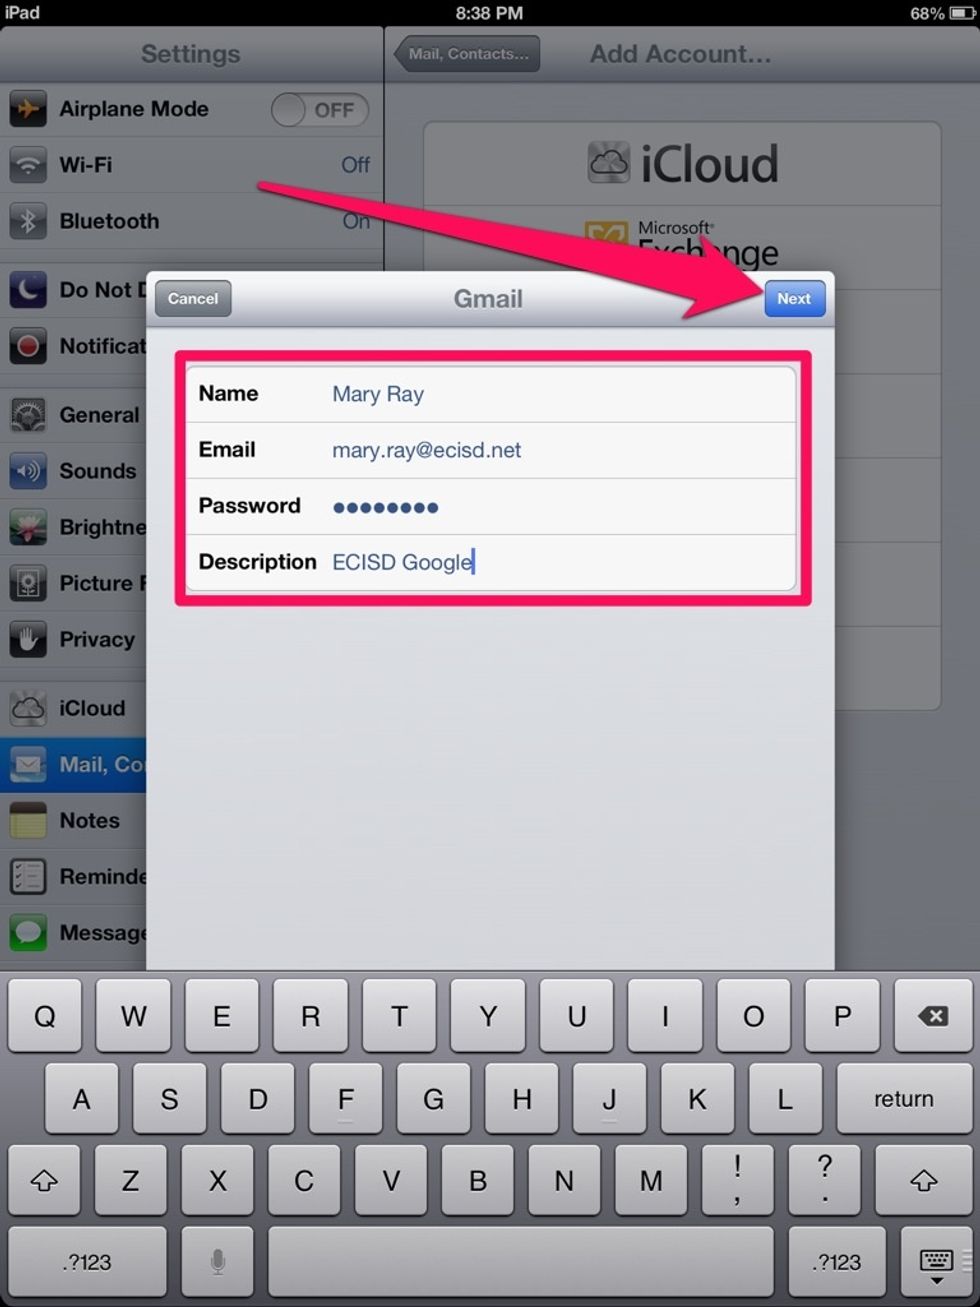
Enter the name that will appear to others when receiving email, enter the email address and password, and then enter a description for the email account. When you are finished, click Next.

If all information has been entered correctly, your account will be verified.
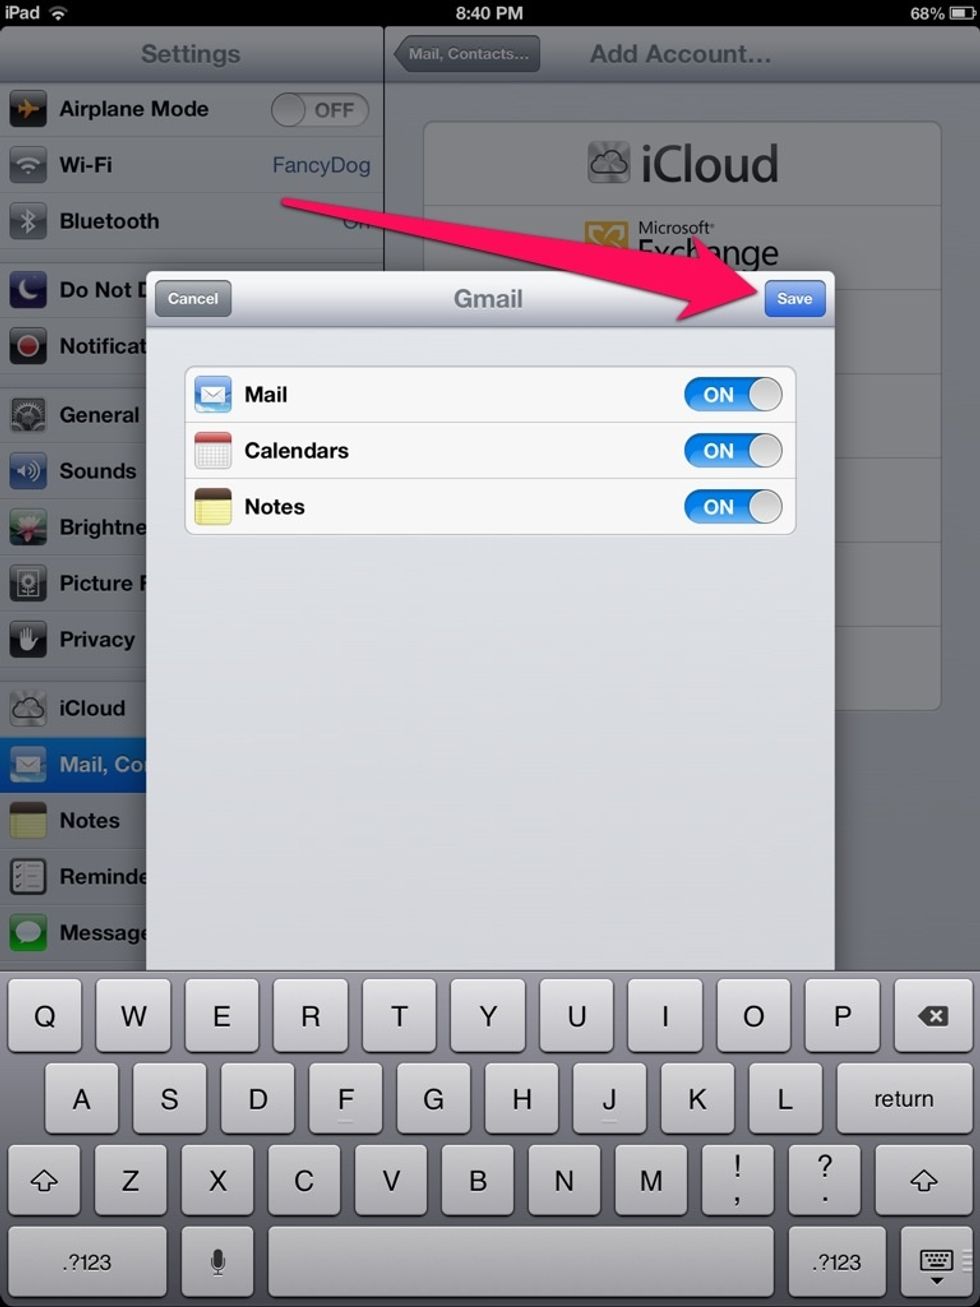
Turn on the services that you want to use with this account and then click Save.

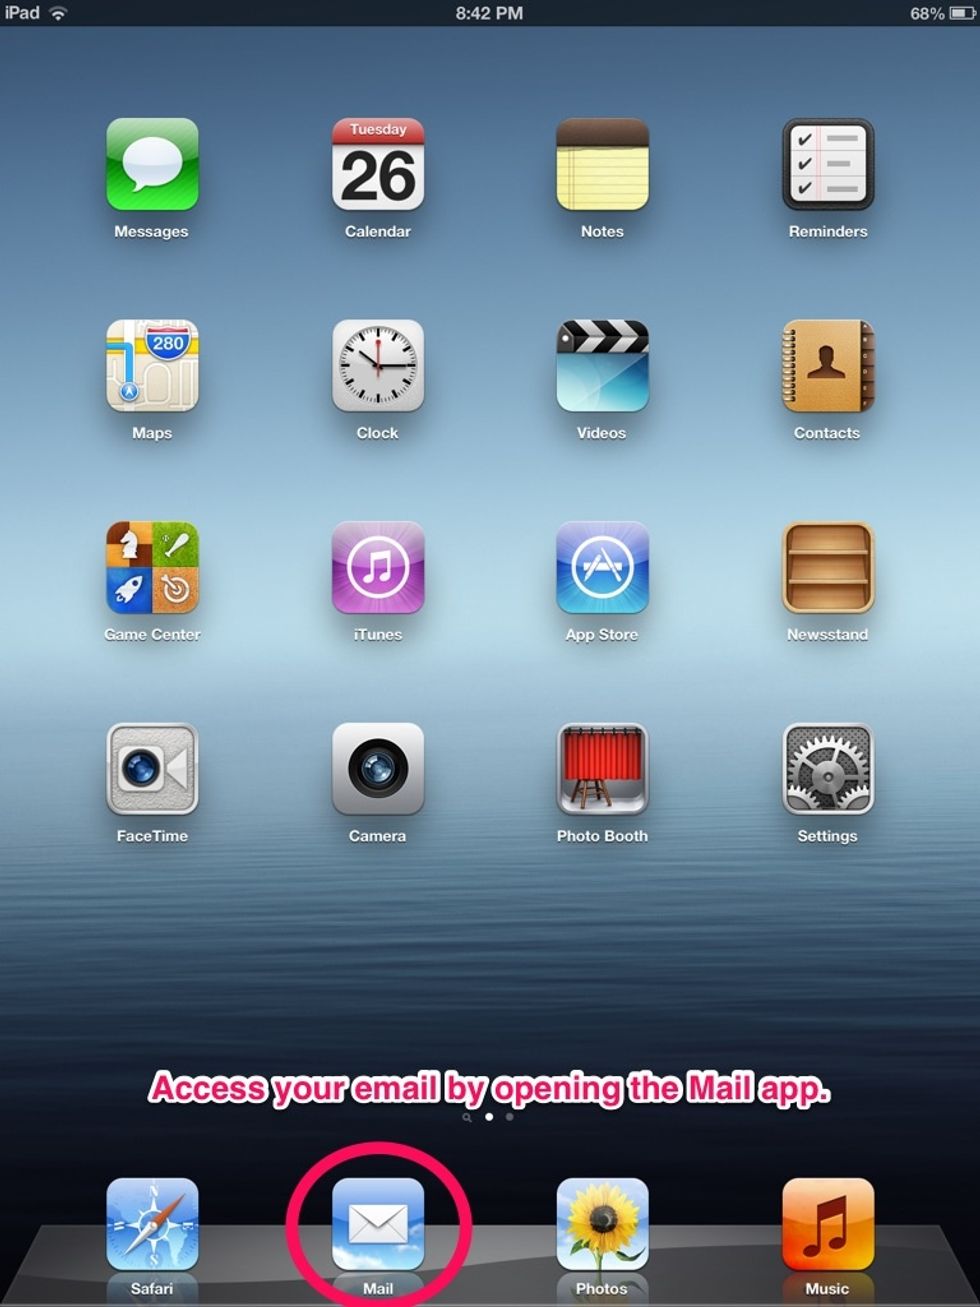
Your account will appear in the Accounts section in settings. To exit the Settings app, click the iPad's Home button.
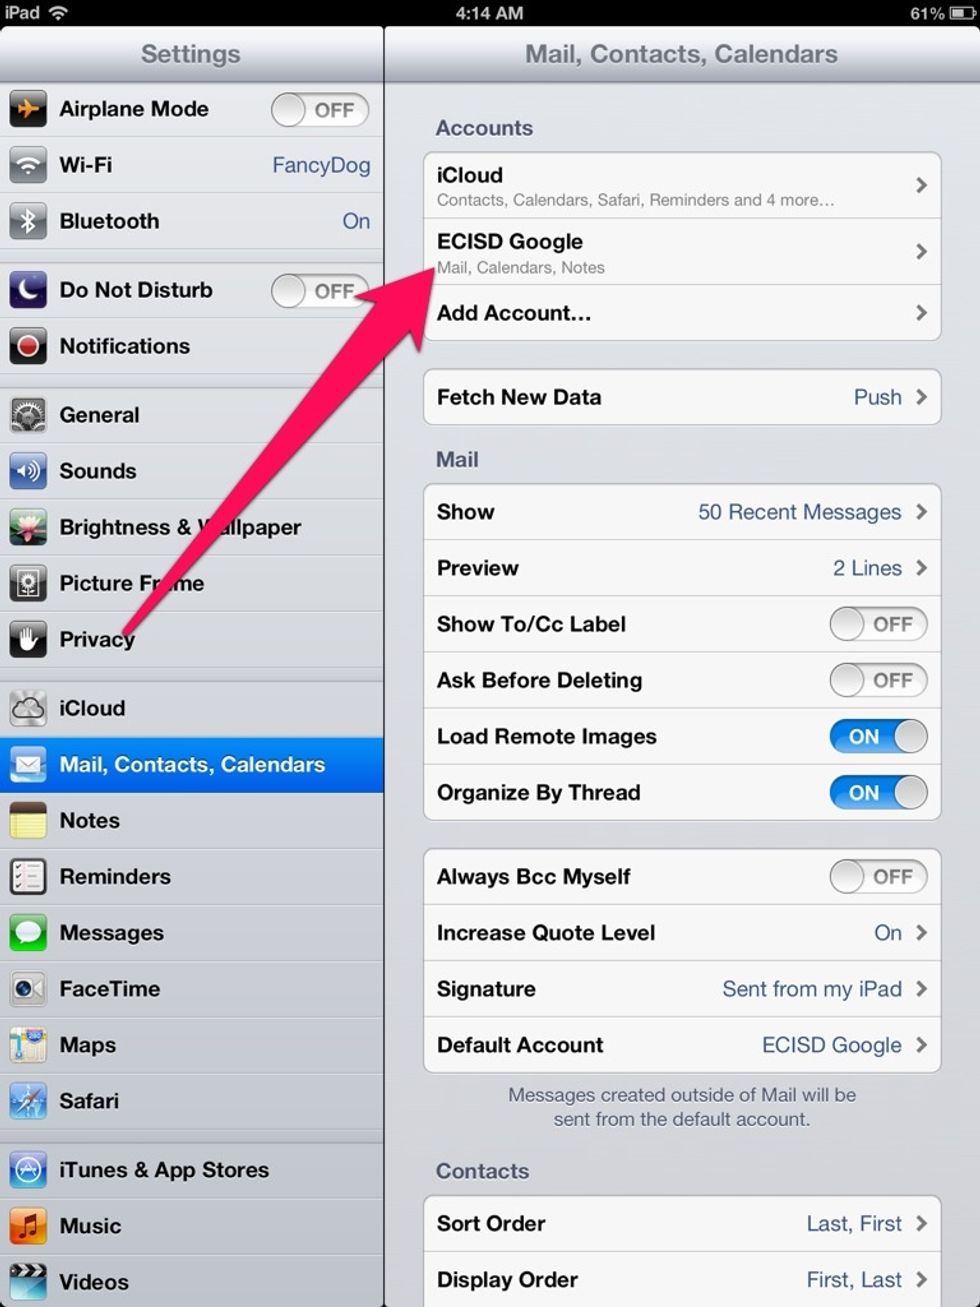
To remove the email account from the iPad, open the Settings app, select Mail, Contacts, Calendars and select the account.
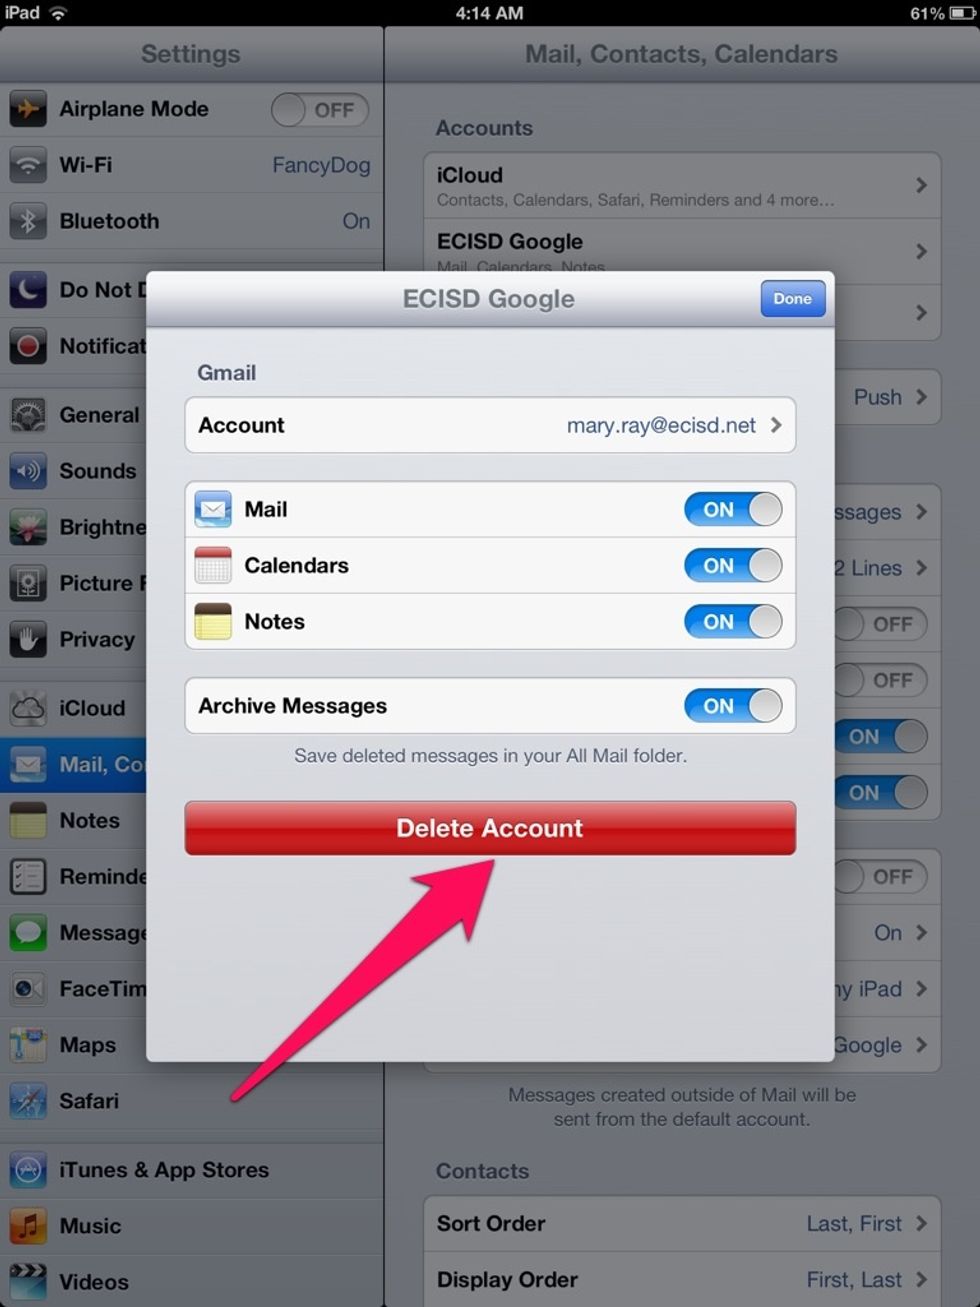
Clicking on the Delete Account button will remove this email account from the iPad.