The Conversation (0)
Sign Up
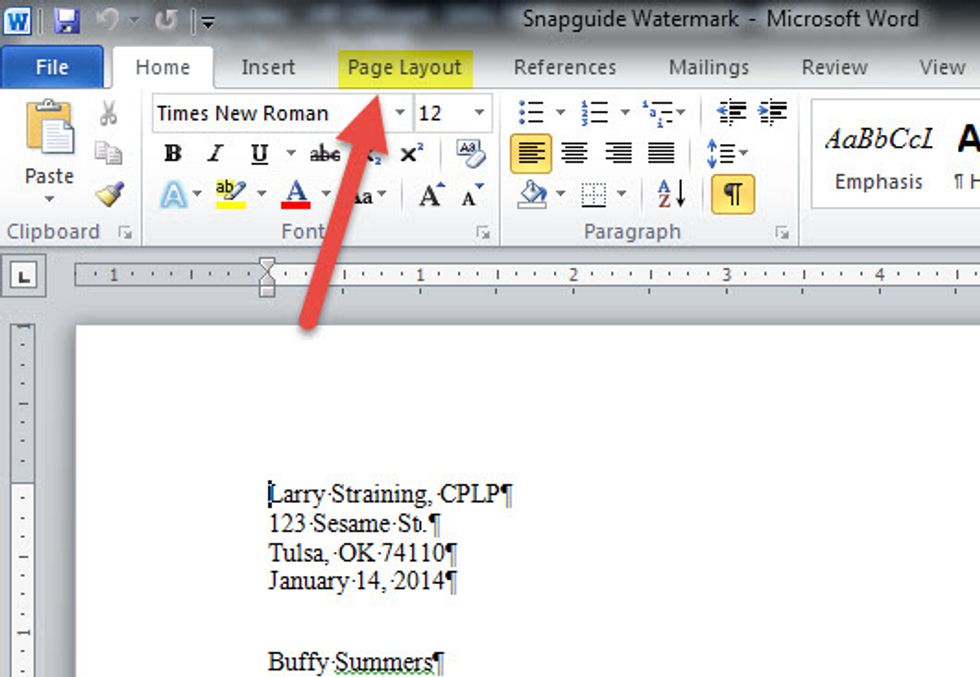
Once you have a MS Word Document created click on the Page Layout tab.
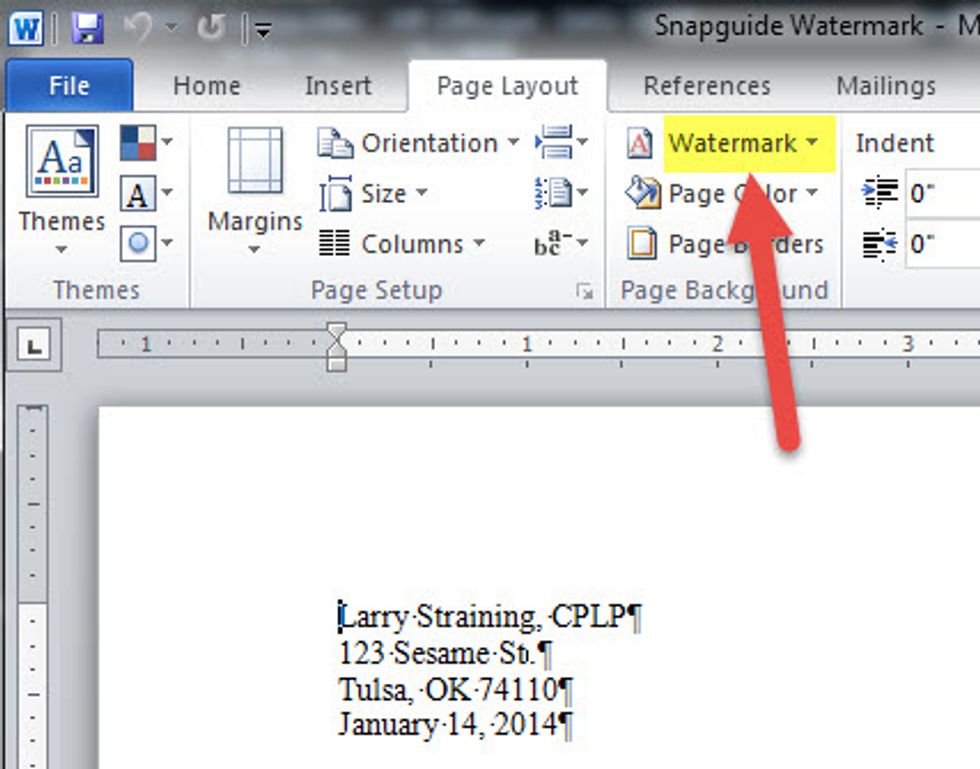
Click on the Watermark button in the Page Background group.
Choose whether you want to install a pre-defined watermark or your own personal text or logo.
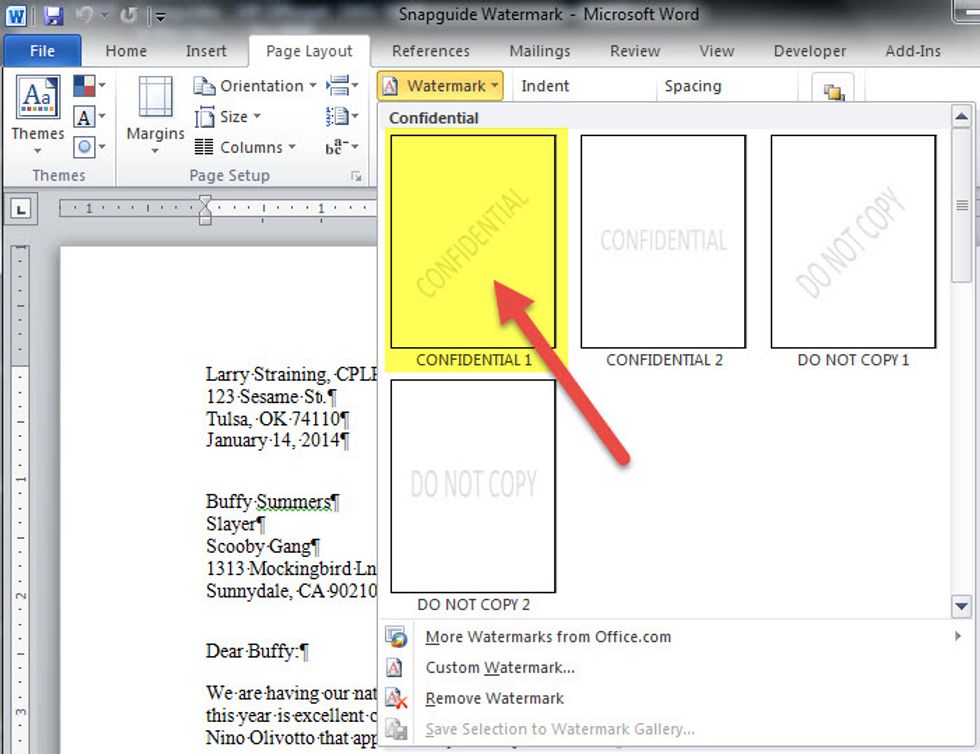
Let’s select one of the standard presets. Just click on the image of the watermark you want.
This looks great and does what it says, but what if you want something more personal, say a company logo as your watermark?
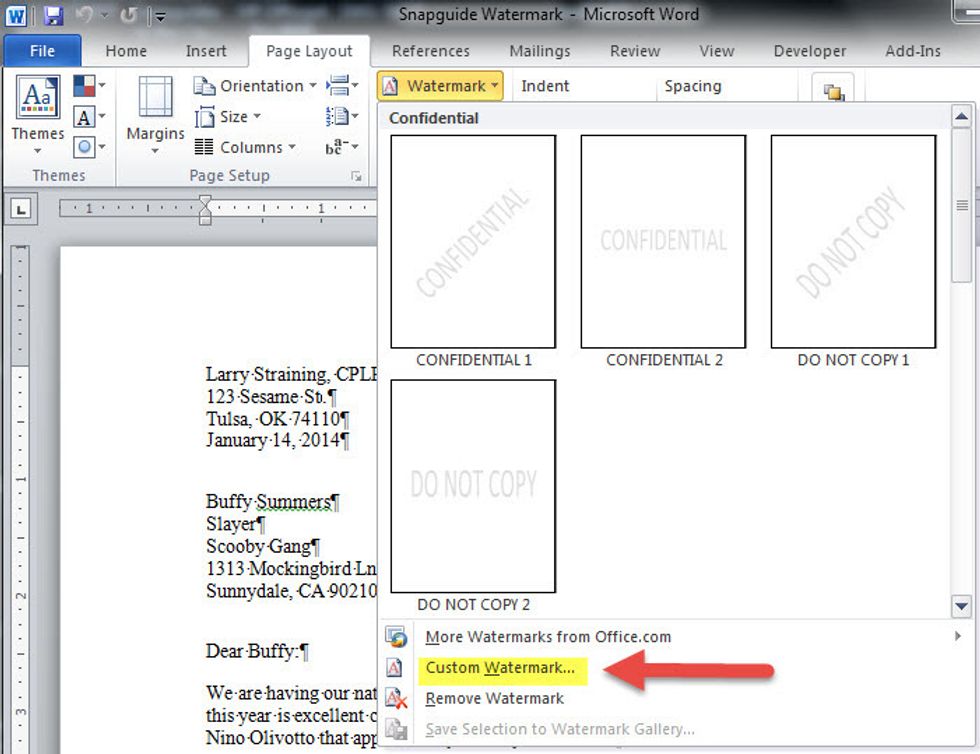
When you get to the watermark menu, choose the Custom Watermark option.
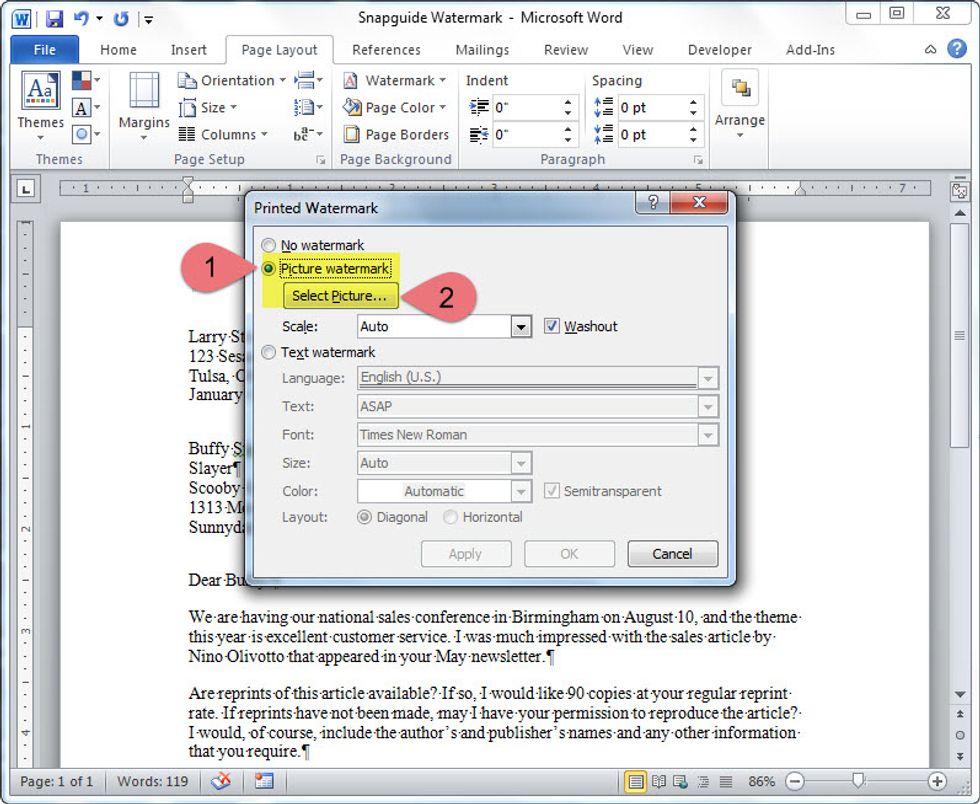
Choose the Picture watermark option and then click the Select Picture button.
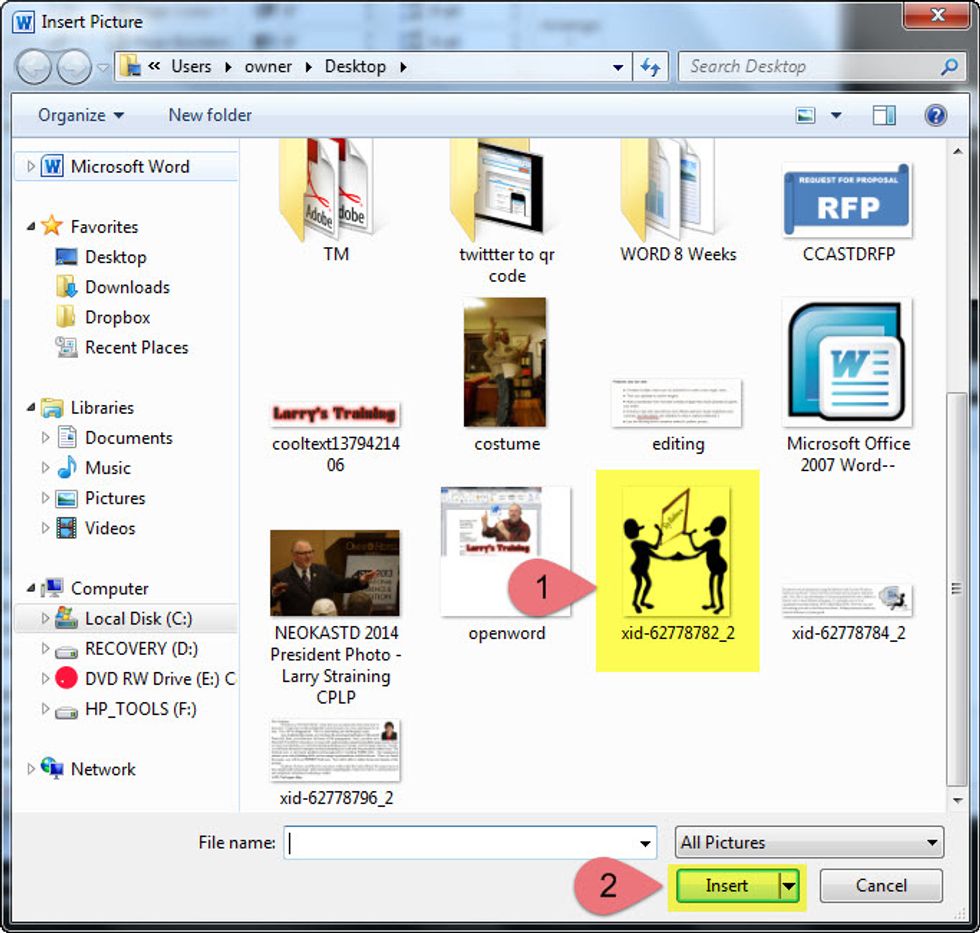
Find your graphic in your files directory, select it and click insert.
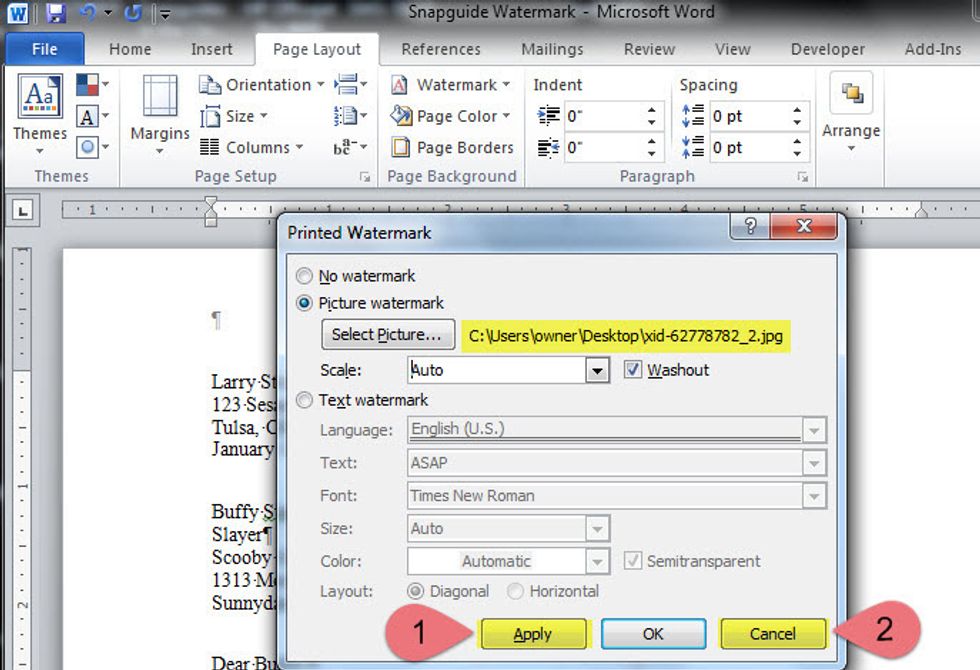
Verify that you have the selected the image, click apply then click cancel.
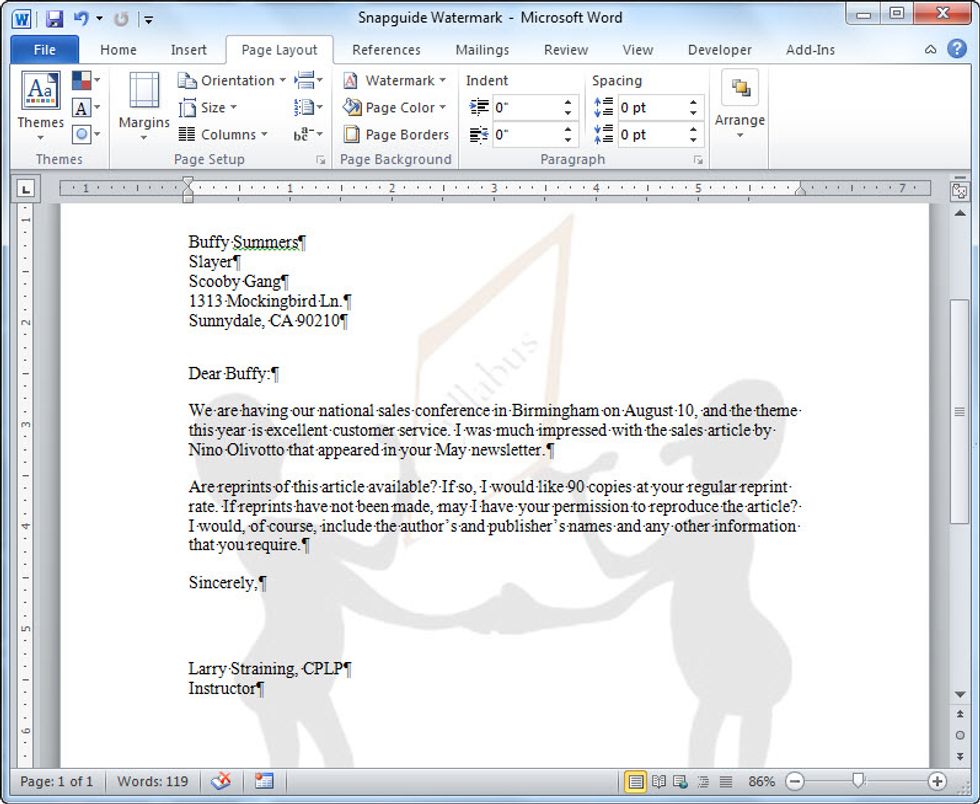
Enjoy your watermark!
Like this and follow me for more technology Snapguides. You can also follow me on Twitter @larrystraining.