The Conversation (0)
Sign Up
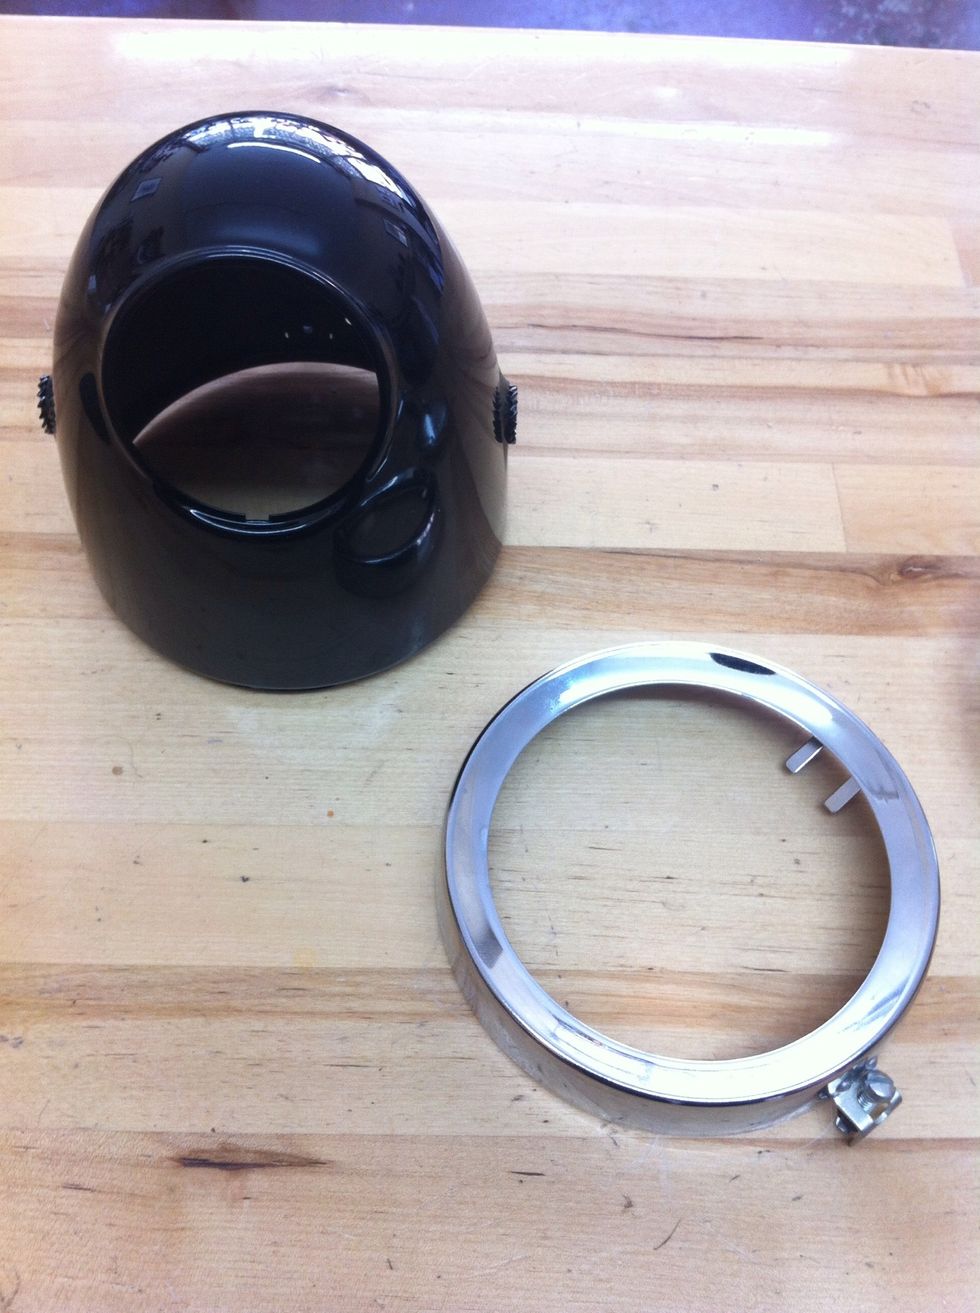
Disassemble your headlight shell.
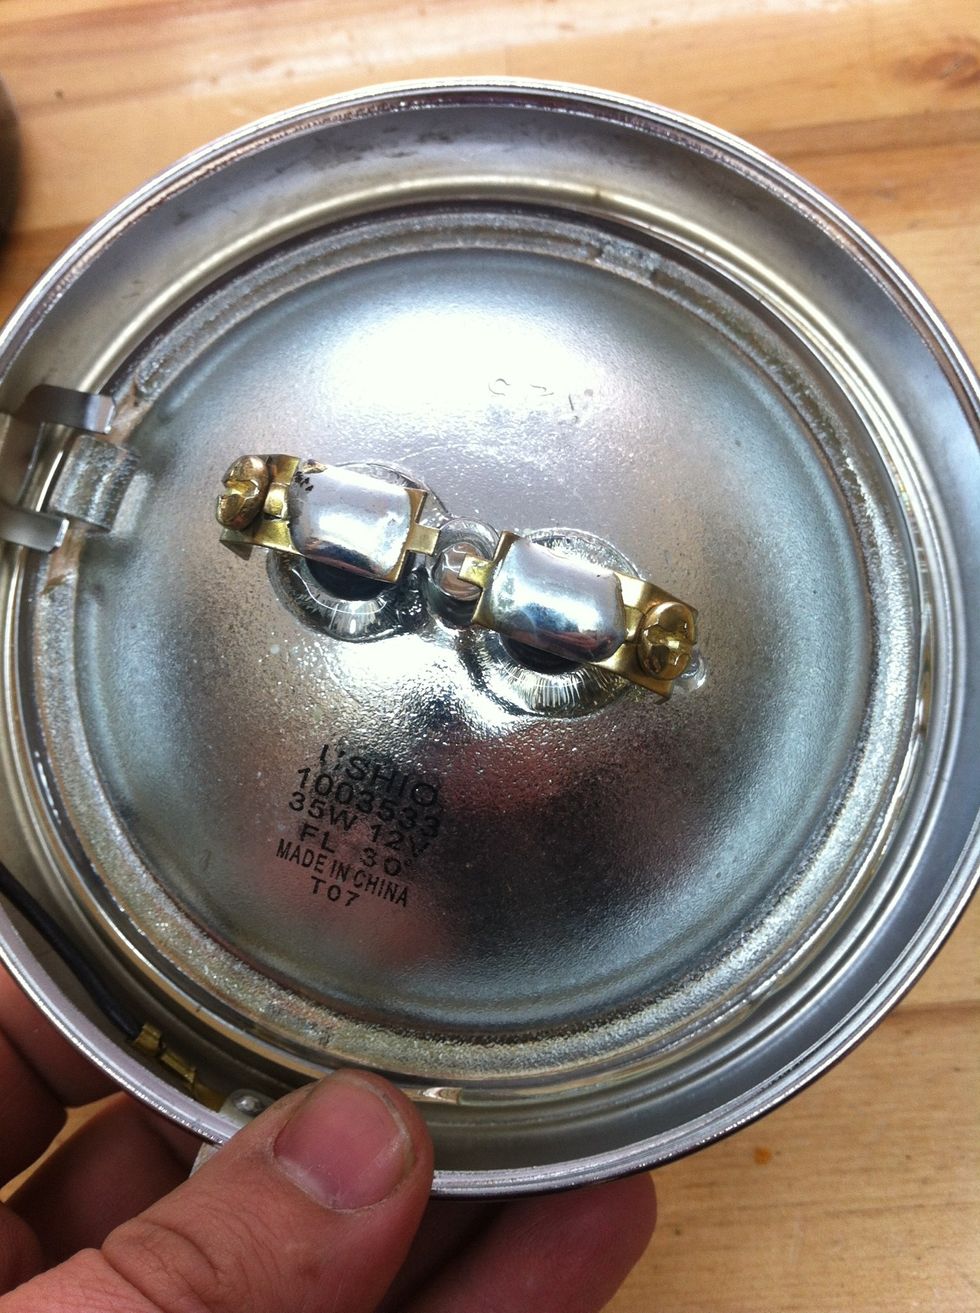
Lay the bulb facing outwards in the chrome ring of the shell. make sure the glass nub on the bulb goes in the shells slot.
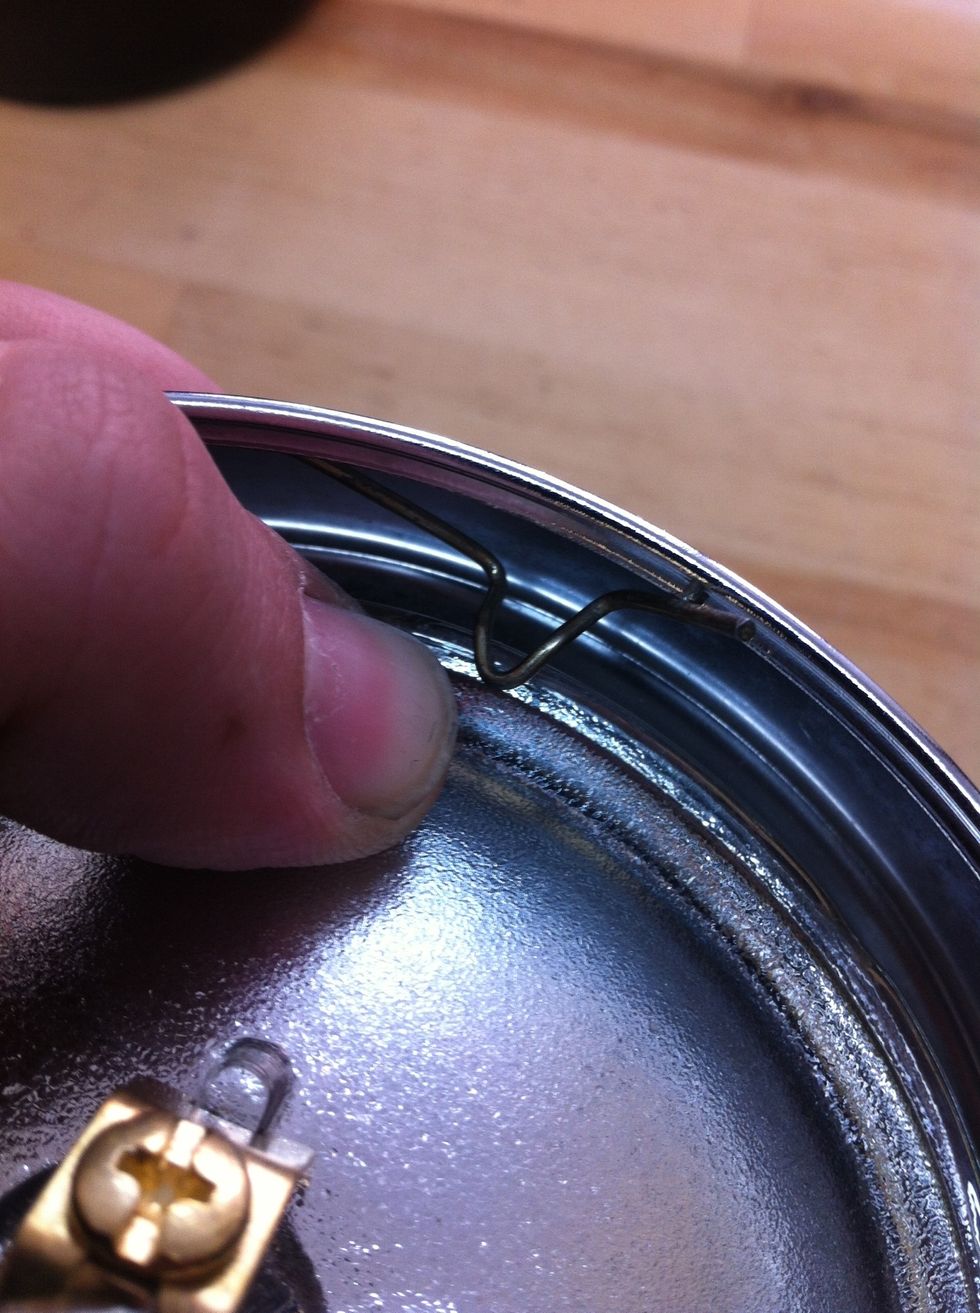
attach the rings. it takes a little effort but with needle nose pliers you'll eventually get the technique.

put 3 or 4 clips in to hold the bulb secure.
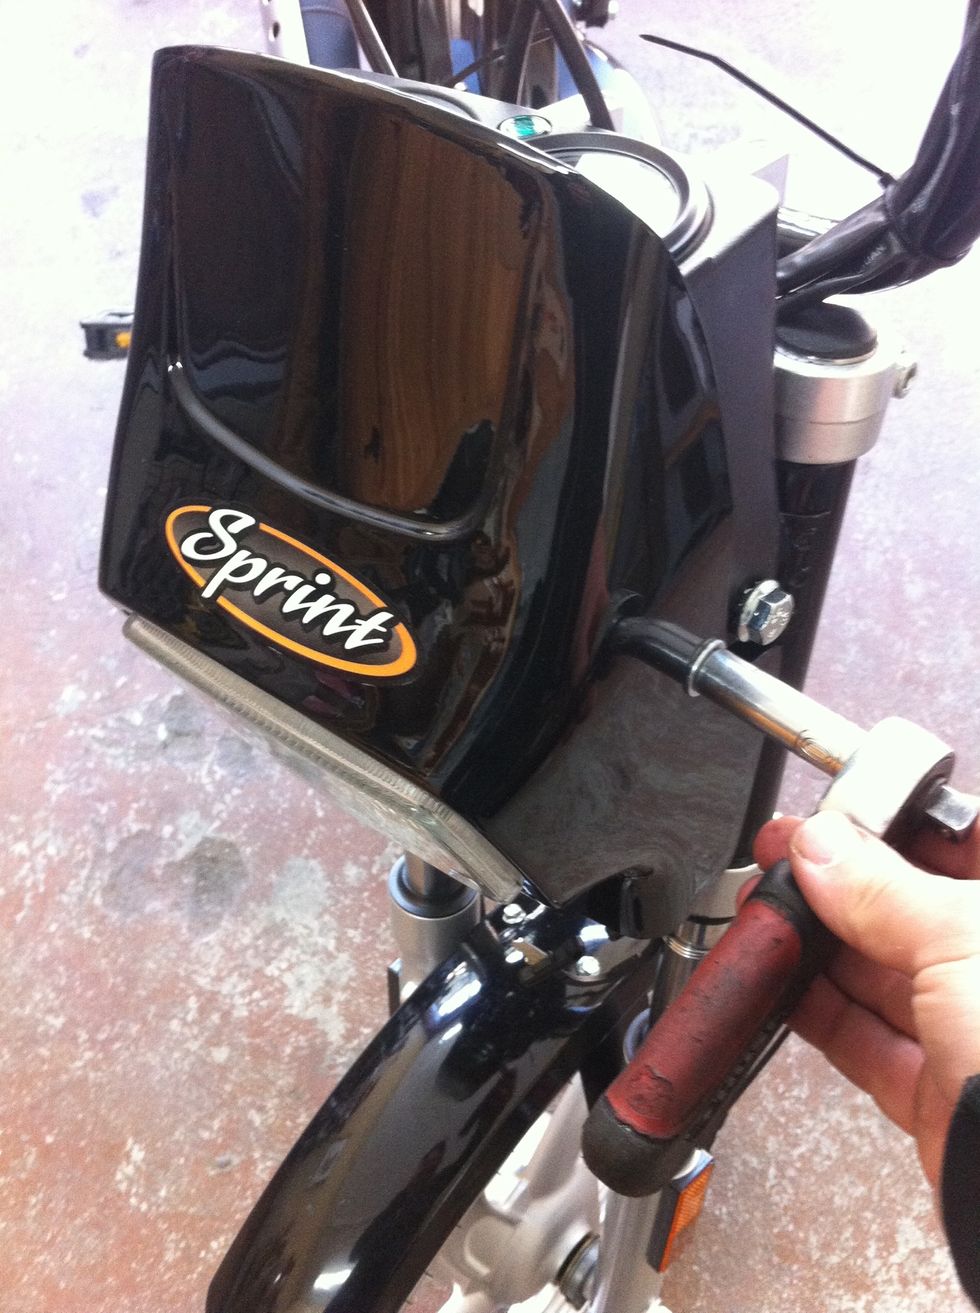
now go to the bike and remove the awful fairing with a 10mm socket.
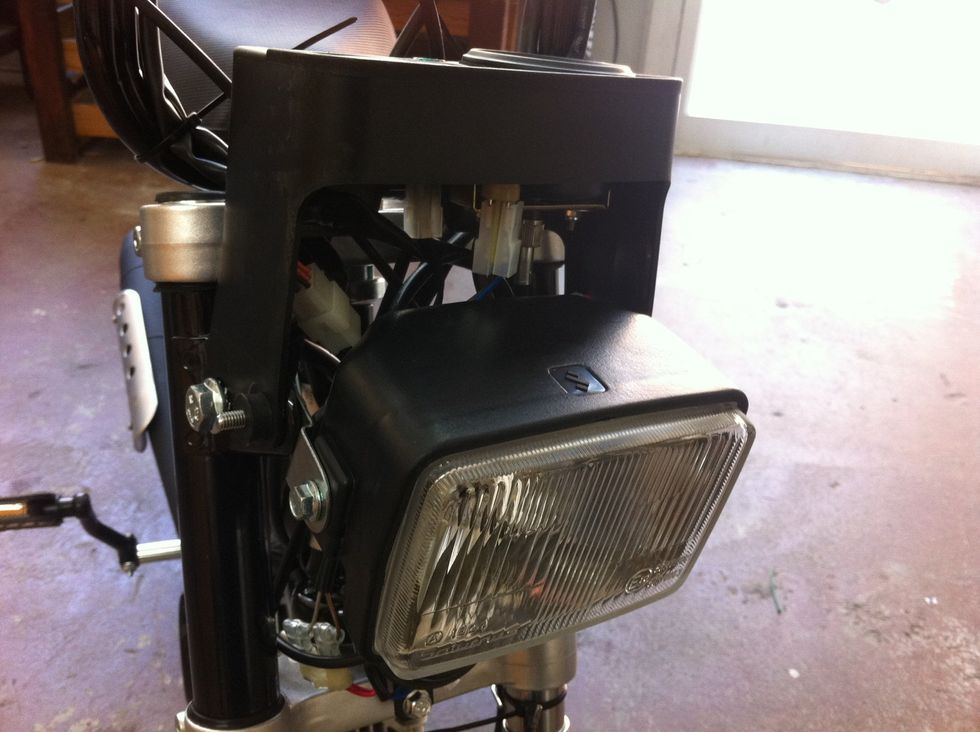
take the headlight bolts out and put them aside. remove the wires from the back of the stock headlight. you can clip the yellow and white ones, as you won't be needing them.
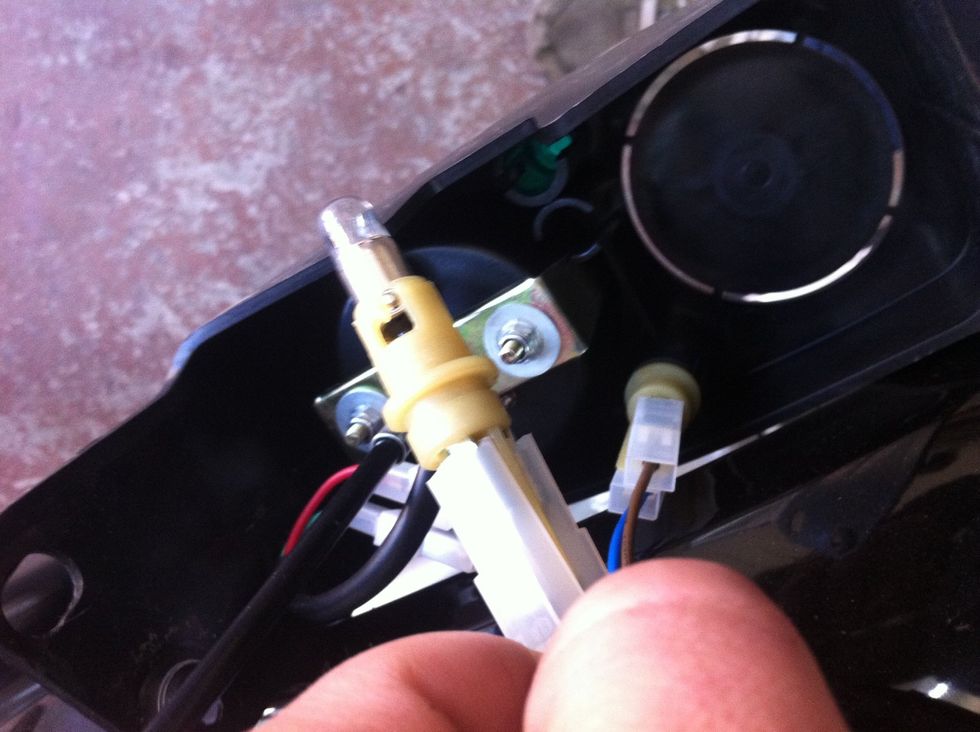
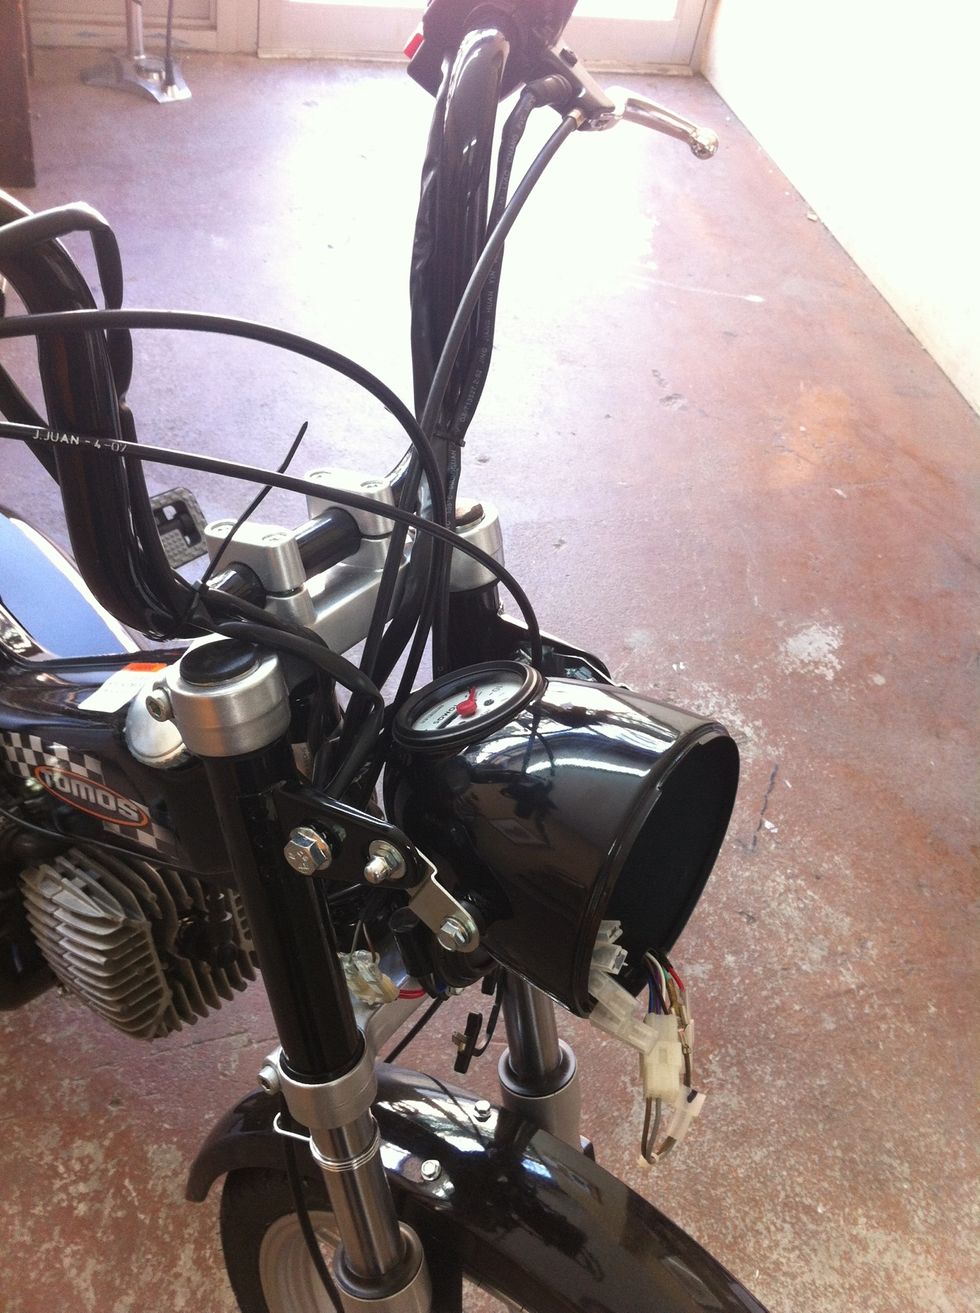
yank the indicator lights out from the stock dashboard. you can clip their wires too to make room for the precious real estate inside the new bullet headlight. remove the speedo with a ratchet.

detach the wires from the speedo. mark which wires go to each other by drawing a line from one connector to the other with a sharpie and the other with a 0 across the connectors so the pieces match.
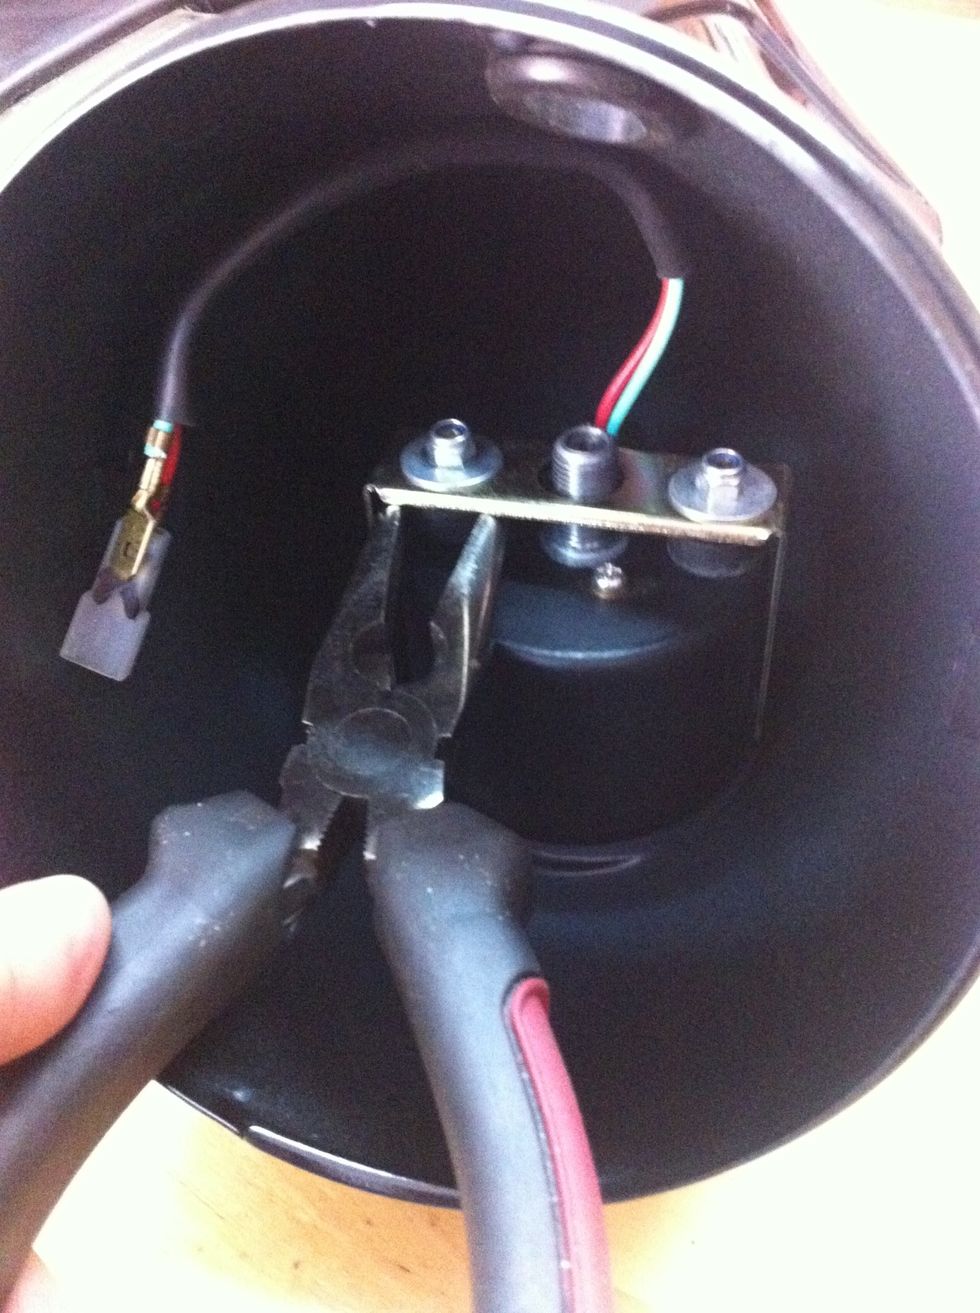
insert the speedo into the bullet headlight's shell. if the nuts spin but won't tension use needle nose pliers to hold the rubber bushing around the bolt in place so the bolt inside doesn't spin.
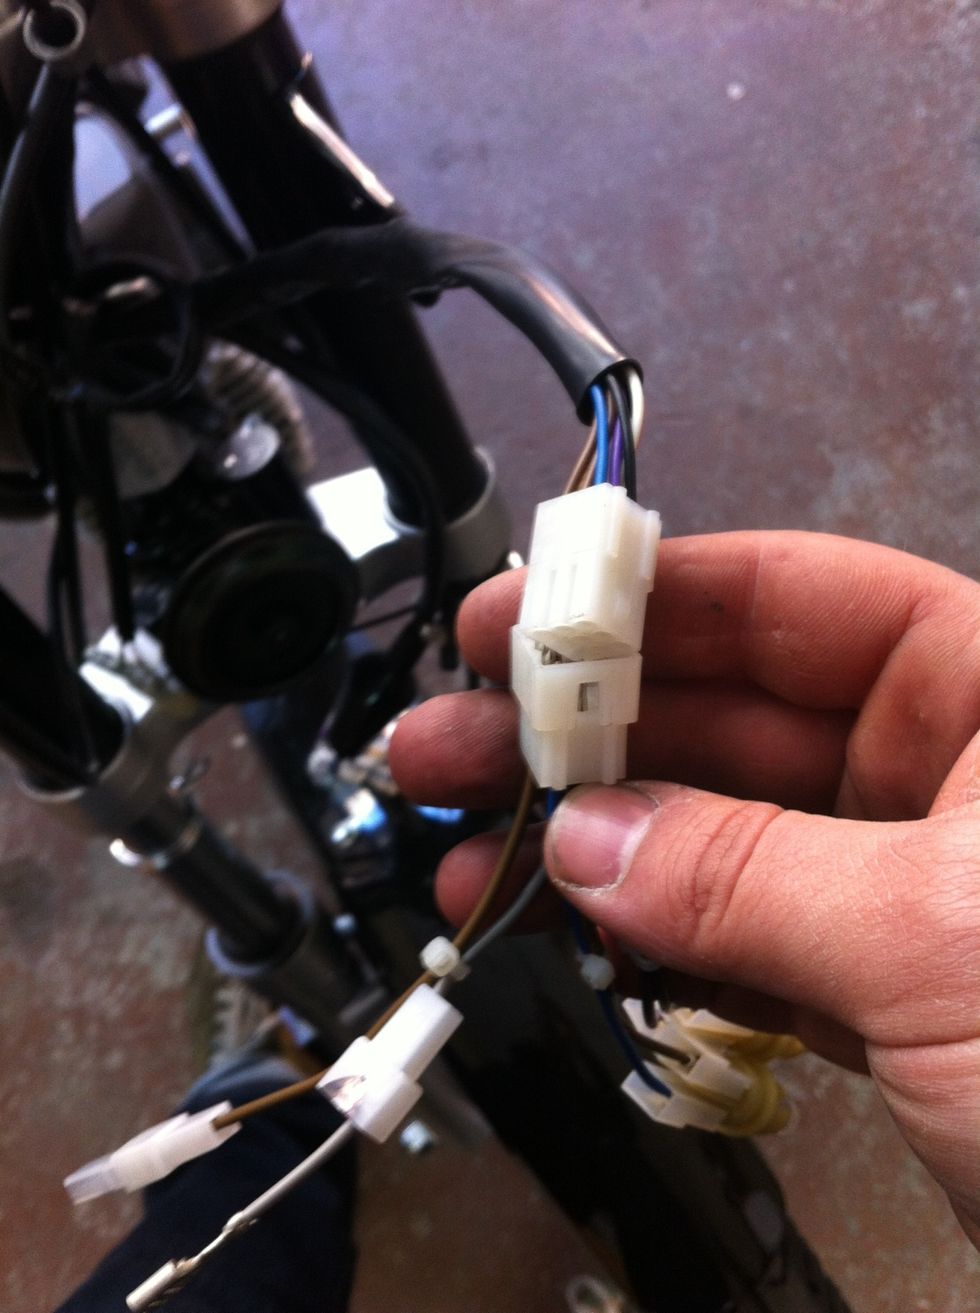
unclip the big terminal and place it aside for the moment.
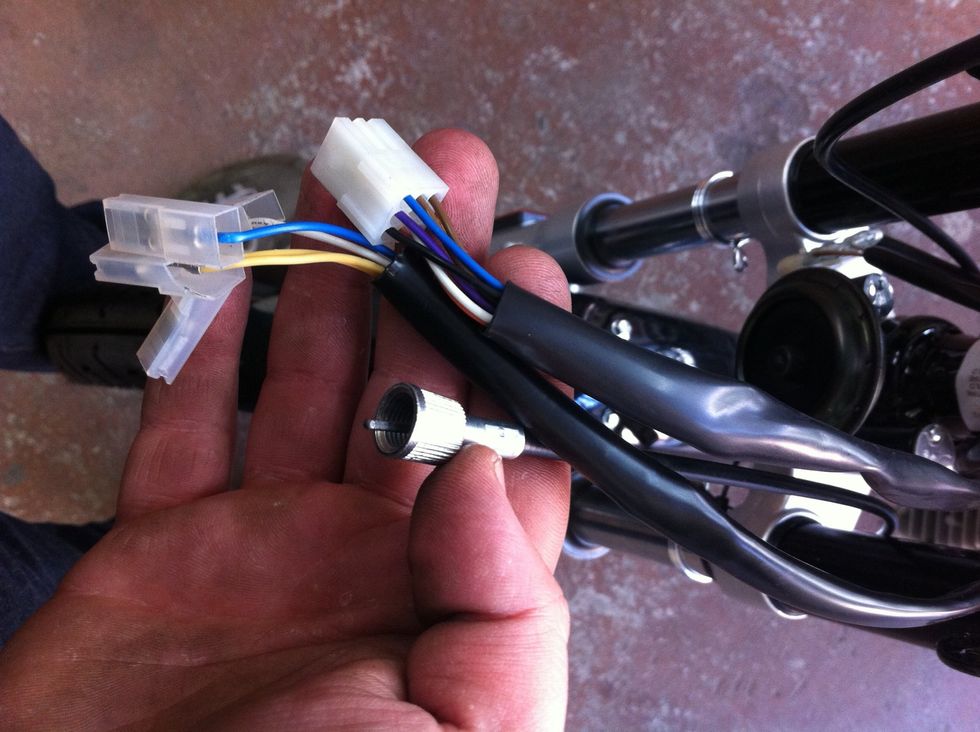
line up the speedo cable and all wires attached to the bike and get ready to fit them in the tiny speedo opening.
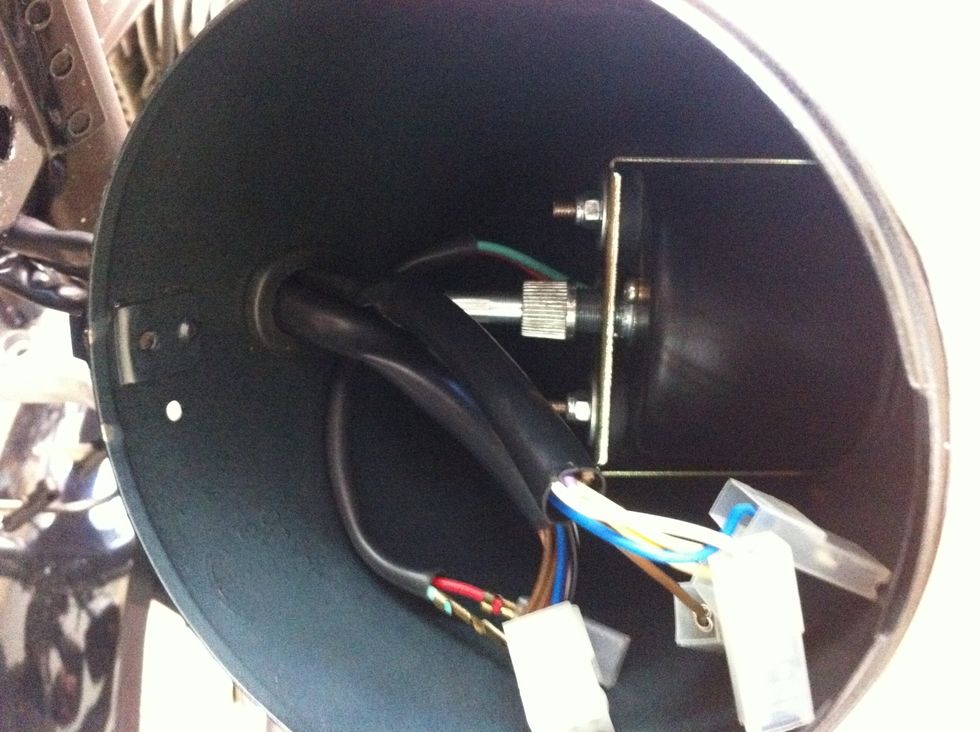
first get the speedo cable in the bottom hole and attach it to the speedo. then push the big half of the terminal through the hole. attach it to the other side and the two wires back together.
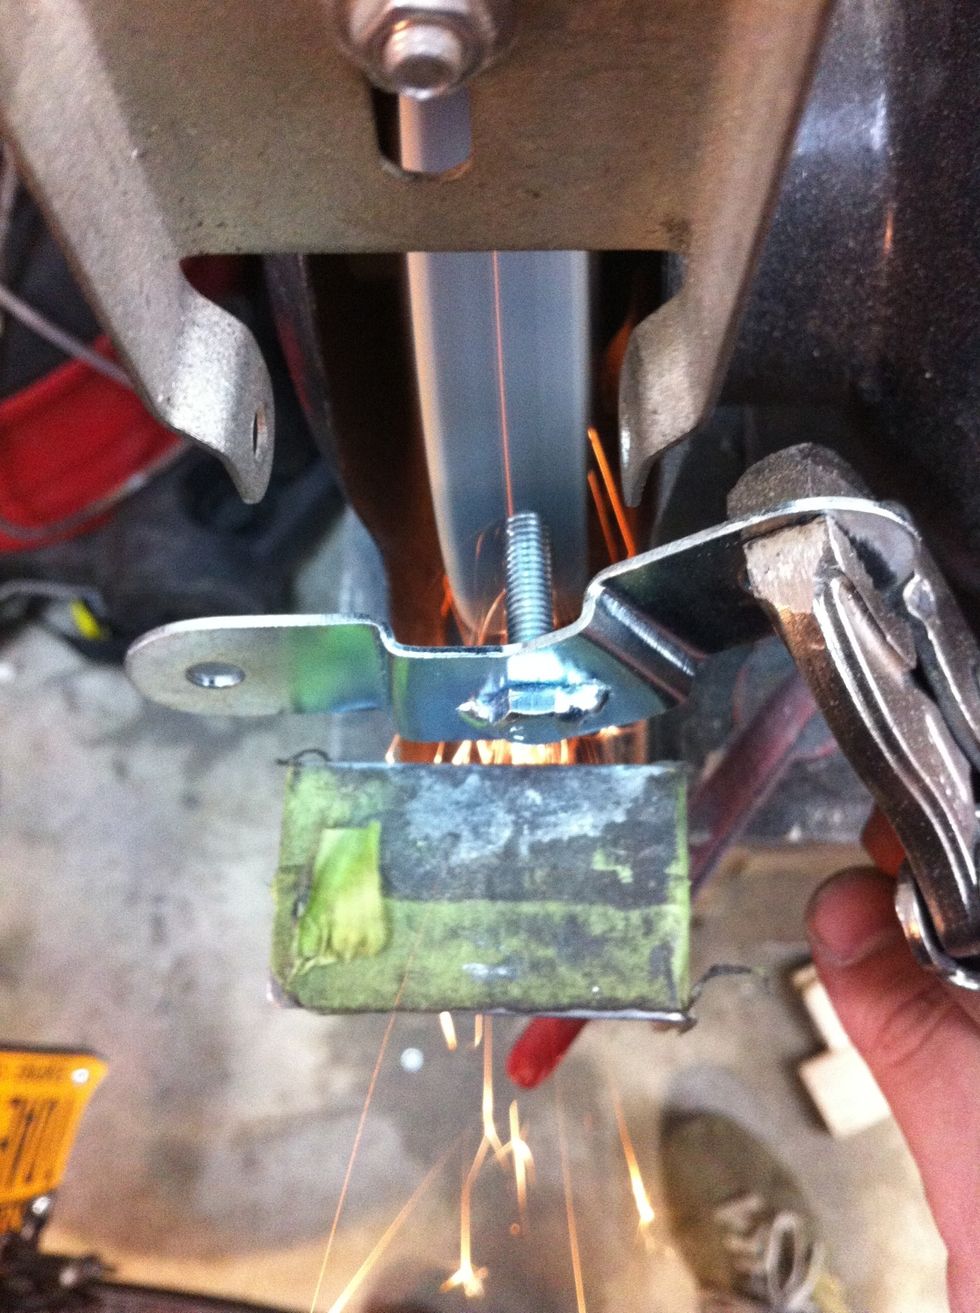
now is a good time to grind down the original mounting brackets. leave about 1/4 inch so it can grab the original capped nut.
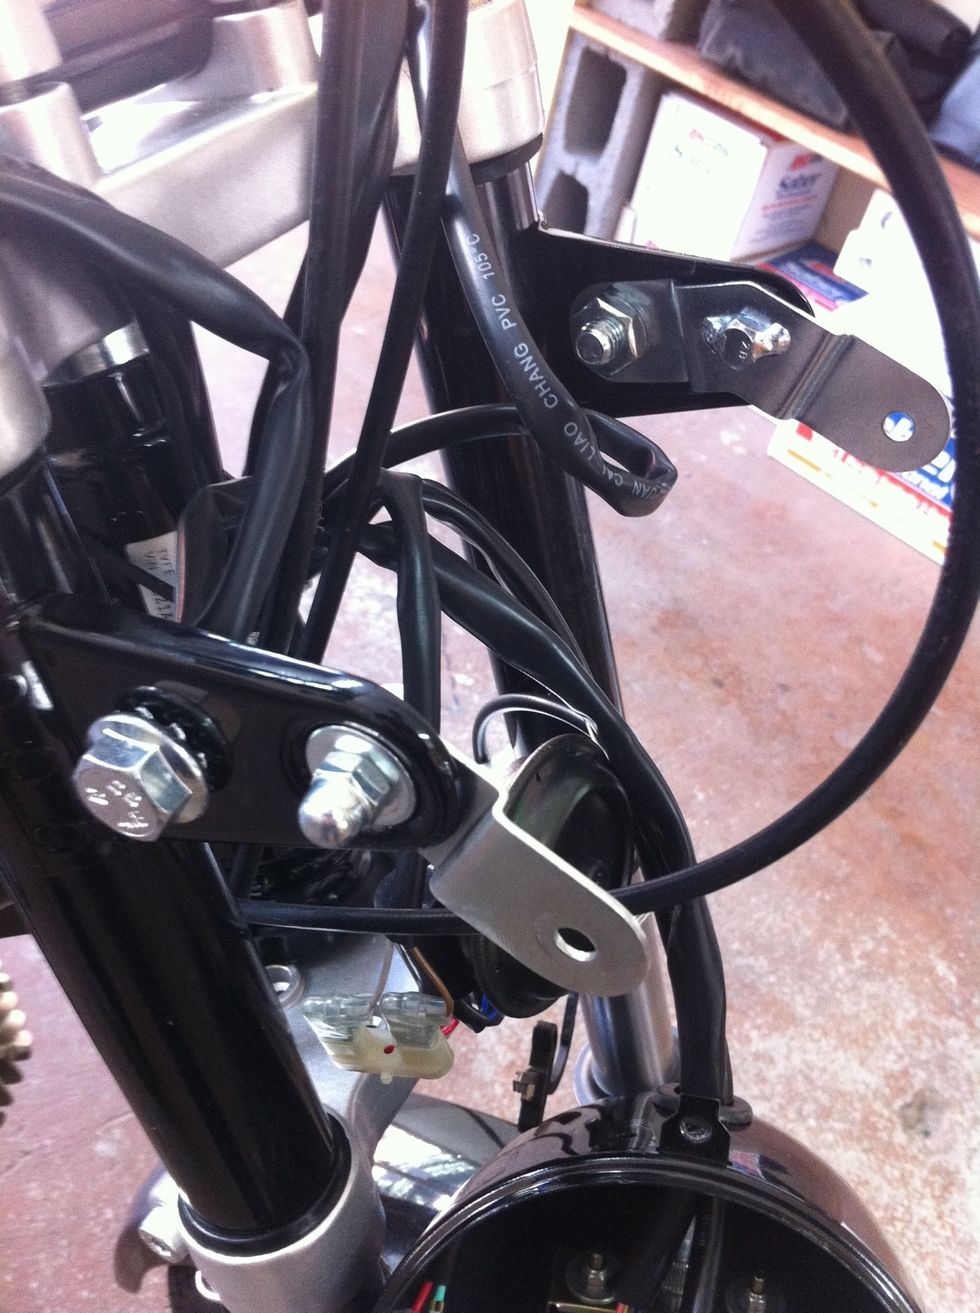
put the brackets back on the opposite sides from where they originally were. they will be angled downwards. you can now put the washers and nuts on so that they're secure.
attach the bucket to the brackets. we're almost done!
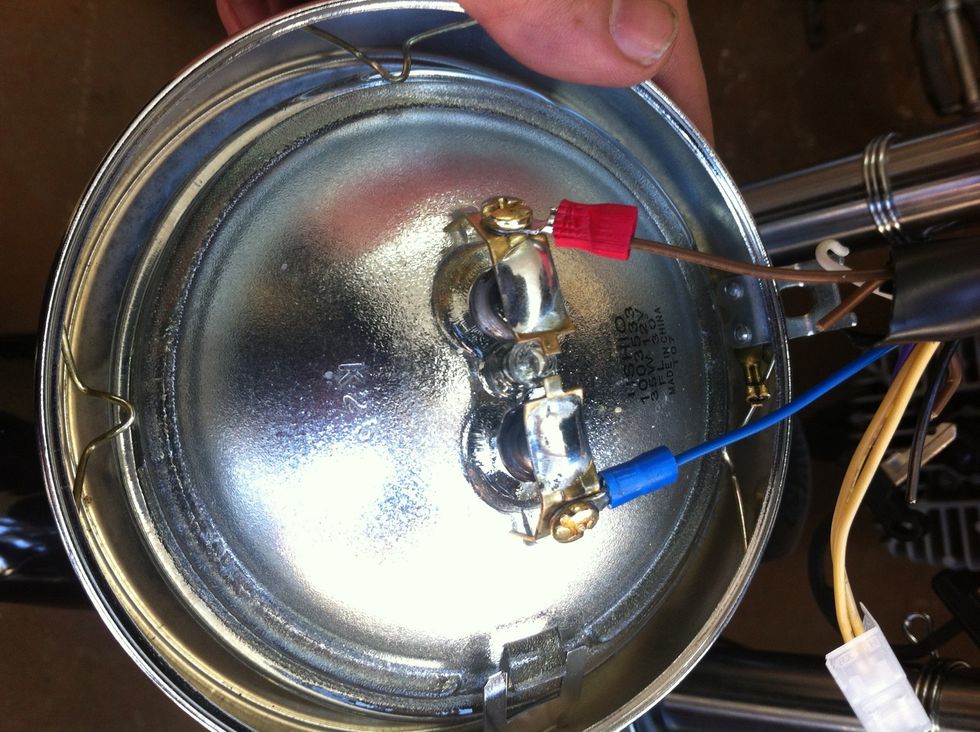
crimp circle terminals to the blue and brown wires and attach to the bulb. boom! you're all wired up! slap that cover with the bulb onto the bucket.
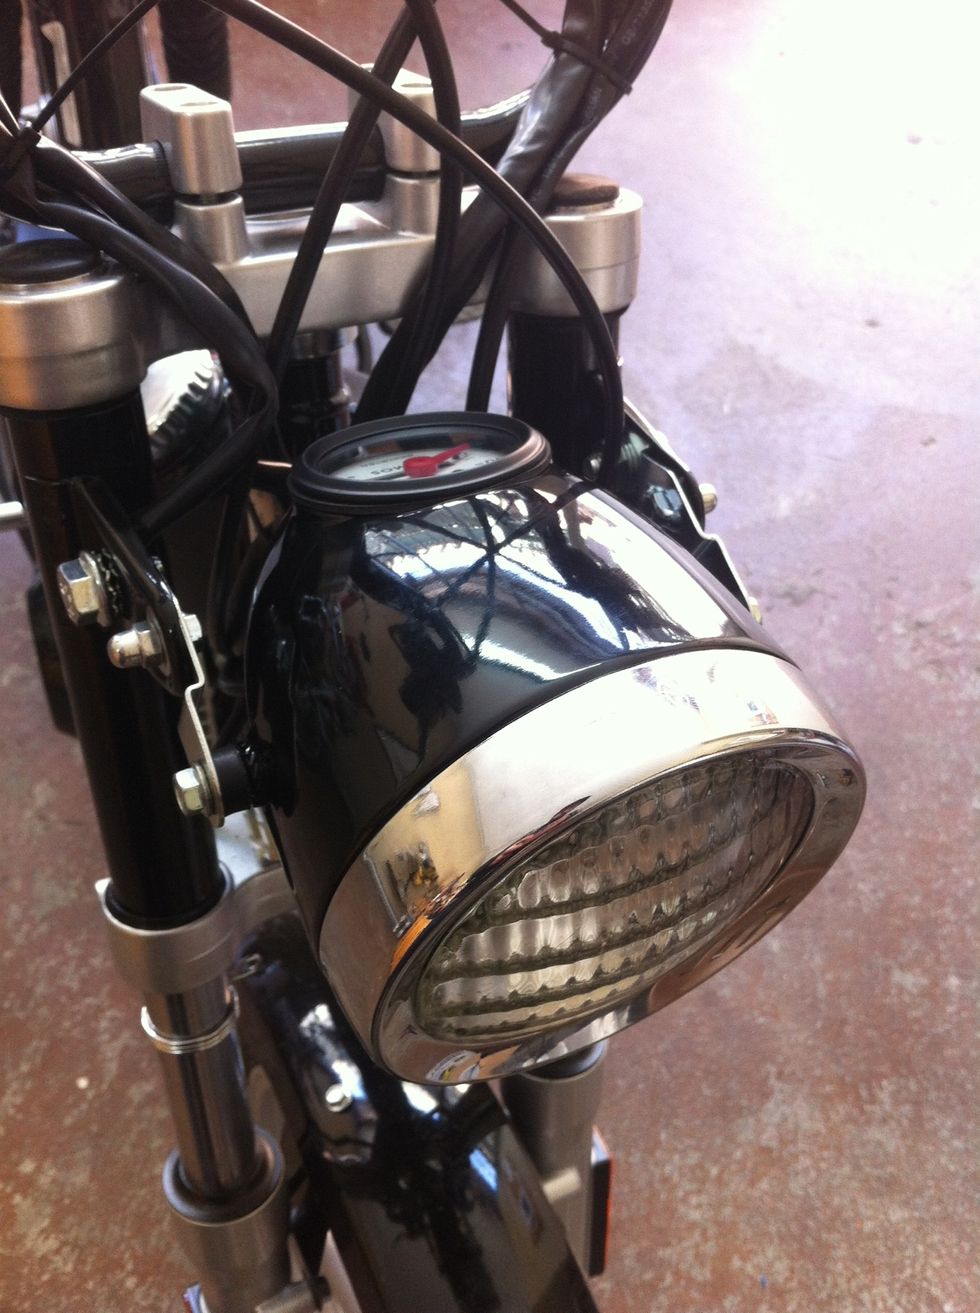
Congratulate yourself. you just made your bike look much better then it did stock while adding a flood beam. Now take those stickers off with a heat gun and call it a day 💎