The Conversation (0)
Sign Up
Just a heads up, a lot of my photos are sideways, sorry.
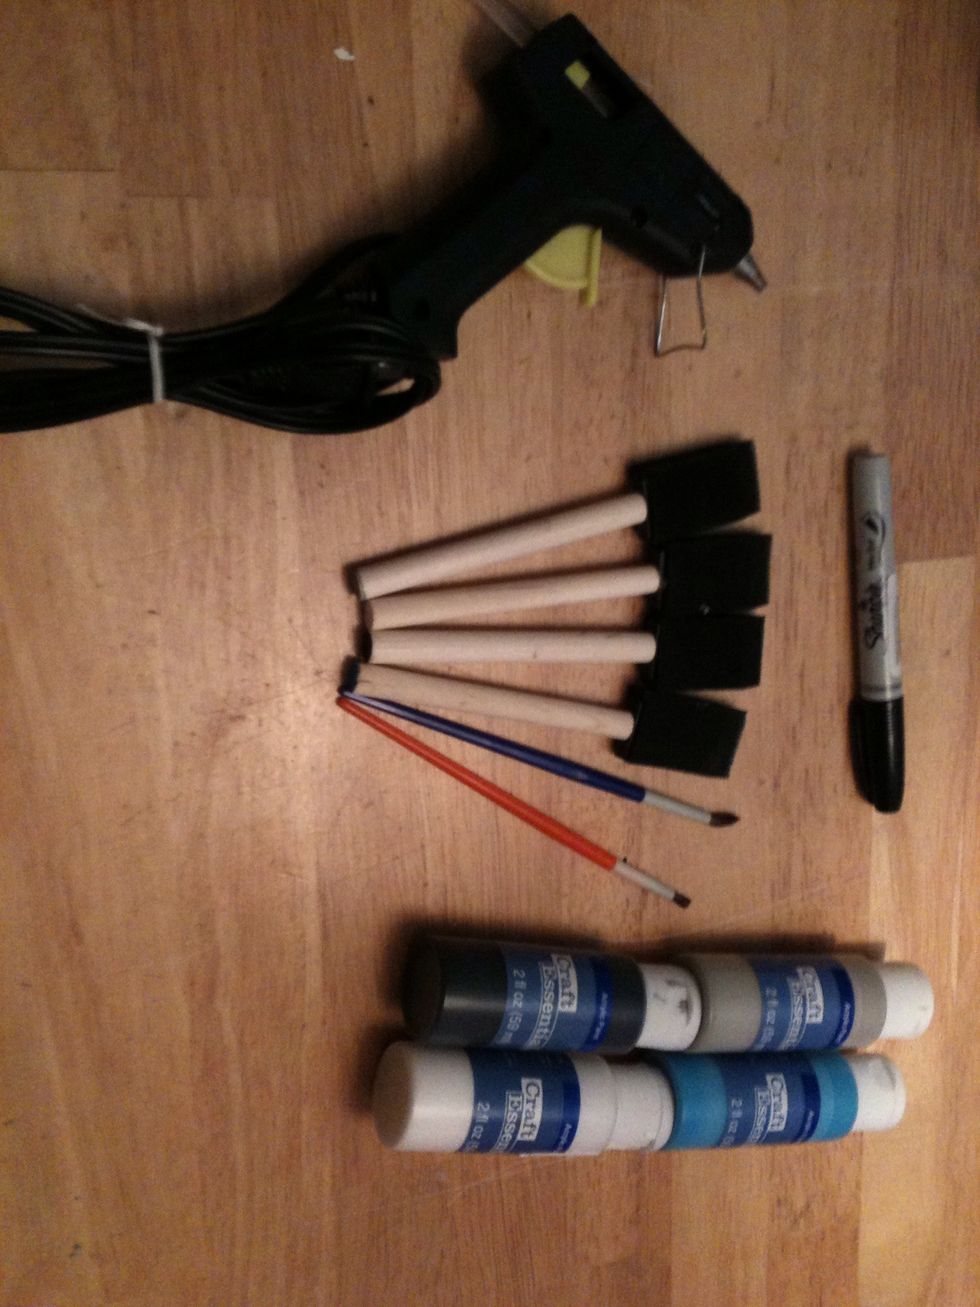
Your supplies, sorry I forgot to photograph everything beforehand so the letters and board are already painted. You'll see it in the finished product. :)

Take your first color and paint all the letters using the sponge brushes. You could use a regular one but the sponges work best for this part. You'll probably need a few coats.
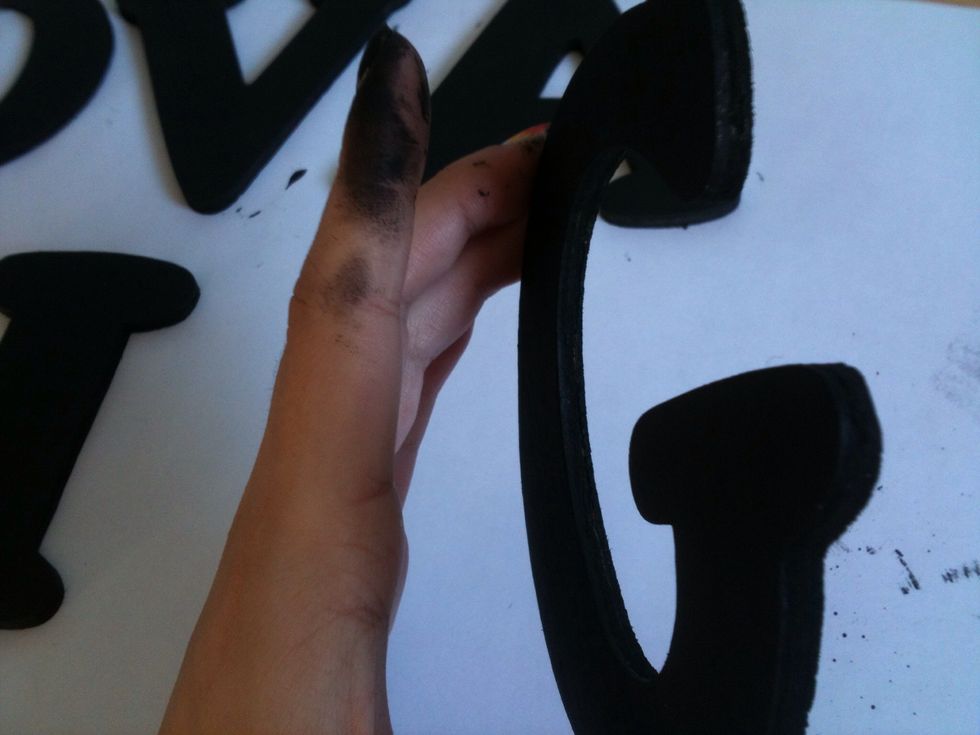
Make sure you get the sides, the backs can be left alone though.
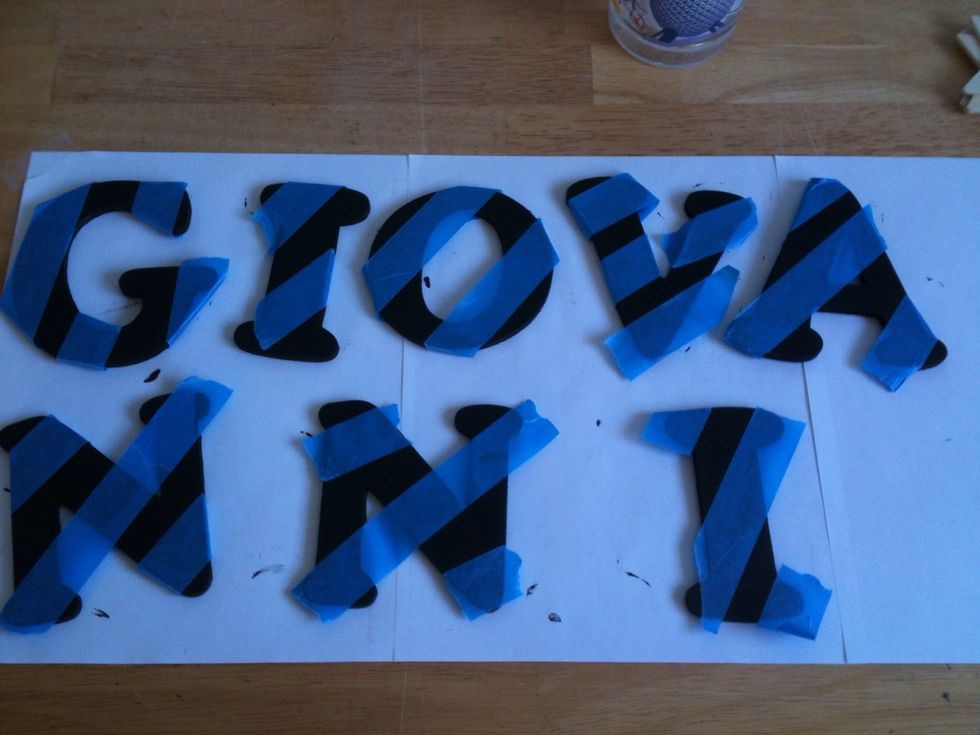
Once your first color is all dry, take the painters tape and apply a few strips diagonally.

Using your second color (and another sponge brush), paint the spots that don't have tape. A few coats here is a good idea also.
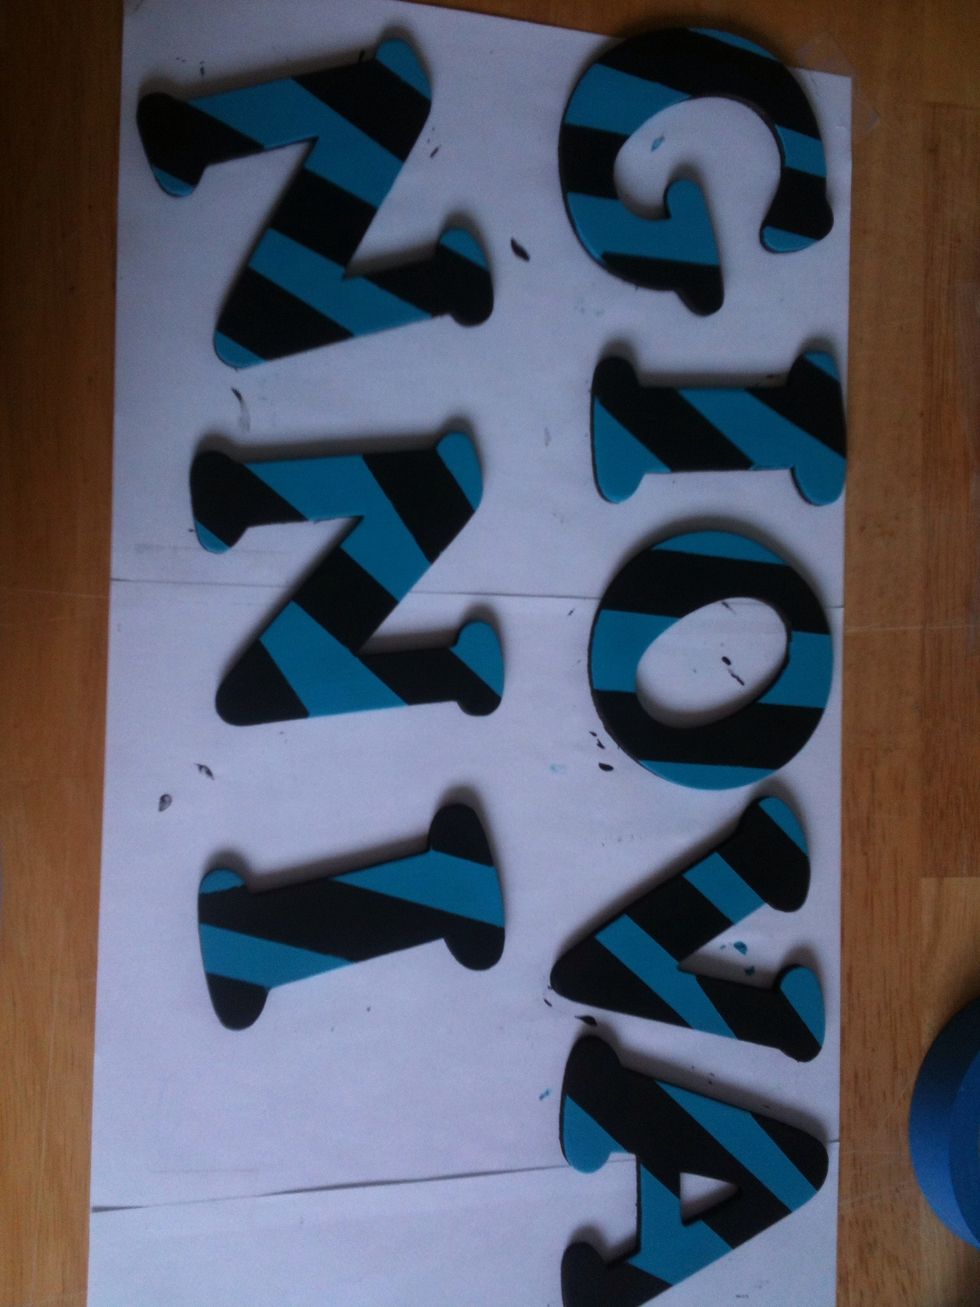
After your second color is dry, carefully remove the painters tape.

Ok, now take the painters tape and apply strips in the OPPOSITE direction as your first ones.

Using your third color, paint over wherever there isn't any tape. Again, using the sponge brush and a few coats.
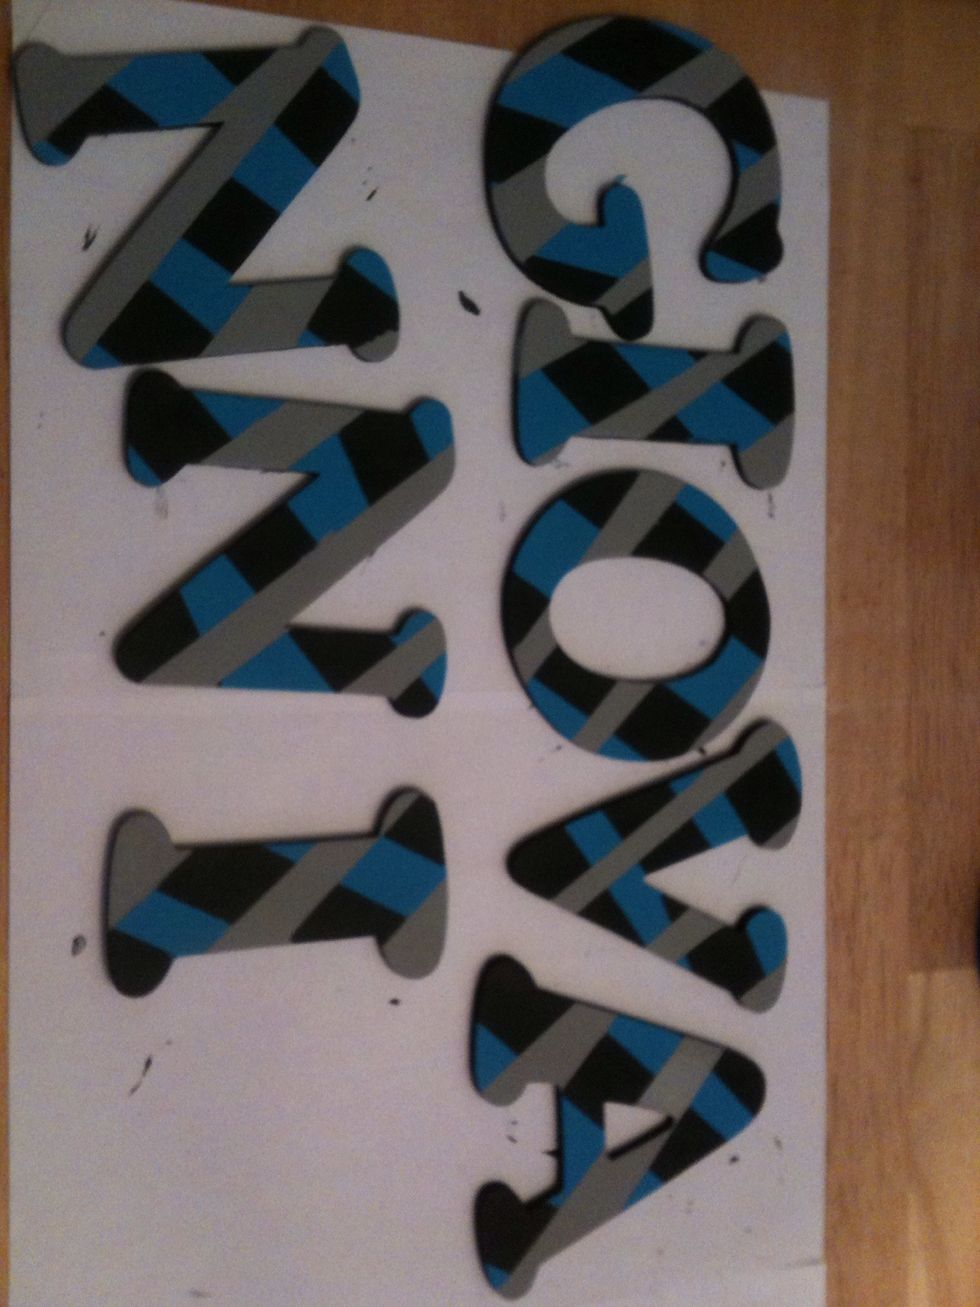
When that is dry, carefully remove the tape.
Ok now here is where I had changed my mind about how to hang the letters. Originally I was going to use ribbon but after looking at them I decided it would look funny so i decided To use a shelf from
An old bookshelf instead. If you just wanna hang the letters, take a piece of ribbon and looping it in half, use the hot glue gun and glue it to the back of the letter. For another idea, keep reading.
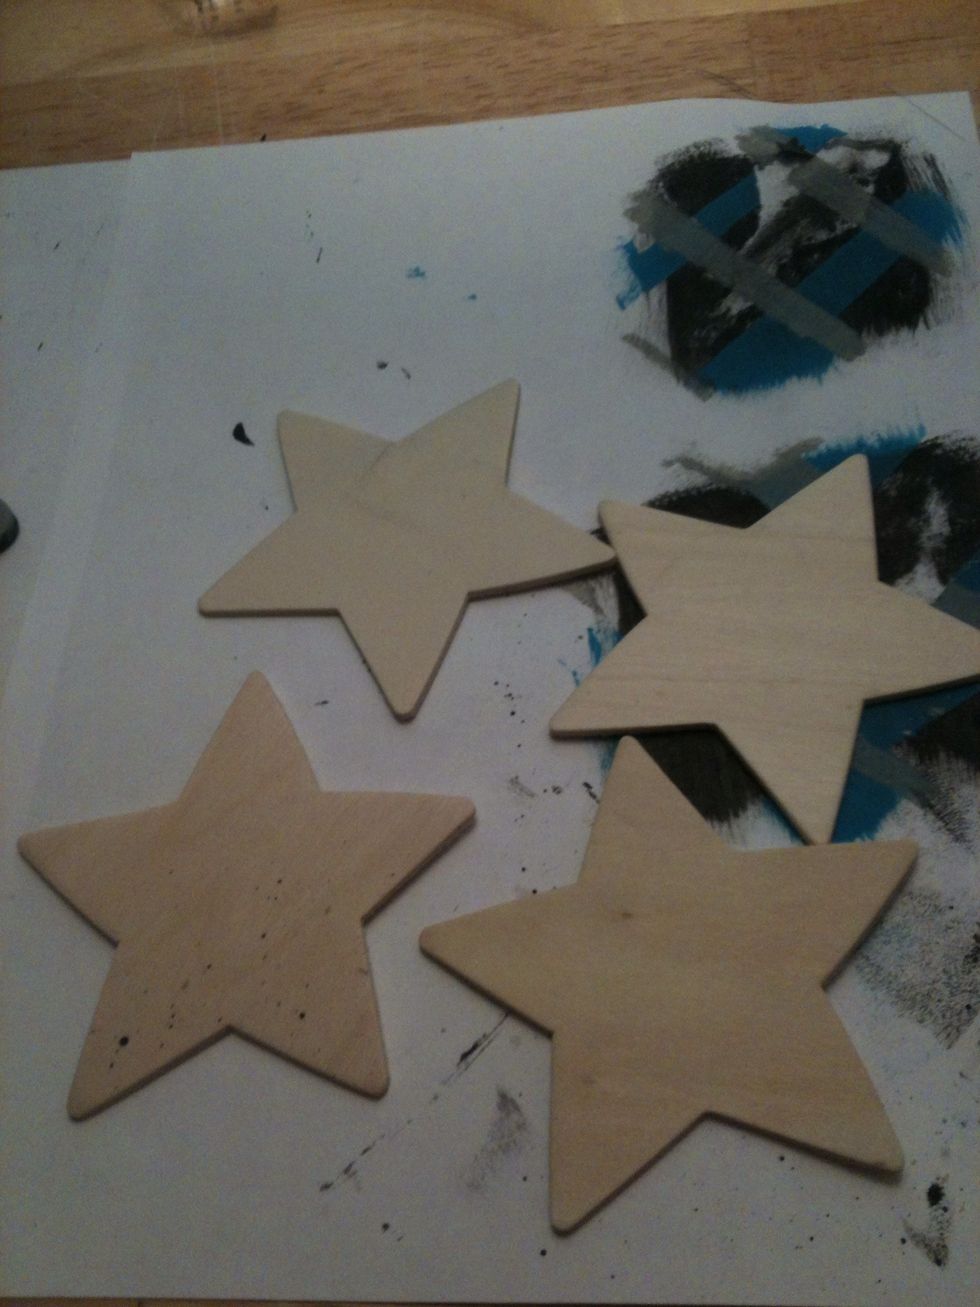
I decided to add some stars since I'm using the shelf and not hanging them from ribbon. :)
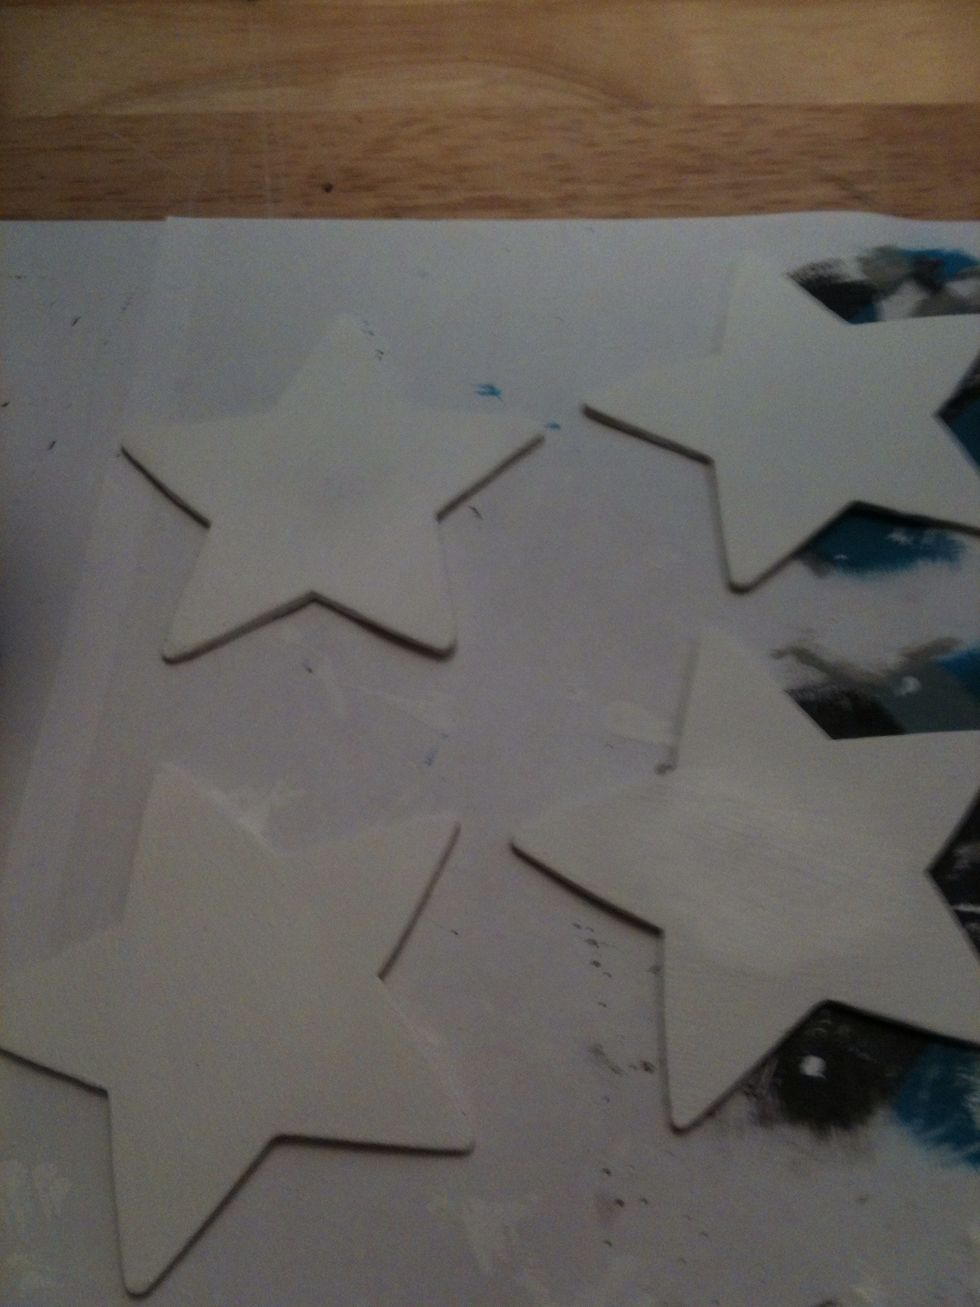
Paint the stars using your last color with the sponge brush.
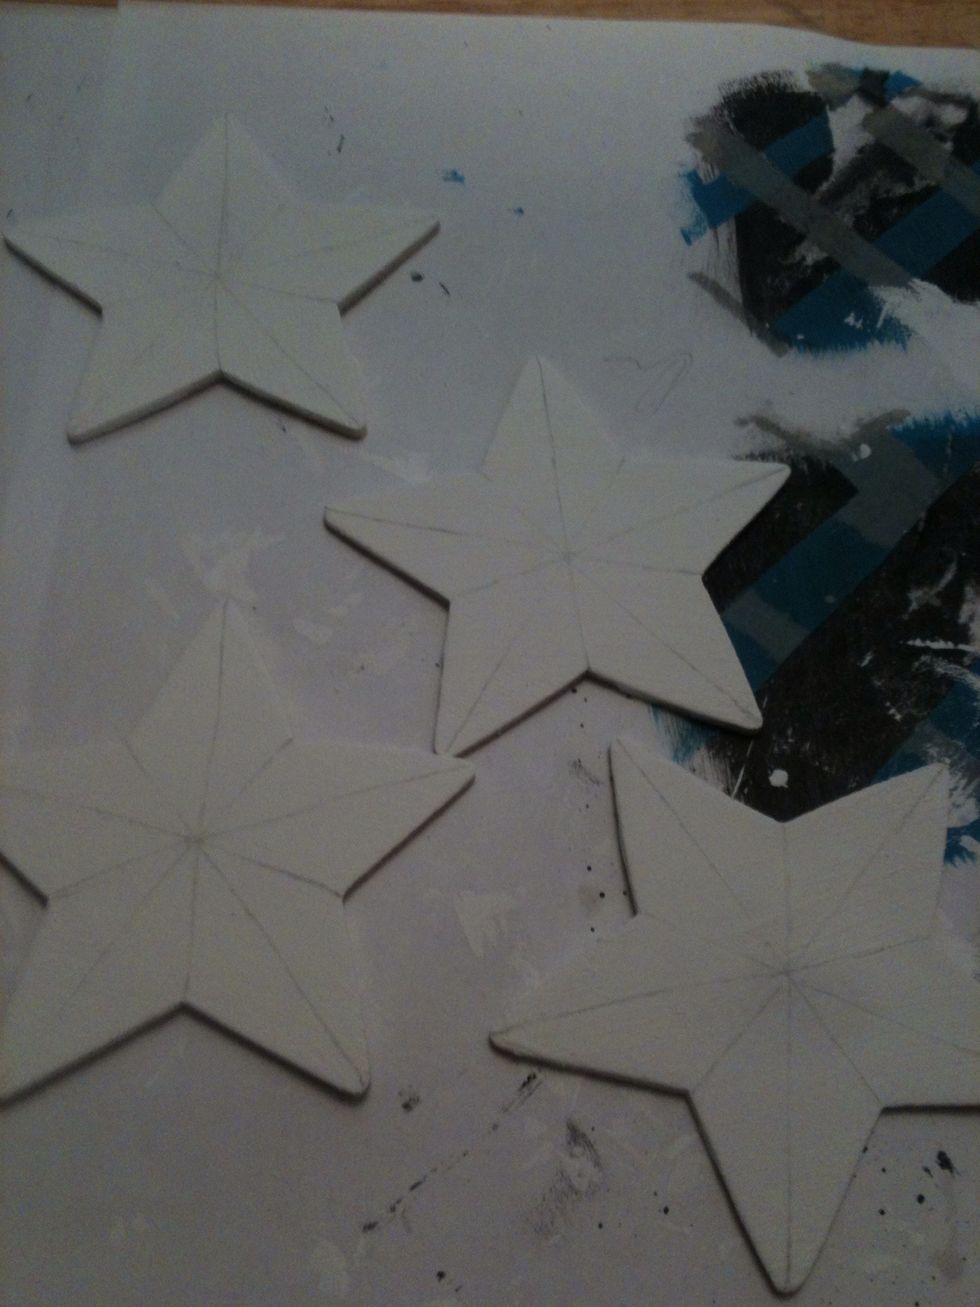
After they've dried, use the sharpie (or any writing utensil) and outline the pattern to make it a nautical star.
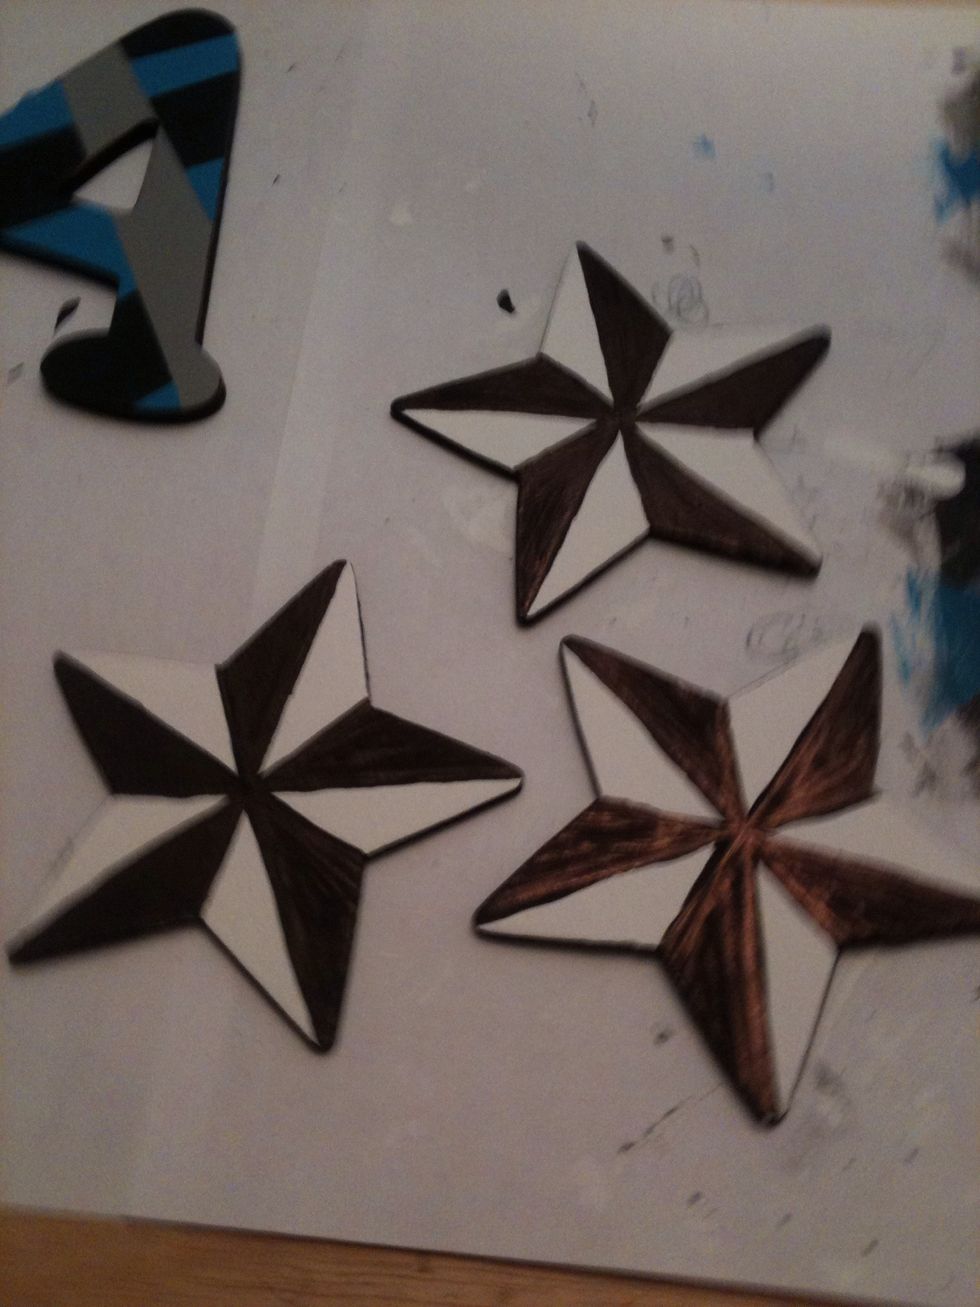
Ok now you want to use the fine paintbrushes. Paint in the pattern. Don't forget to paint the sides of these also.
Here I painted the shelf all white since it was old and had markings all over it.
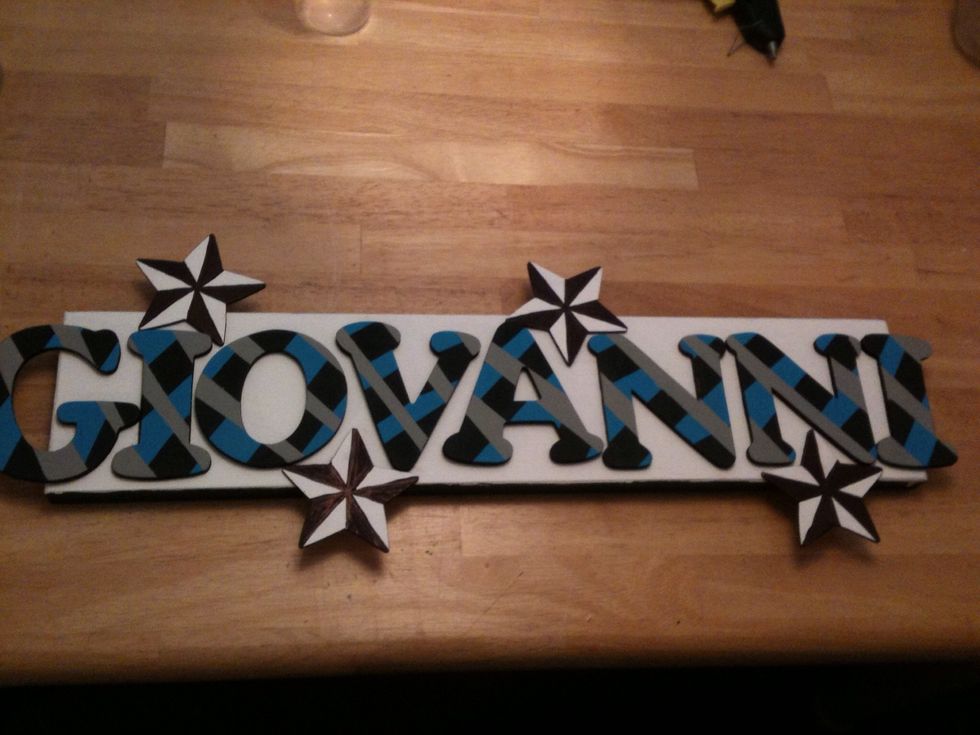
Using the hot glue gun, carefully glue the letters and stars to your board. :)
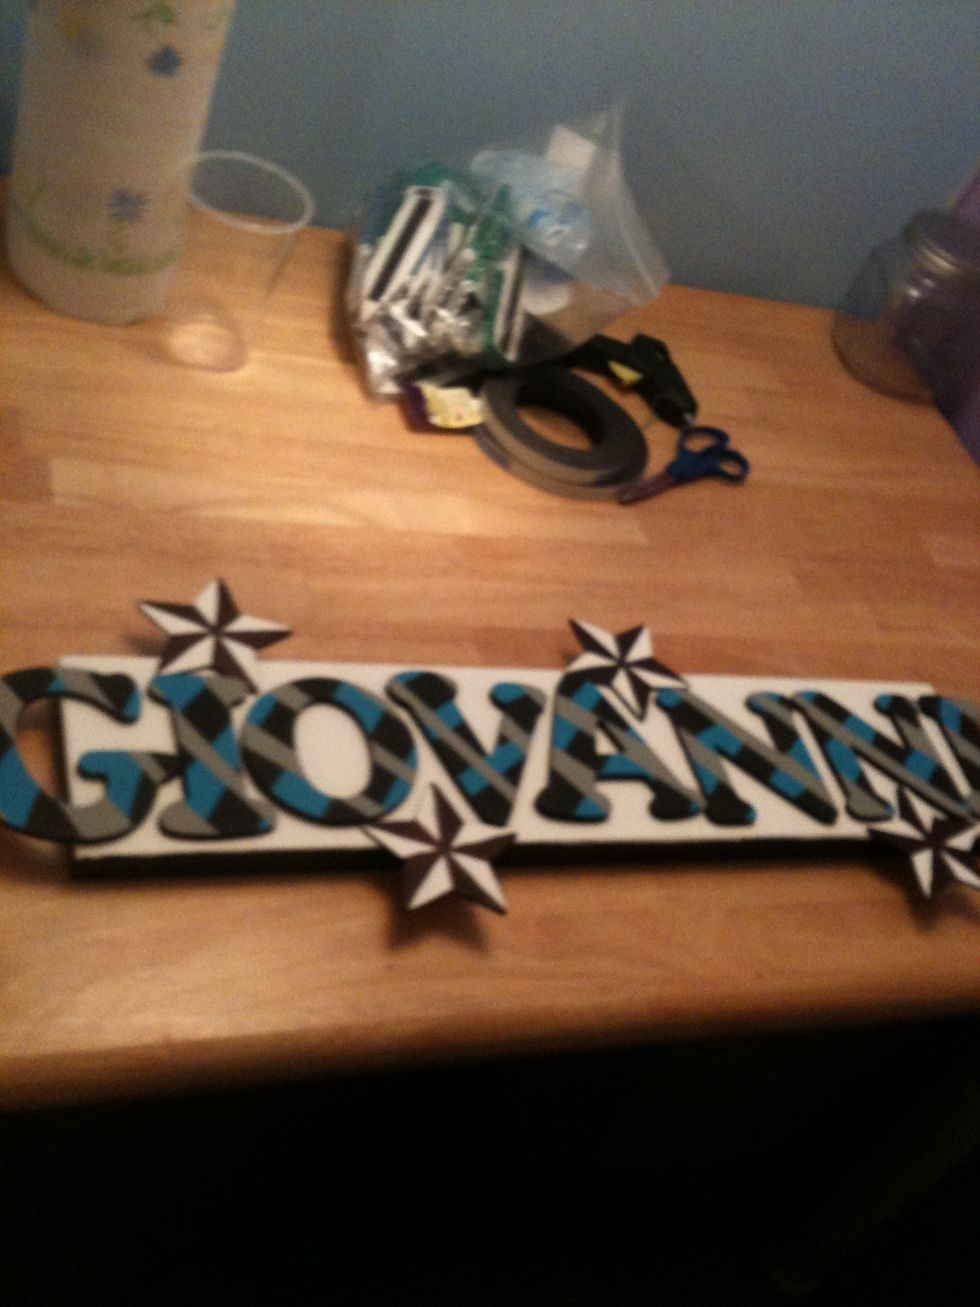
All Done! Now you just gotta put it on the wall :) This is going in my son's nursery above his crib.
Thanks for viewing my guide. :) Hope you liked it :)