The Conversation (0)
Sign Up

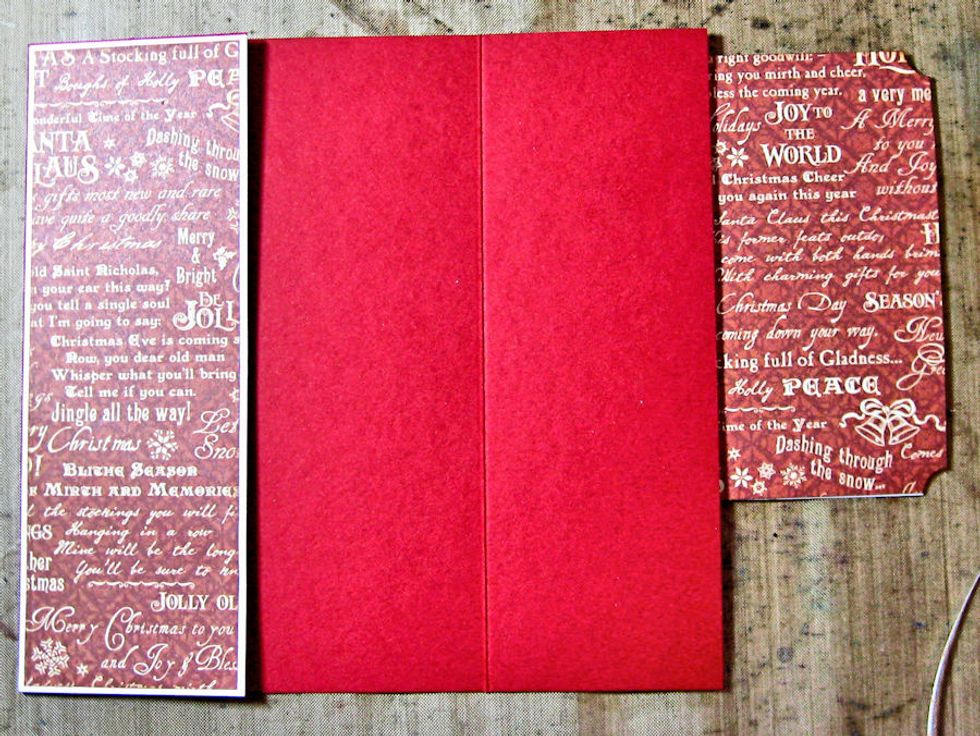
Cut a 10" wide x 7" tall rectangle from red cardstock. YES...the photo is wrong. It should say 10" x 7" Oops!
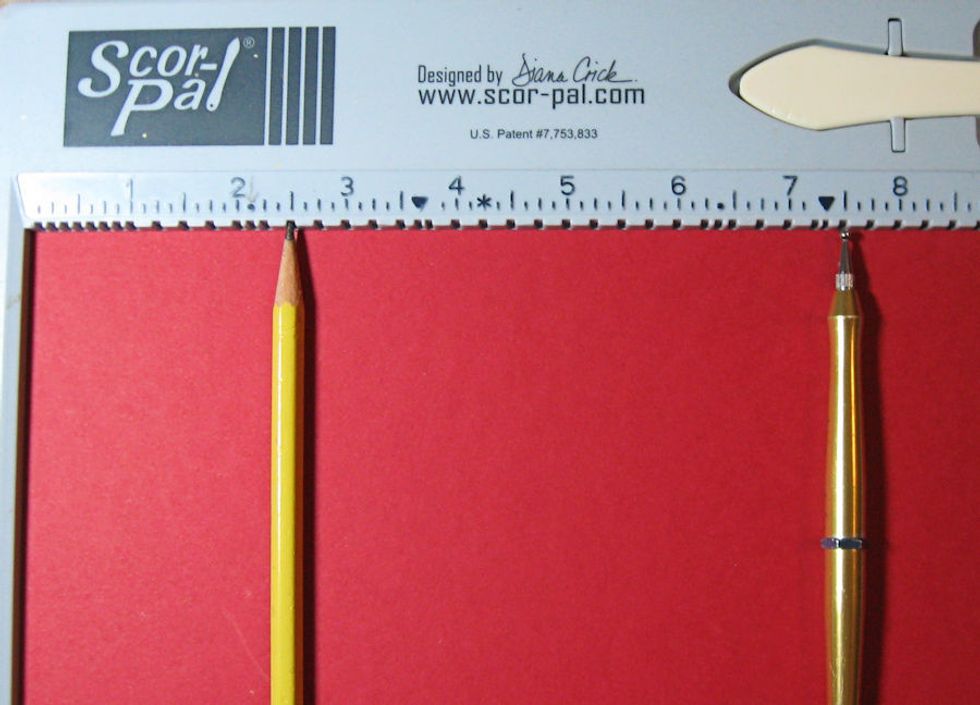
Place the long side of the rectangle on scoring tool. Score a 2.5" and again at 7.5".
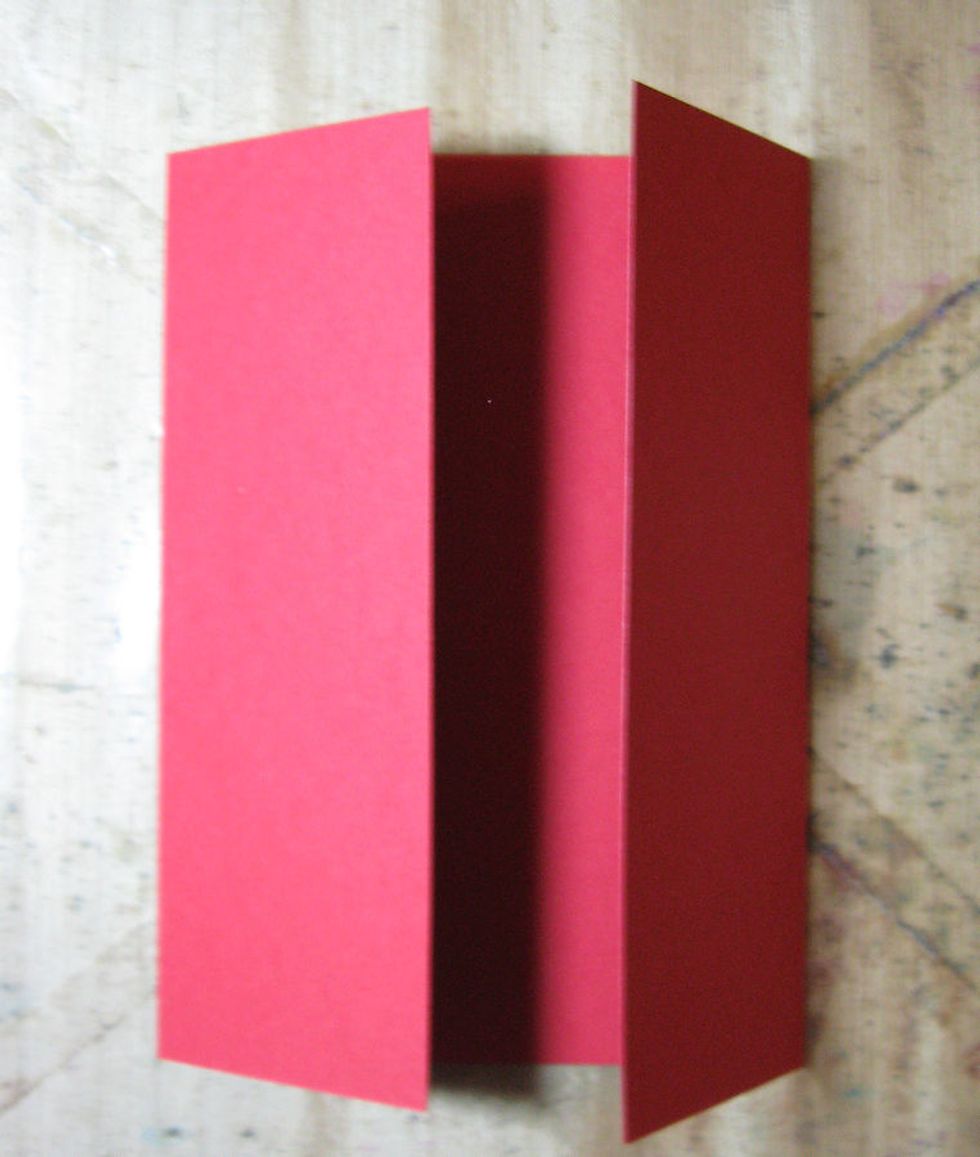
Fold the scored lines in toward the center of the card, as seen here. Crease well with a bone folder. This is our gatefold card base.
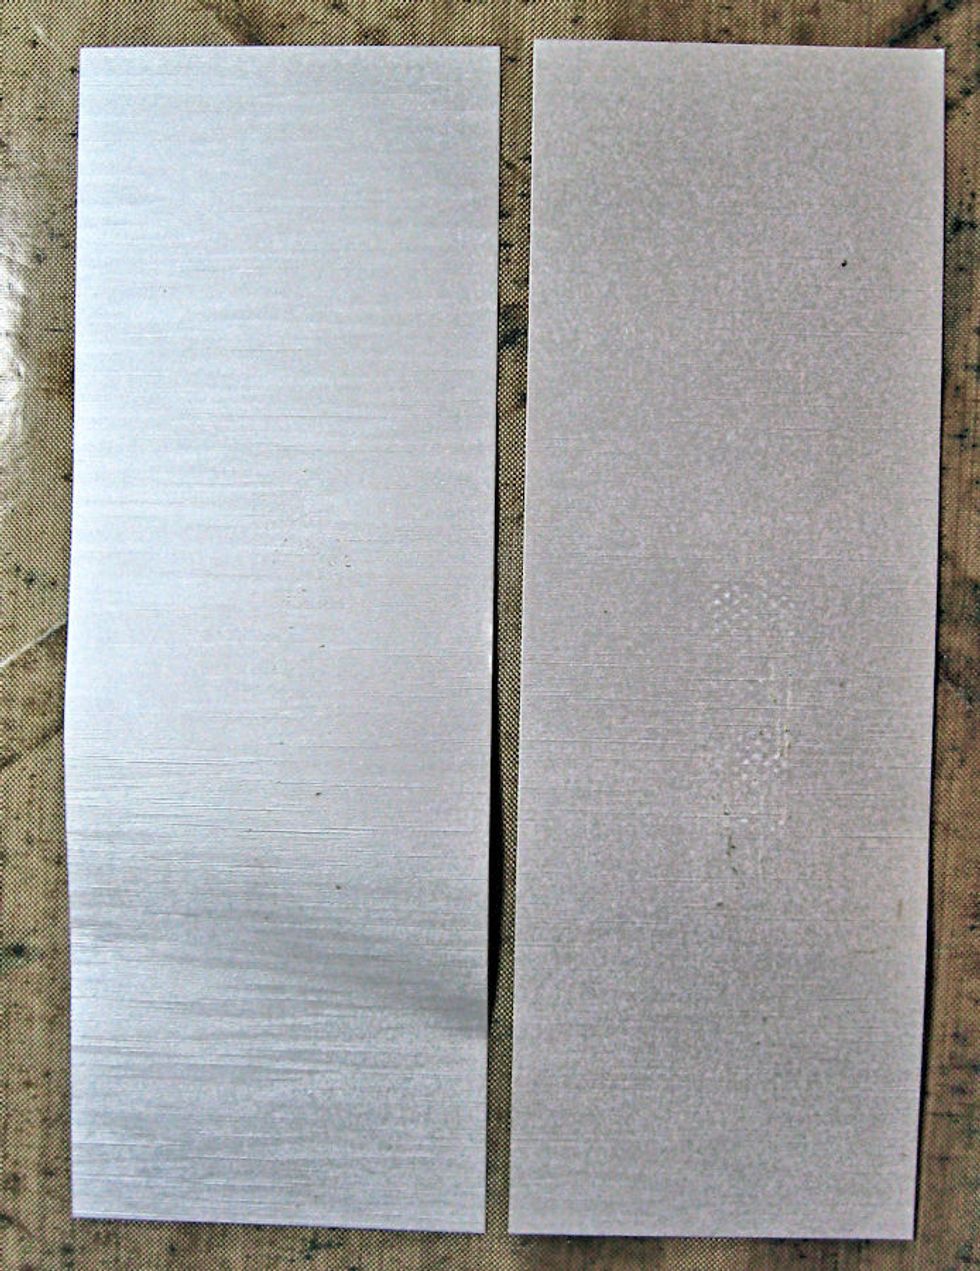
Cut a 4 7/8" x 67/8" rectangle from brushed silver metallic cardstock. Cut in half from top to bottom to create two long rectangles that will be the mat for the card front. Don't glue yet!
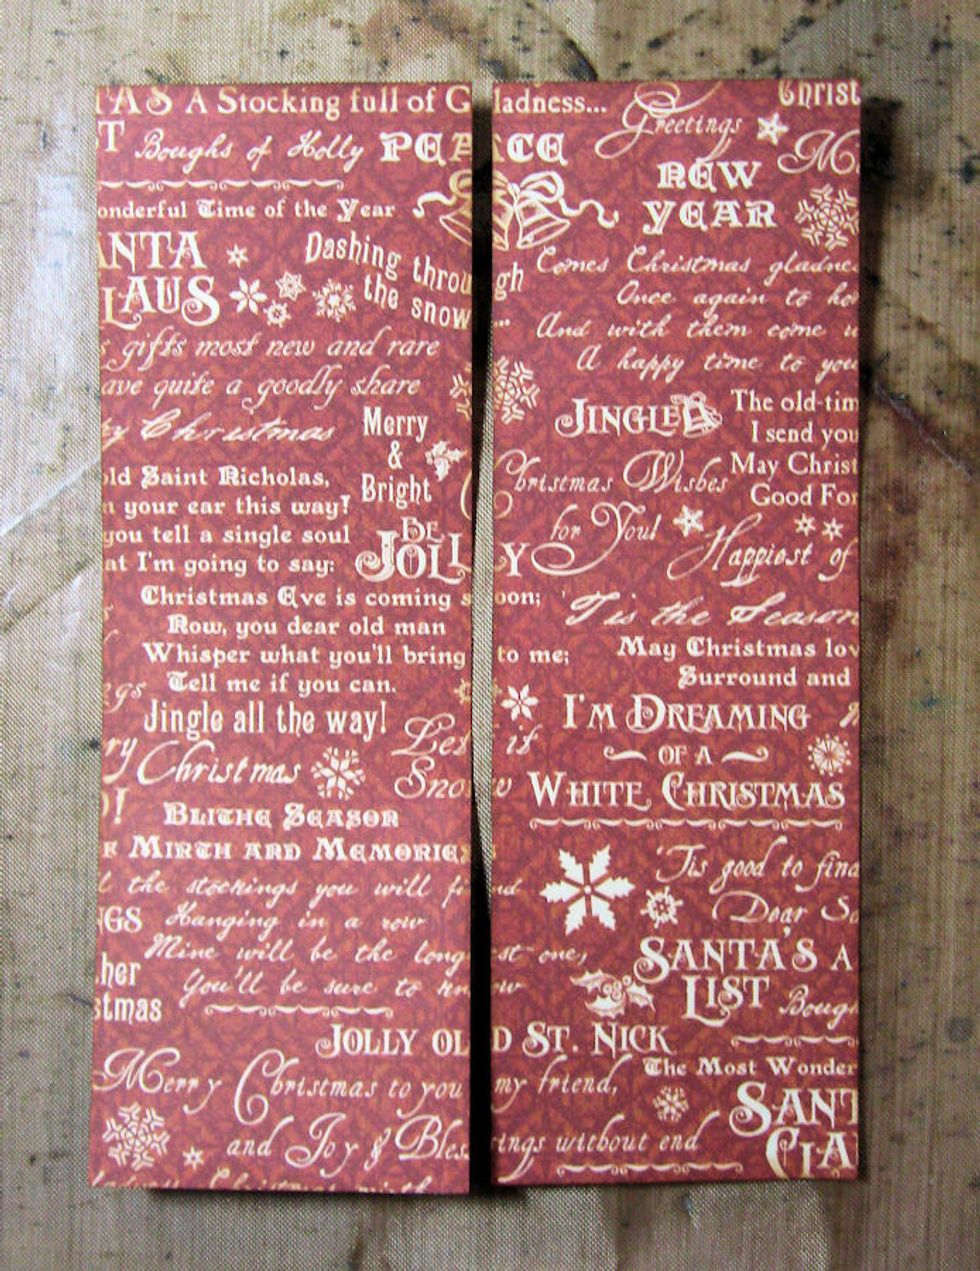
Cut a 4 5/8" x 6 5/8" rectangle from Kris Kringle paper. Cut down the middle to create two long rectangles. These will be matted on the silver cardstock layer. I always ink all my cut edges.
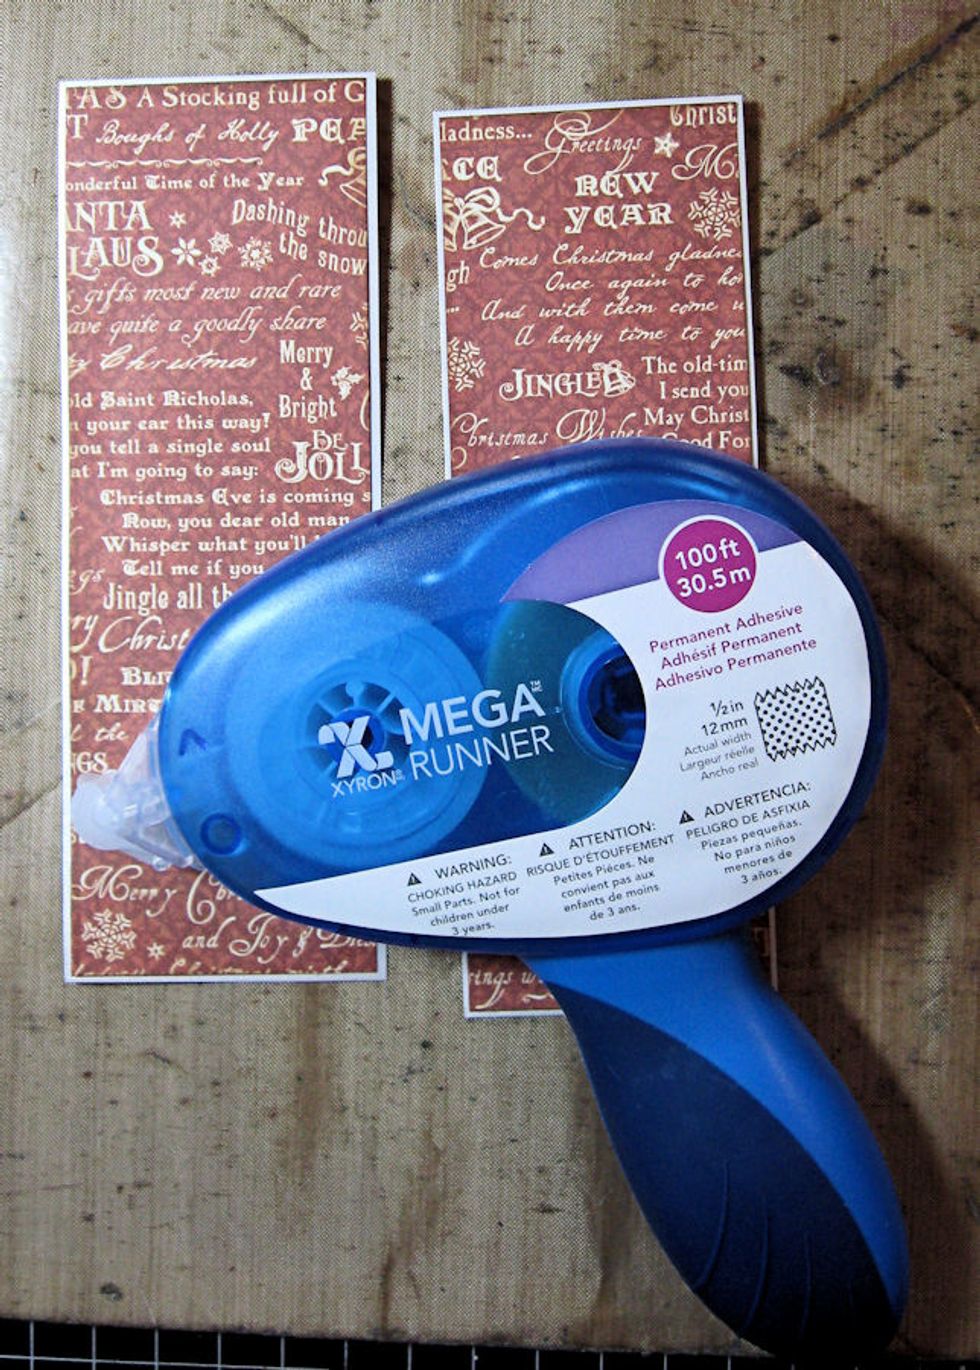
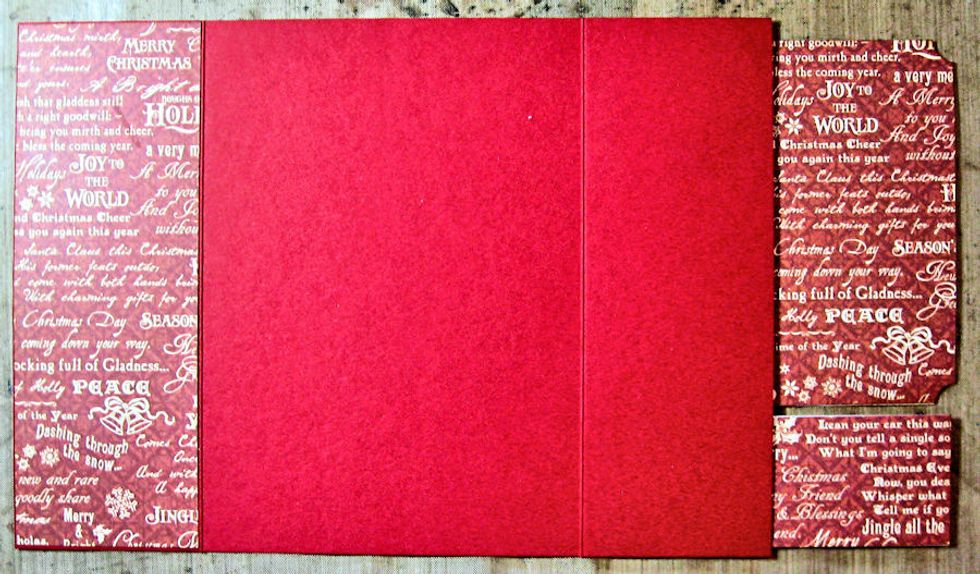
Use Xyron Mega Runner to mat the red layer onto the silver layer.

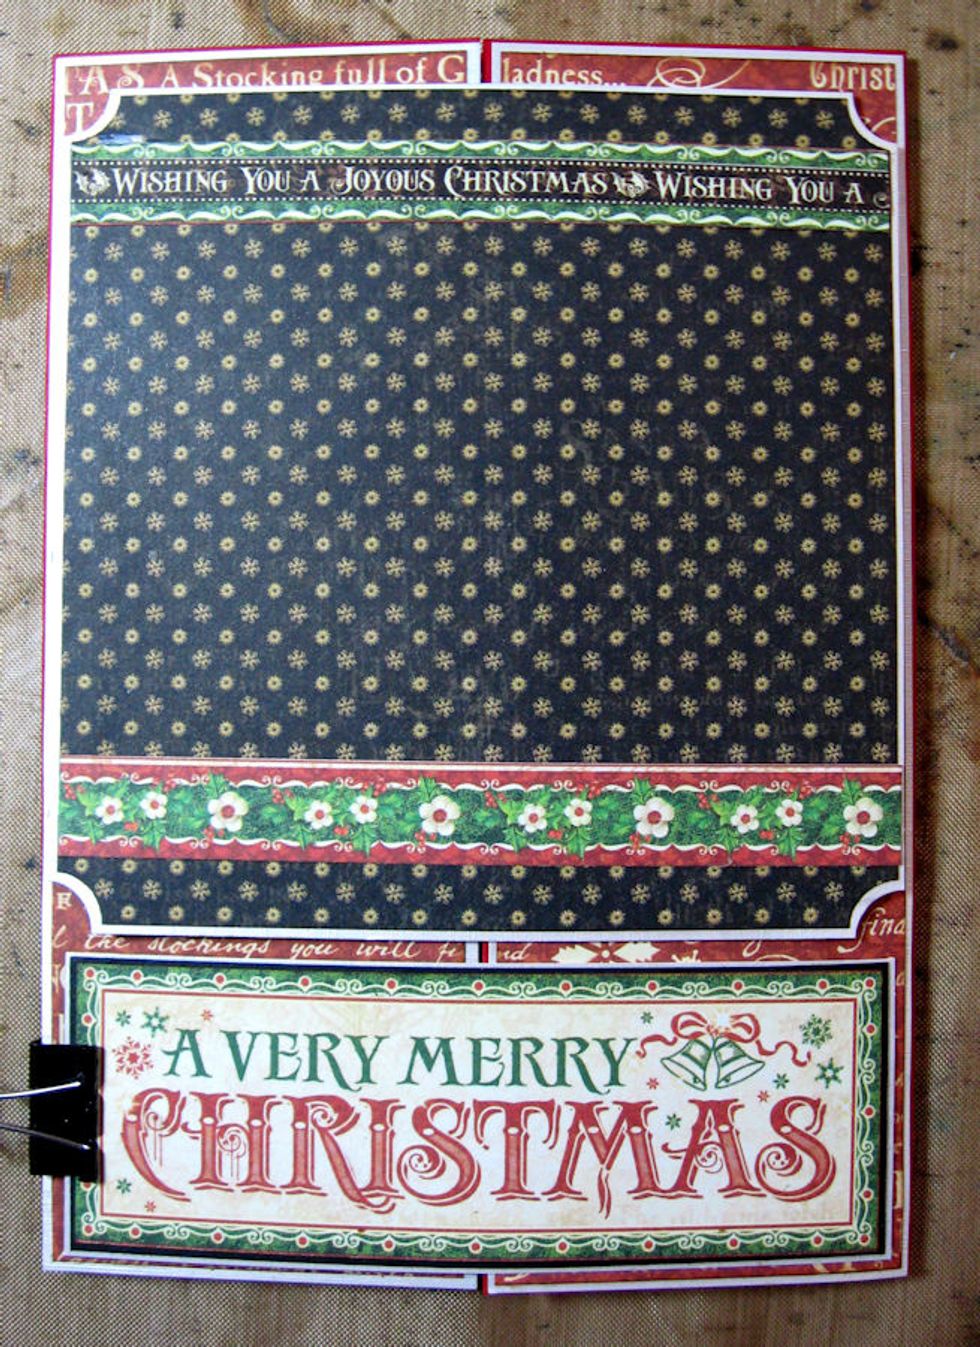
Then mat these layers onto each side of the gatefold card base. See how I kept the text in line on the red pattern? This gives your card a more finished, professional look.
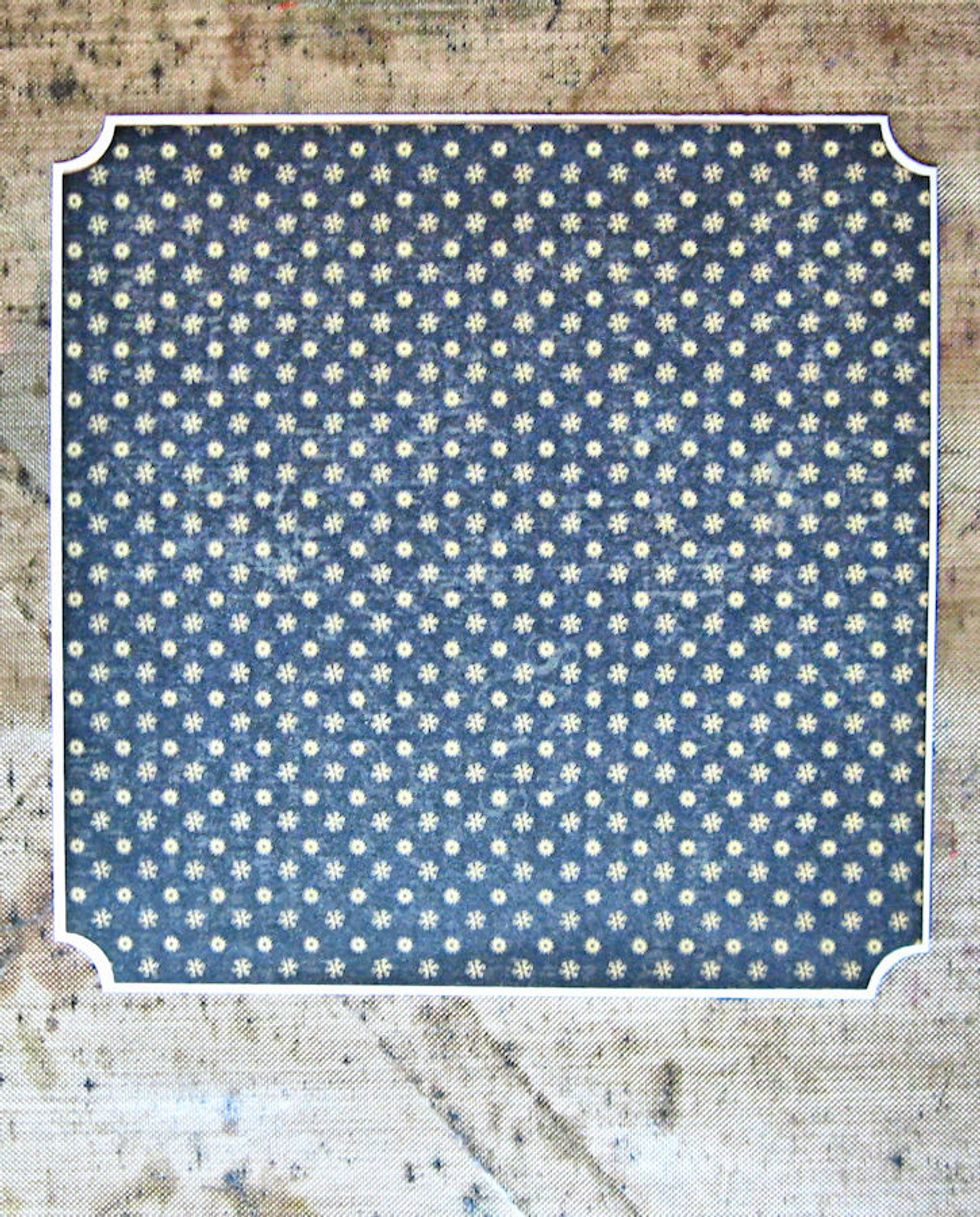
Cut a 4 5/8" square of the black print from the reverse side of Season's Greetings. Shape corners with ticket stub punch. Mat on a slightly larger square of silver cardstock. Shape corners w/punch.

Flip the square over and add waste chipboard to the left hand side. Cut Kris Kringle paper to cover the right. This will be the medallion for our gate fold front.

Glue ONLY the waste chipboard side of medallion to card front as seen here. This will be on the RIGHT hand side of your card. The left needs to be free to open. Now we will work on the card interior.
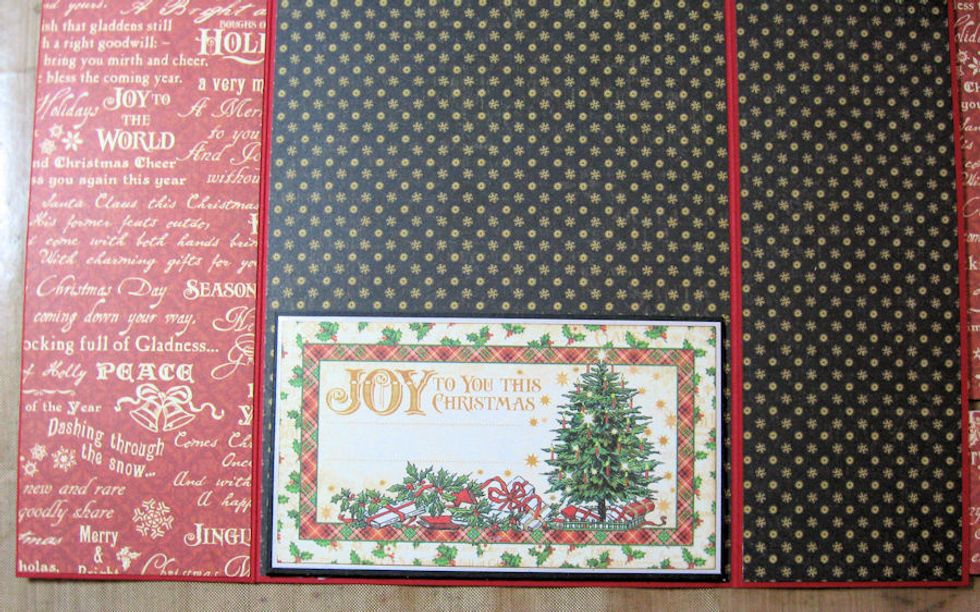
It's easier to design the interior before front is decorated so card can lay flat. Cut a 2.25" x 6.75" panel of Kris Kringle paper. Mat on slightly larger panel of silver. Glue on left flap.
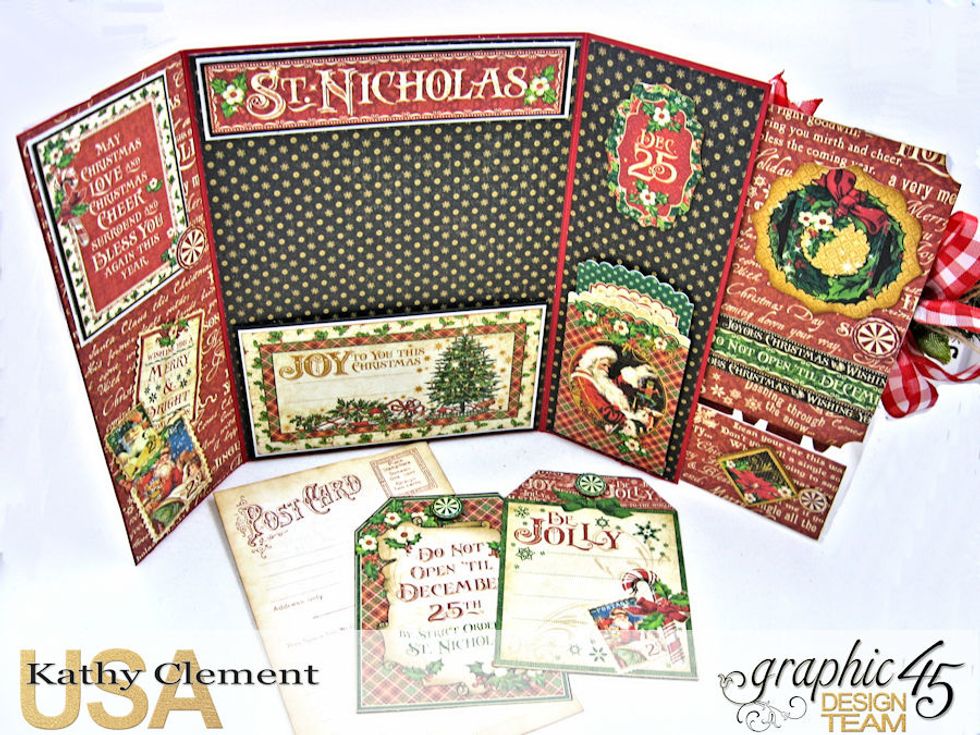
Now we will decorate the center panel. We will begin by building the pocket for the center panel.
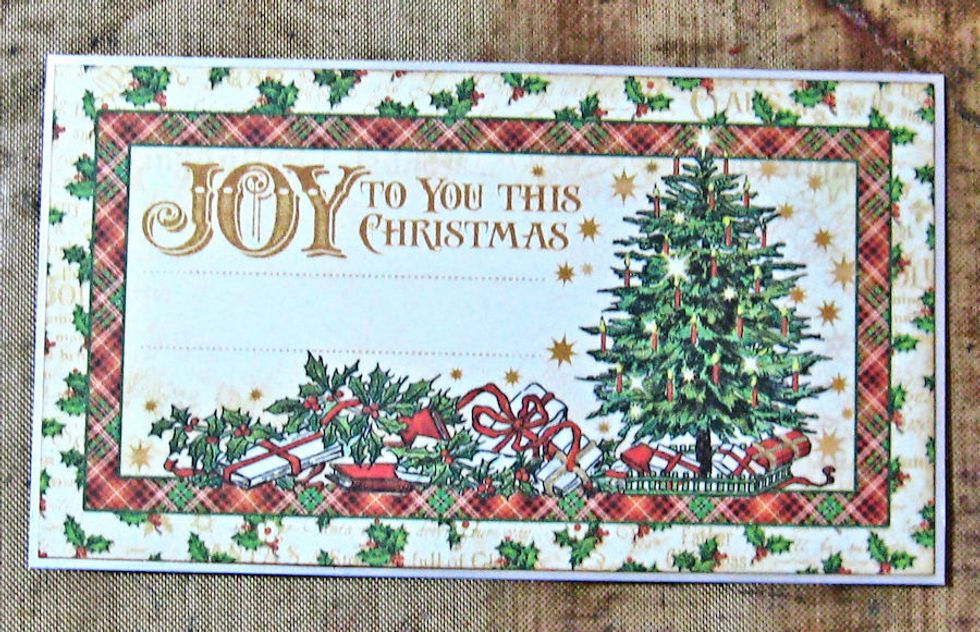
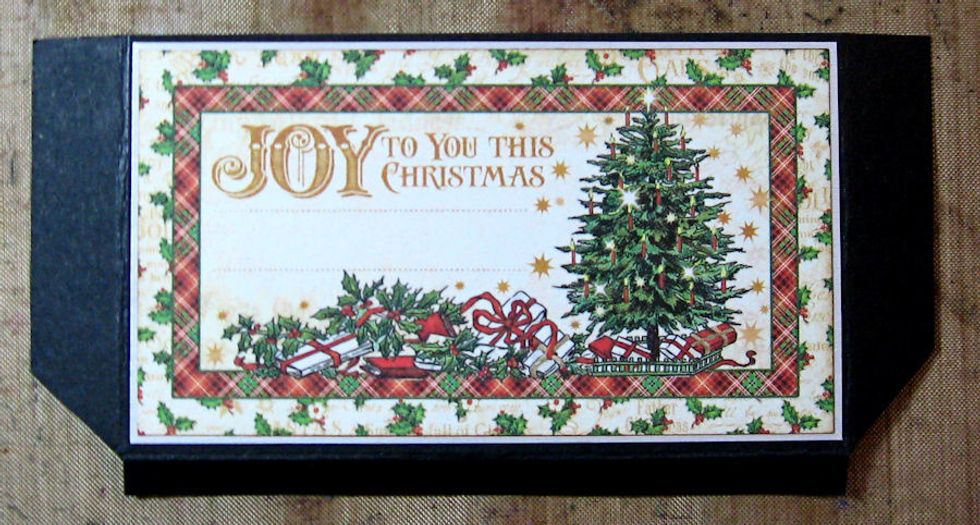
Cut this sentiment from Season's Greetings. Mat on silver CS.

Cut a 6" wide x 3" high rectangle of black cardstock. Mat sentiment so that there is a 1/8" border on top and the image is centered with a 1/2" border on either side. The bottom border is .25".
Using a scoring tool, score 1/8" from both sides and the bottom of the image. Crease with a bone folder. Bevel the edges to form a pocket.
Line the center panel with the black dot pattern. Glue sides and base of pocket at the base of the center panel. Line the panel on the right with the same paper.
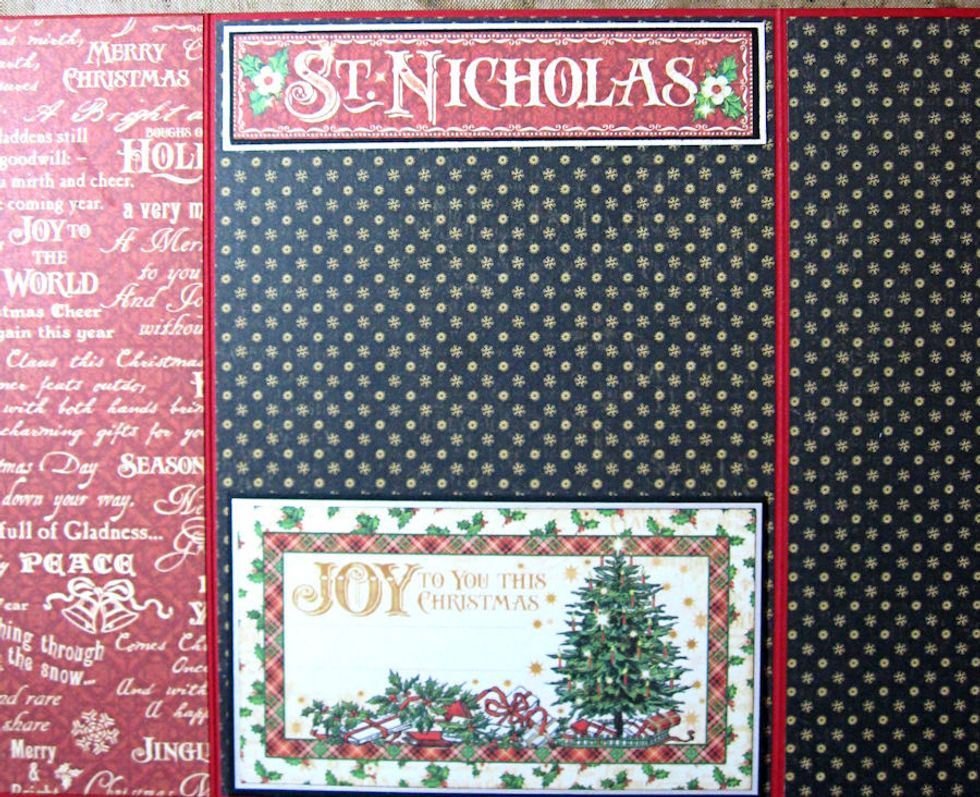
Mat the St. Nicholas sentiment on black and silver cardstock. Glue in place as seen here.
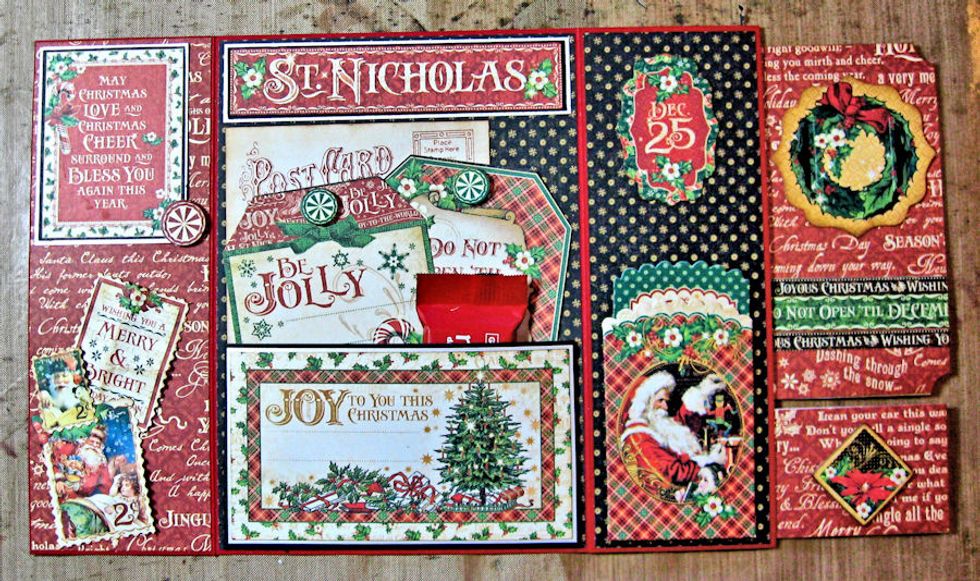
Cut tags from Season's Greetings and trim an ephemera post card to fit in the pocket. Decorate with Banner Pieces, Chipboard and Tags and Pockets. NOTE: Card will not close with chocolate in pocket.
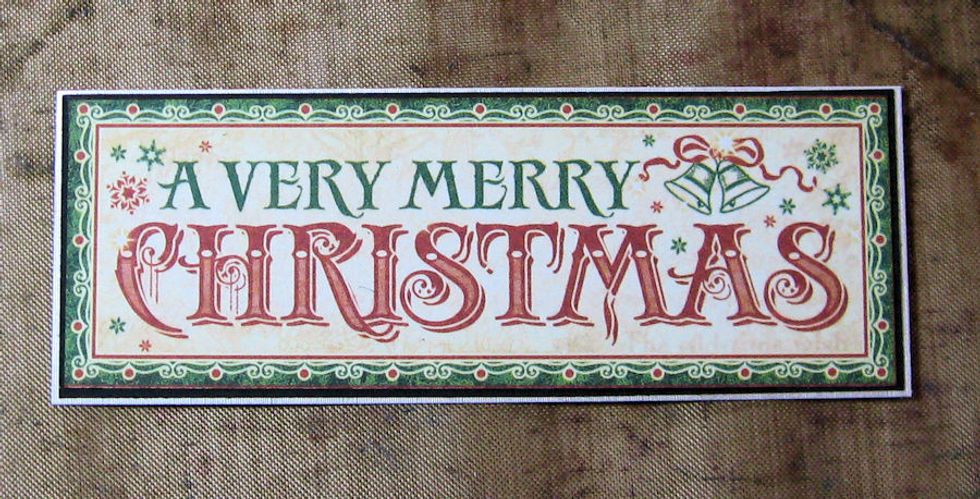
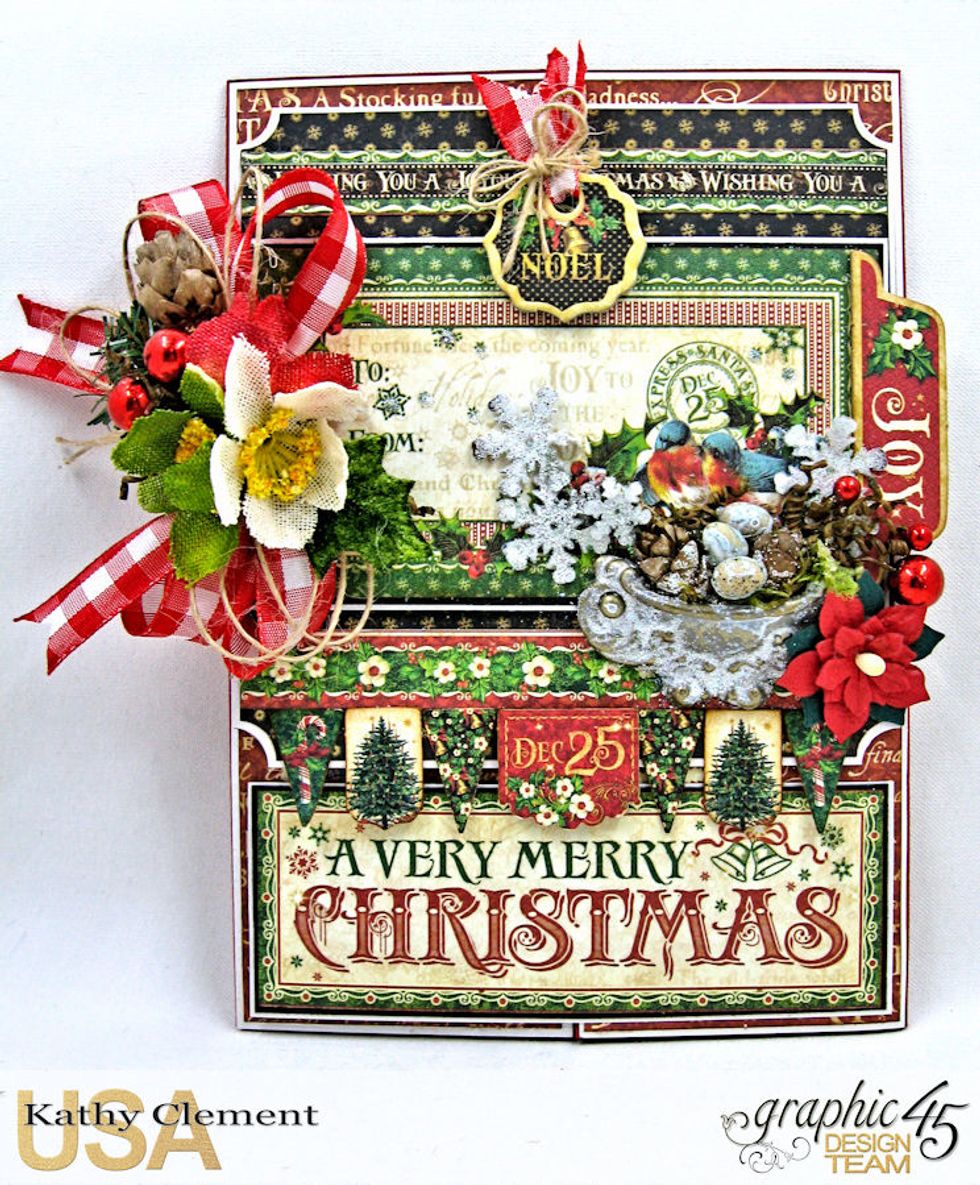
Now we will finish the front of the card. Cut sentiment from 12x12 Season's Greetings. Mat on black, then on silver cardstock.
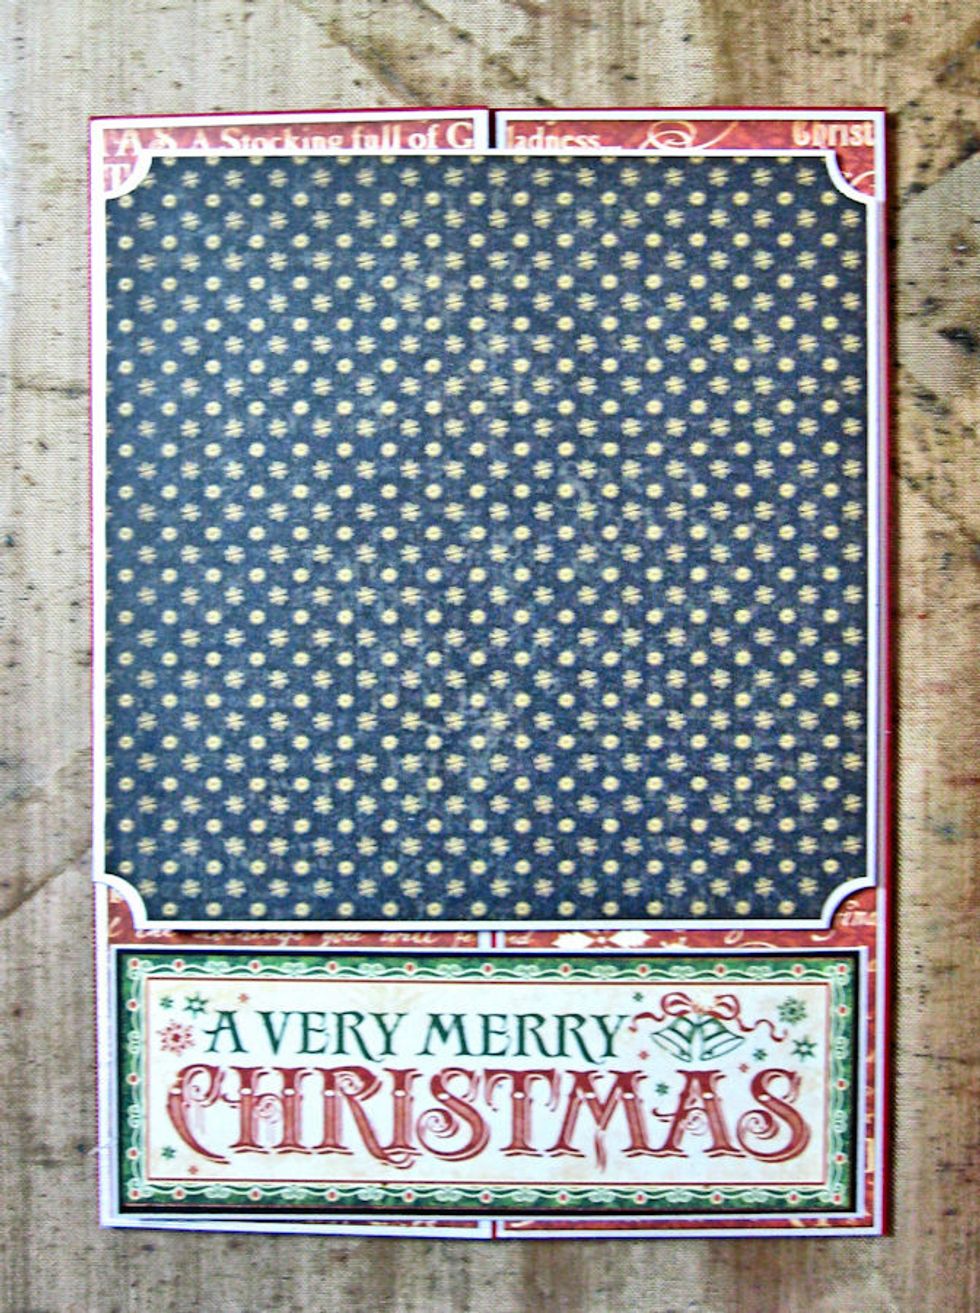
Glue ONLY the right hand side of the sentiment to the right hand of the gate. Line the back with Kris Kringle paper for a finished look.
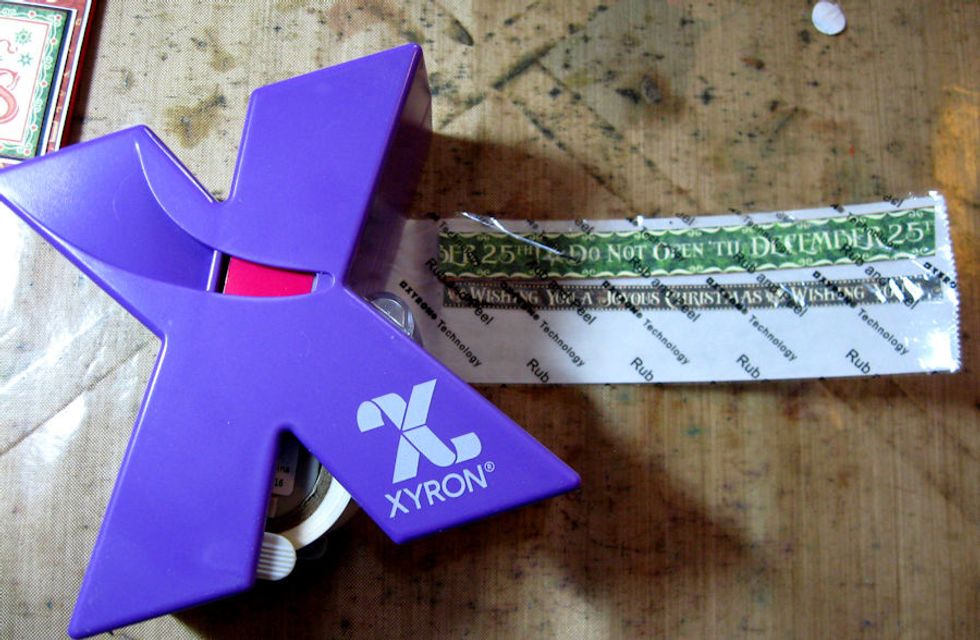
Run border strips through Xyron 1.5" sticker machine to add adhesive.
Attach the black sentiment border on top of the green sentiment border and attach to top of the medallion as seen here. Add floral border strip below as seen here.
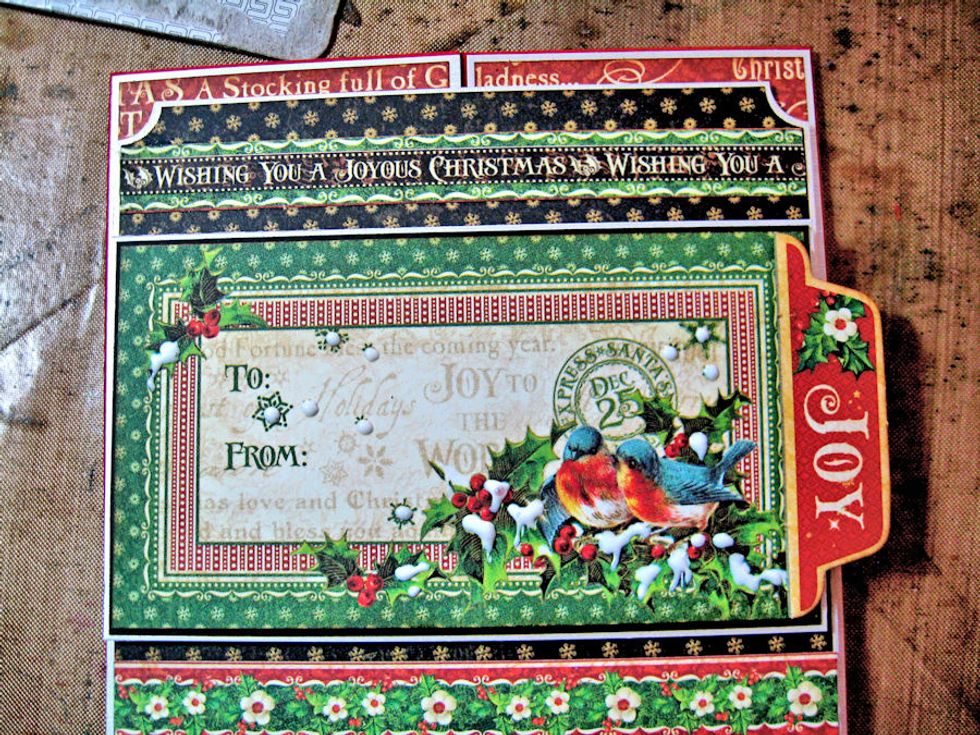
Mat focal image on black and silver cardstock. Glue JOY chip on the right. Glue waste chipboard or foam tabs on back and attach to center of medallion as seen here. Add glue to snowy parts of image
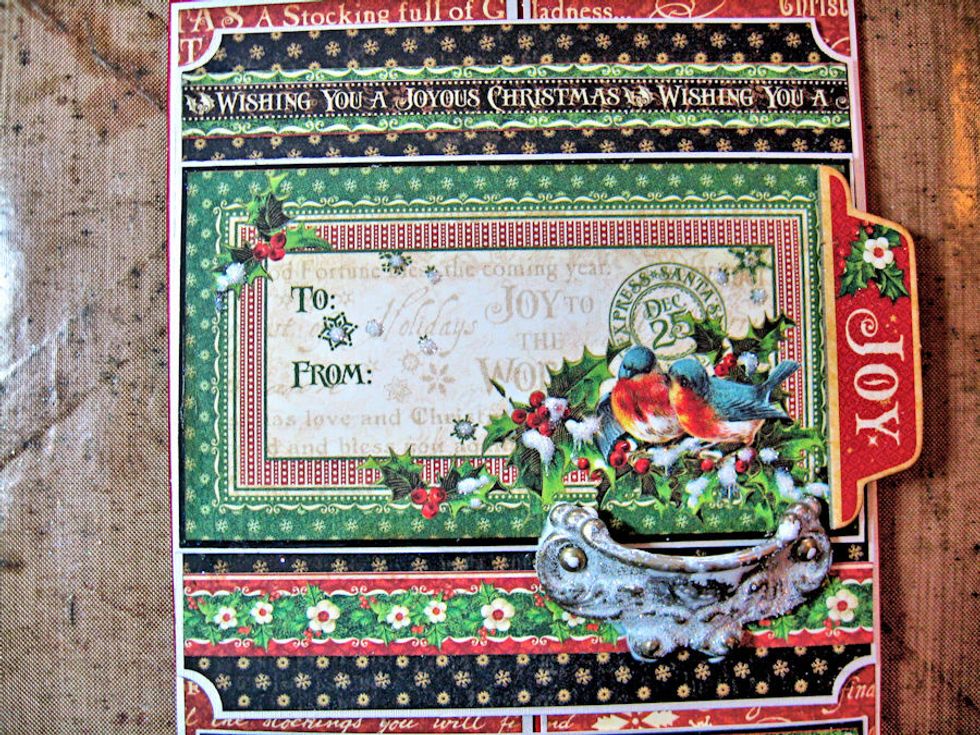
Sprinkle with glitter and tap off. Dry brush white acrylic paint onto Door Pull. Sprinkle with glitter. Attach to the card front, right below the bird image.
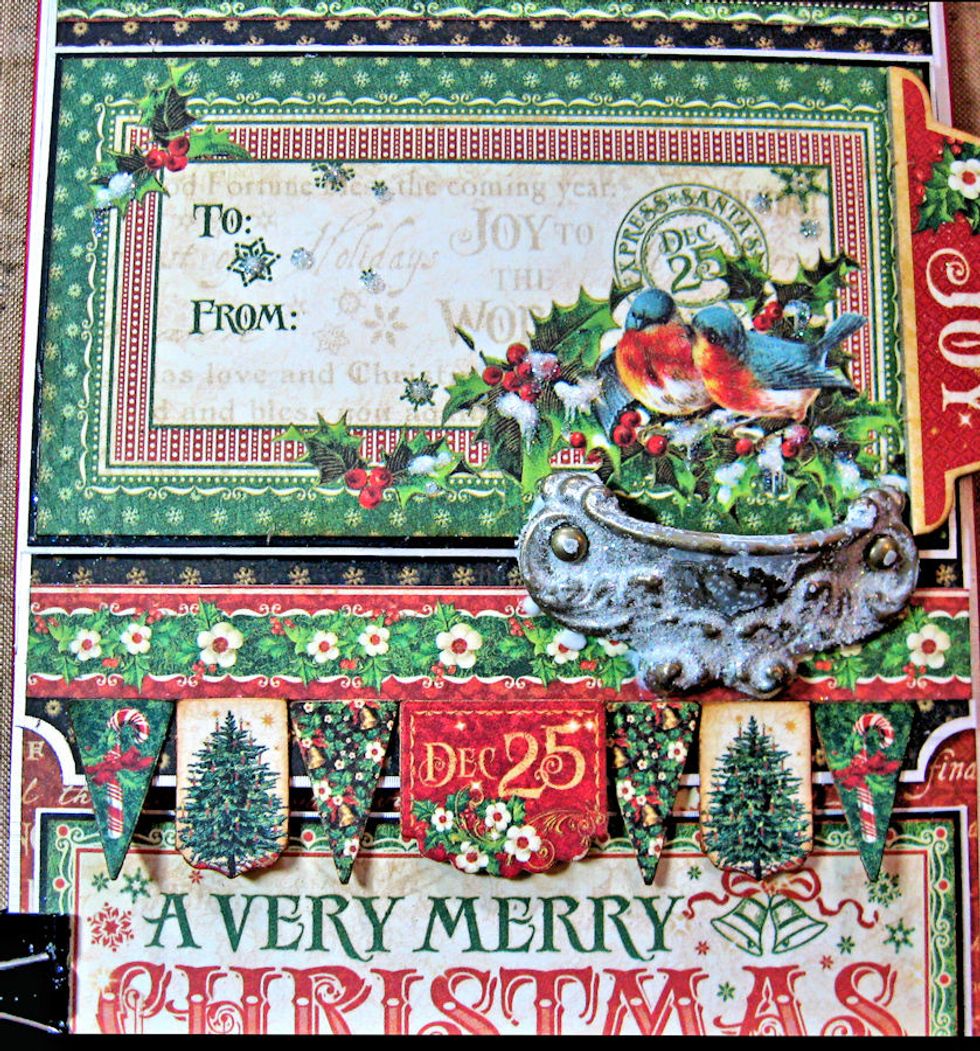
Glue banner pieces along the border.
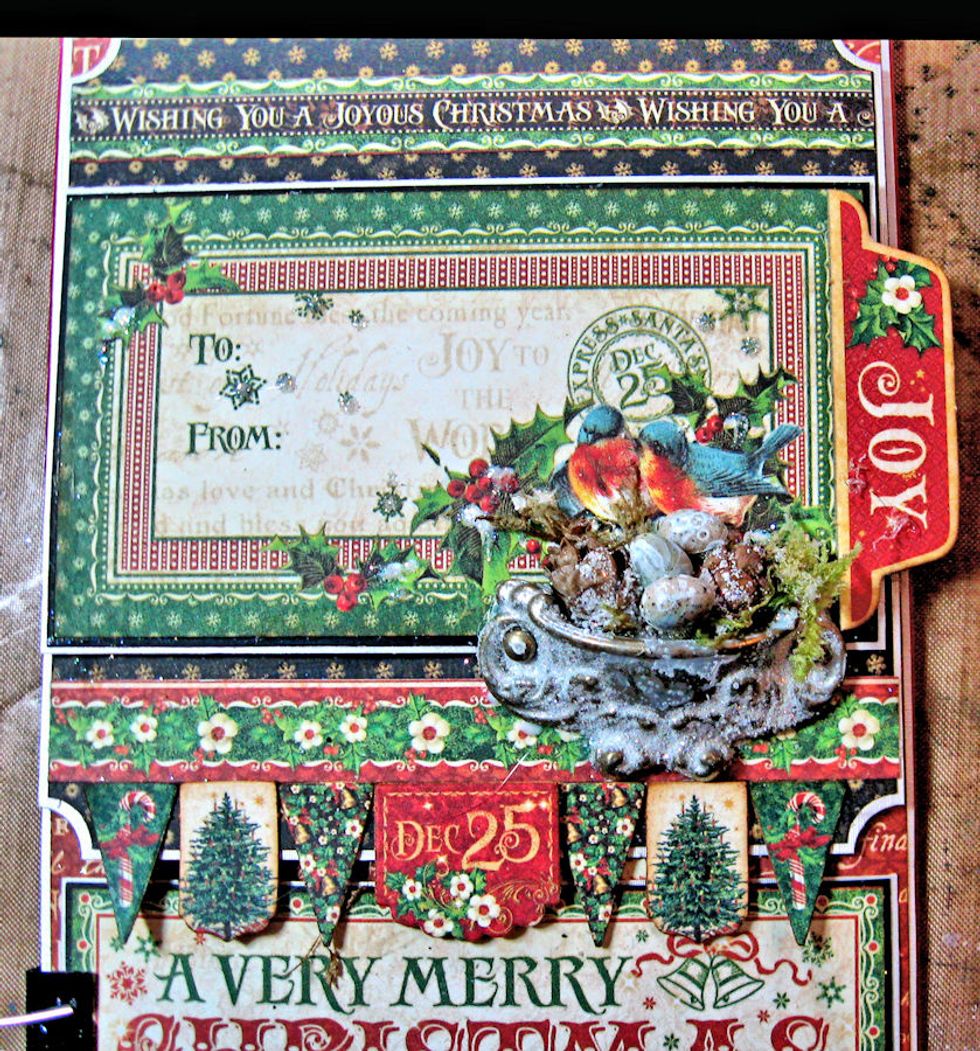
Fill Door Pull with Spanish Moss, and mini eggs, mini pine cones that have been painted and dipped in glitter.
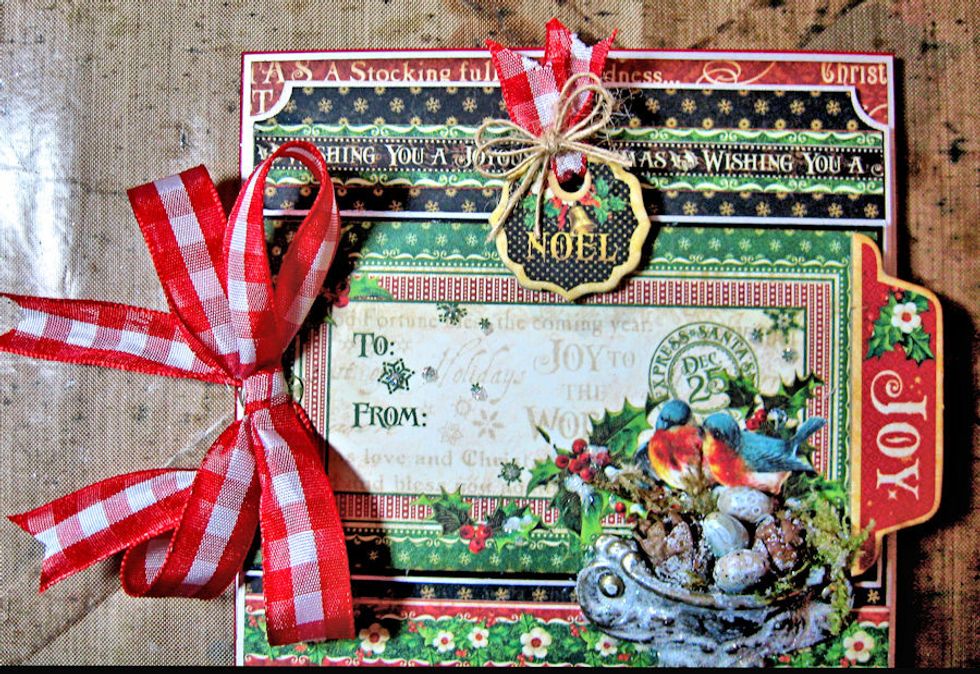
Tie bow on the left and add chipboard piece to the top.
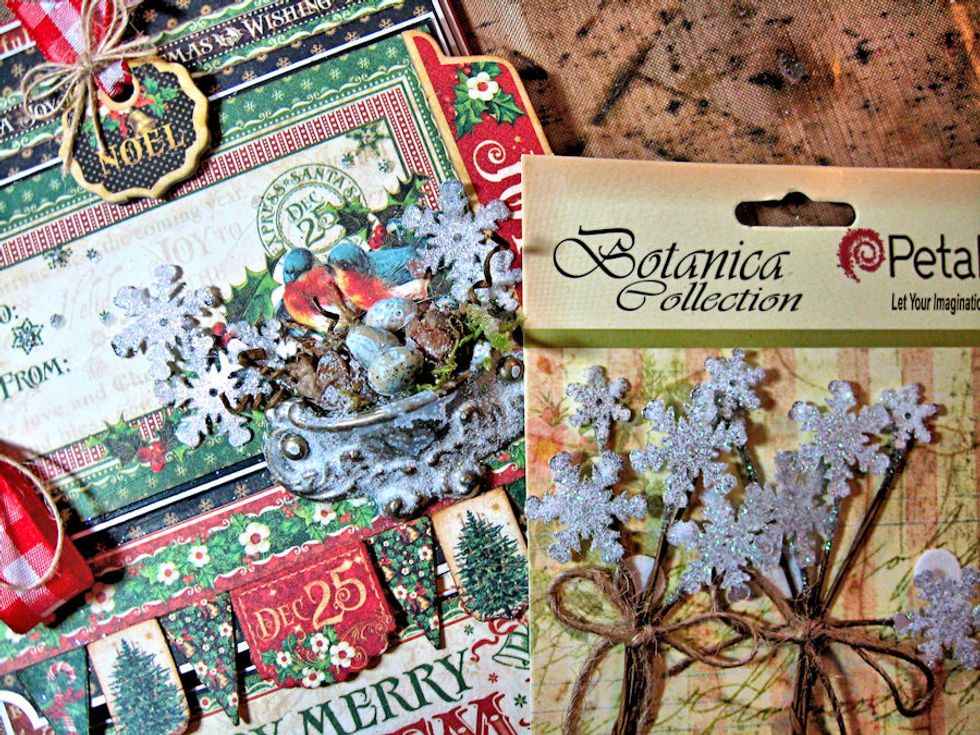
Add Petaloo glitter snowflakes to door pull.
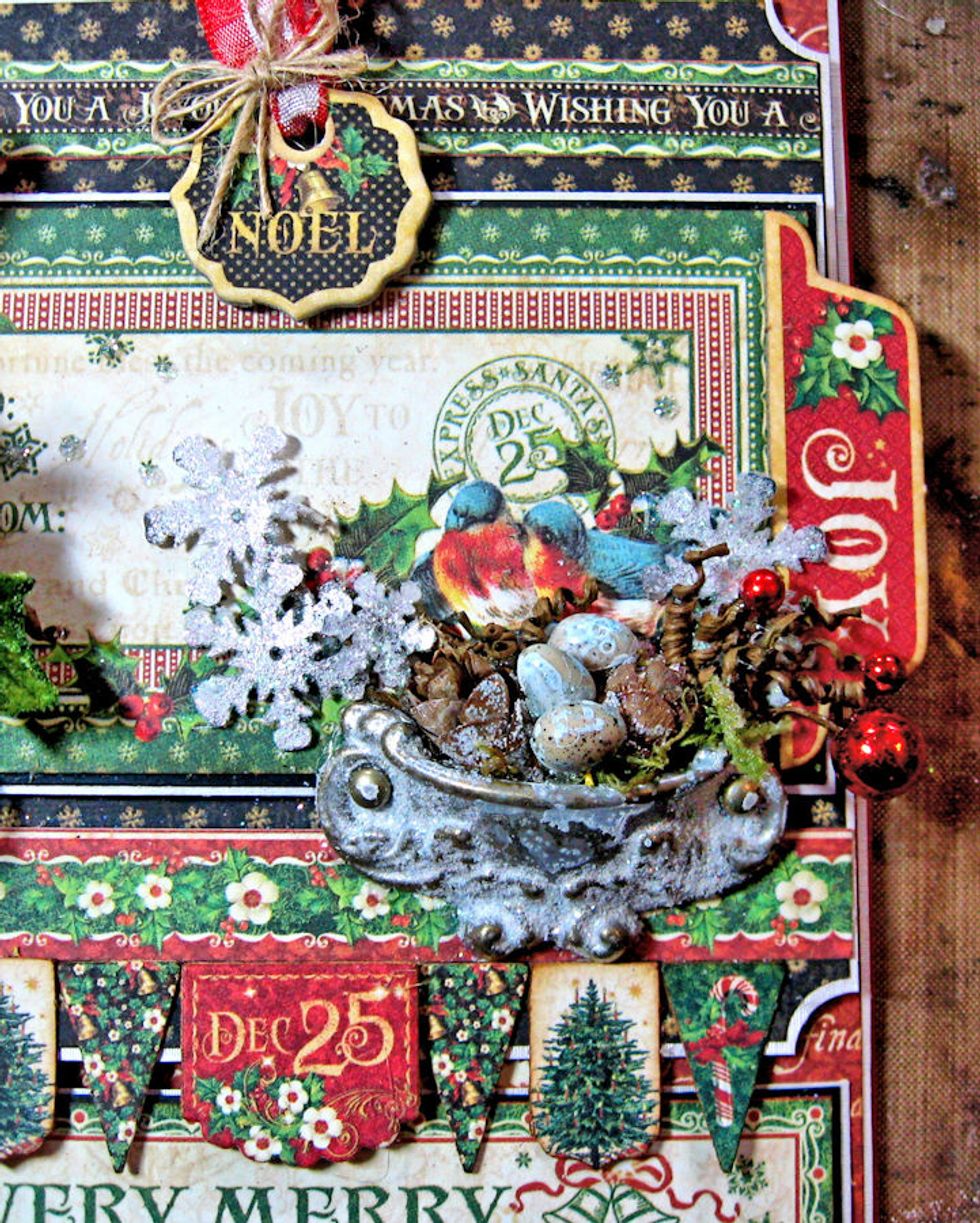
Build arrangement by filling with red berries from pine cone berry picks.
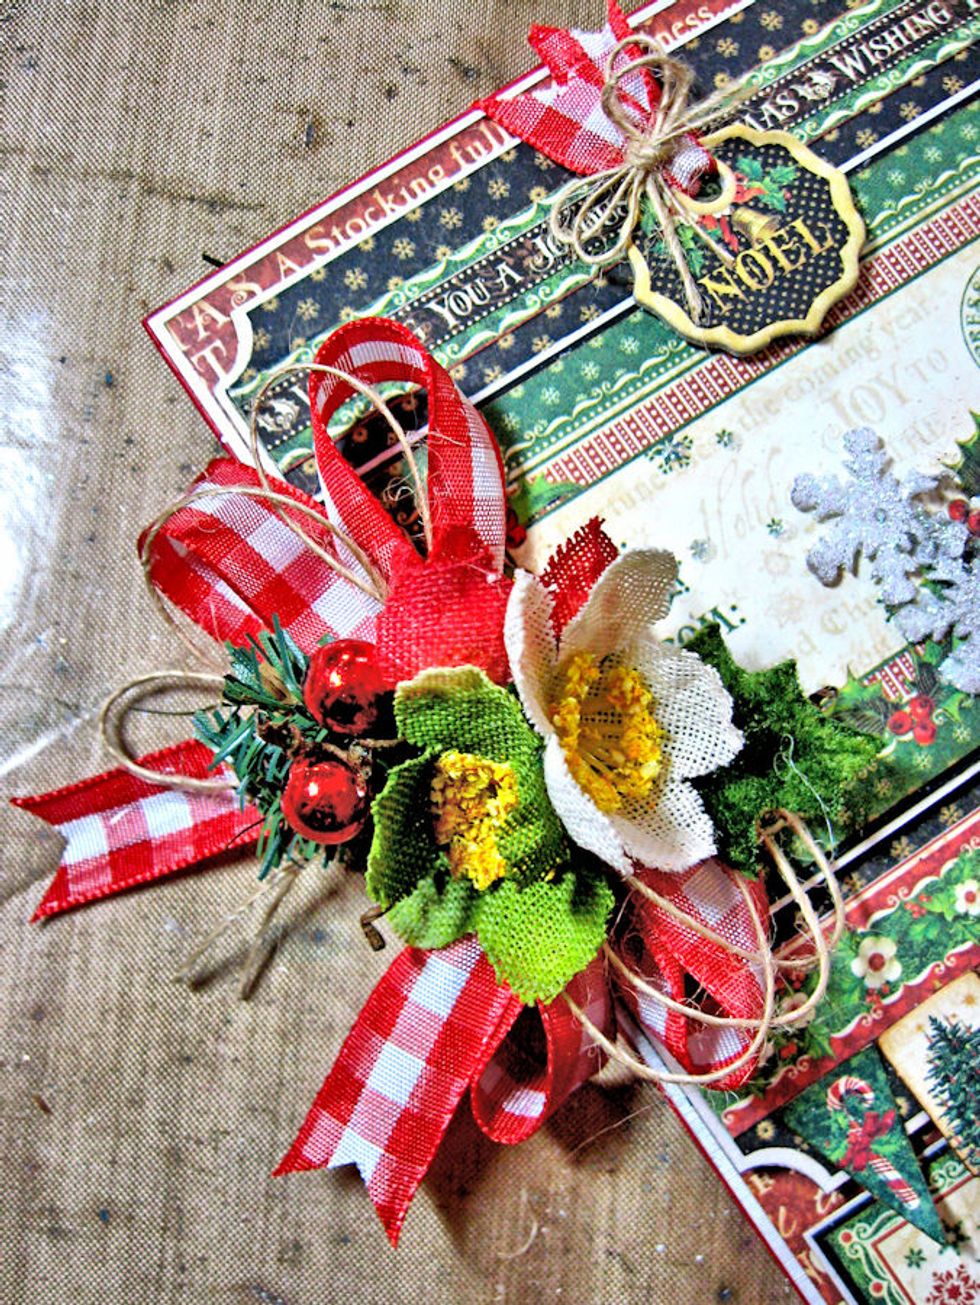
Untie pine cone berry picks and add to bow cluster along with burlap string bow and Petaloo Holiday Canvas Briar Roses.
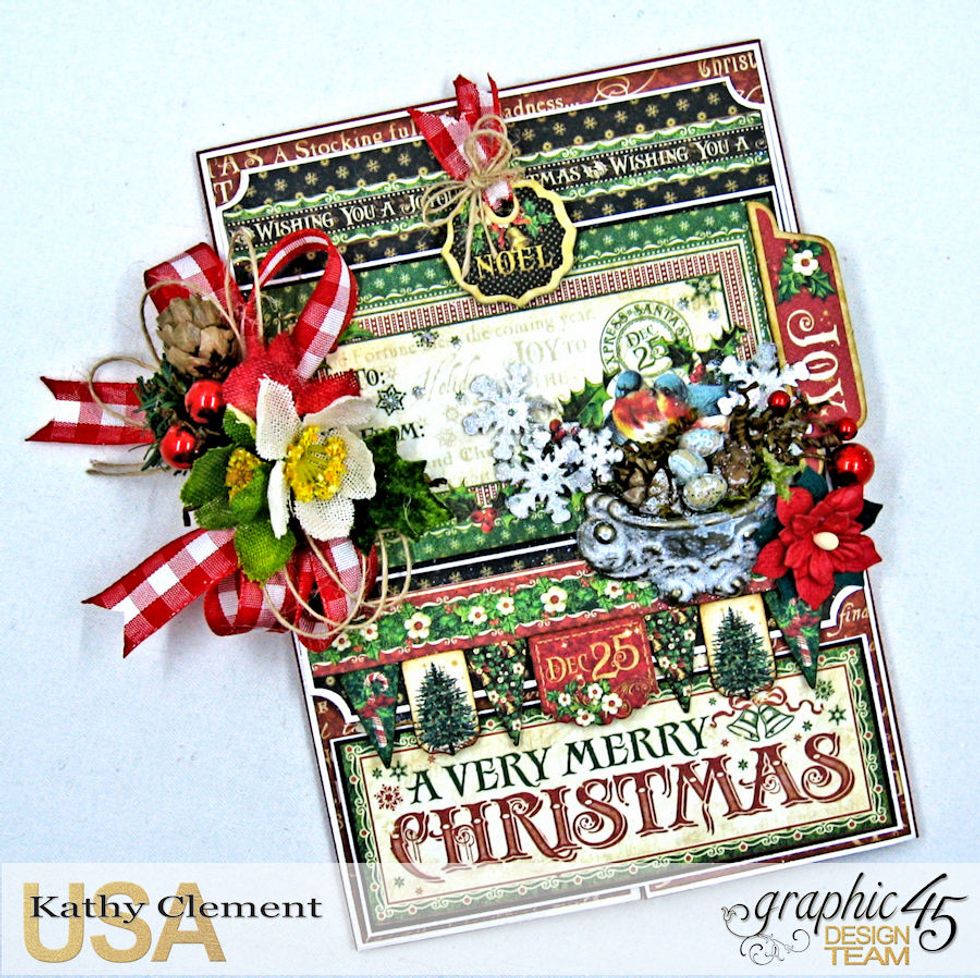
Add finishing touches to card: more berries in door pull and a mini Petaloo Paper Poinsettia at the base. The card is now finished!
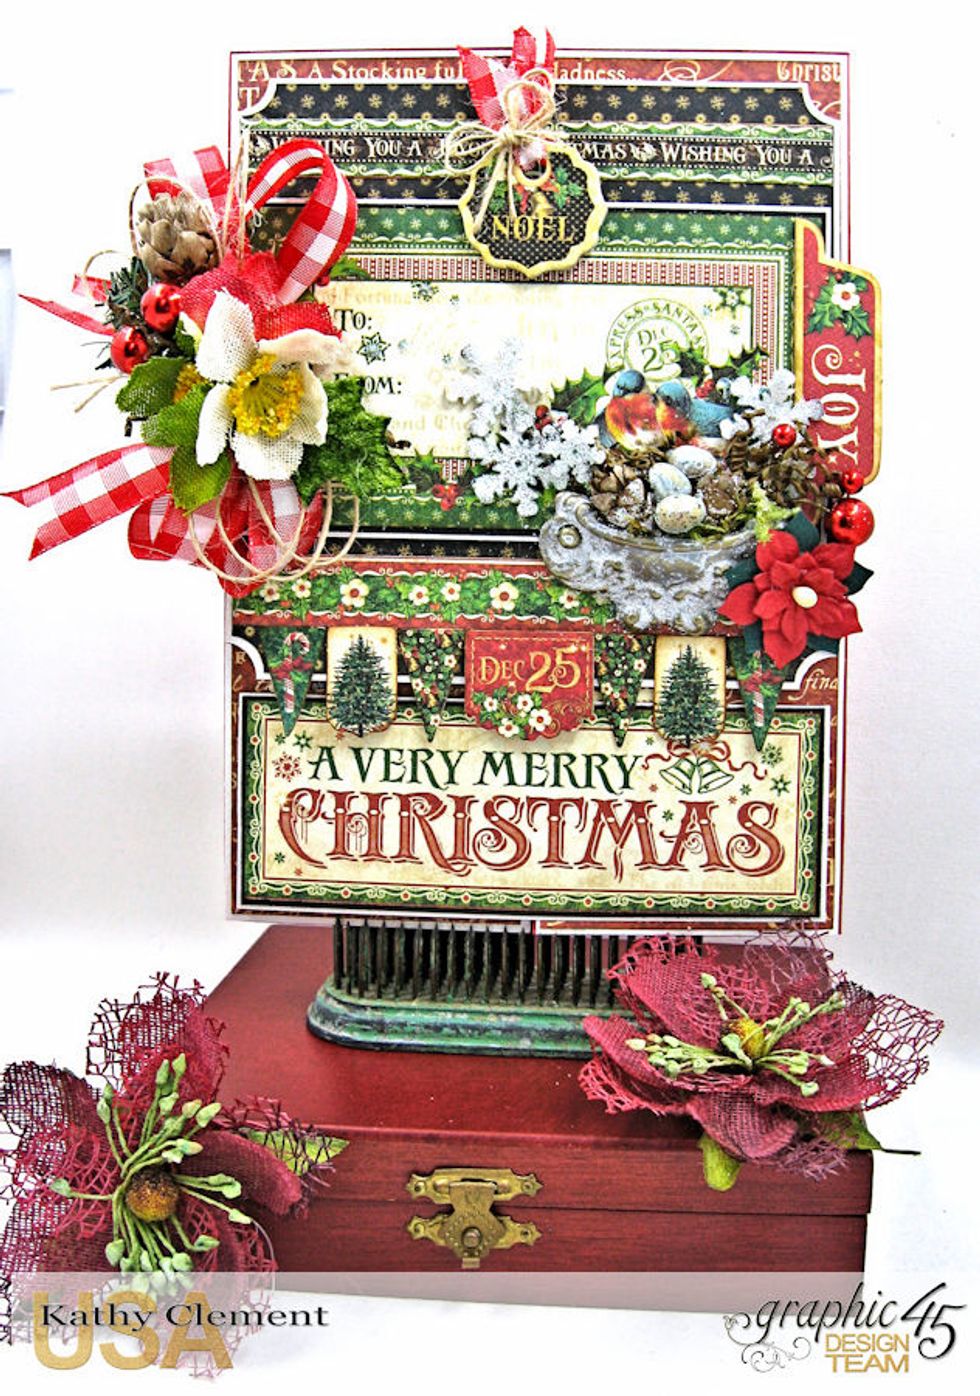
Display proudly on your Christmas Mantle or wrap up and give it as a Christmas gift. You can include a gift card, movie tickets or cash in the interior pockets.
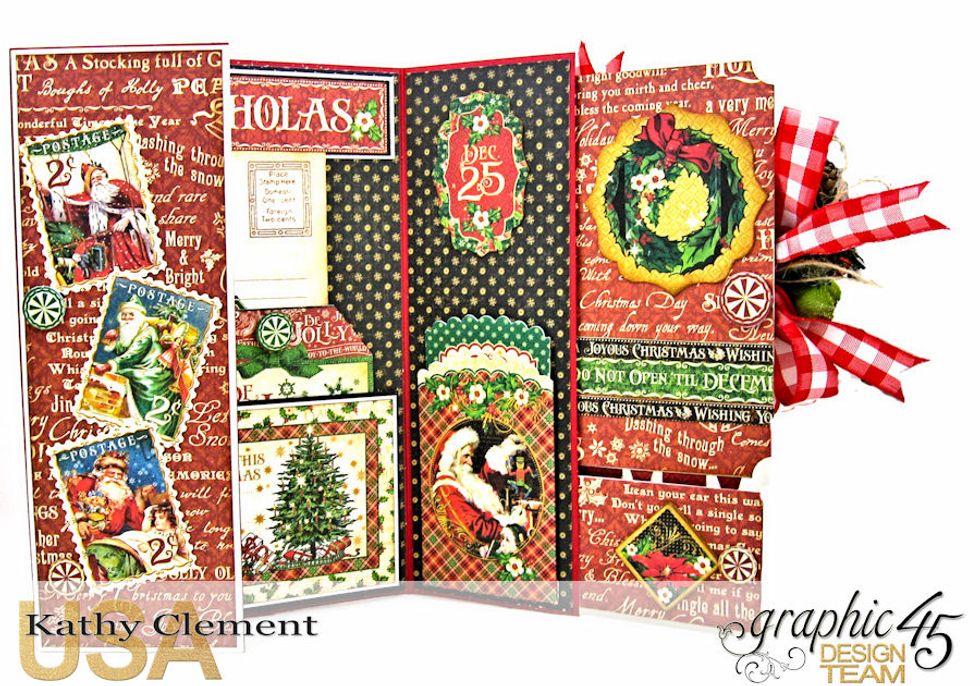
Finishing the inside of the card, add small magnets beneath peppermint buttons from the banner chipboard. This will hold the card securely shut.
Write your own personal message on the tags, or mount holiday photos here.
I hope you'll give this card design a try! Gatefold cards are fun to open, and even more fun to make. Thanks for joining me! Now go get your craft on!