The Conversation (0)
Sign Up
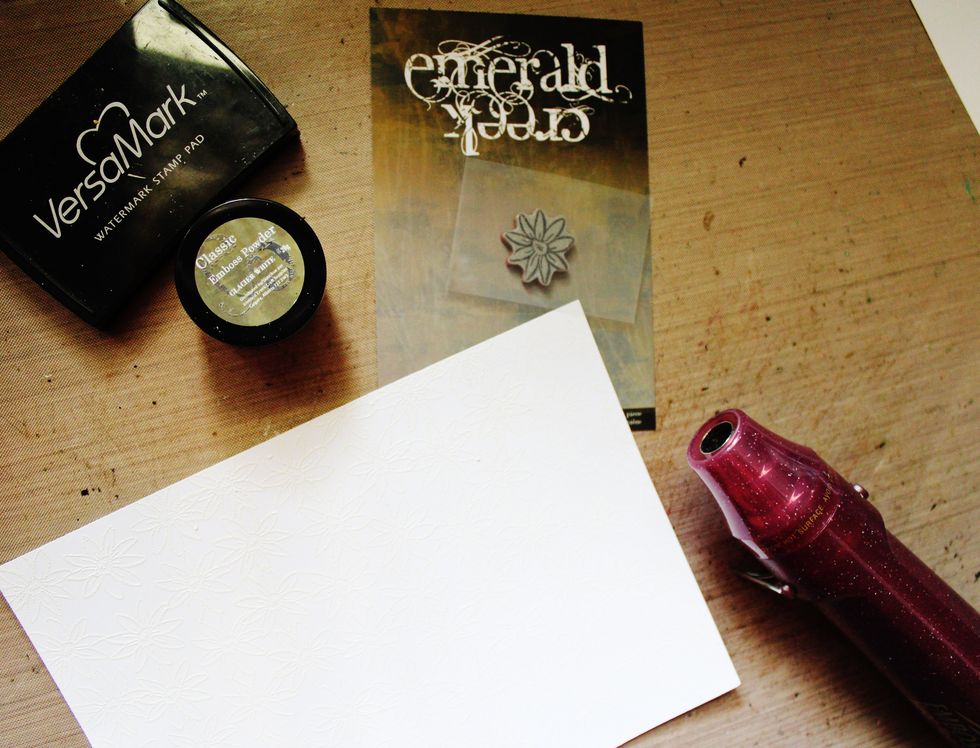
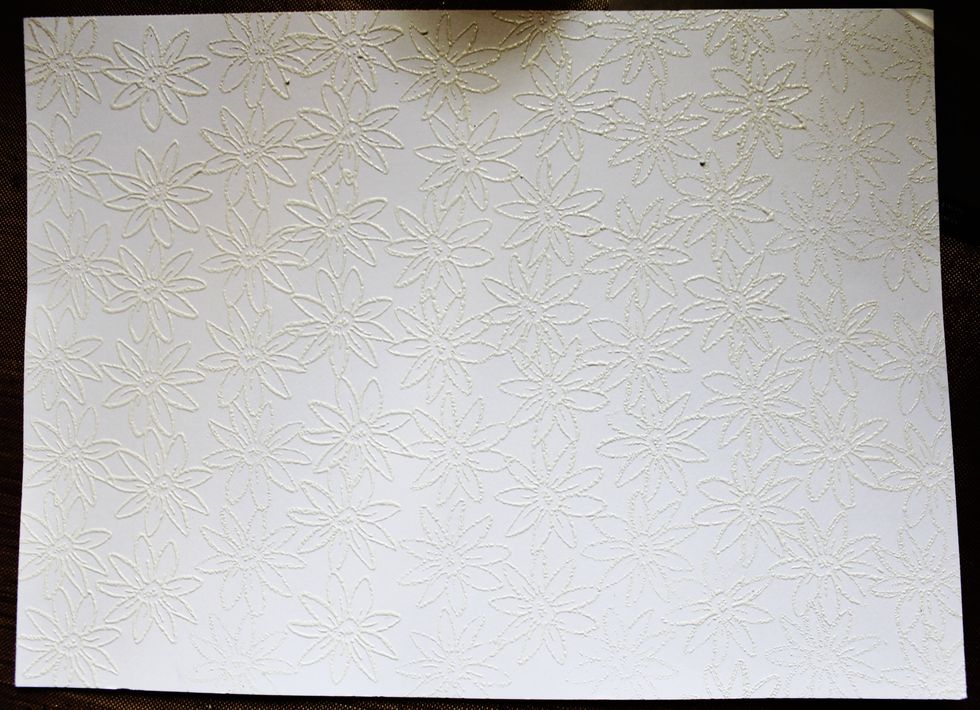
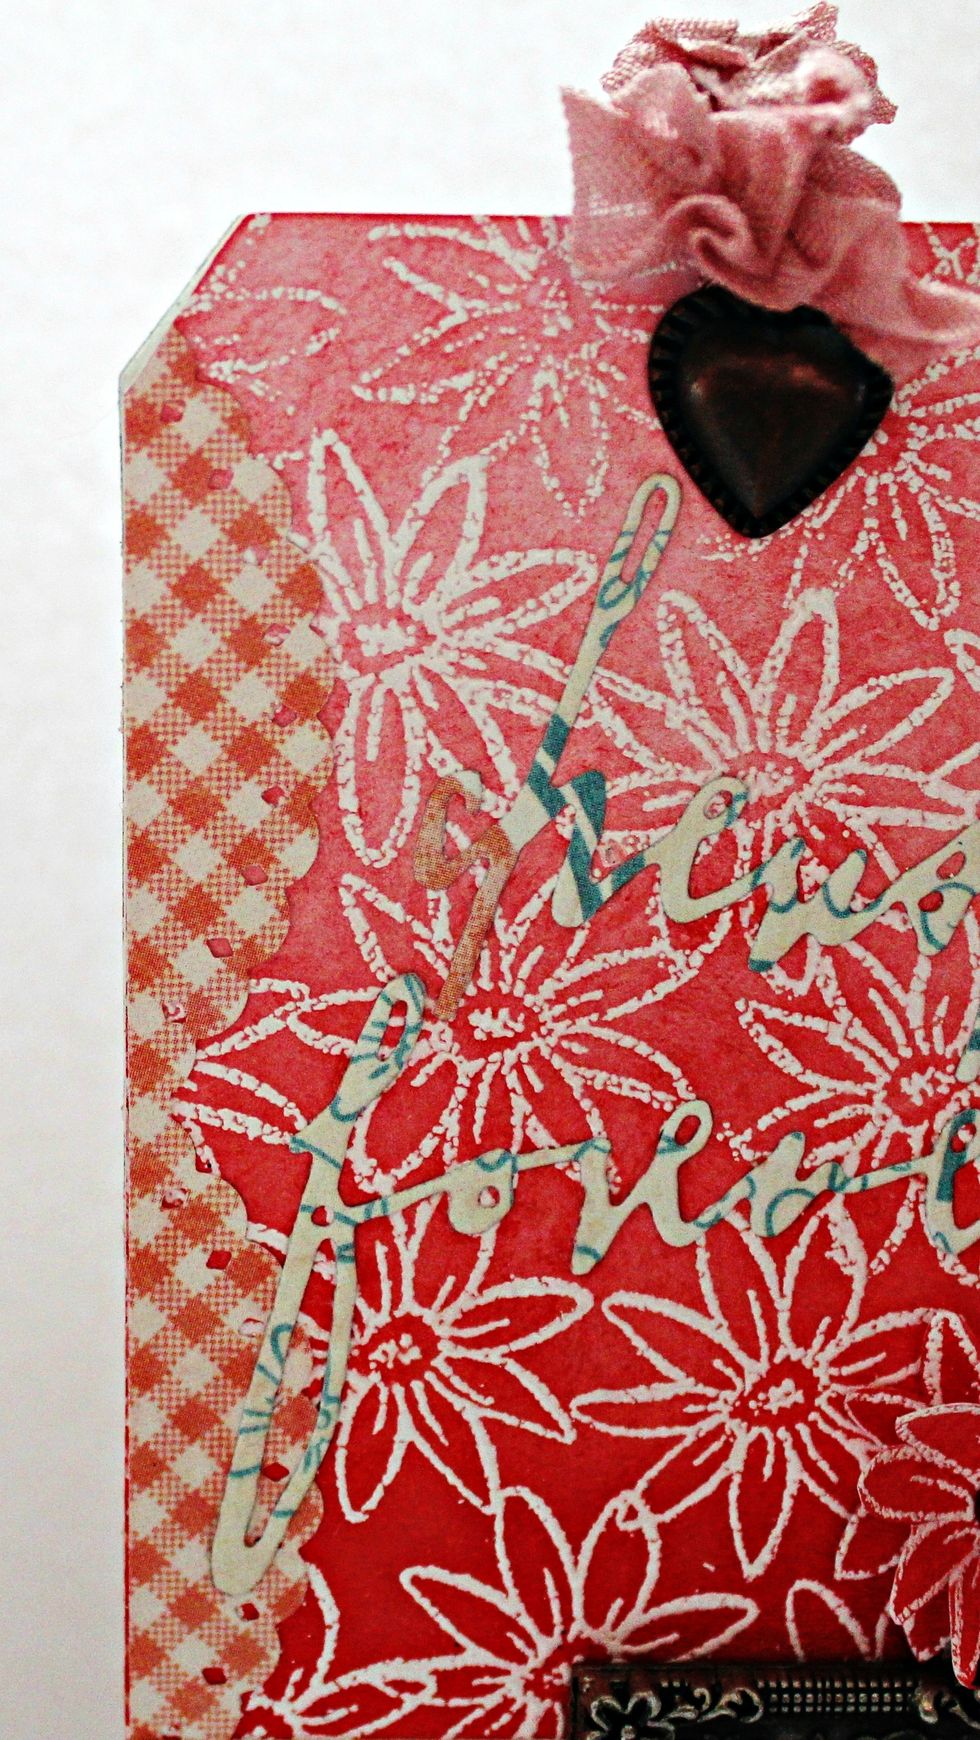
Emboss white card stock with Emerald Creek Glacier White Embossing Powder using VersaMark and heat tool.
Die cut prepared embossed paper with tag die,
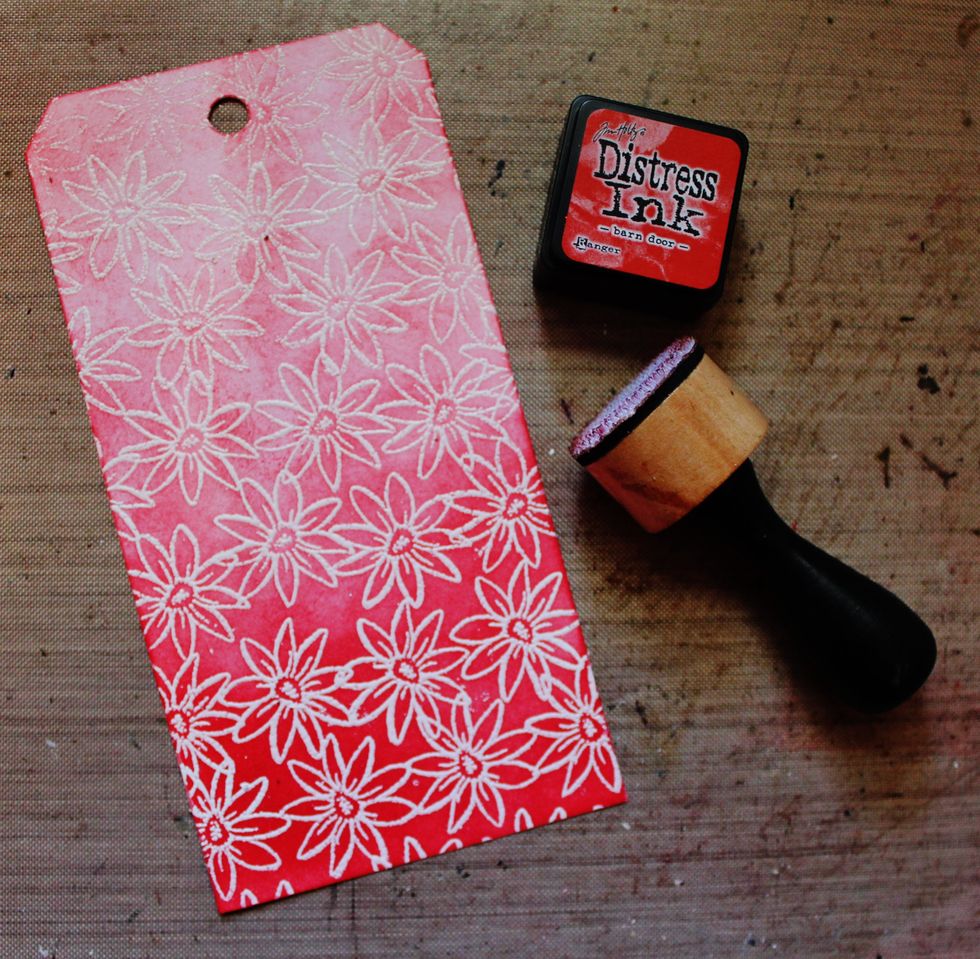
Using blending tool and Barn Door Distress Ink. apply working from the bottom up. Applying pressure at the bottom and lightening up as you go up.
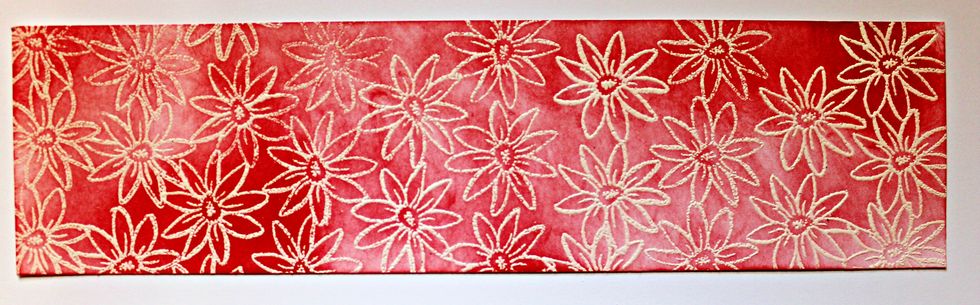
Repeat with scraps of embossed paper and Barn Door Distress Ink.
Punch border using border punch. Add to front of tag.
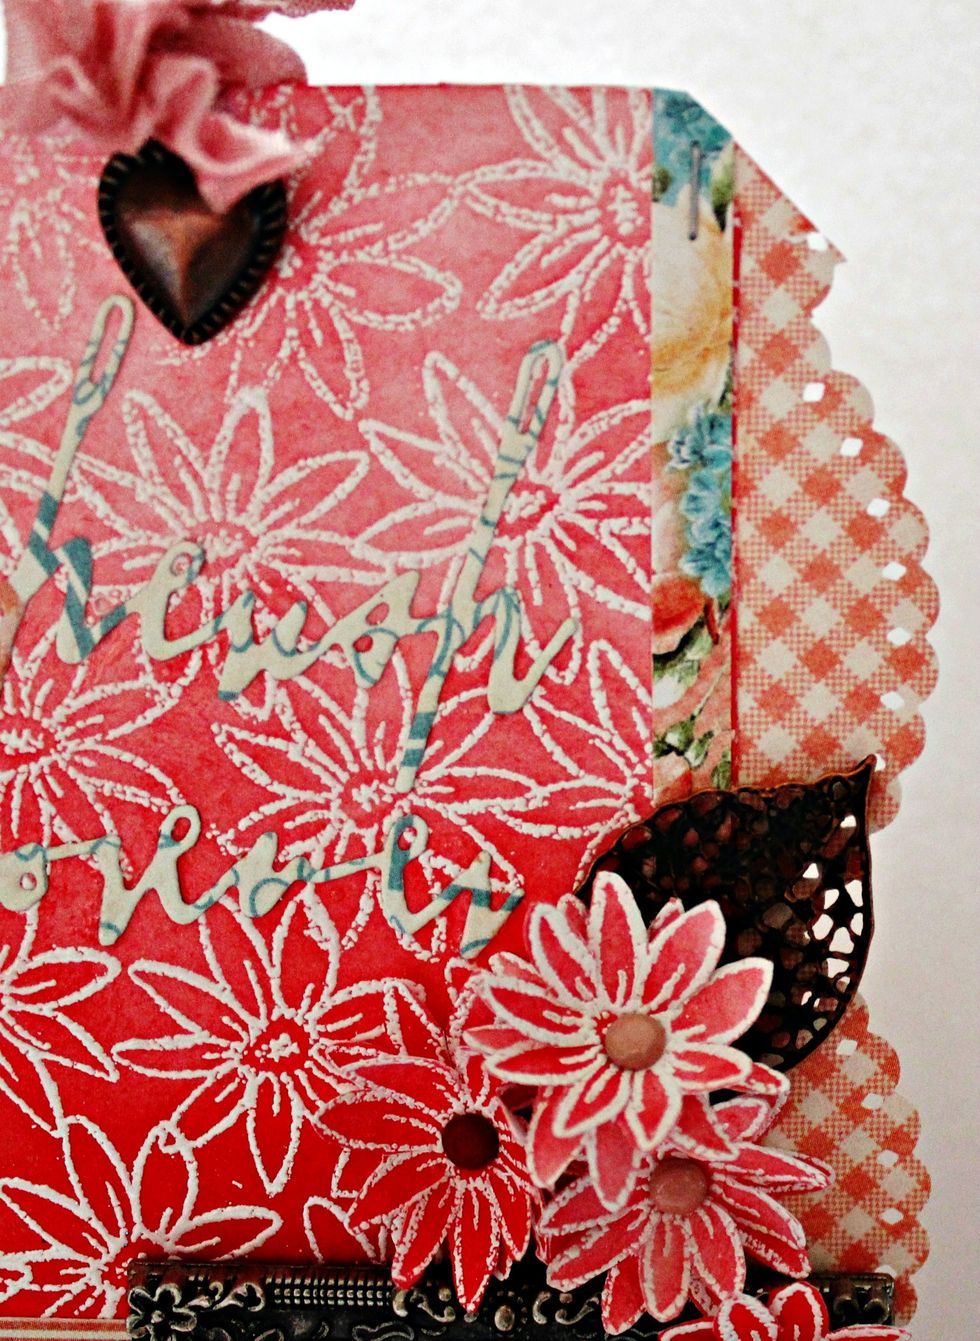
Repeat border punch with pattern paper, adhere under tag. Add strip of pattern paper to top of tag.
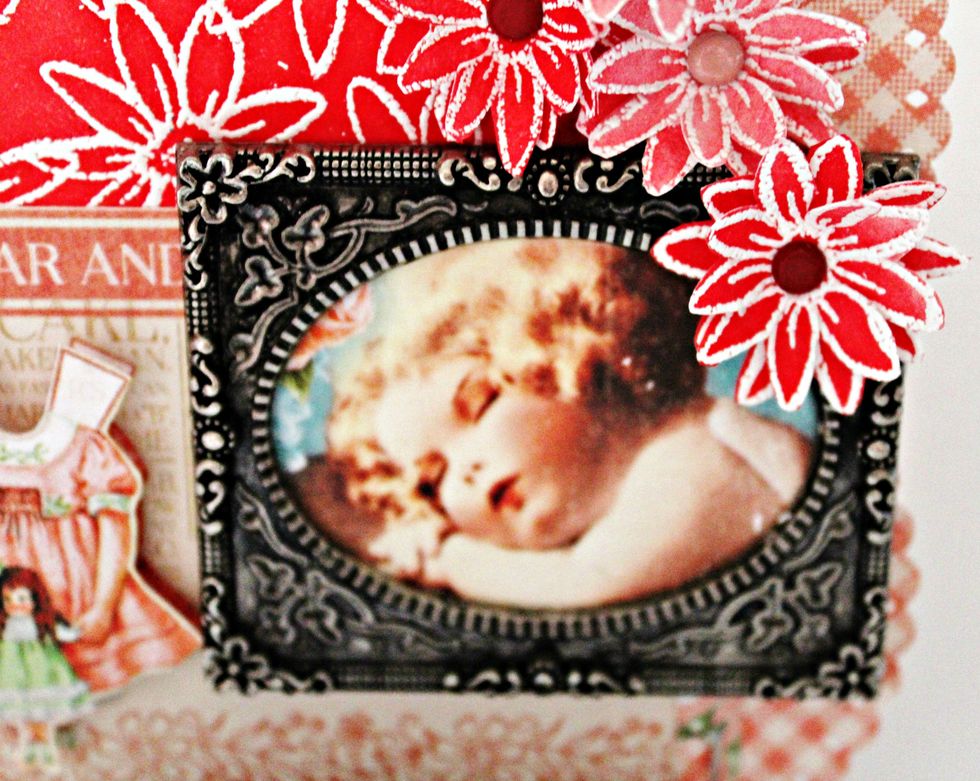
Adhere image from pattern paper to metal frame. Adhere to bottom of tag.
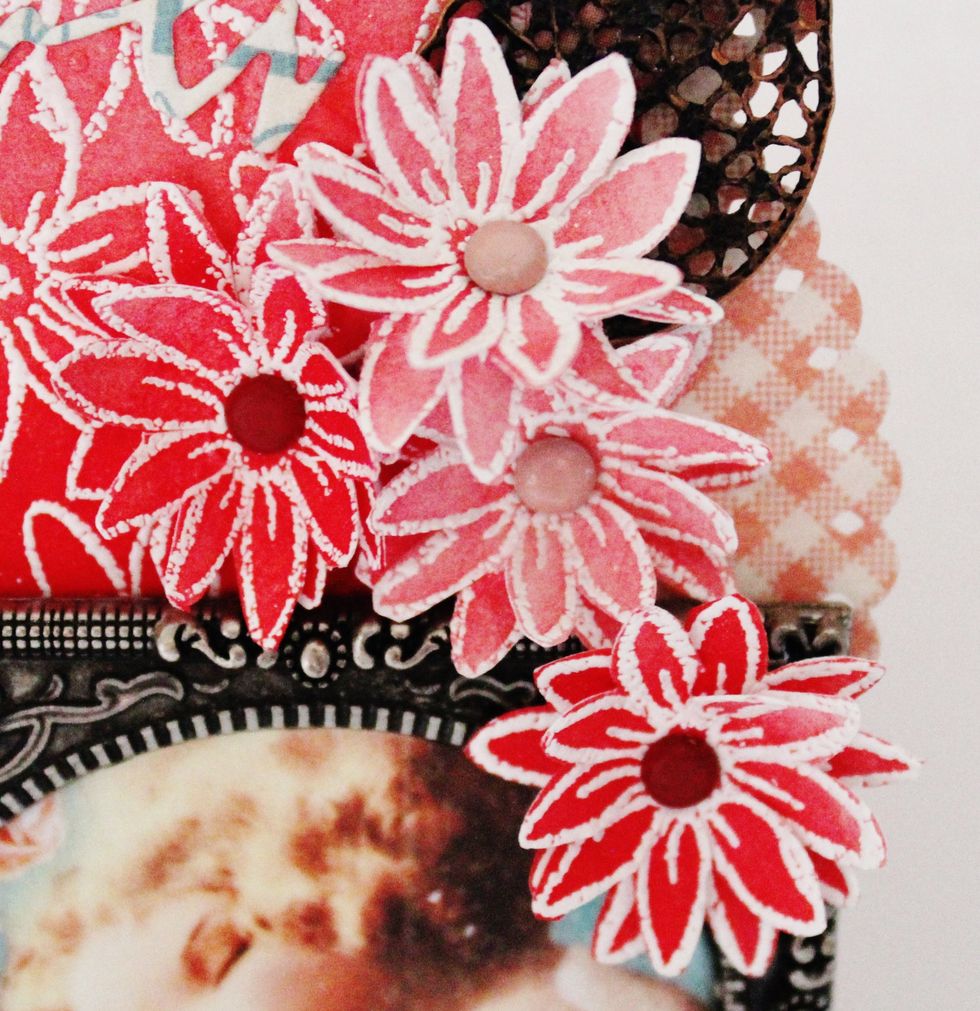
Fussy cut embossed and ink flowers. Layer together with small brads. Adhere to top of tag with metal leaf charm.
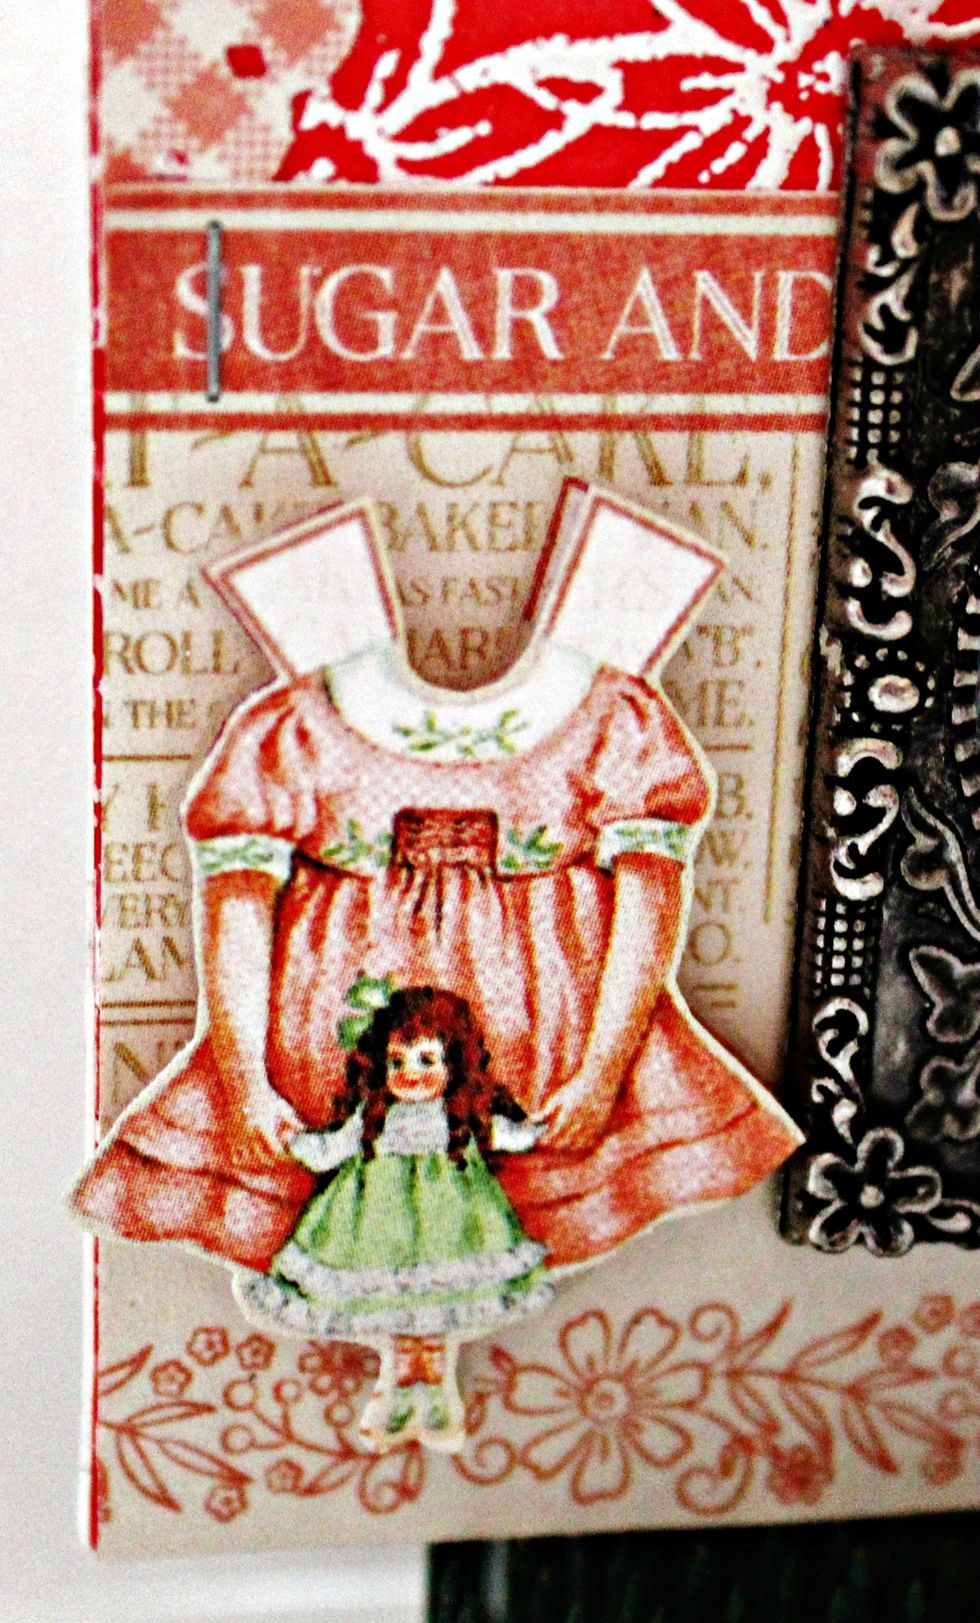
Fussy cut doll dress; place on tag front with pop dots.
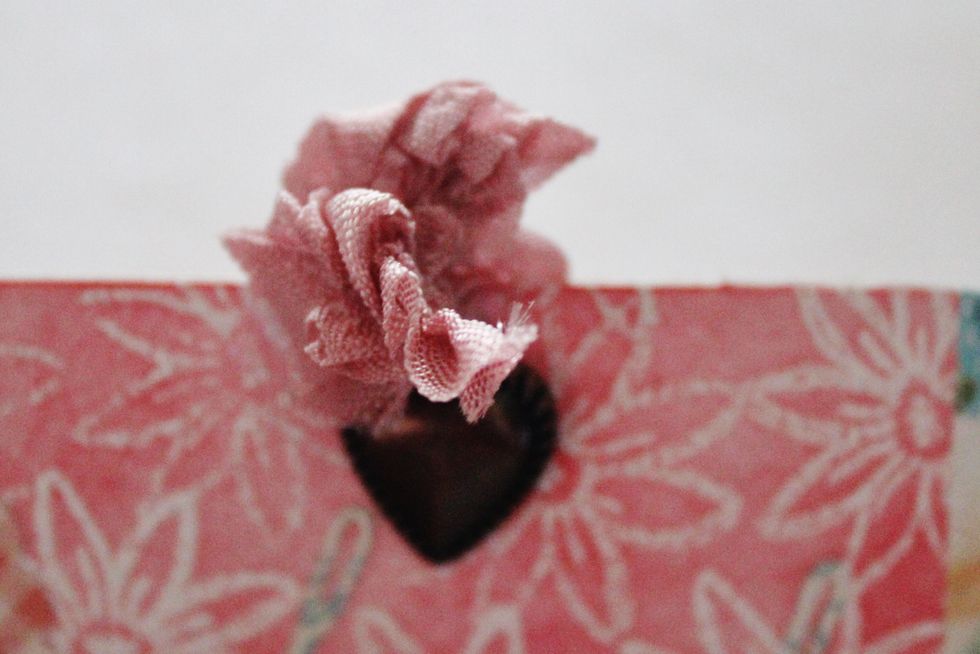
Add pretty pink bow and heart brad to top of tag.